A Glaring problem
The problem
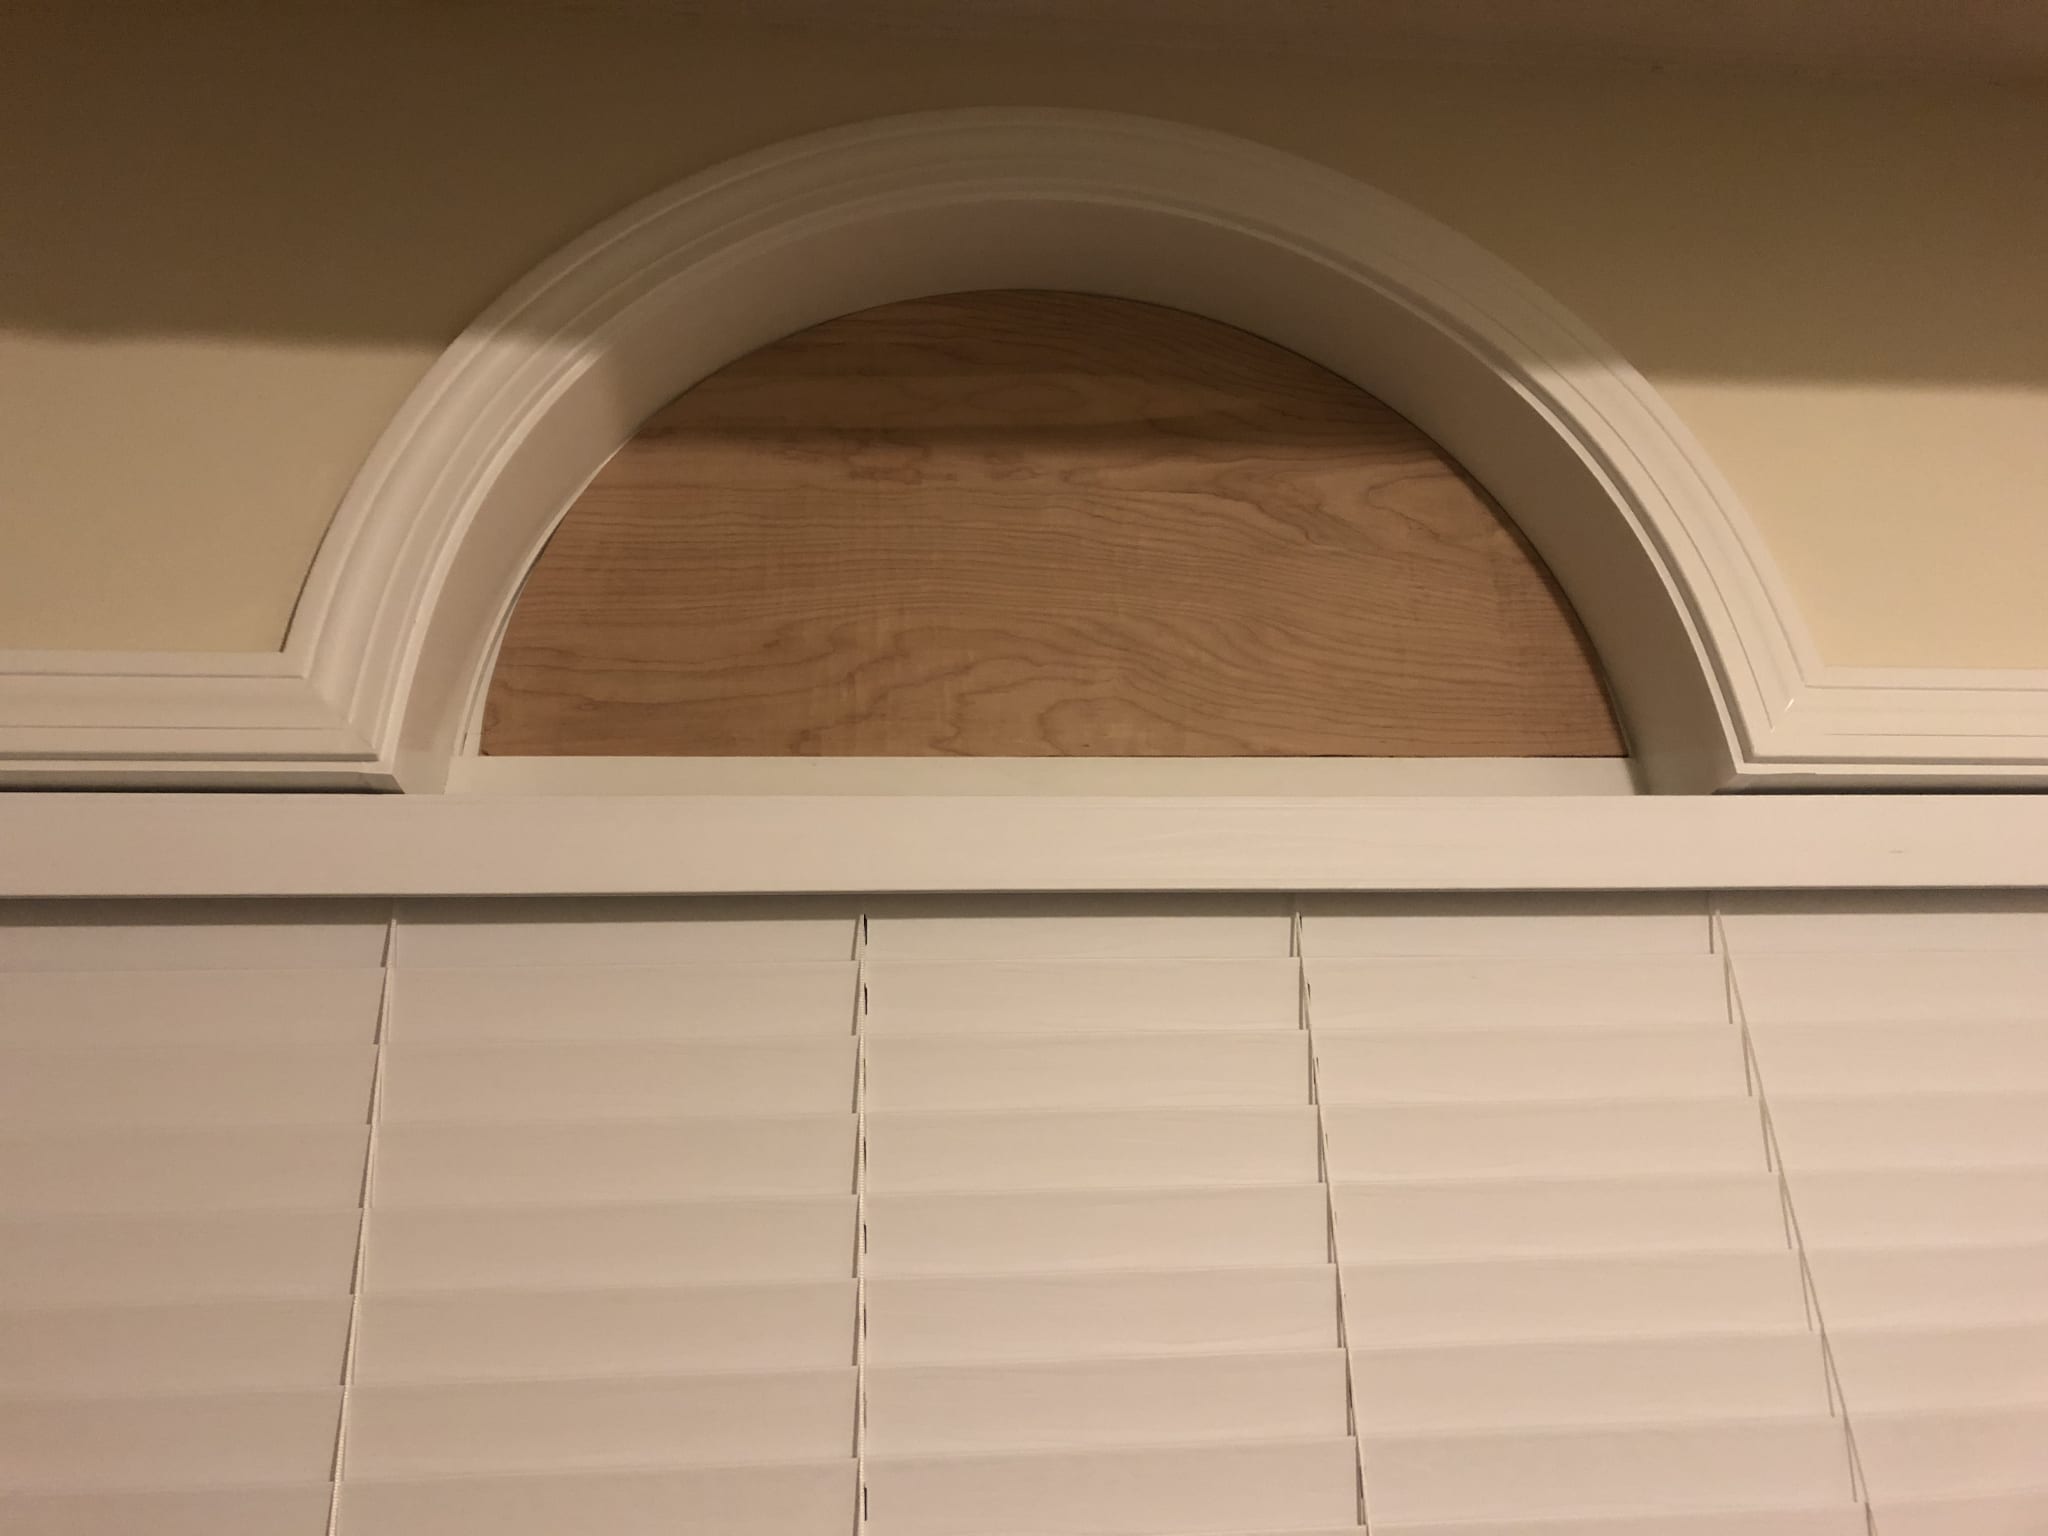
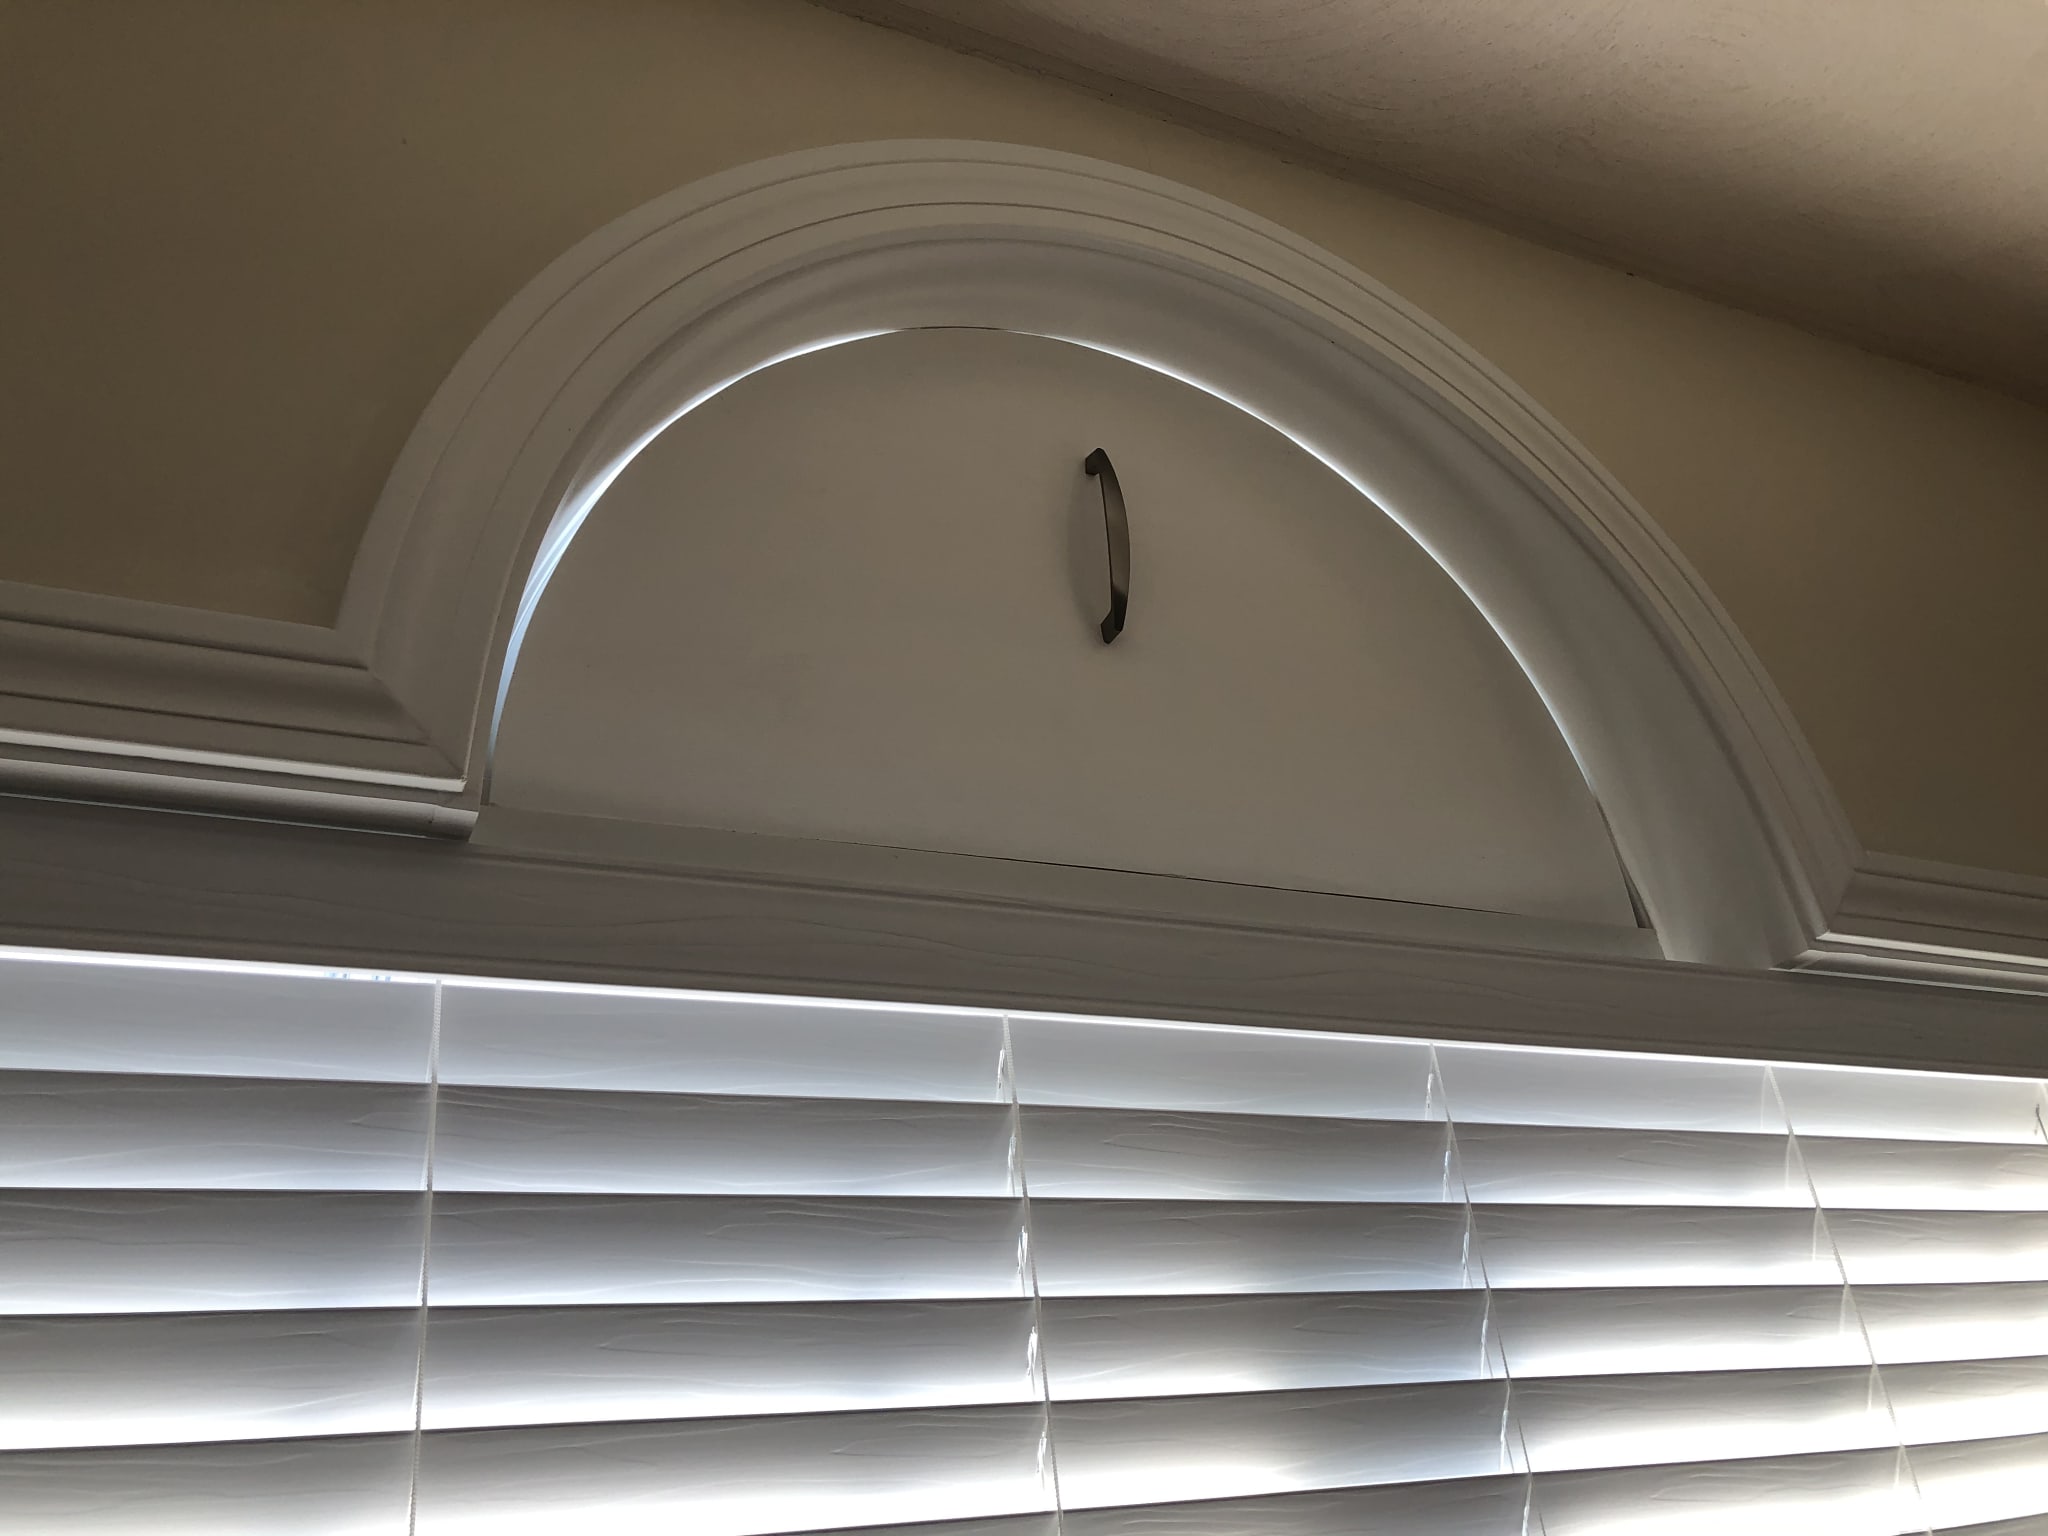
In the era of COVID19 I am glad I am able to work from the comfort of my own home. I have a spare bedroom that I've converted into an office. However, I have West-facing windows and in the afternoon the glare can be substantial. The builder also decided to add an artistic embellishment to the windows be means of a half-circle extra window above the main windows. If that sounds hard to picture, later images will clear it up. I have good blinds that darken the sun for the main window elements, but everything I could find online or in-store for the extra half-circle just wouldn't do. I didn't want something permanent, and I wanted something that was able to totally block the light, not just filter it.
The design
It seems like a half circle should be pretty easy, but this half circle was slightly cut off at the bottom. Imagine someone tried to cut a circle in half, but accidentally cut too high, leaving a segment of the circle that was wider horizontally than 2x the height. Sound weird? Yeah, I had to think about it a bit too, for layout purposes, but I got there in the end.
I measured the kinda-sorta-mostly-radius for the vertical dimension, and the maybe-possibly-but-probably-not-diameter of the horizontal measure to get an idea of what I would need to cut. I then tapped a nail into my bench-top and played around with a piece of string, a measuring tape, and a piece of plywood until I got the dimensions I needed.
The build
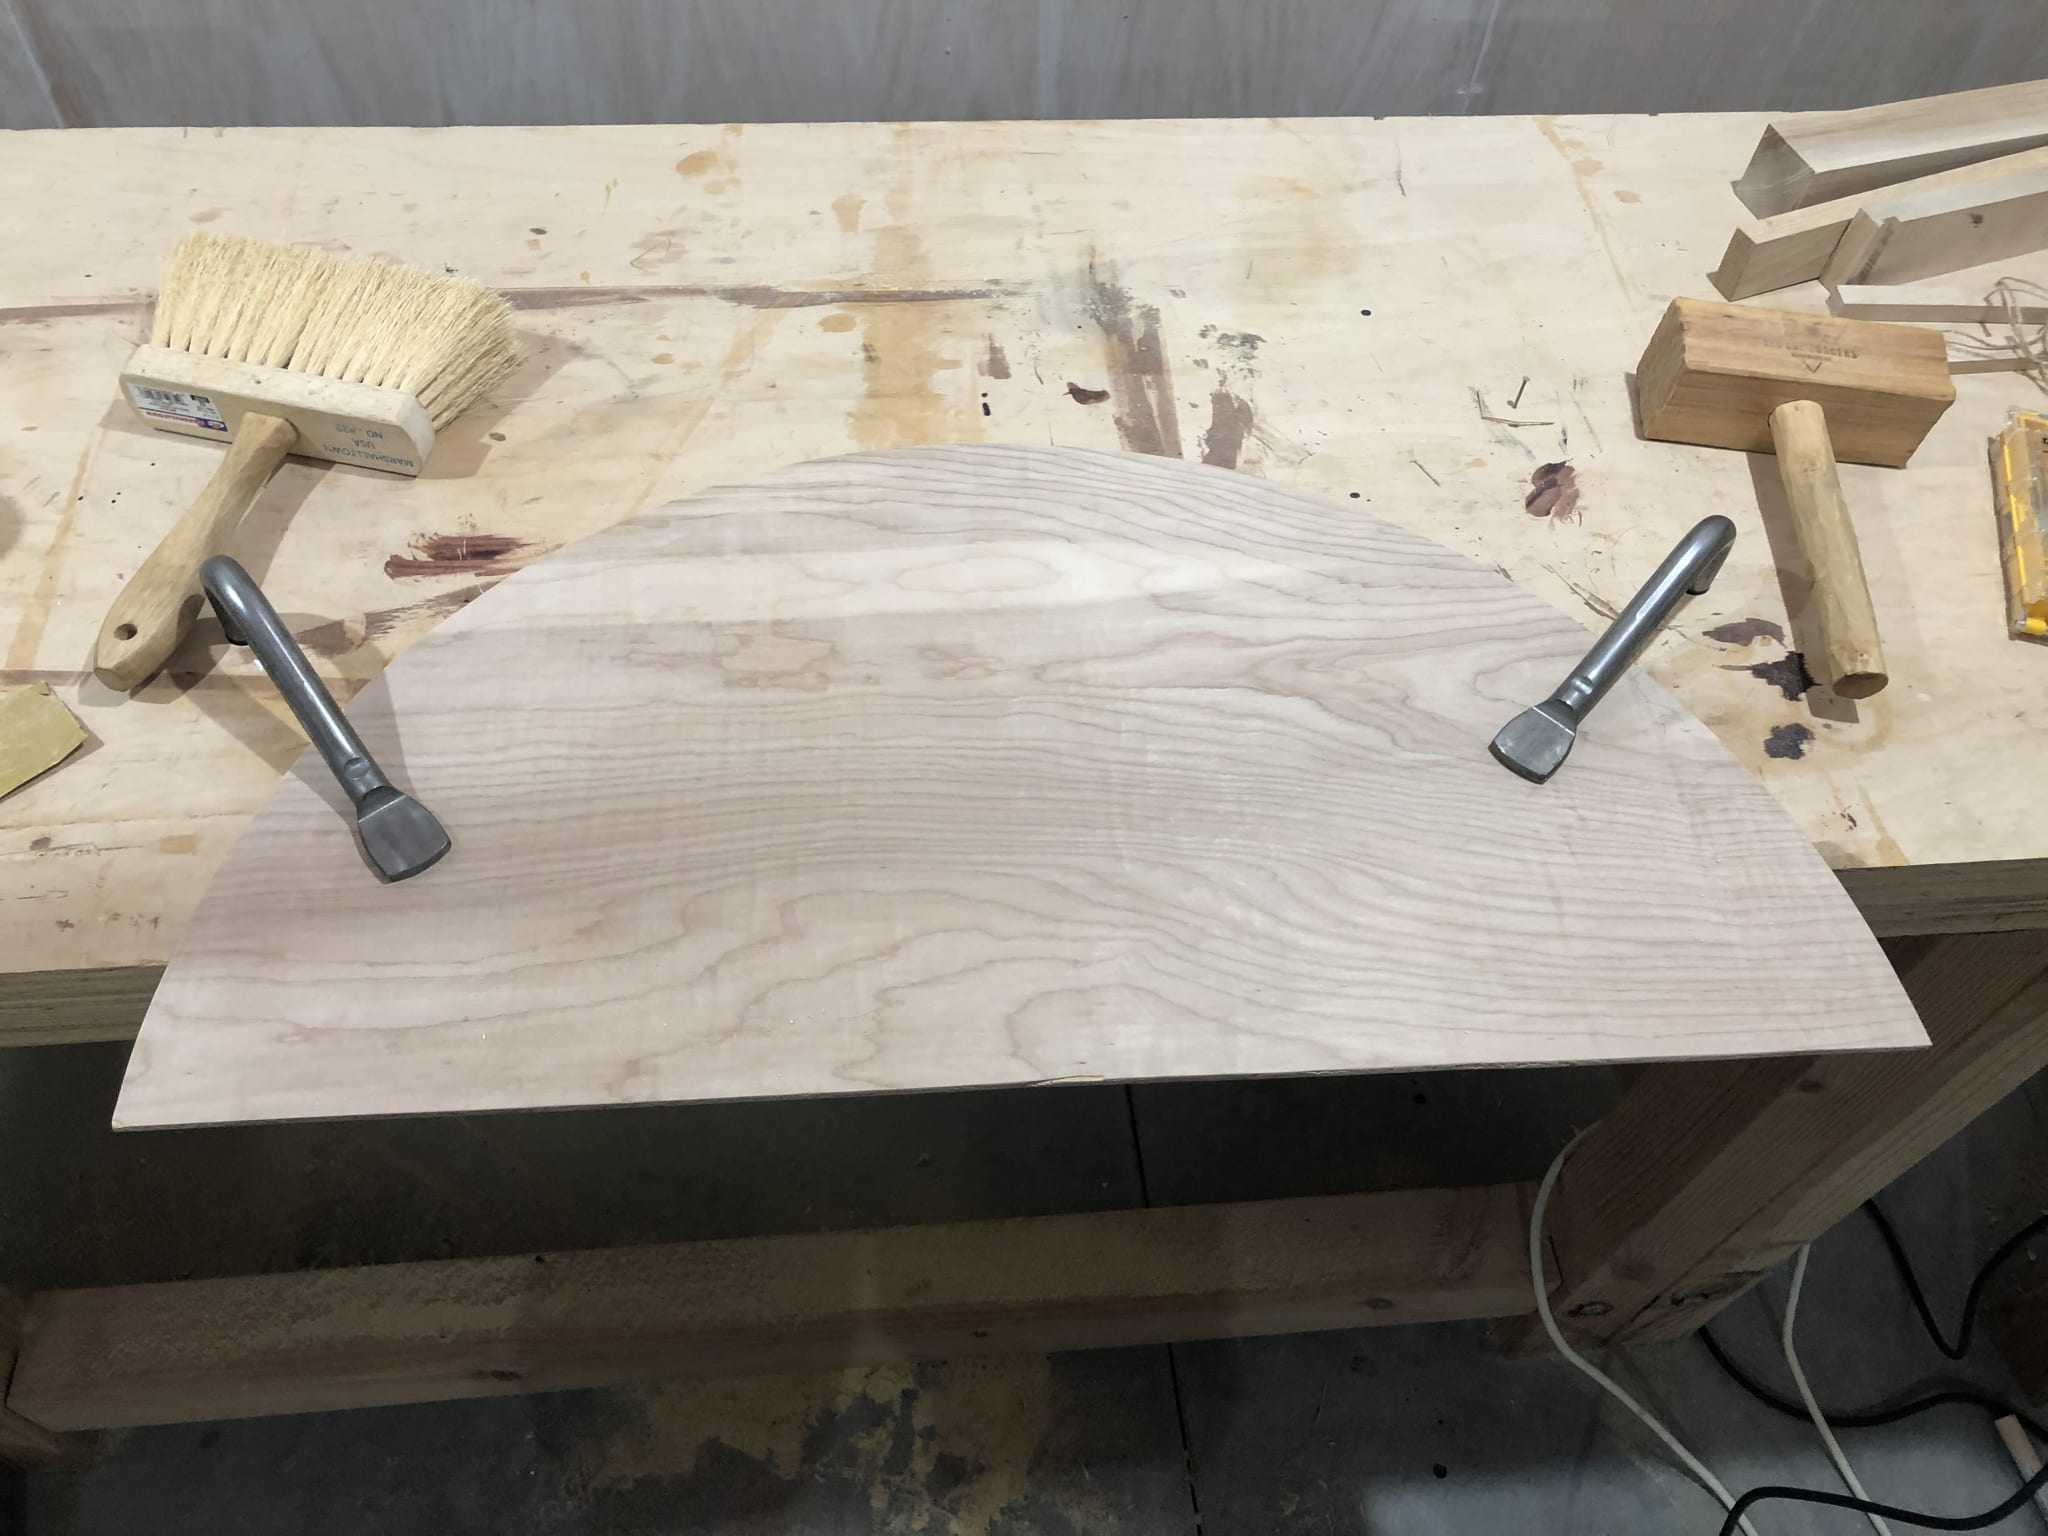
I happened to have a rather large piece of 1/4" plywood left over from another project just sitting around in my shop taking up space. I did a quick measure, and it would easily fit the semicircle I wanted to cut out of it. After I had figured out how I could do the layout, I grabbed a pencil, and with the string I measured from the prior measurements I drew an arc across the wood where I would need to cut.
Unfortunately I forgot to take a bunch of pictures, but I used my corded jigsaw here to cut the arc, and then I test-fitted it into the window.
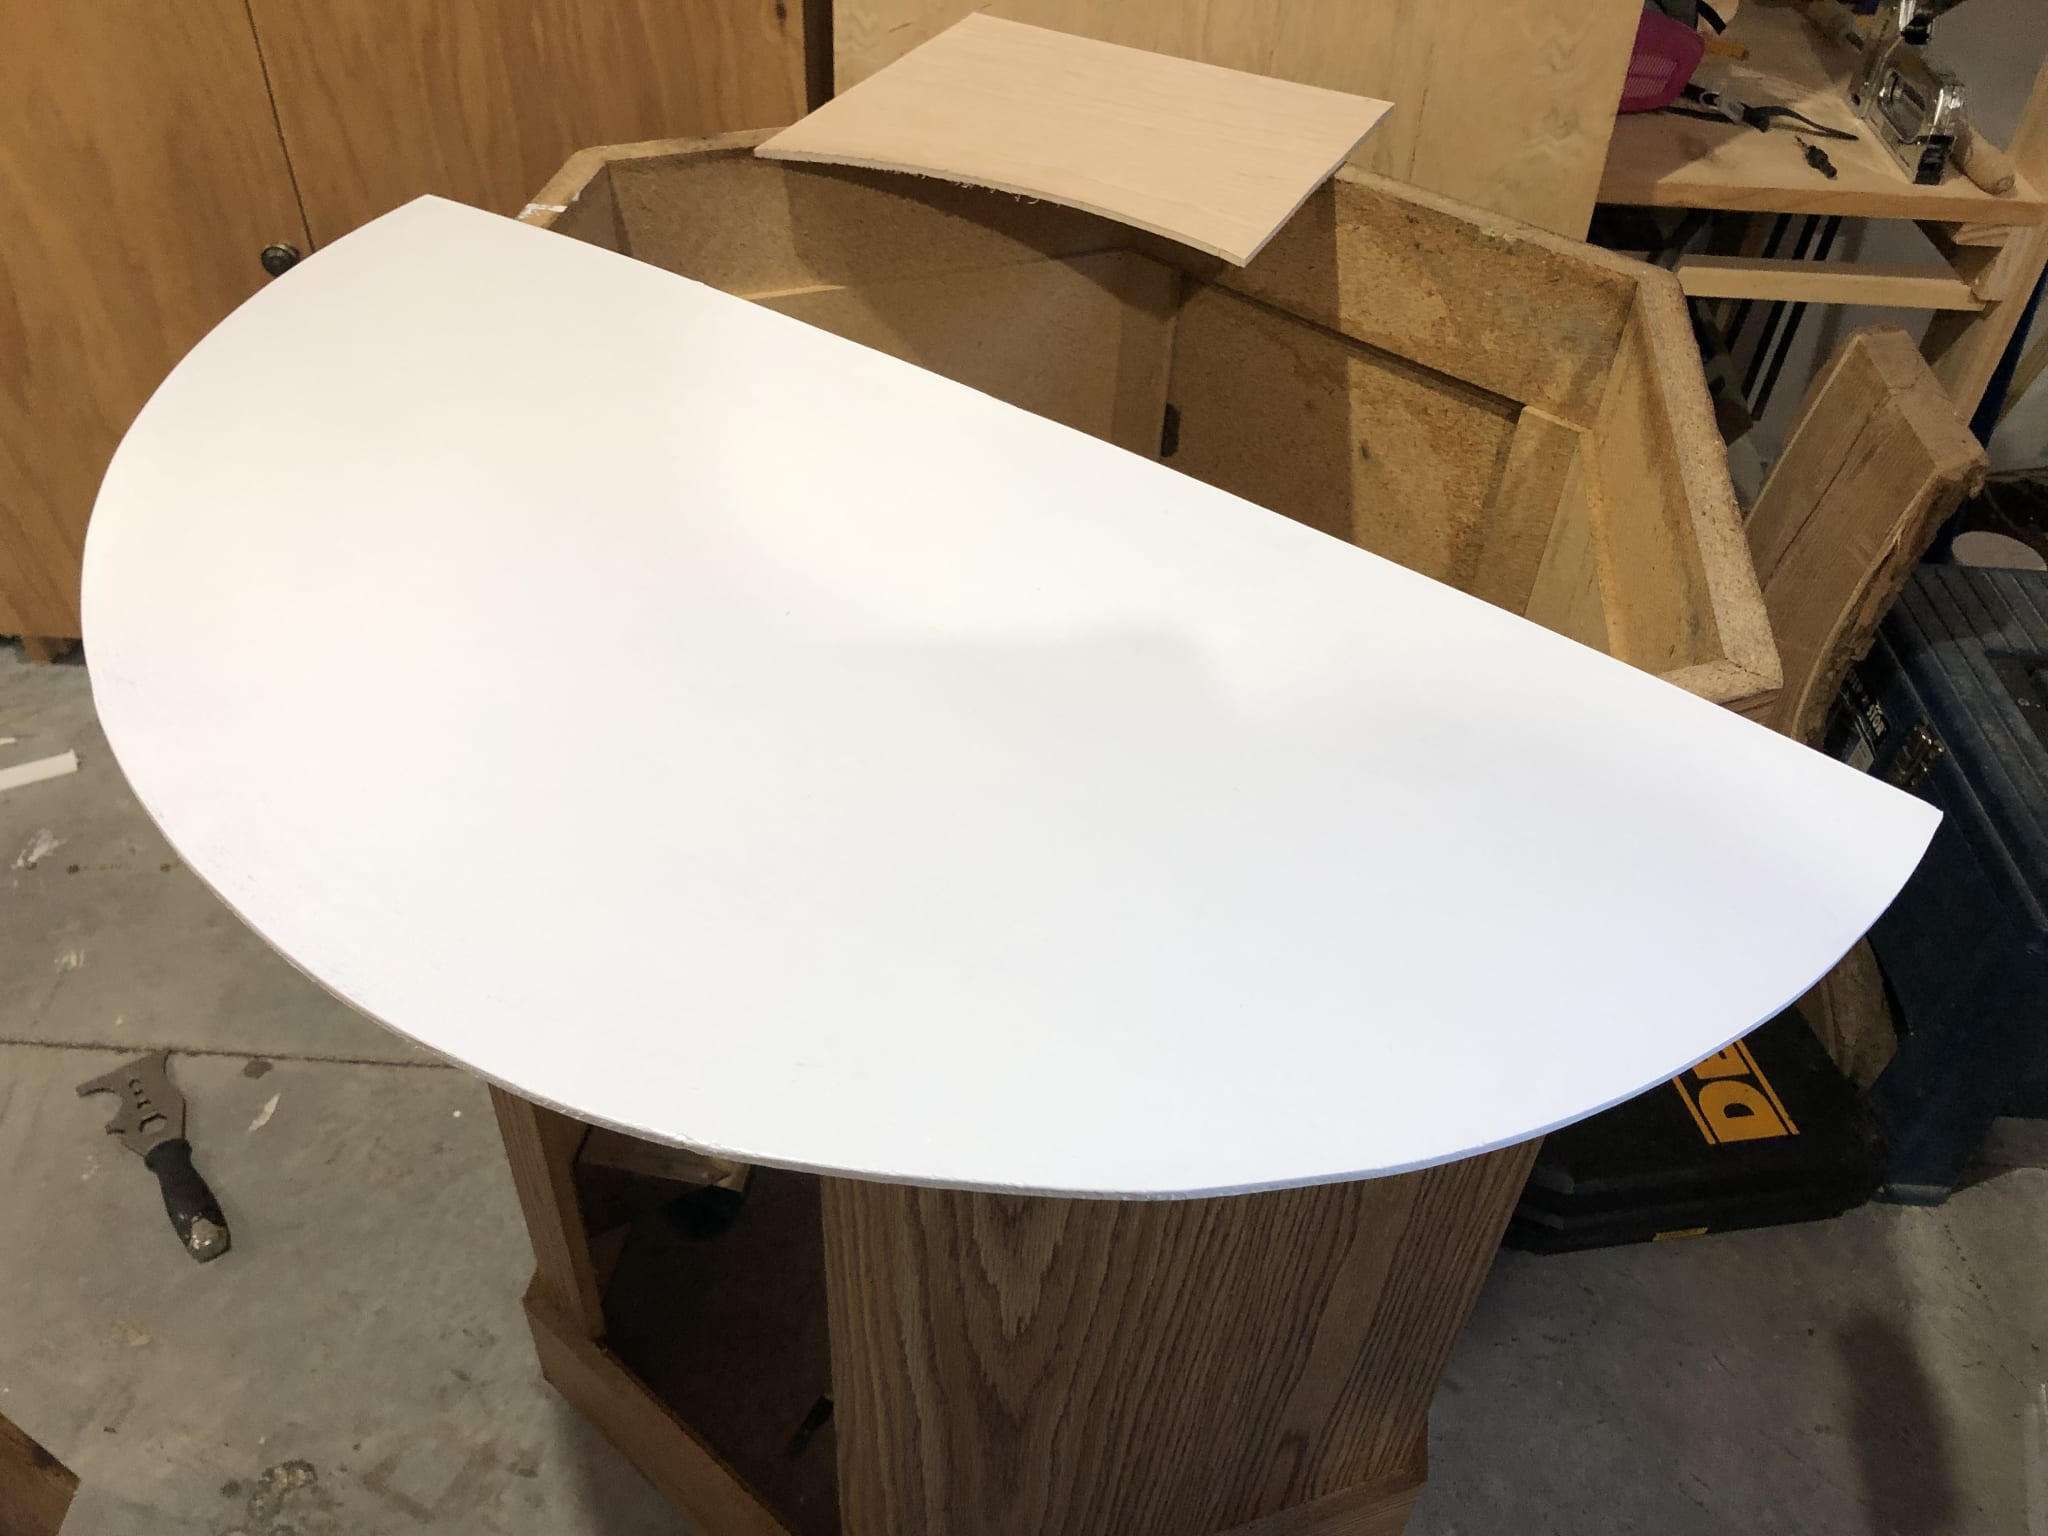
The test fit was pretty good, but I needed to remove some material from the bottom, so I brought it back to my shop and scrubbed the bottom edge with a rasp for a bit, then sanded it smooth again.
After this, the fit was good, so I decided to paint it white to make it match the moulding.
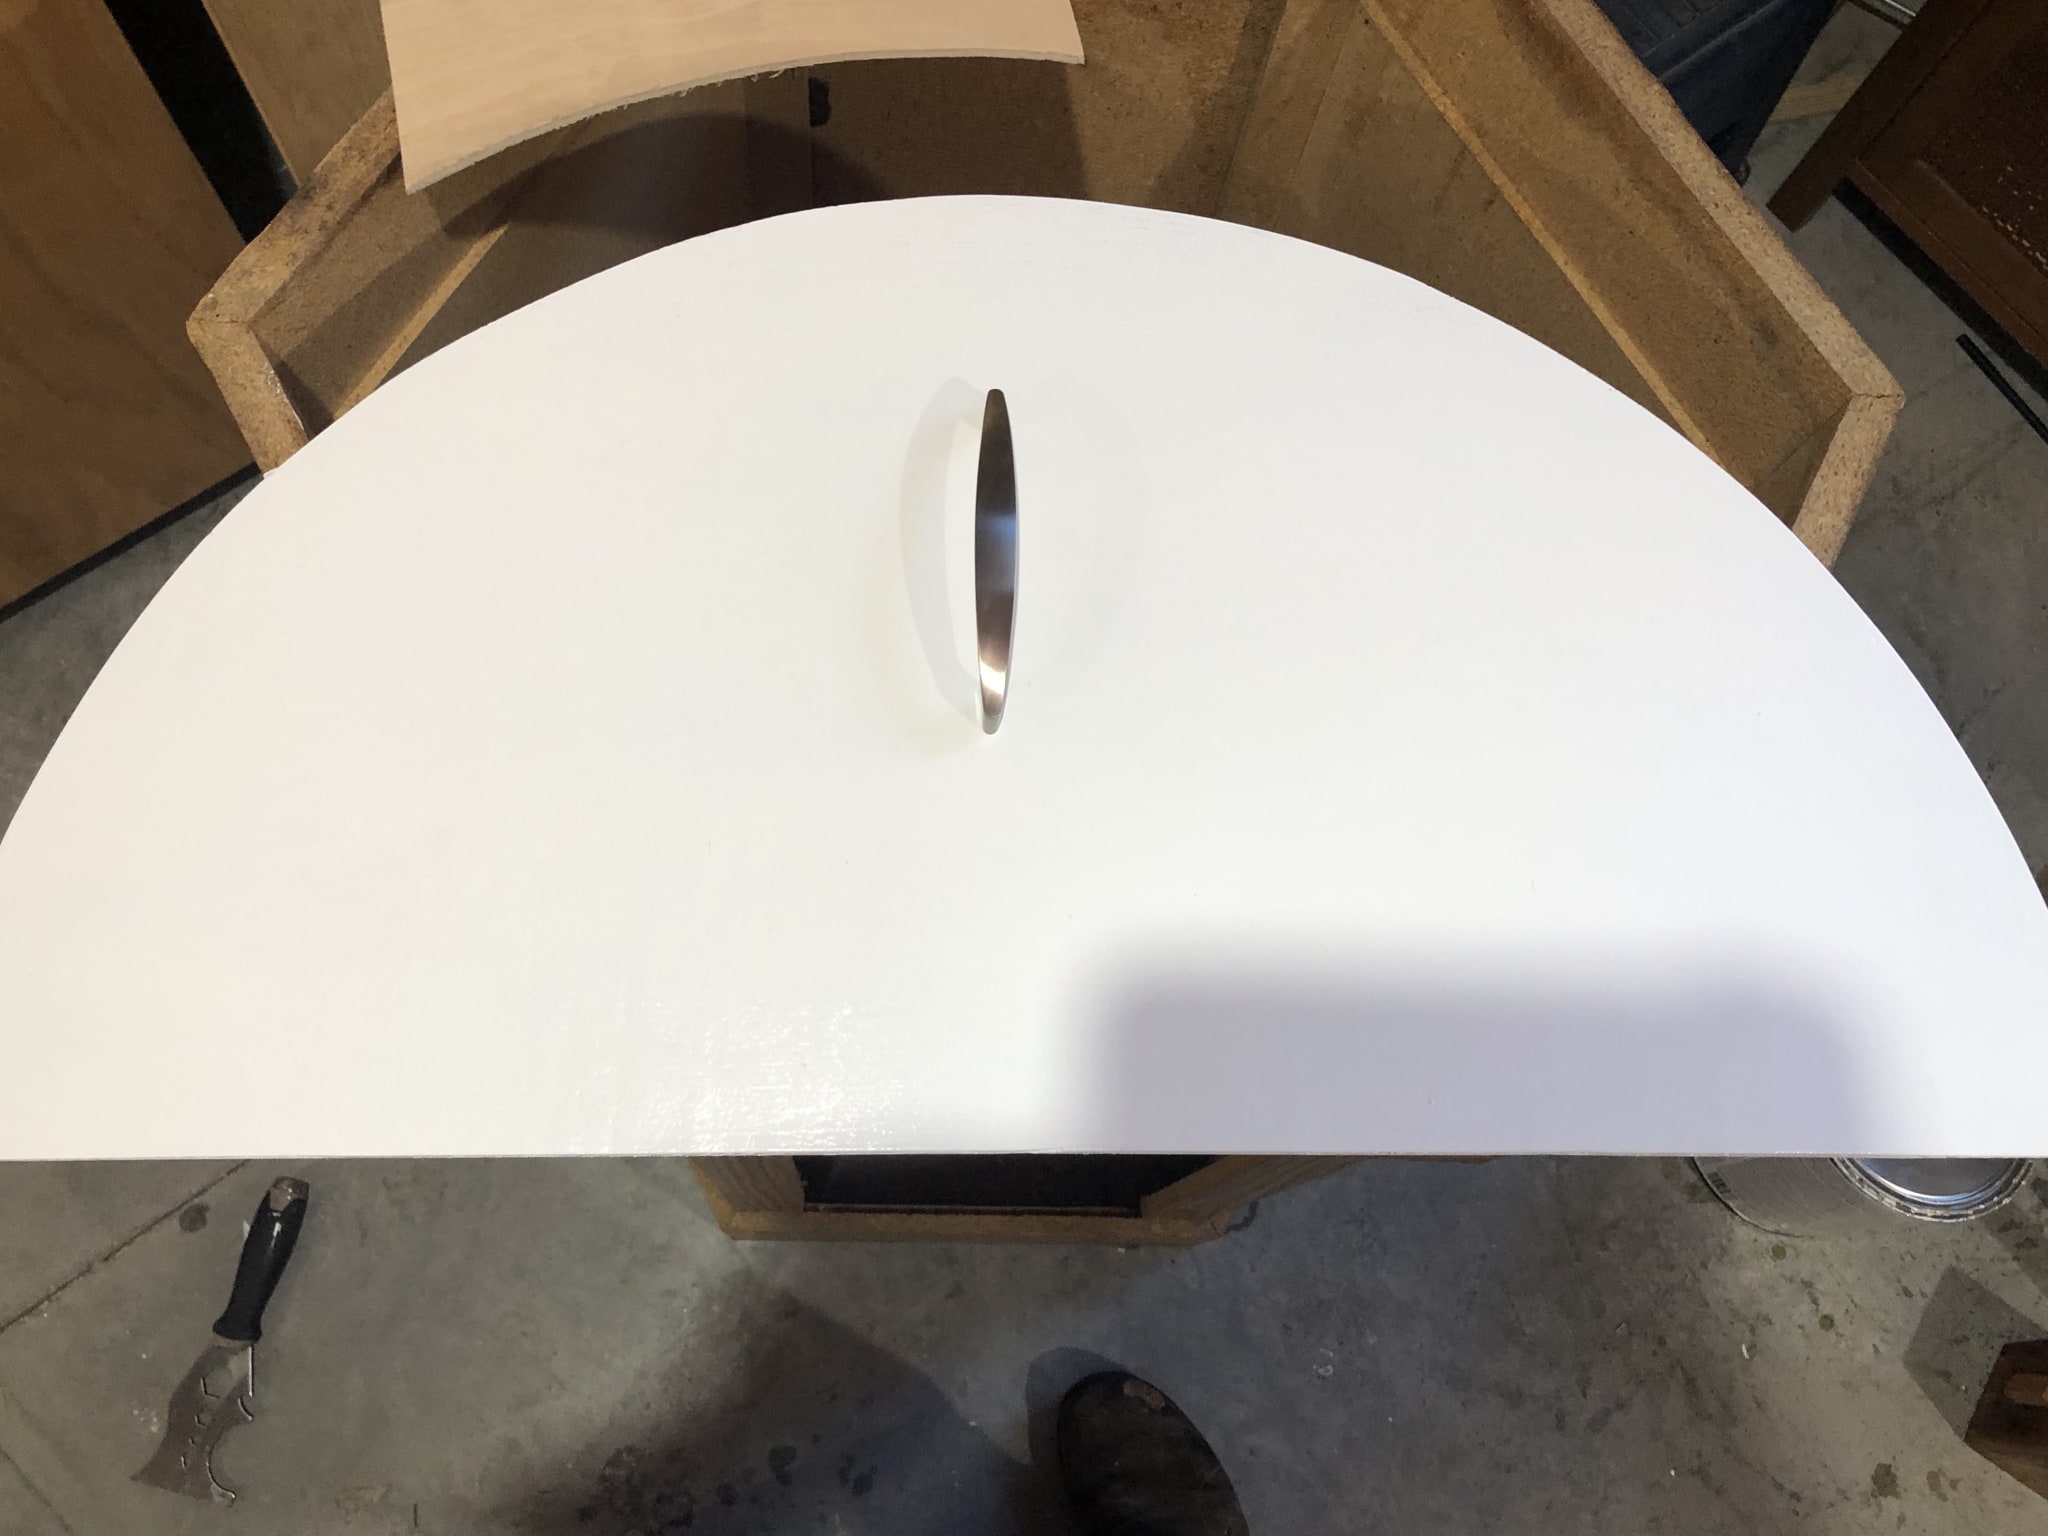
I don't really love painting, but I gave each side a nice coat of white paint, let it dry then headed out to the local hardware store to get a handle.
If I am going to be putting this thing up and taking it down, I don't want to have to fuss around with it, so I grabbed a nice cabinet pull that matched the rest of the hardware in my house (brushed nickel). Once I got it home I realized that even the short screws provided were way too long for this application. Fortunately, I have a Dremel with carbide disks meant for cutting through metal. I held on to the screw head with insulated gloves and got to cutting.
Again, I got so caught up in things I forgot to take pictures, but one issue I had is that cutting the screw messed up the thread at the very end. Rather than trying to deal with that I carefully used the cutting disk to smooth down the end of the screw so that the diameter was smaller and tapered up to full size. Problem solved! Thread was barely altered, and it screwed right in.
I did a quick check on layout to see if vertical or horizontal would be more useful for the handle and decided on vertical. I don't love how it looks, but is easier to grab on to where it is used than in a horizontal layout.
After I put it all together it was night time so I couldn't try it out, and then of course we had a bunch of rainy days. Finally though, a sunny bright day! I grabbed my brand new sun-blocker and tried it out.
It works pretty darn well, but I might have to trim a bit on a few tight places.
Mistakes
Ahh, yes, there are always mistakes. What did we have this time?
Warping after painting
I measured and trimmed and got everything to size before painting, but this is 1/4" plywood. Painting it made it change shape just a little bit, but it was enough to not fit well into the window shape after it dried from the two coats of paint on either side. After I painted it, I had to re-trim and hit it with my rasp in several places so it would fit again. I don't really like paint.
The end!
That's all for this little thing; until next time. Thanks for reading!