Let's make a cup holder
The problem
Alex previously had a bed that was full-size (it was a converted frame from his original crib when he was a baby) with fairly wide headboard and footboard. He had gotten used to placing a cup of water on his headboard for easy access when he was sleeping. Wake up thirsty, take a drink, go back to bed. No fuss, no problem.
However, he just upgraded to a bunk bed that has a futon underneath that he can use as a couch, or his cousin can sleep on when he is visiting. This bunk bed, while fantastic, does not have wide enough spaces for Alex's water cup to fit on. So what do we do? We go to the workshop of course!
The design
I wanted something that could hang off the outside of his bed rail since the top rails were pretty high up, this would be pretty convenient while still being out of the way while he was sleeping. I ended up going with an octagon shape for the main holder, with a kind of "hook" that would slide over the side board that prevented him from rolling out of the bed.
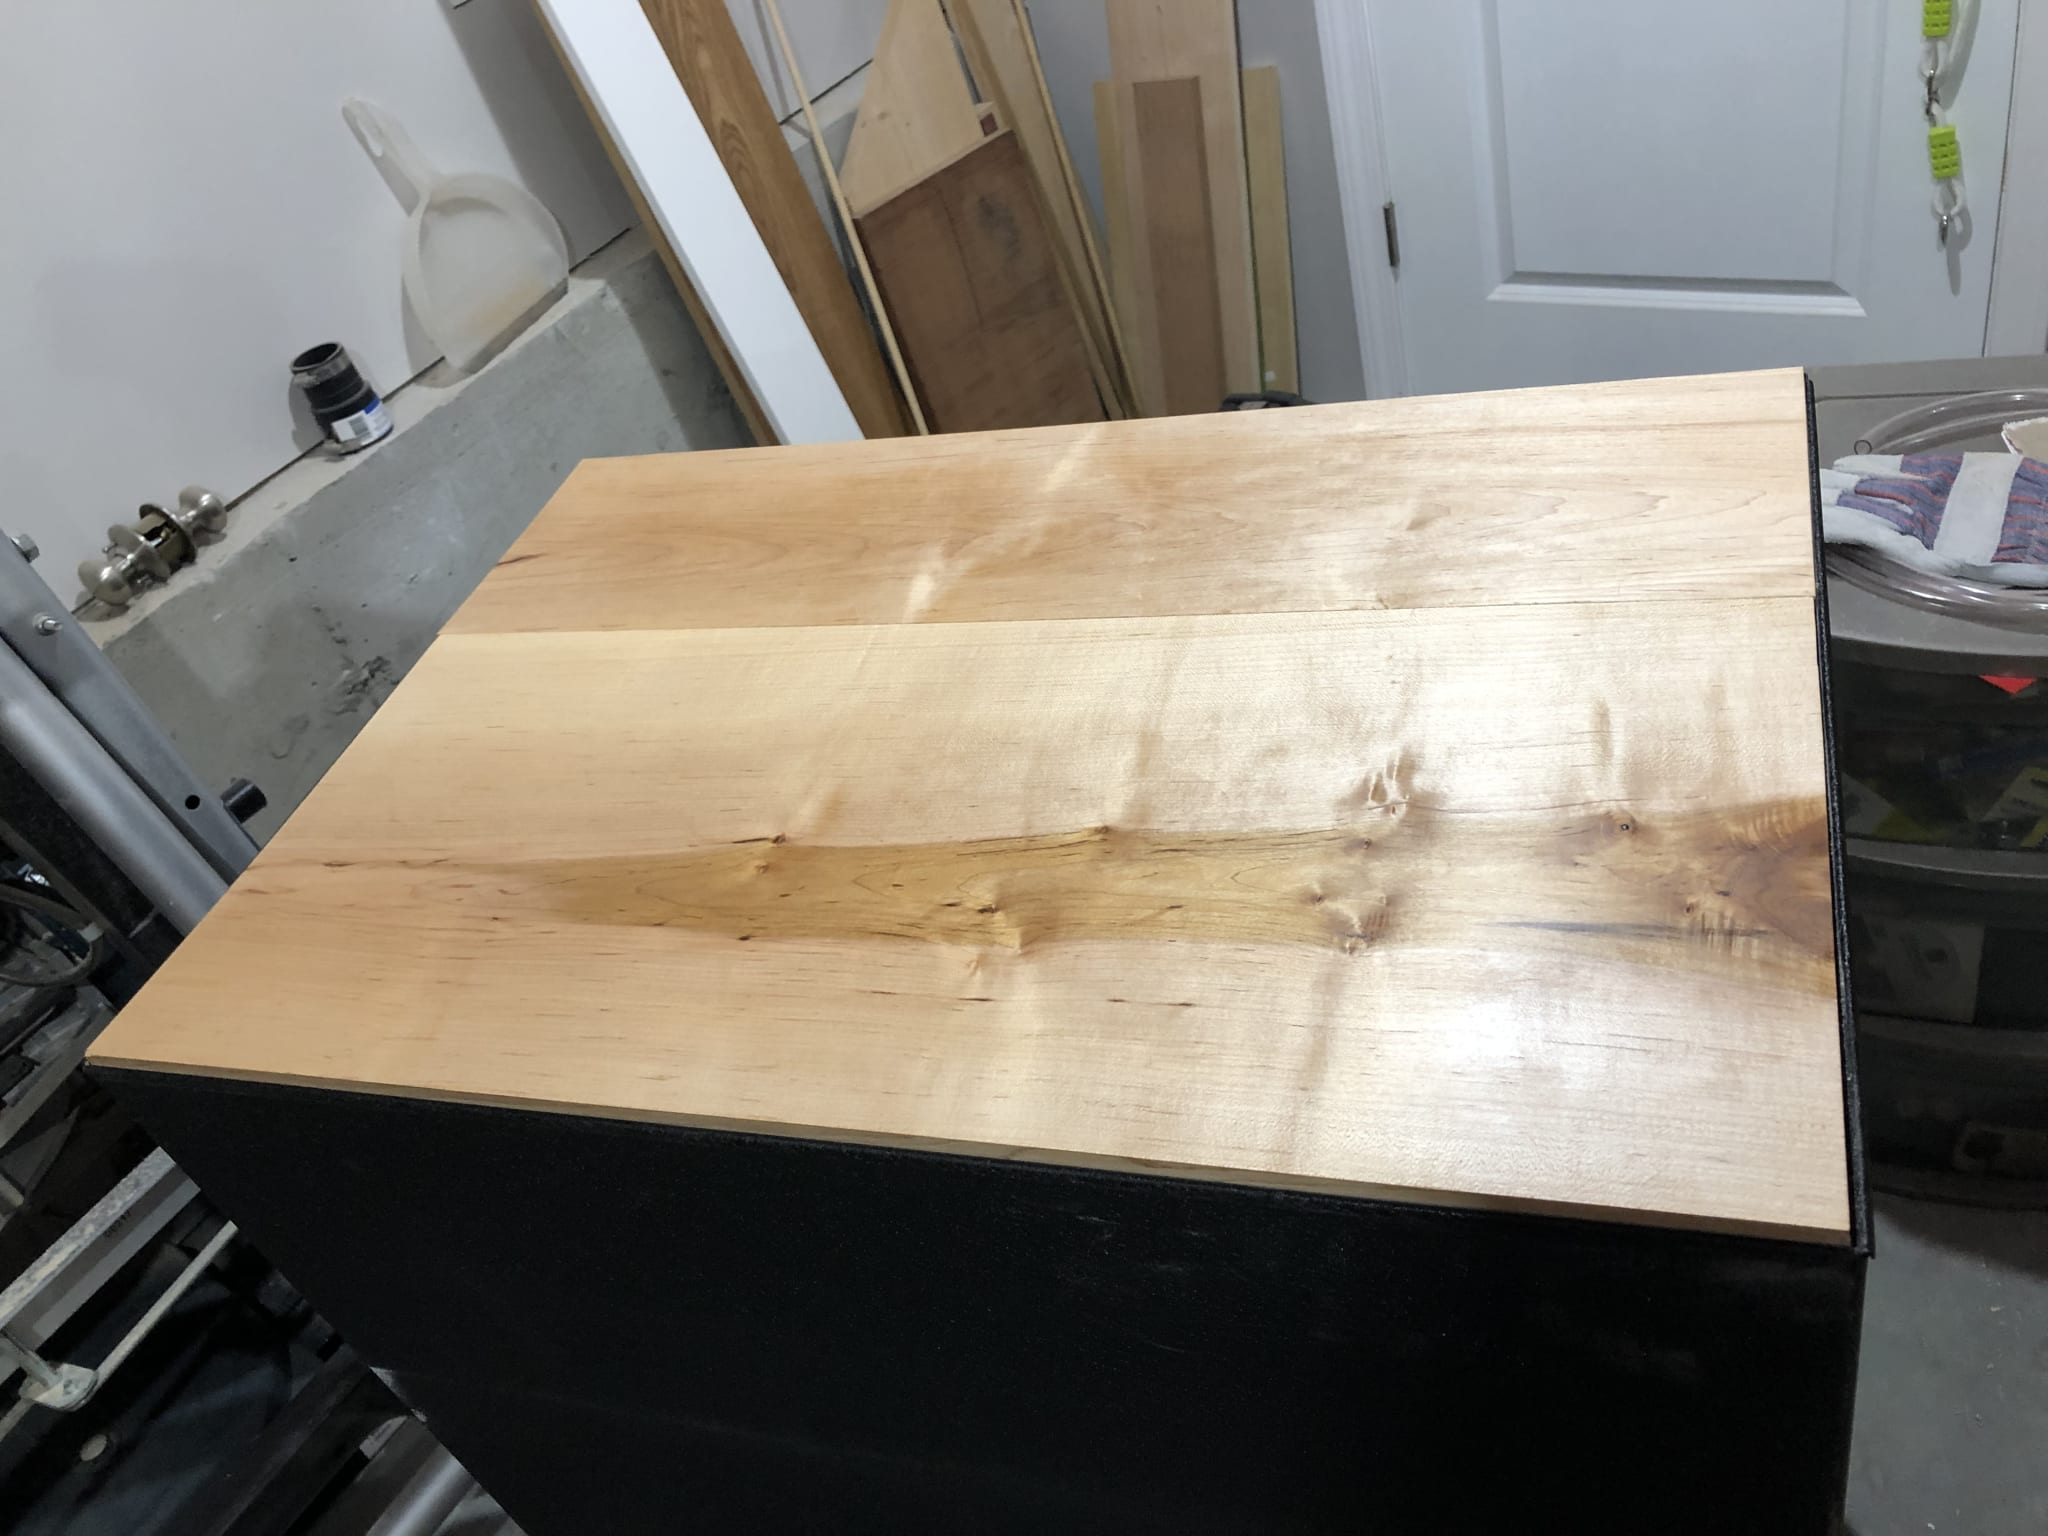
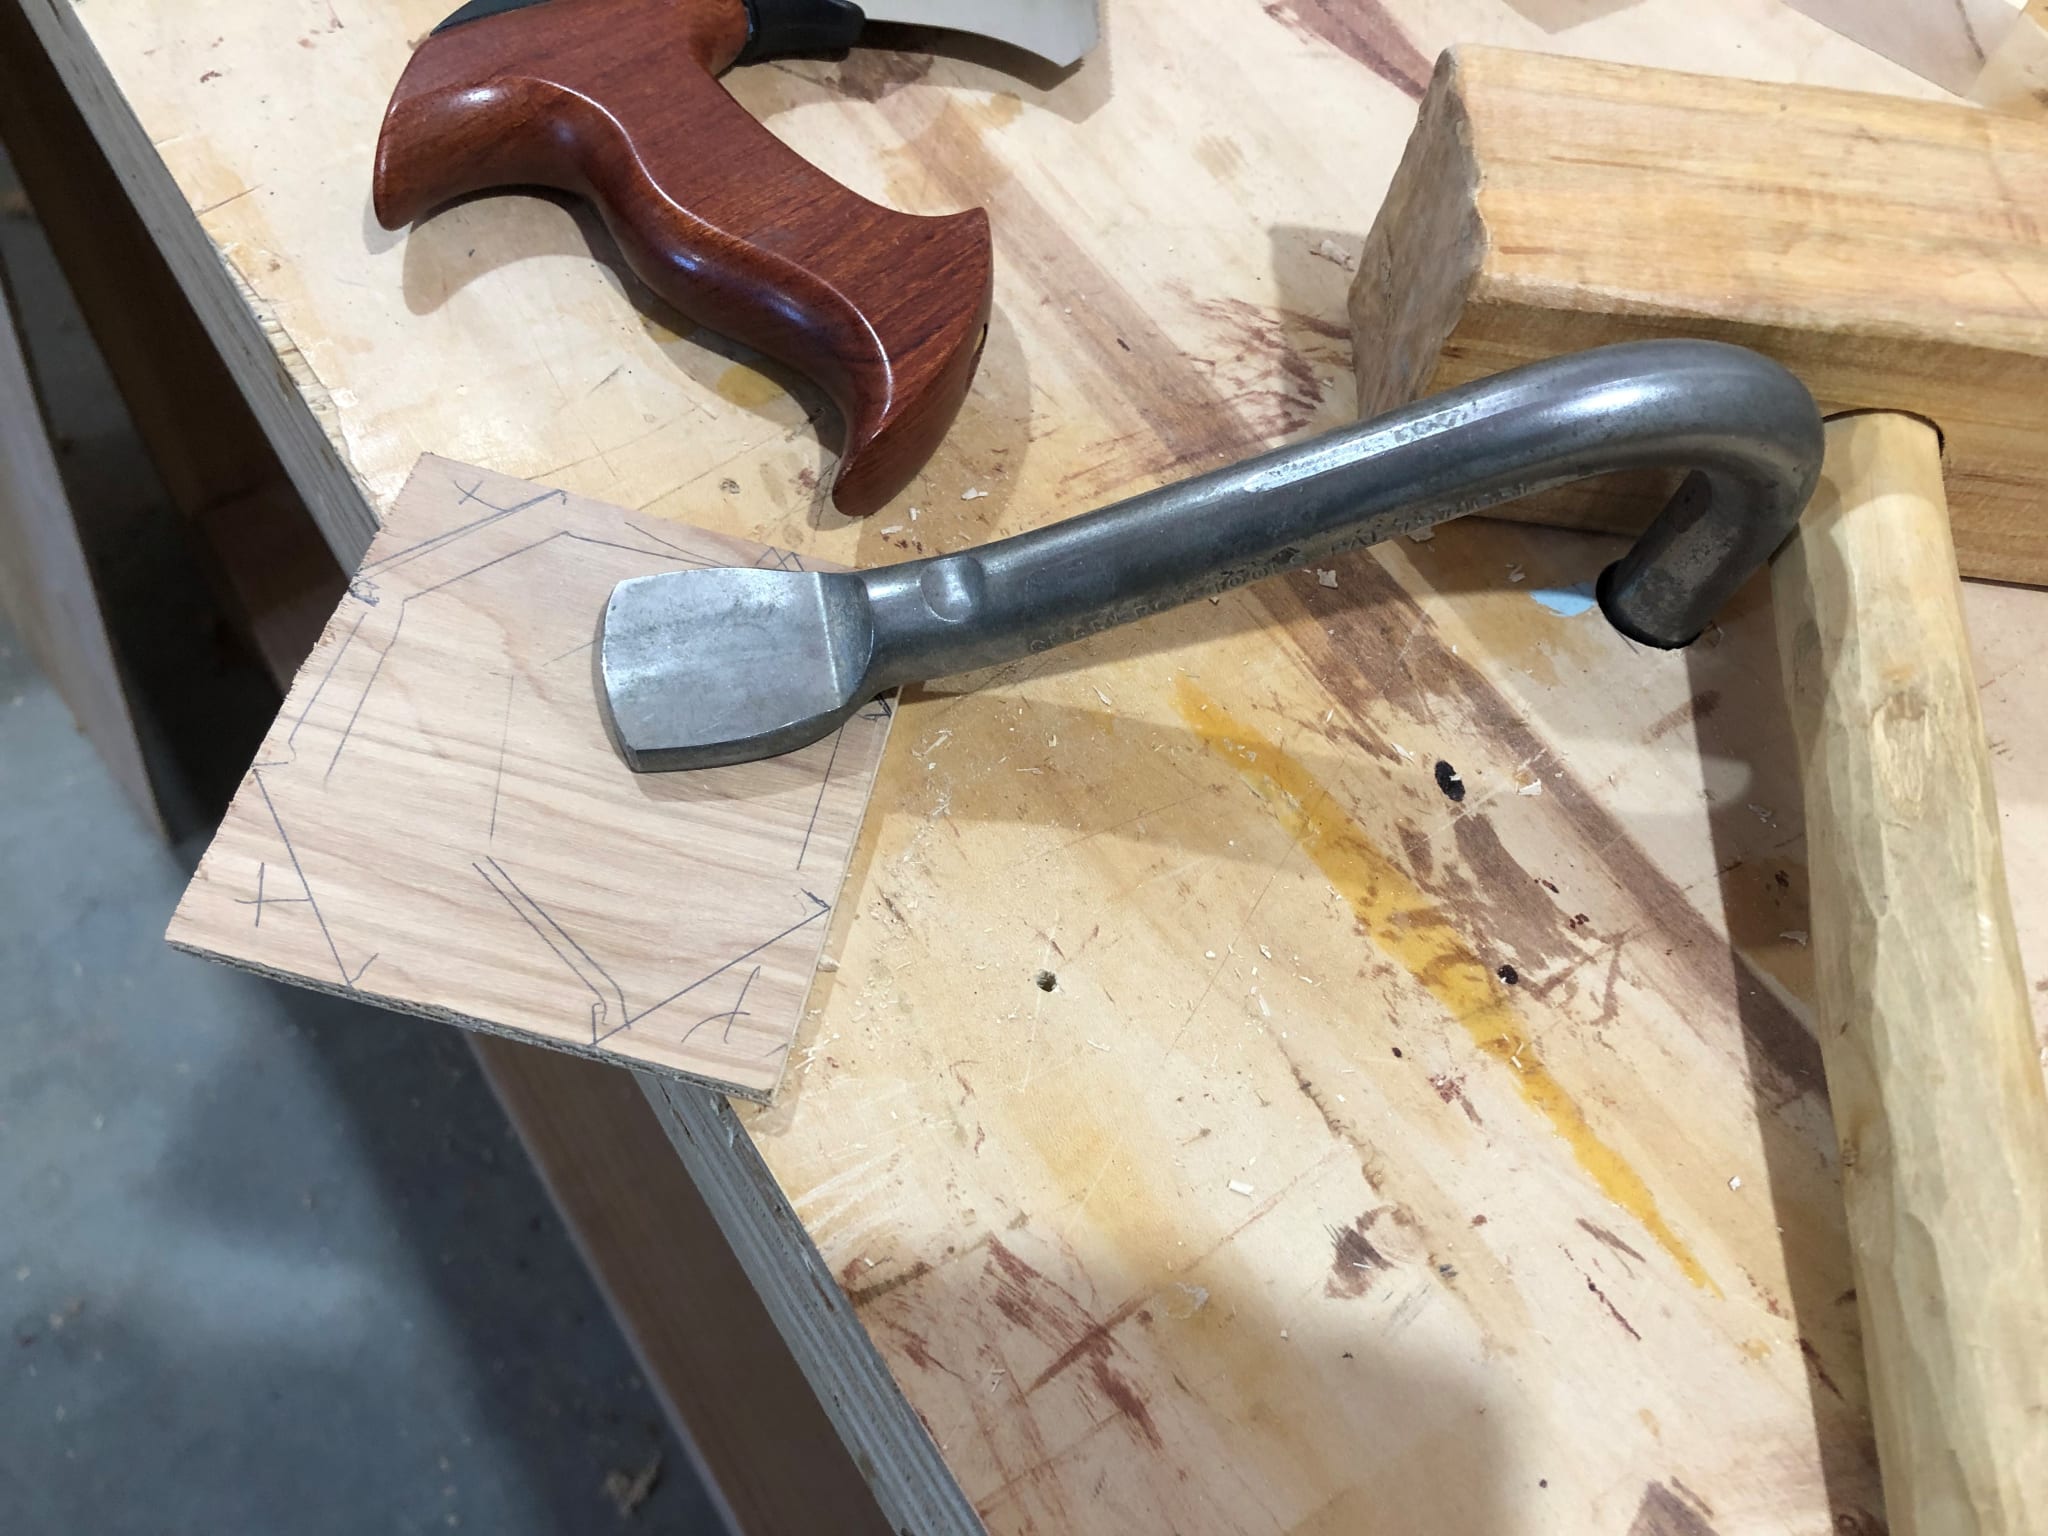
Turns out I hadn't done any reasonable amount of trigonometry in quite some time so I had to run the equations a few times (after I looked them up to make sure I was doing the right thing in the first place). After getting all my mathematics lined up and ready to go I selected a left-over piece of hard maple that I had used for another project as the perfect piece and started.
The leftovers I used came from this project
The build
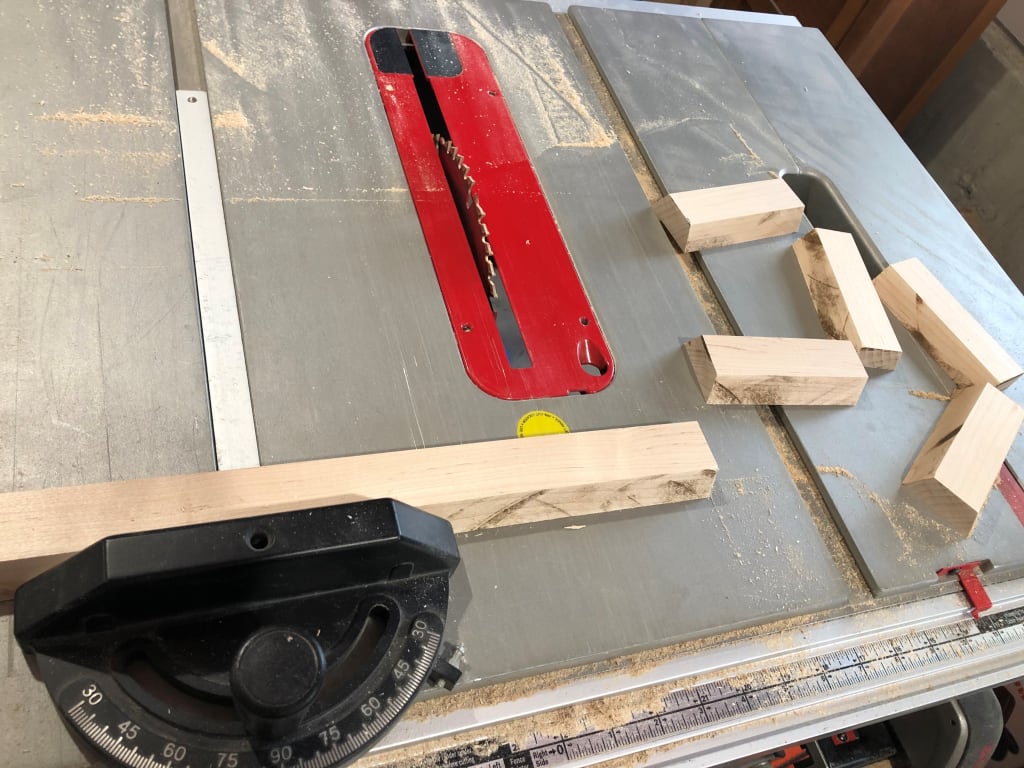
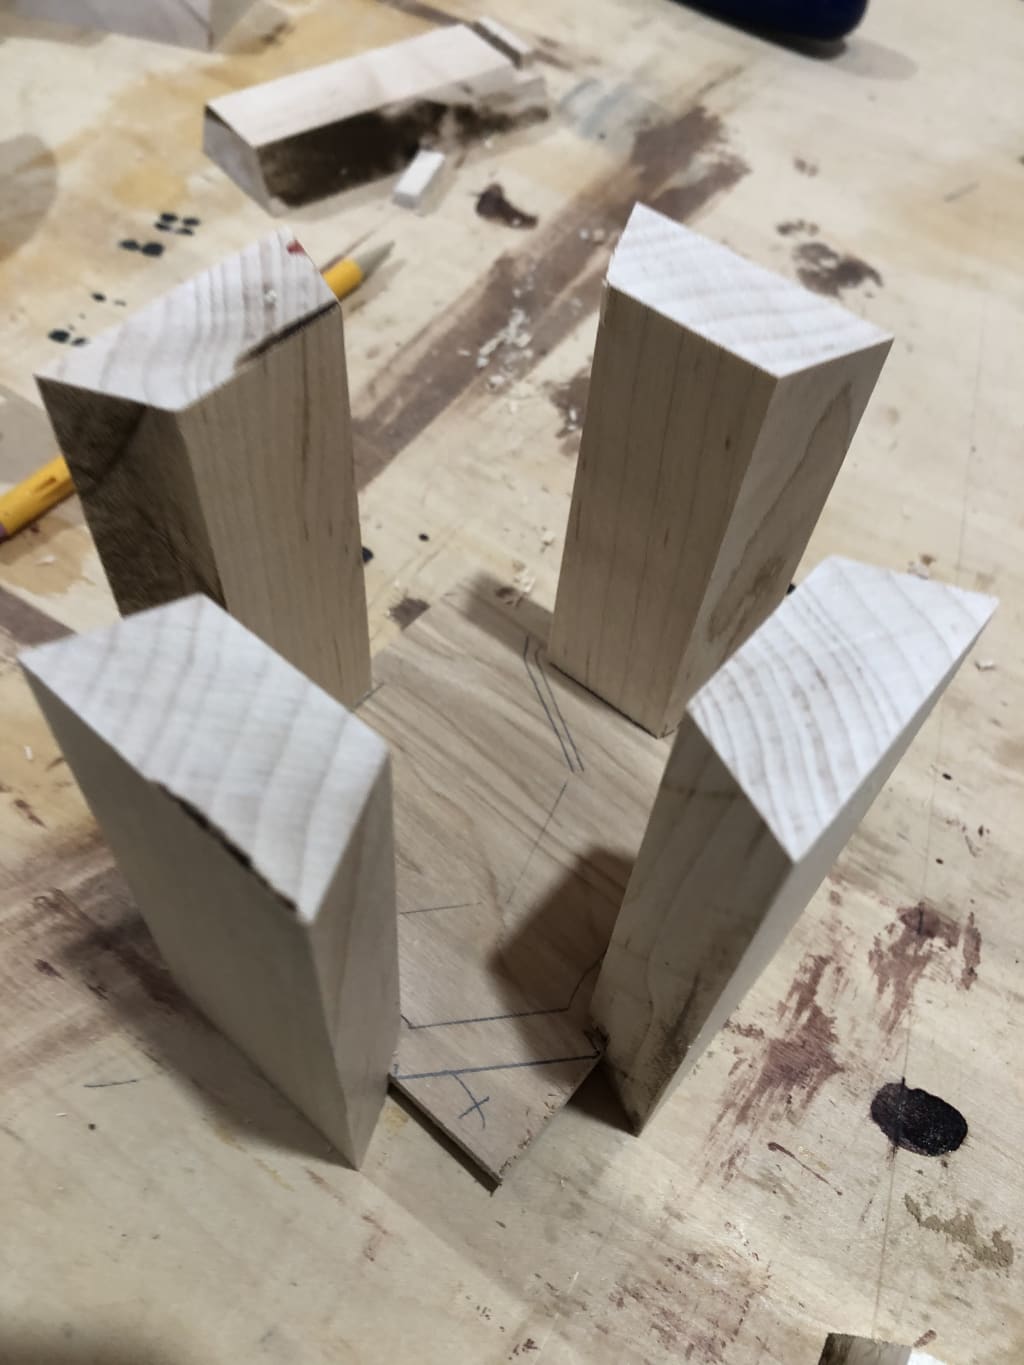
I started with the table saw, and cut one long trapezoid piece that I then cut up into 10 segments (8 for the octagon cup holder + spares in case I screwed up)
The sawing all went pretty well so I moved on to the next step. I wanted to put a 1/4-inch plywood floor into the octagonal cup holder portion, so next I pulled out the scariest tool I own, the router. It went... ok, but I had some tear-out.
Next I tried to cut out the plywood base for the cup holder portion, but it required a little precision trimming.
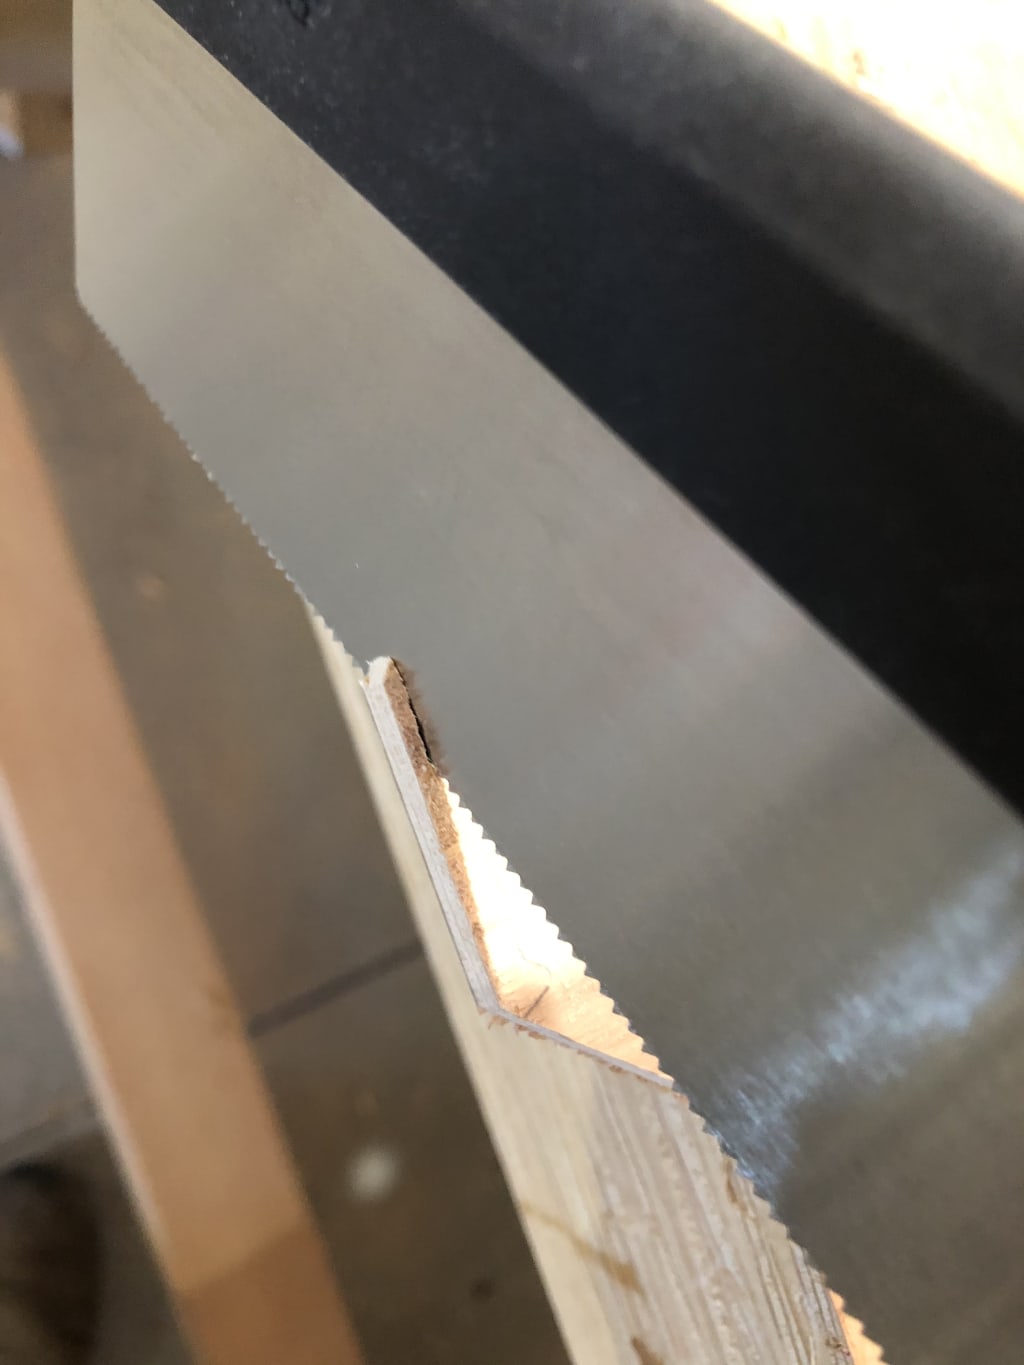
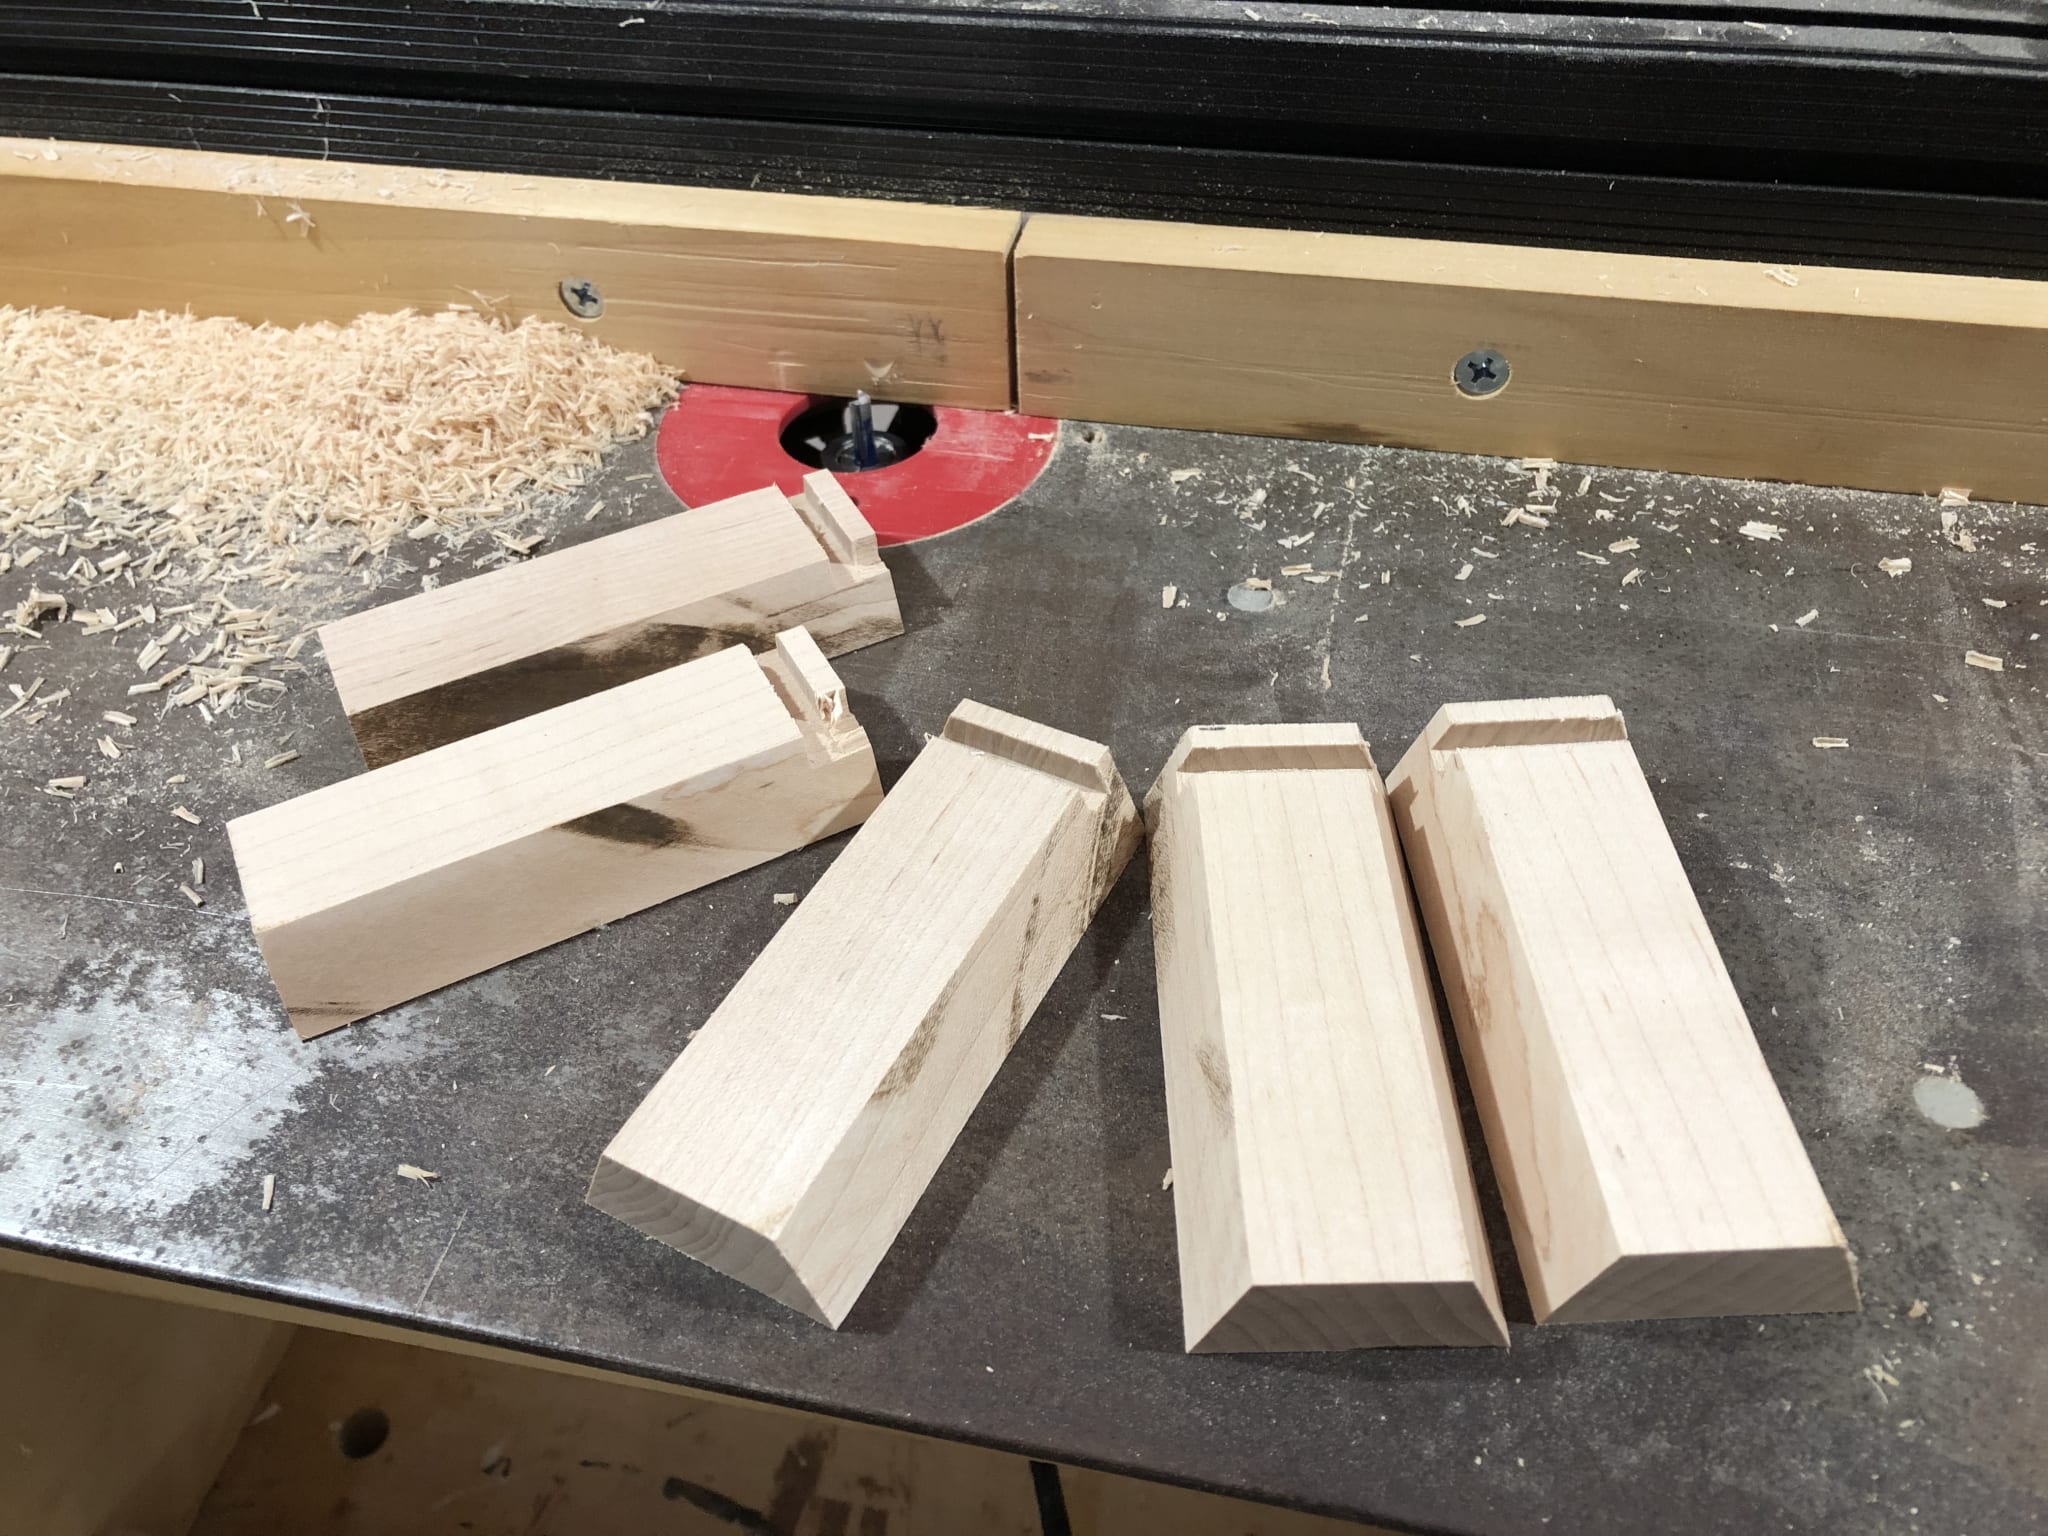
Next, I took one of the cup holder segments and market it up for mortise and tenons. I measured and cut a small connector piece for the connecting the handle to the cup-holding portion an started on the tenon portion. Cutting a tenon can be a pain. I this case I was able to do it all with my dovetail saw.

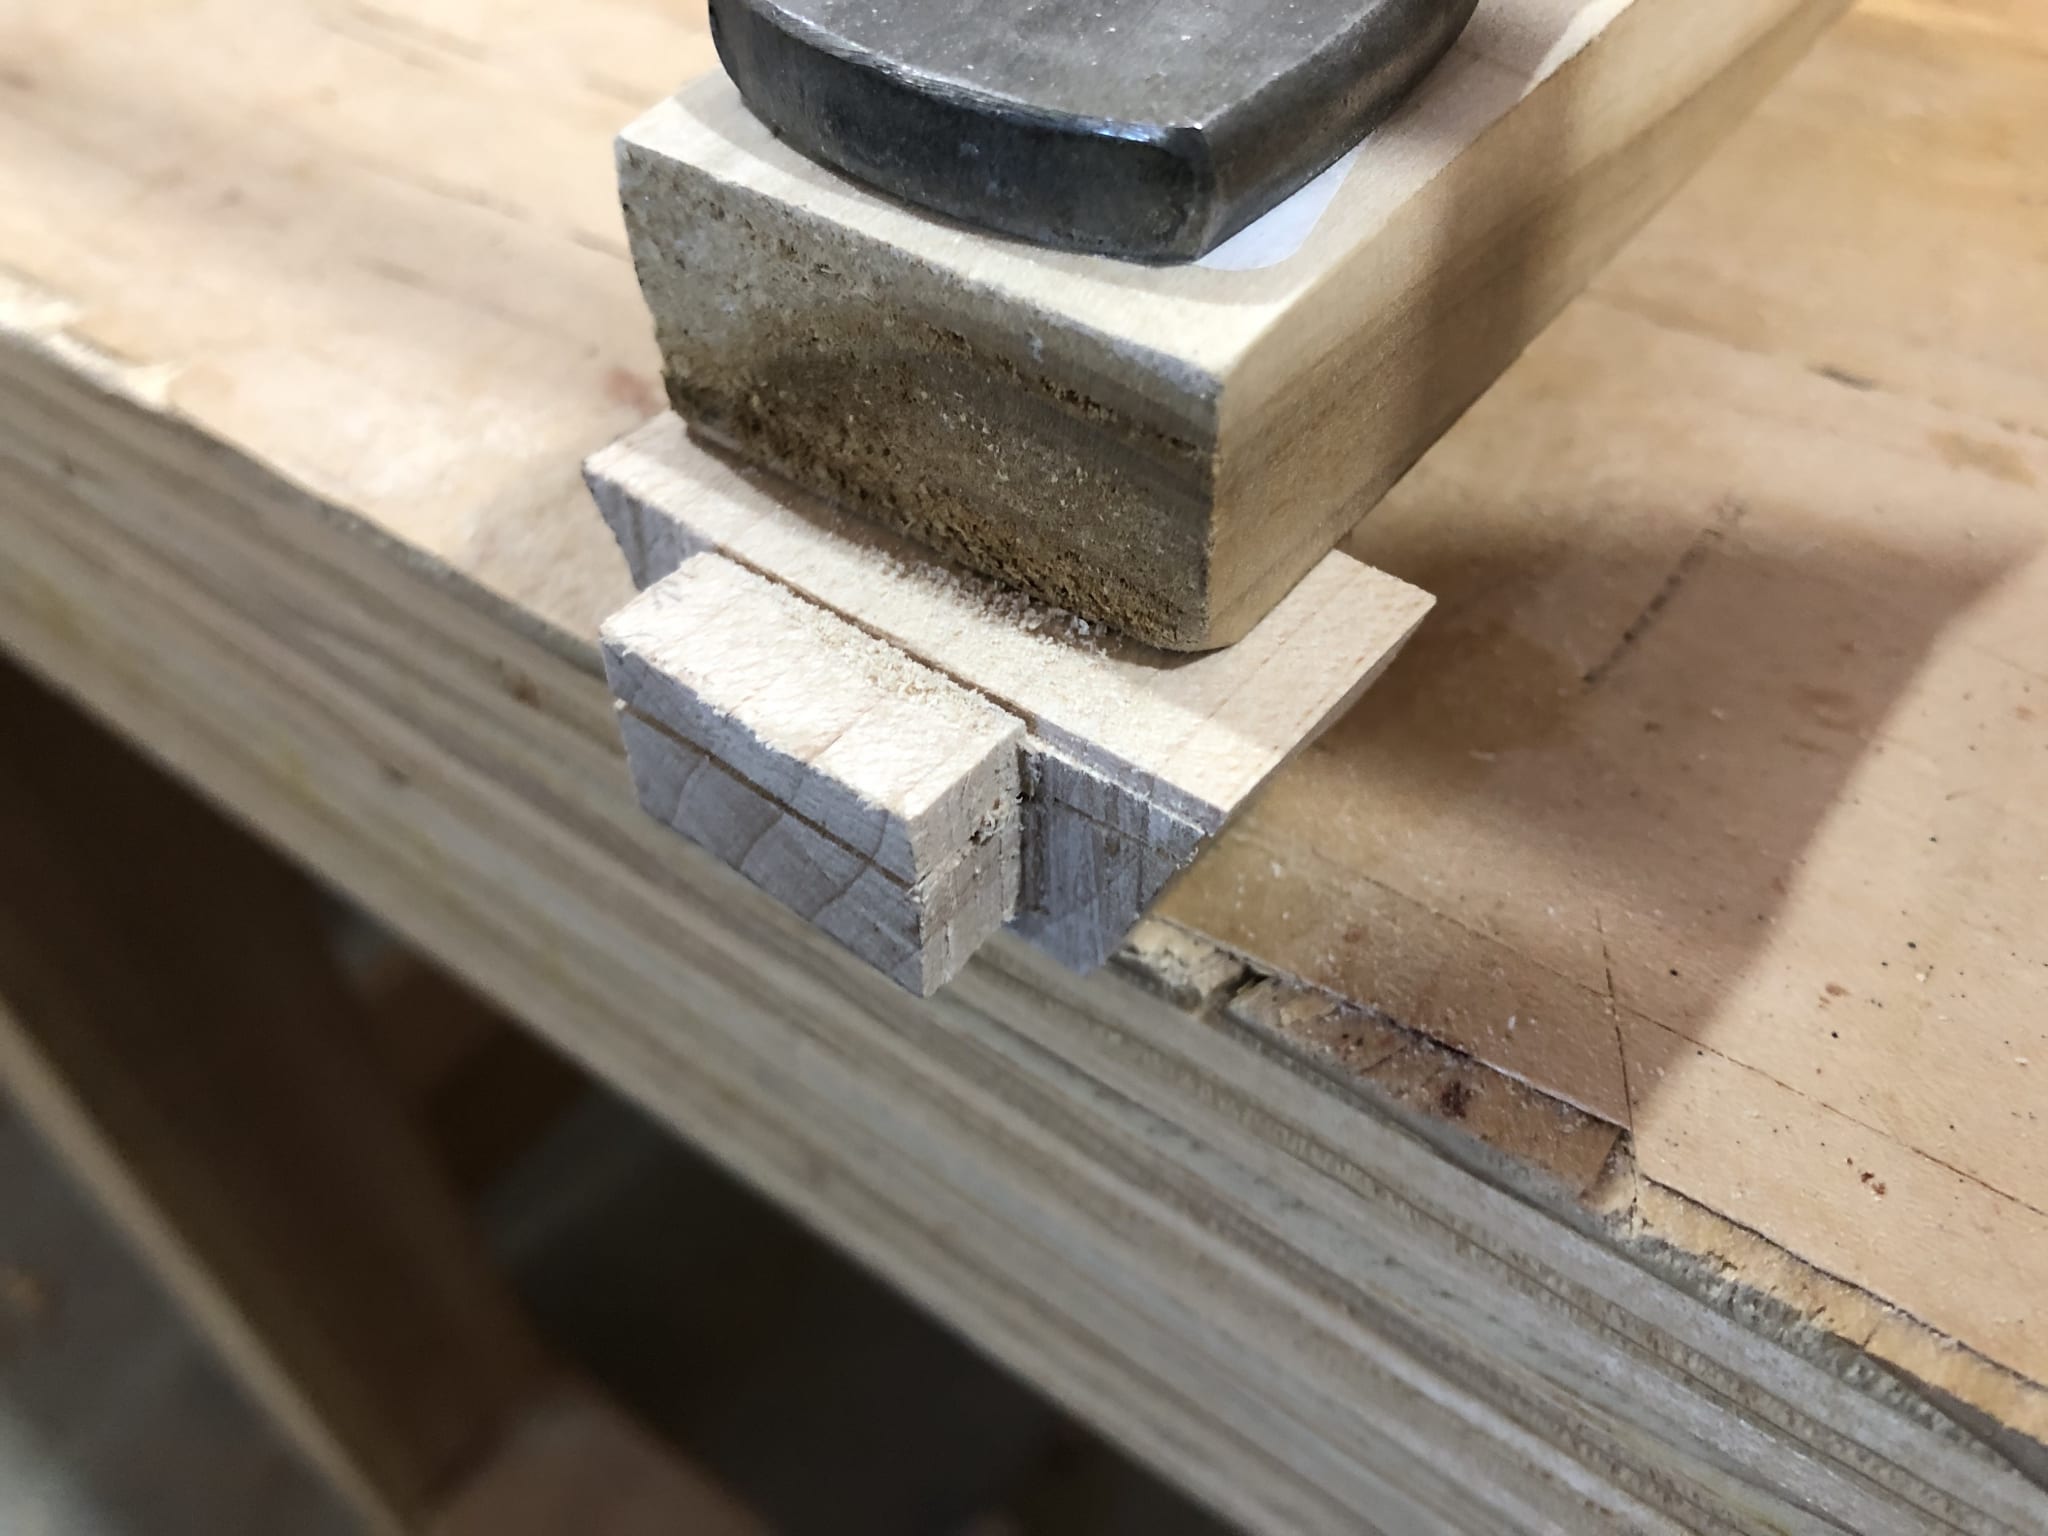
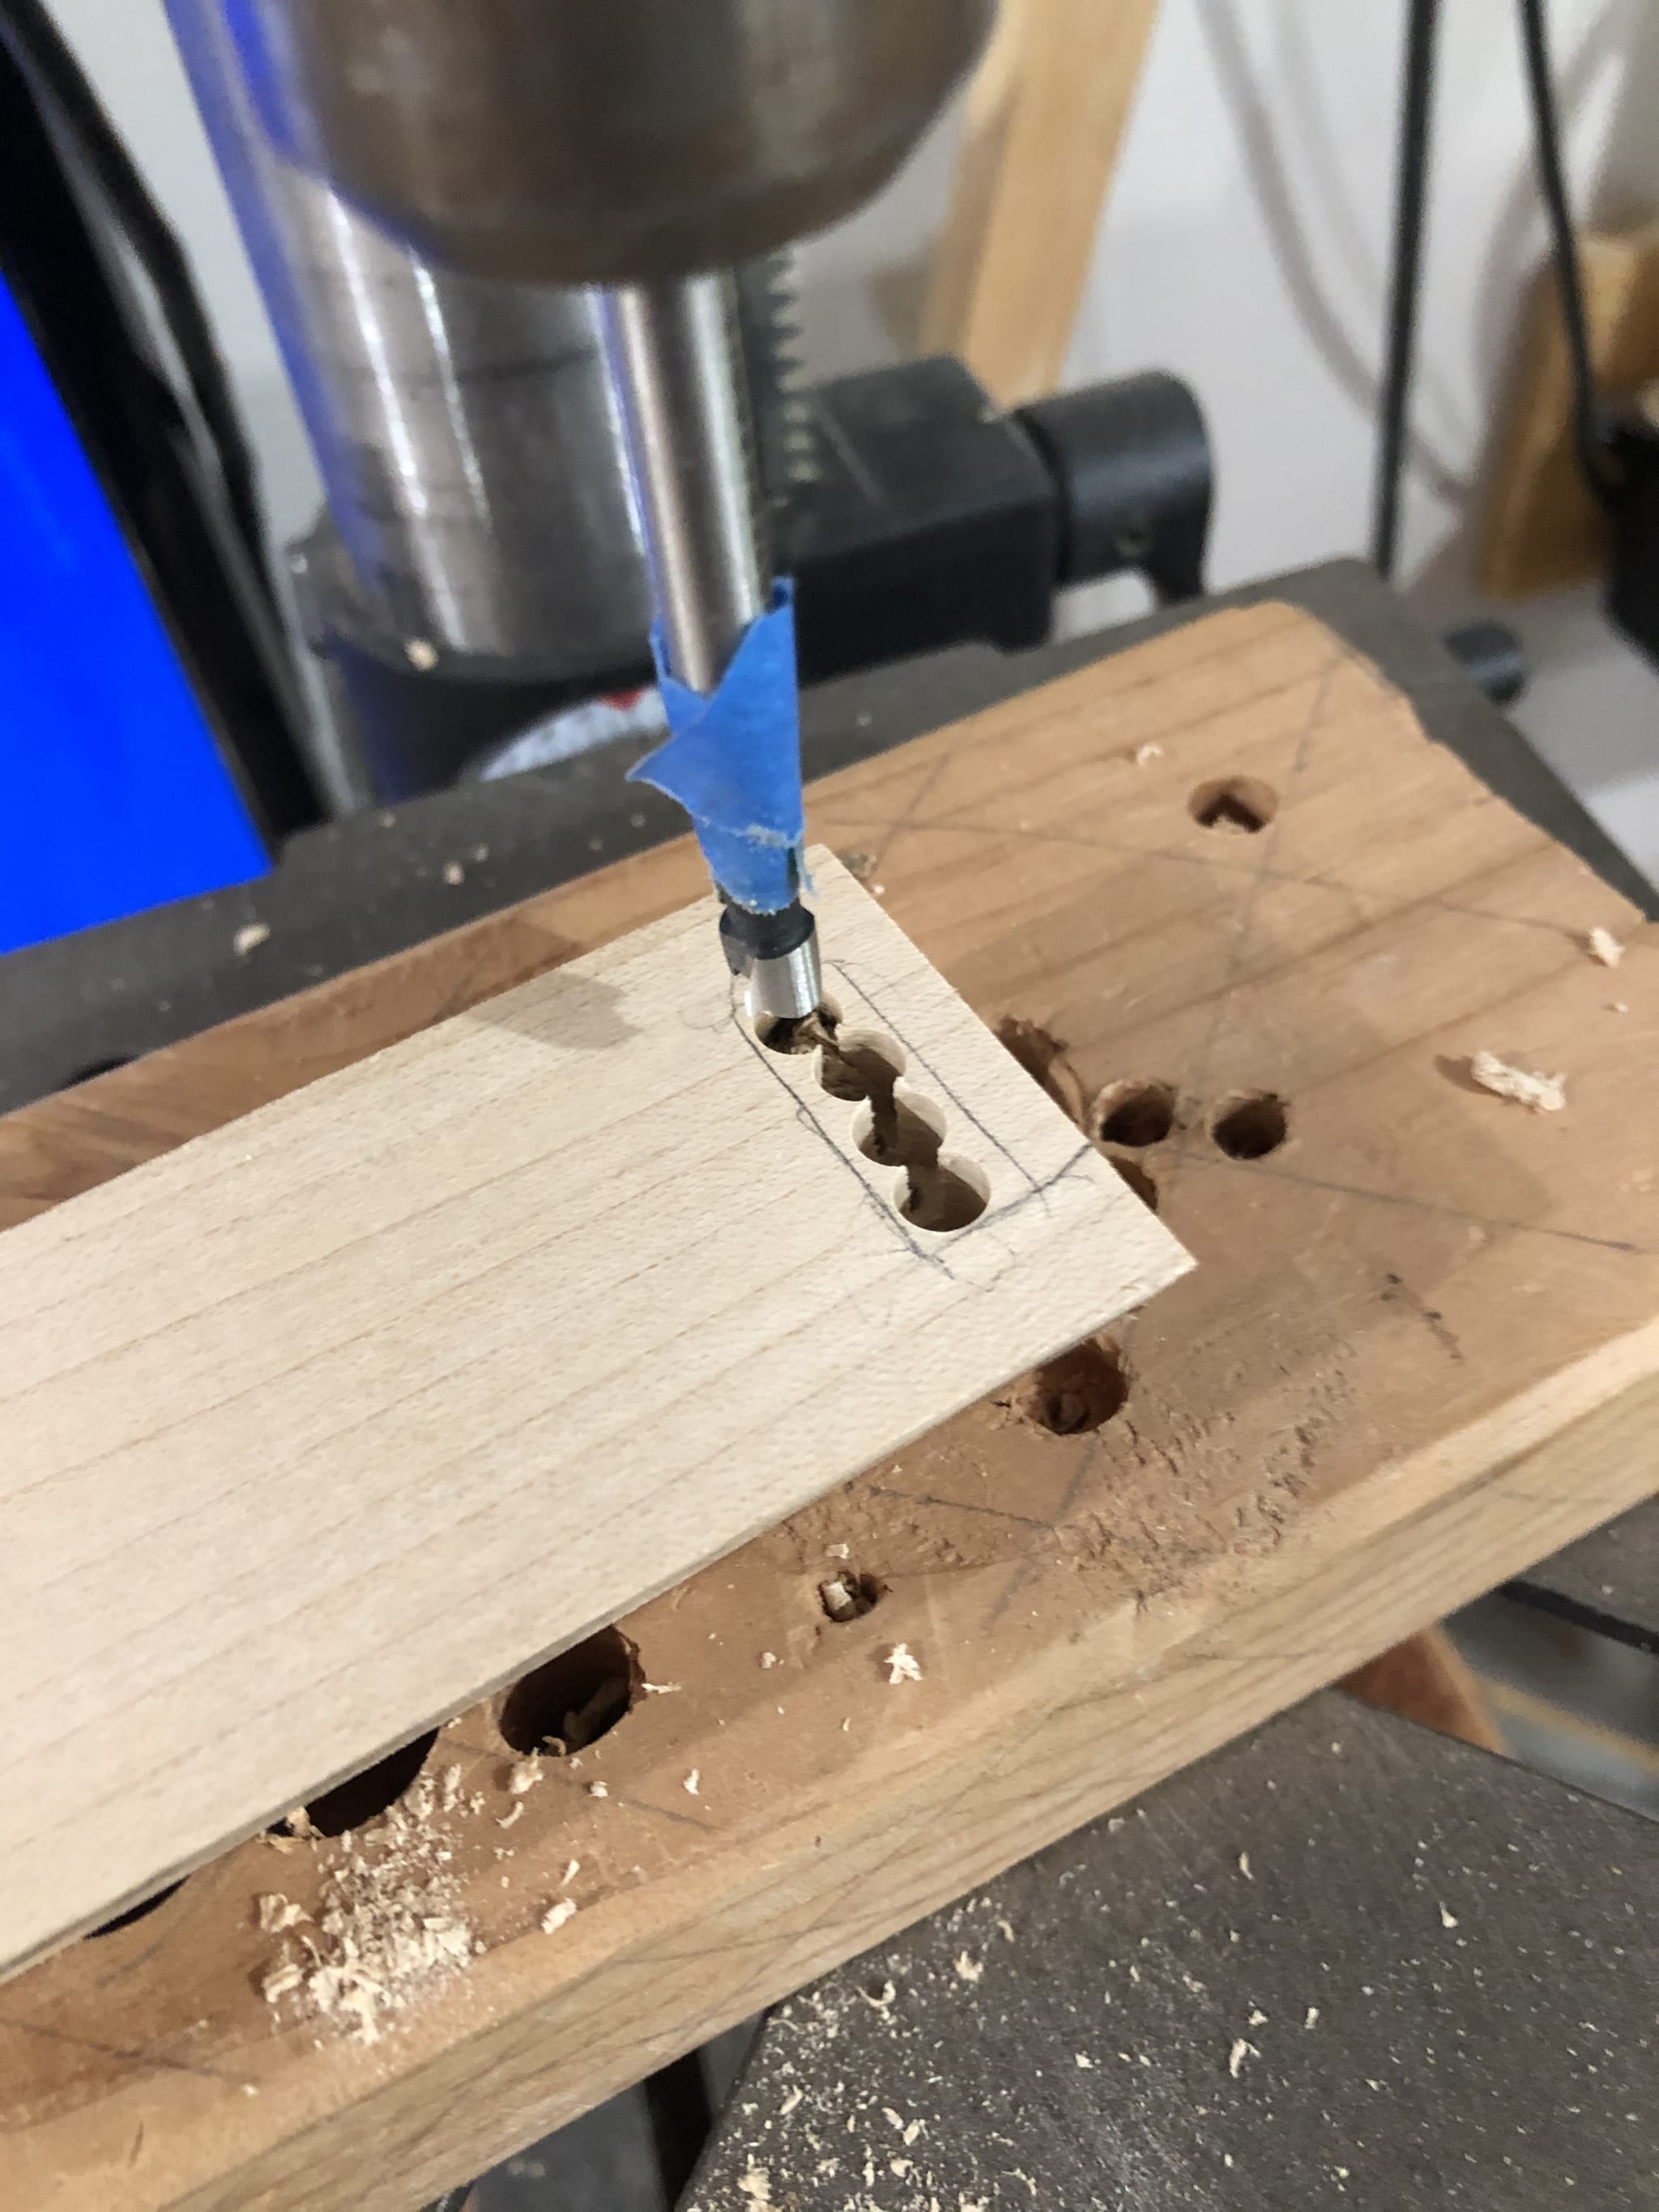
As you can see, I did not give myself a lot of space to work with, but moving on, I cut the mortises next. I forgot to take a lot of pictures at this part. First, I use the drill press to remove most of the material, then I clean it up with my chisel.
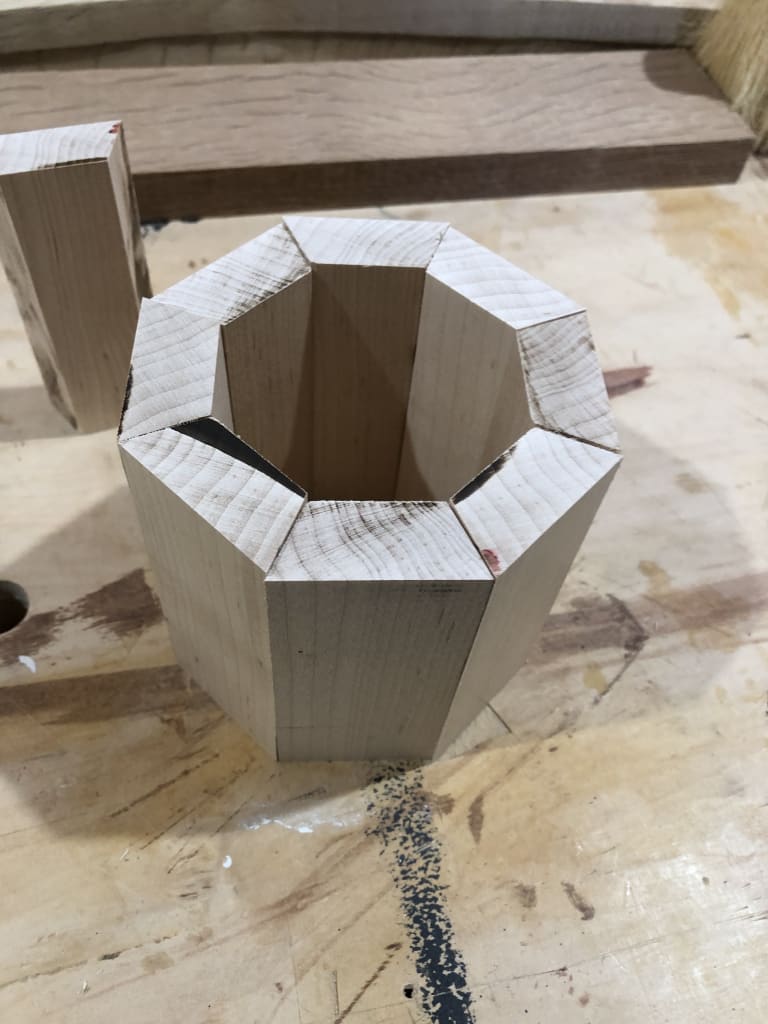
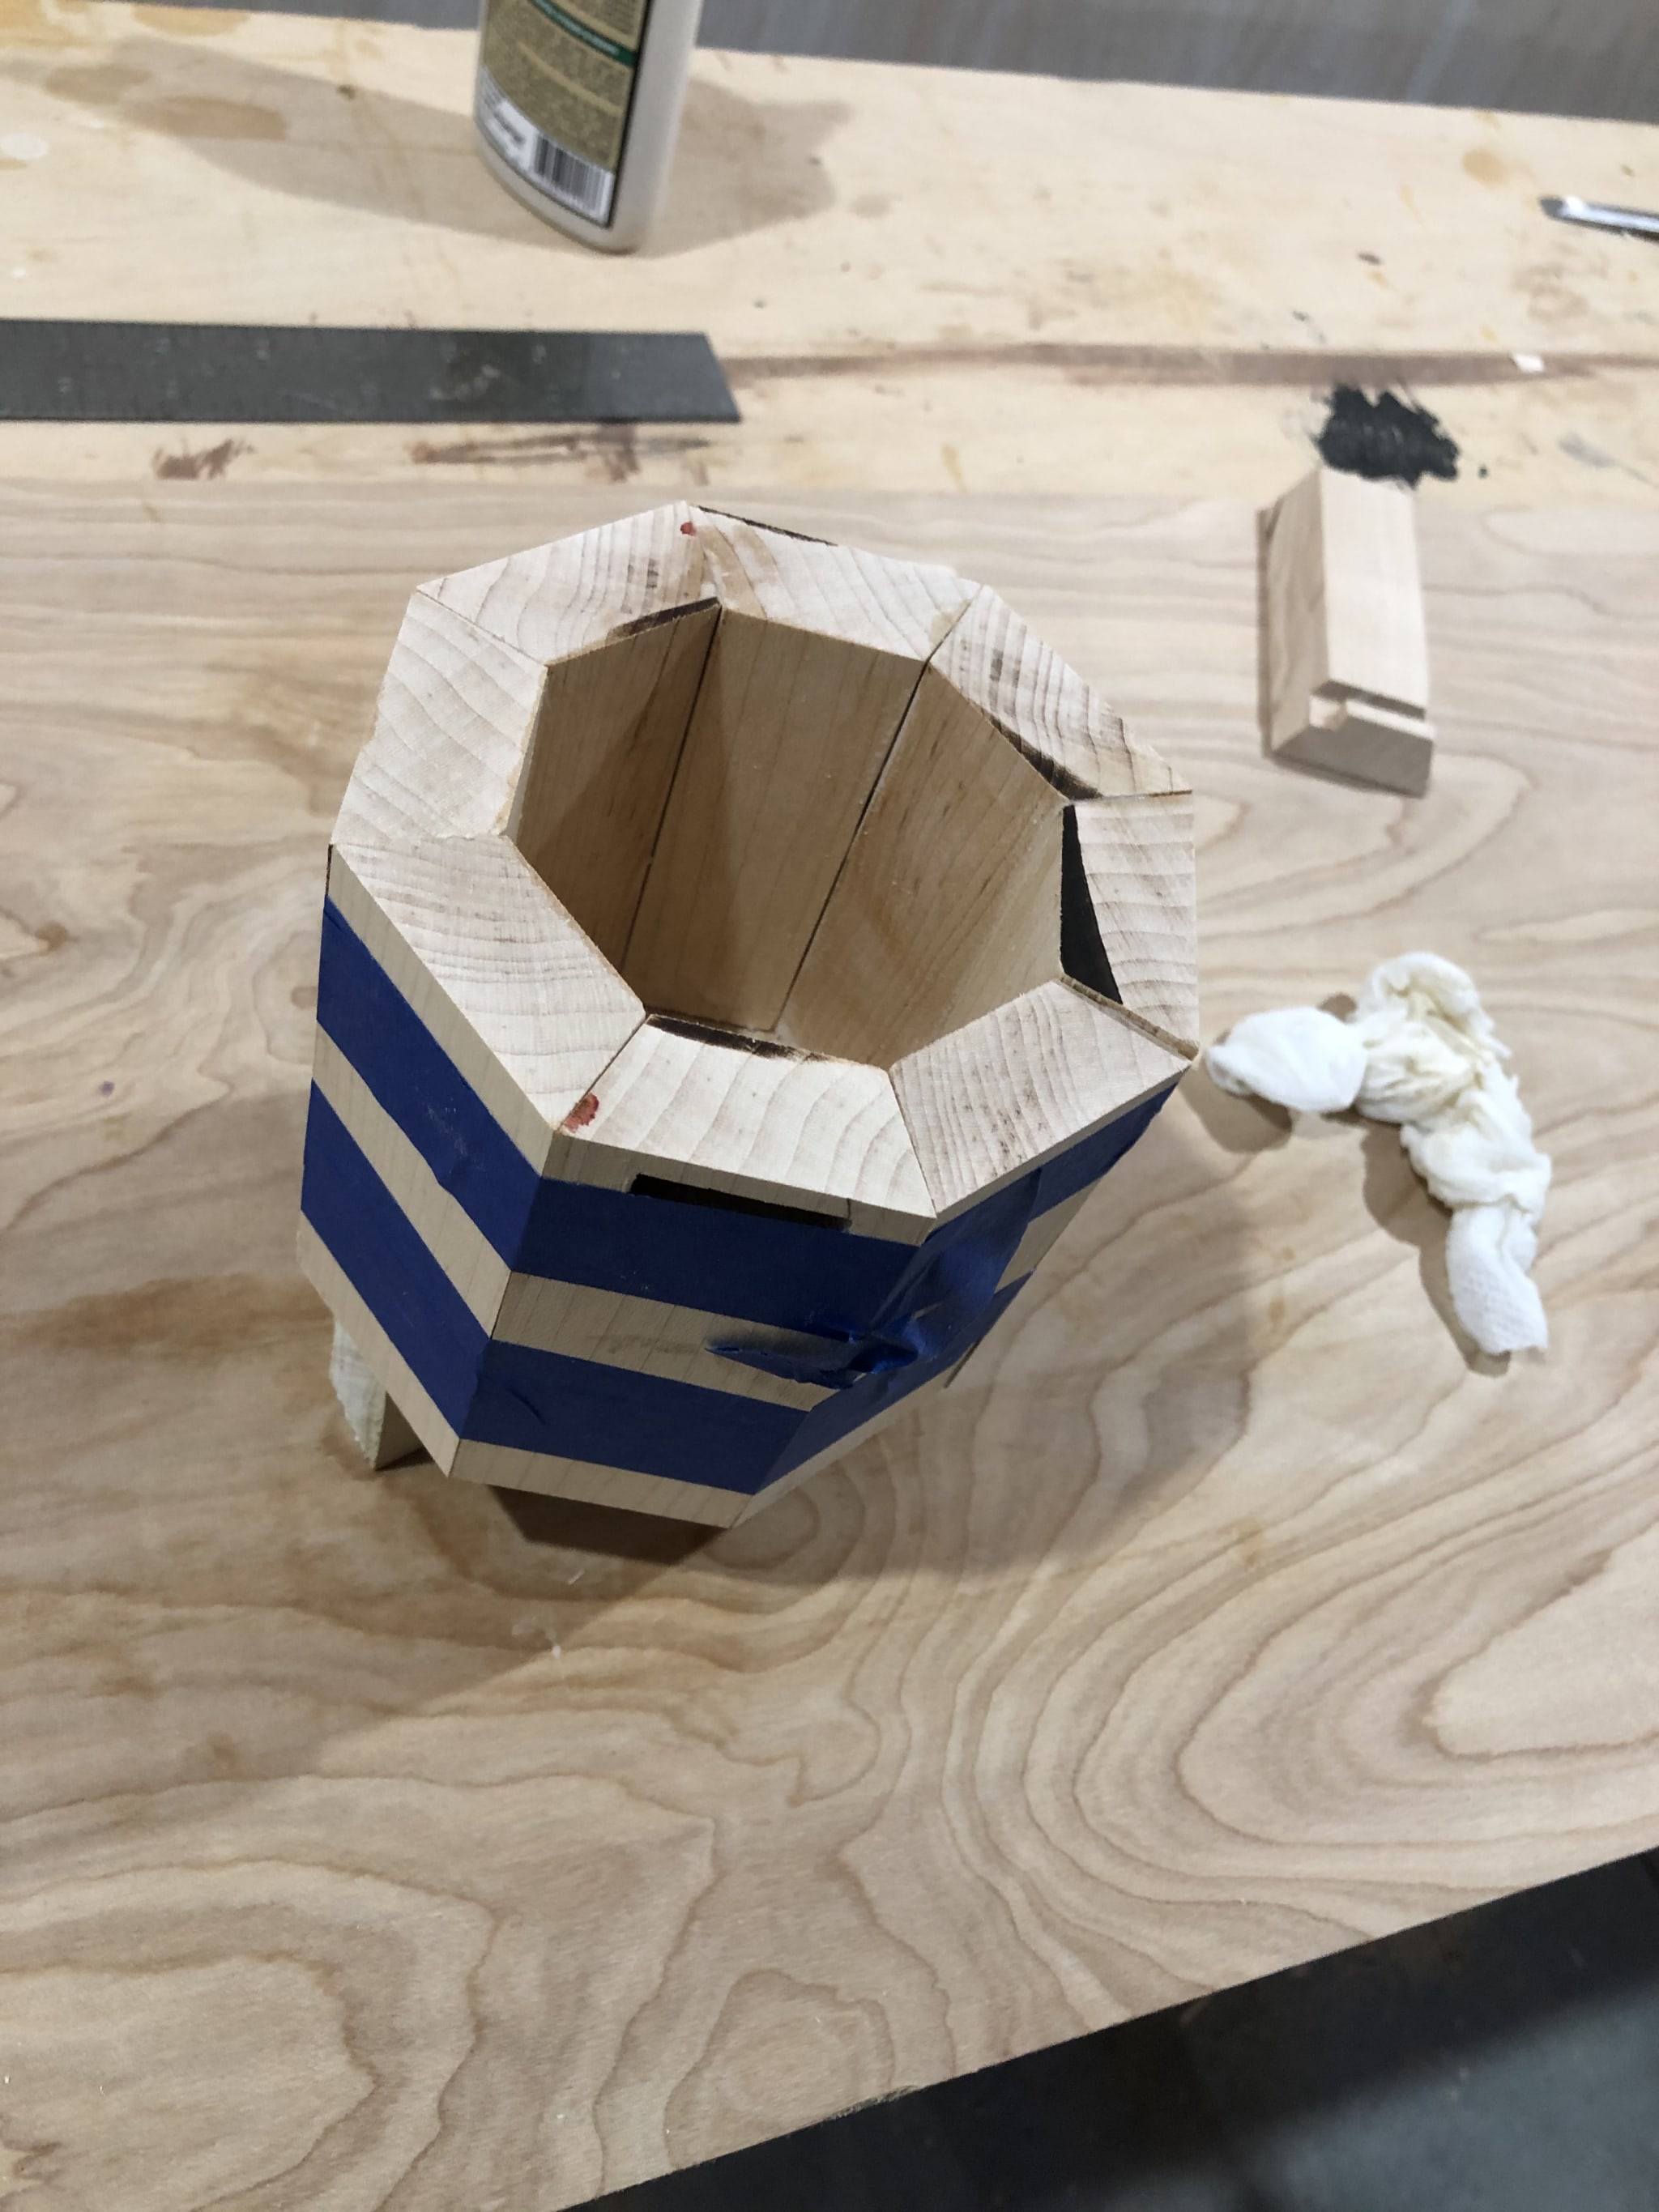
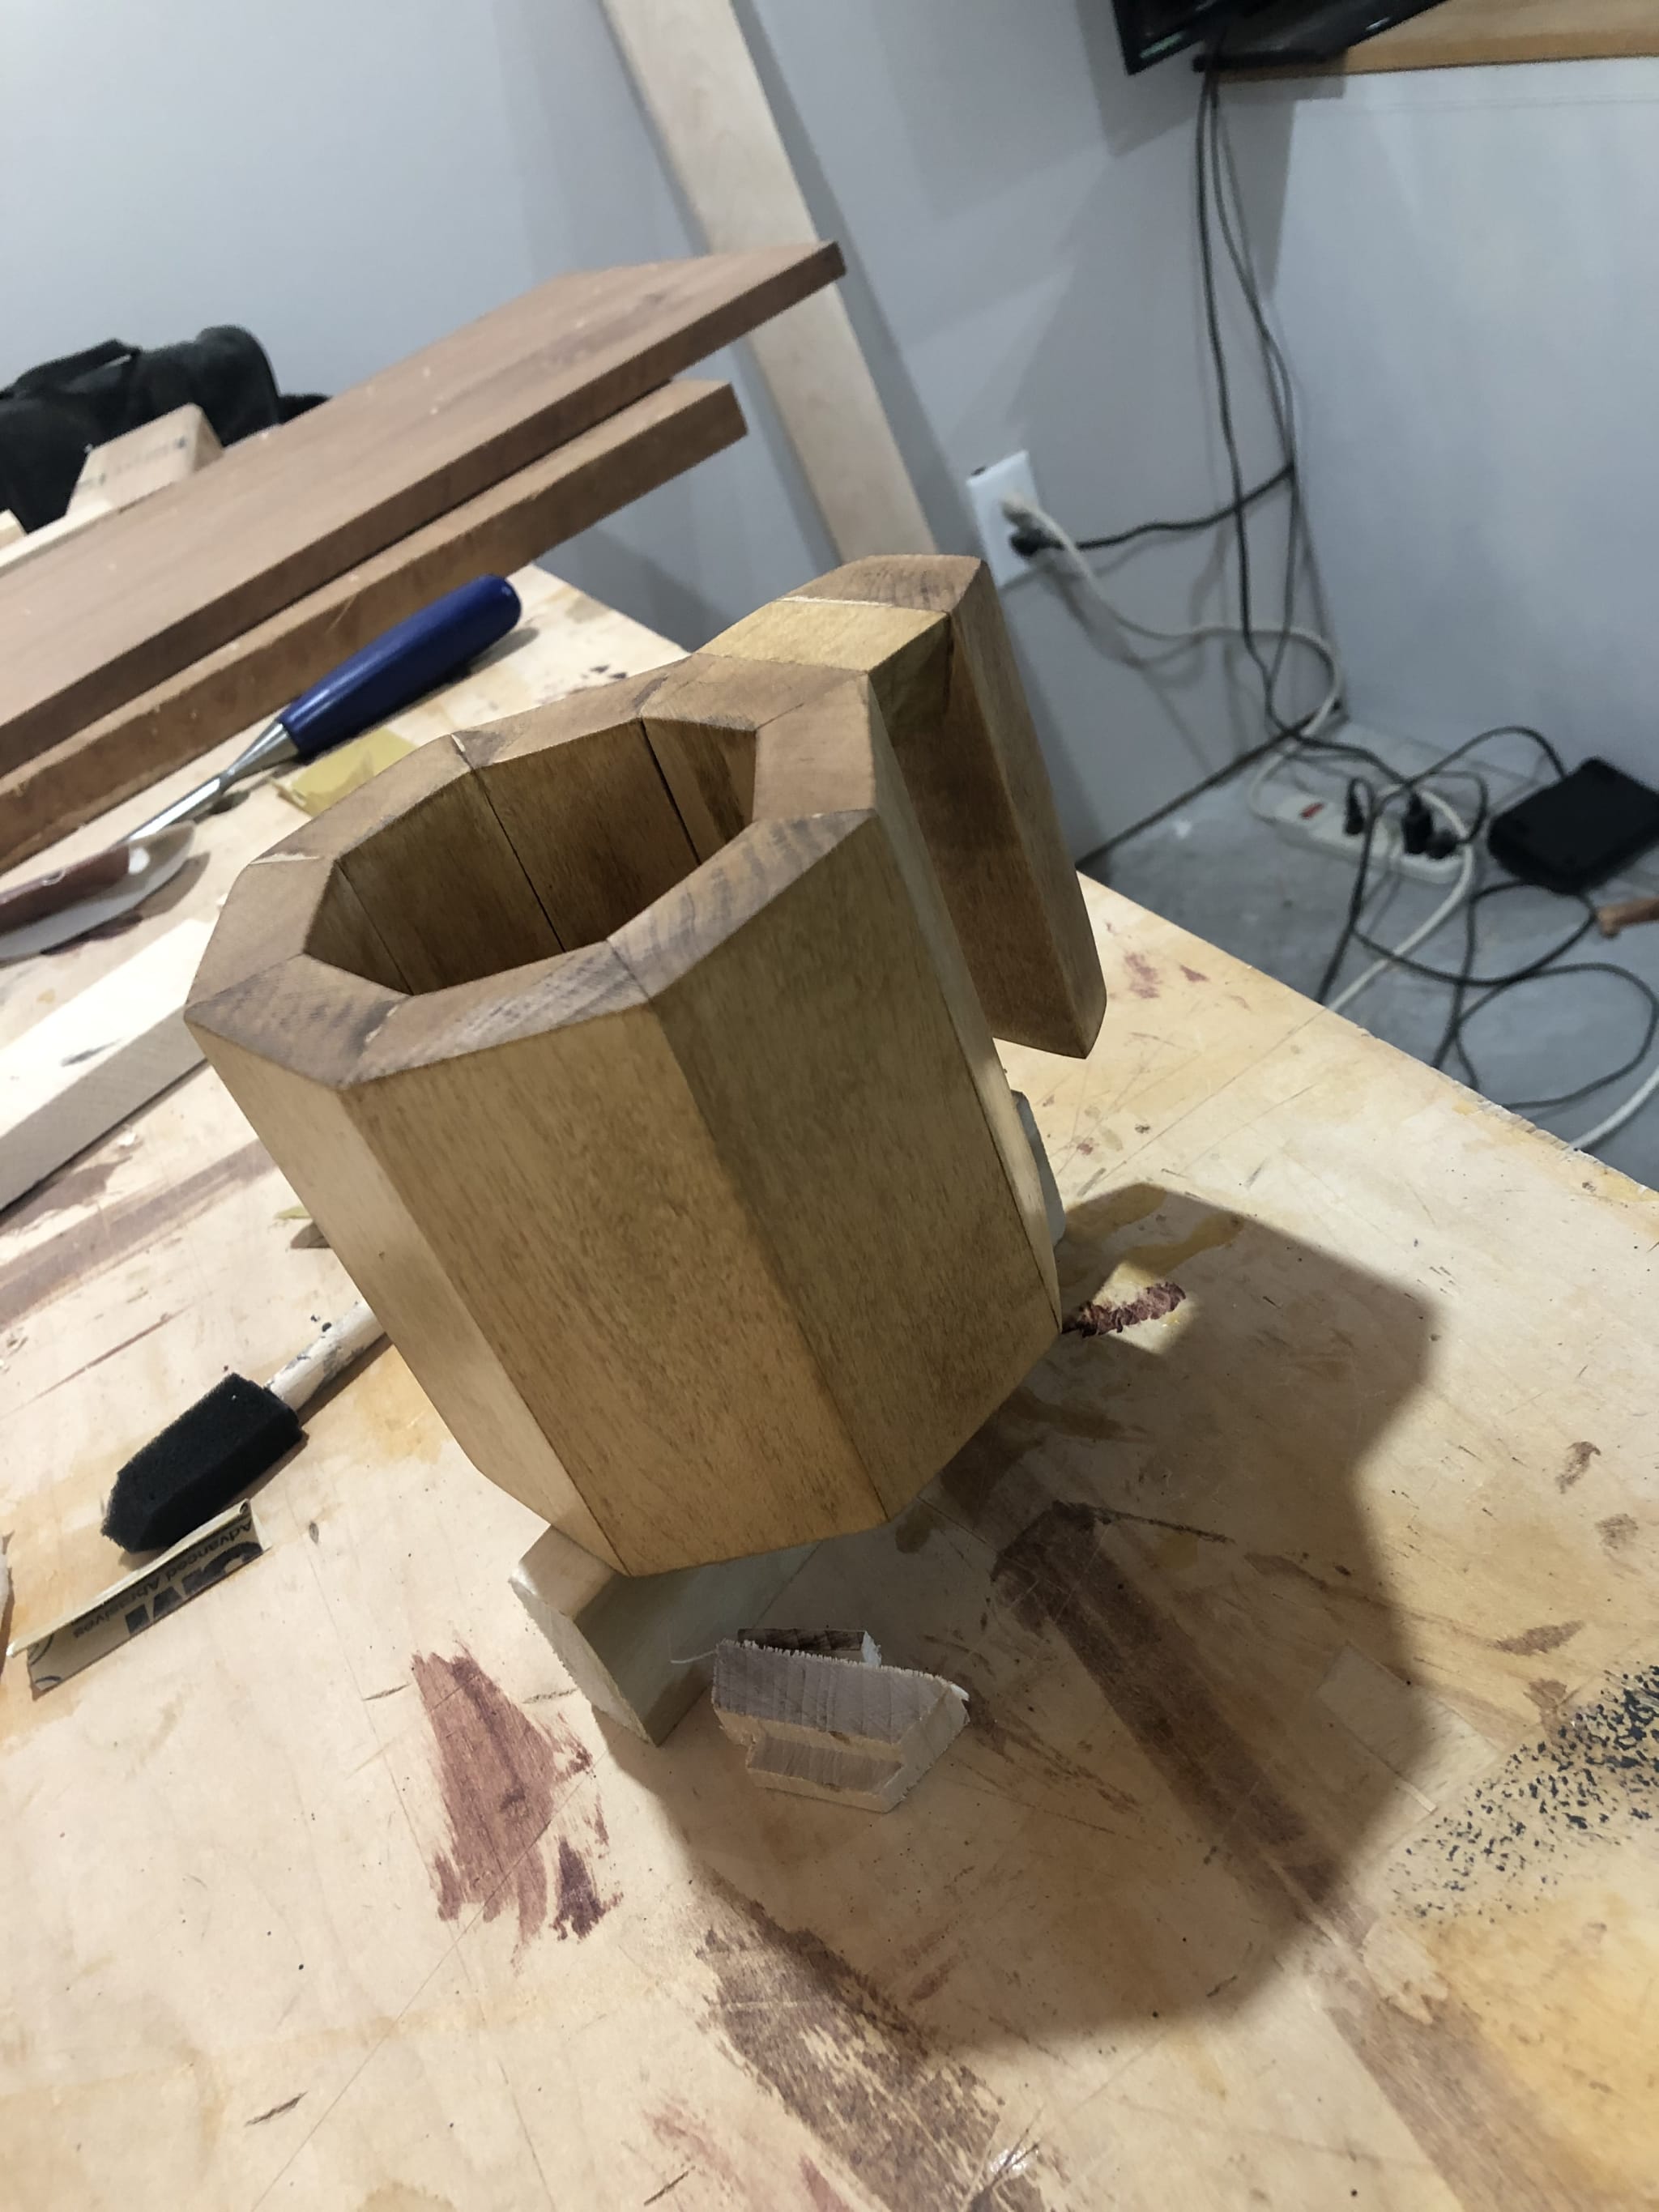
After I do a few final dry tests for marking, I do the glue-up. I laid out two strips of tape, put wood glue in the routed cut, and rolled the cup holder segments up.
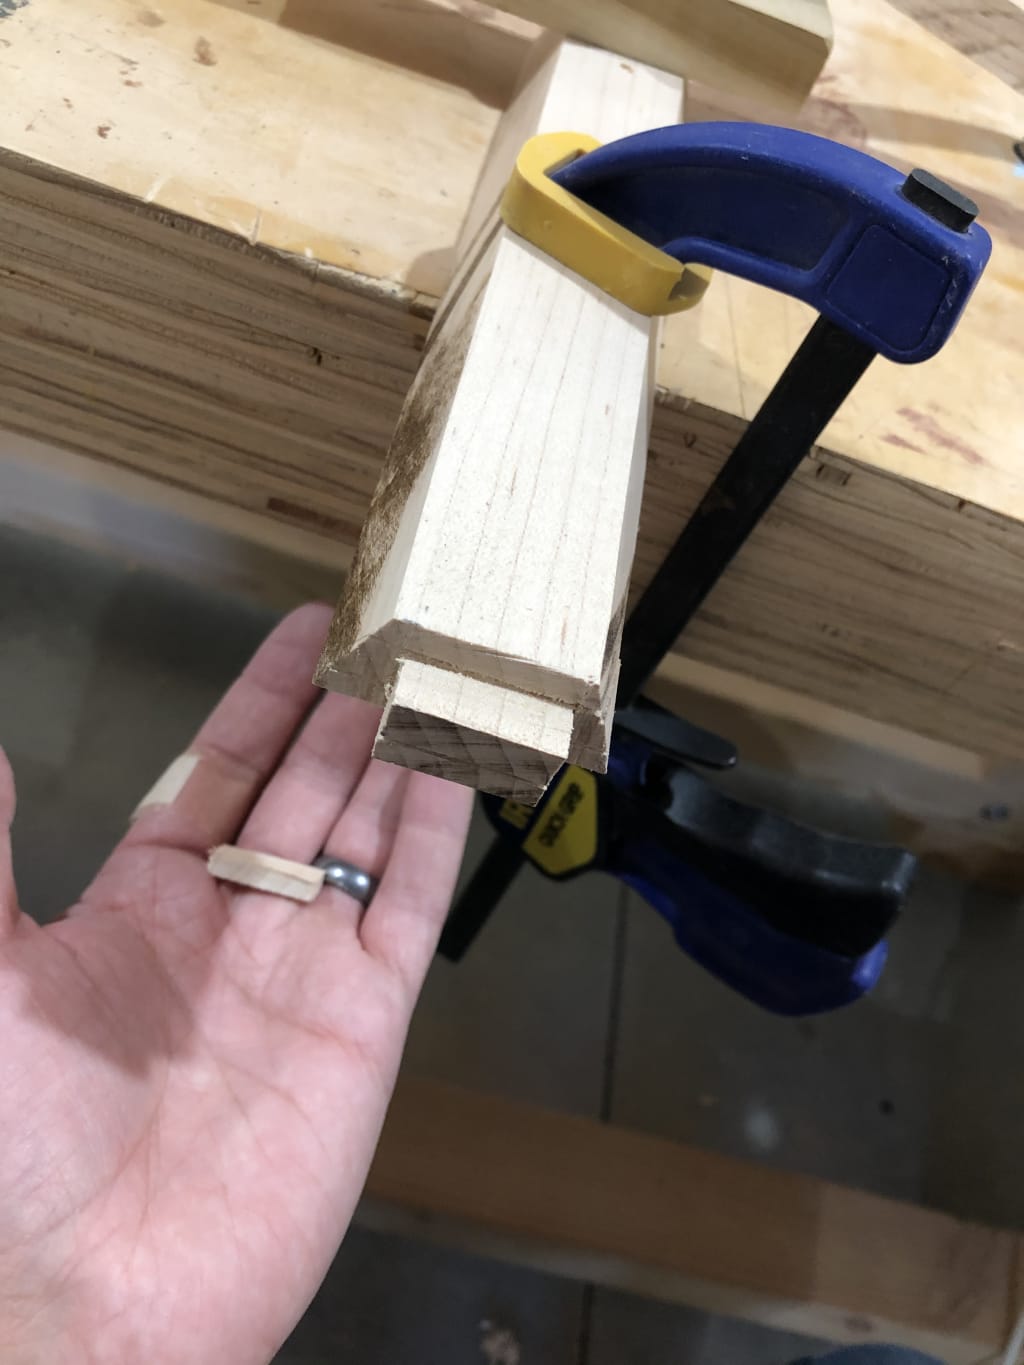
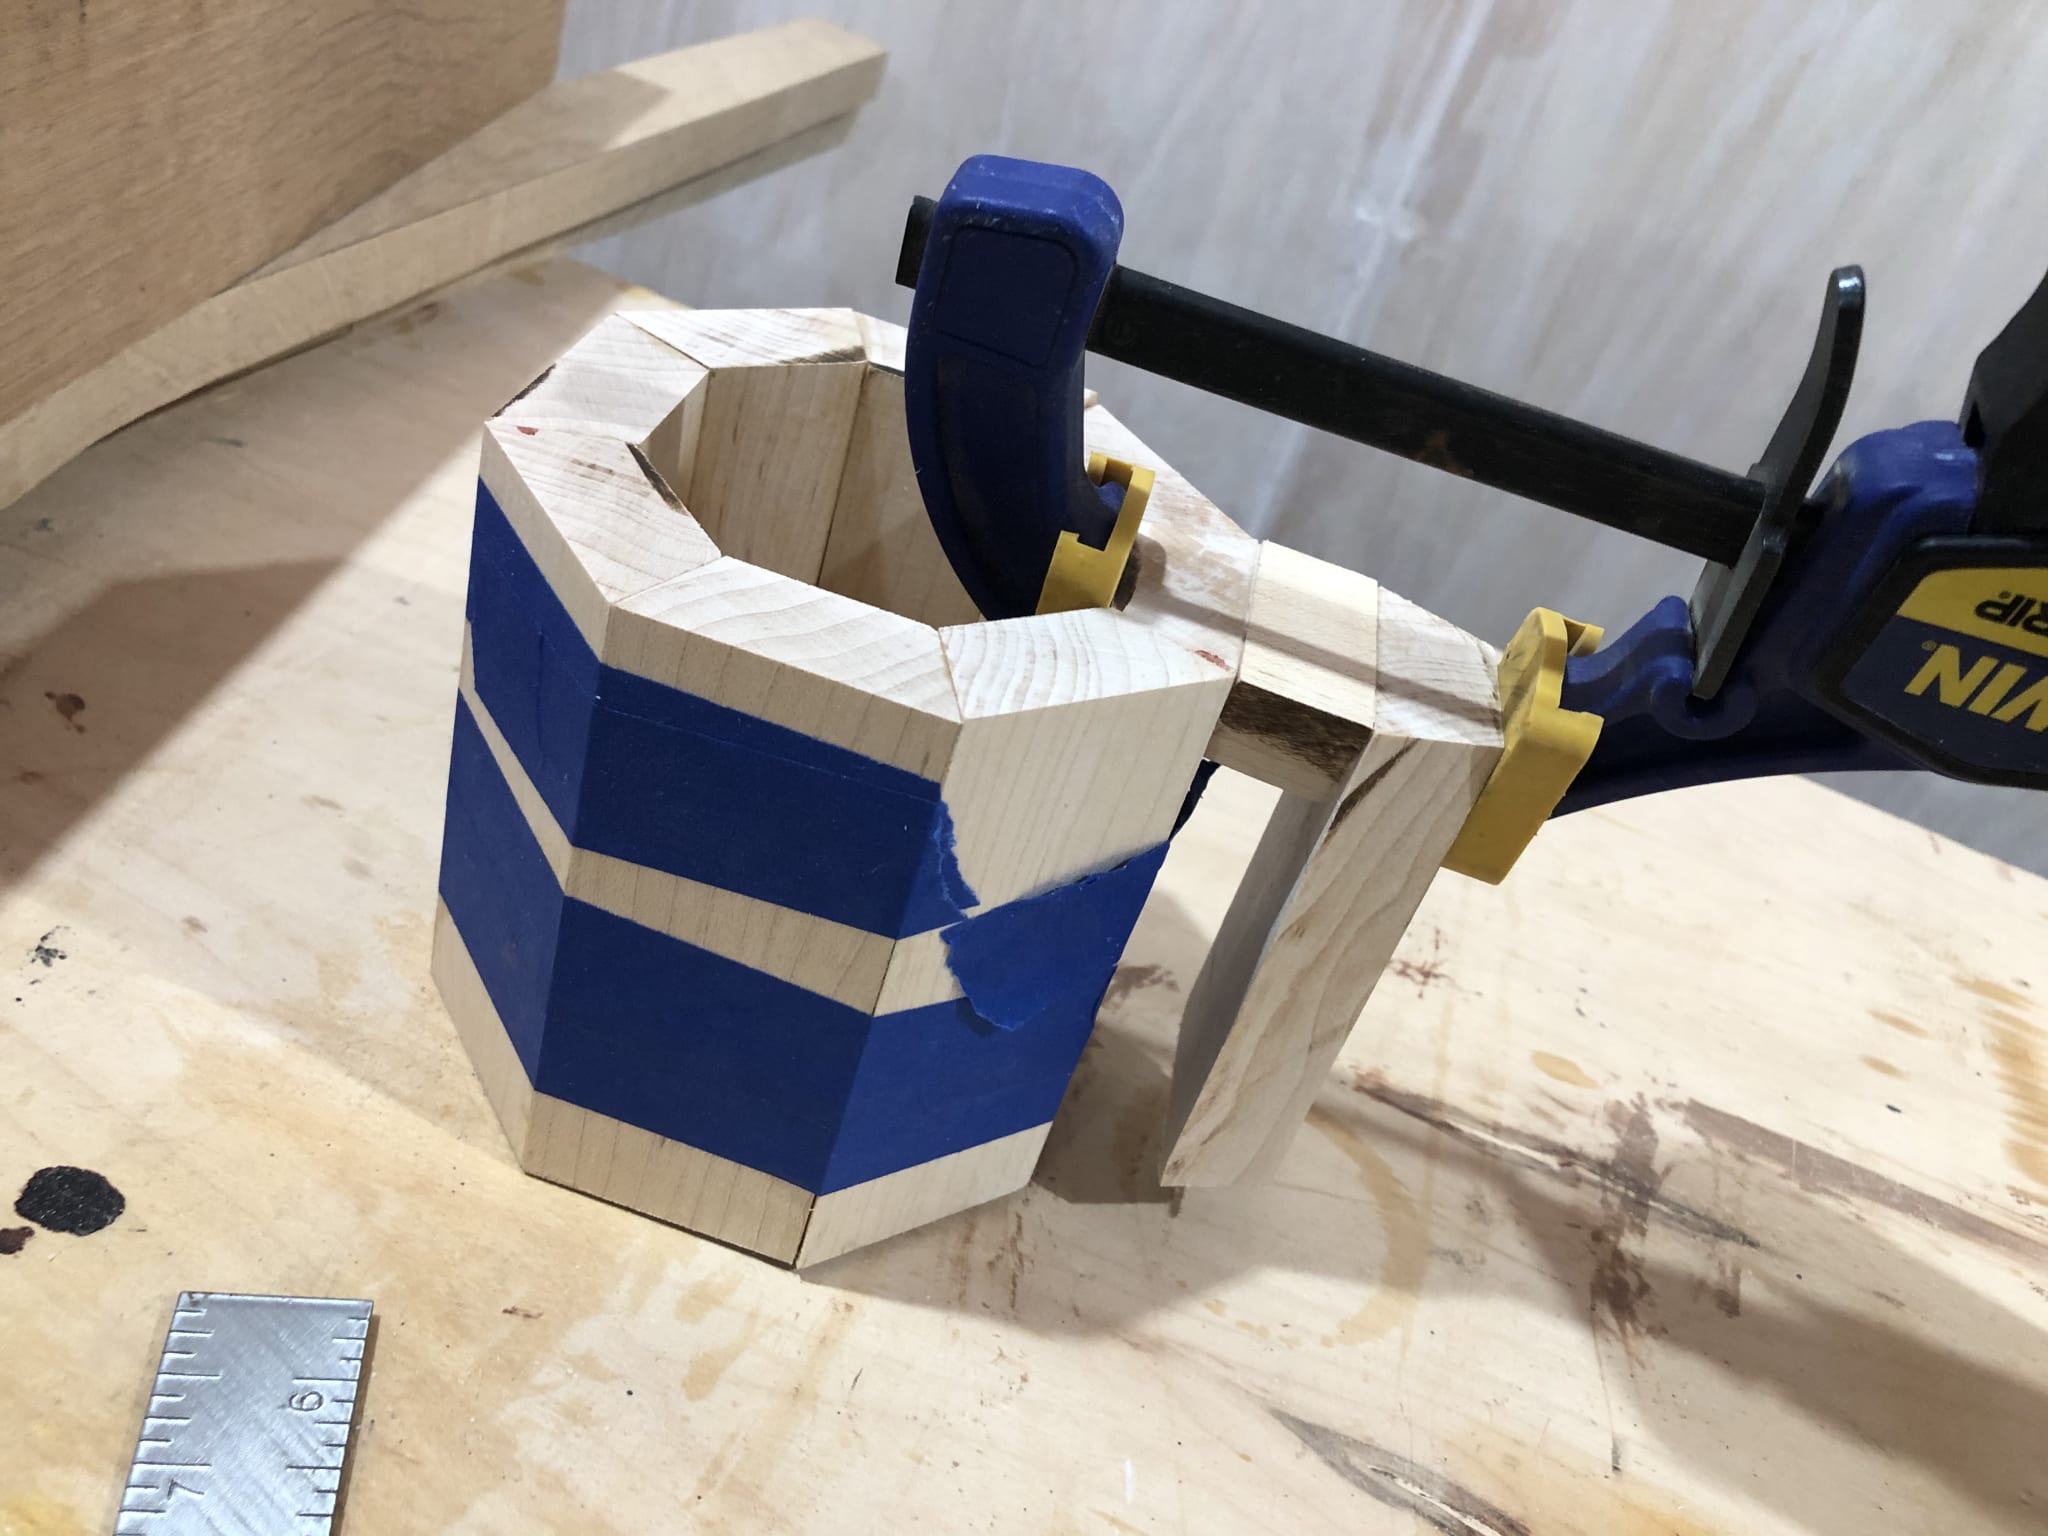
After the glue set for the octagon, I did the glue-up and clamping for the handle portion. This is as easy as putting some glue on the mortises, then clamping it all tight.
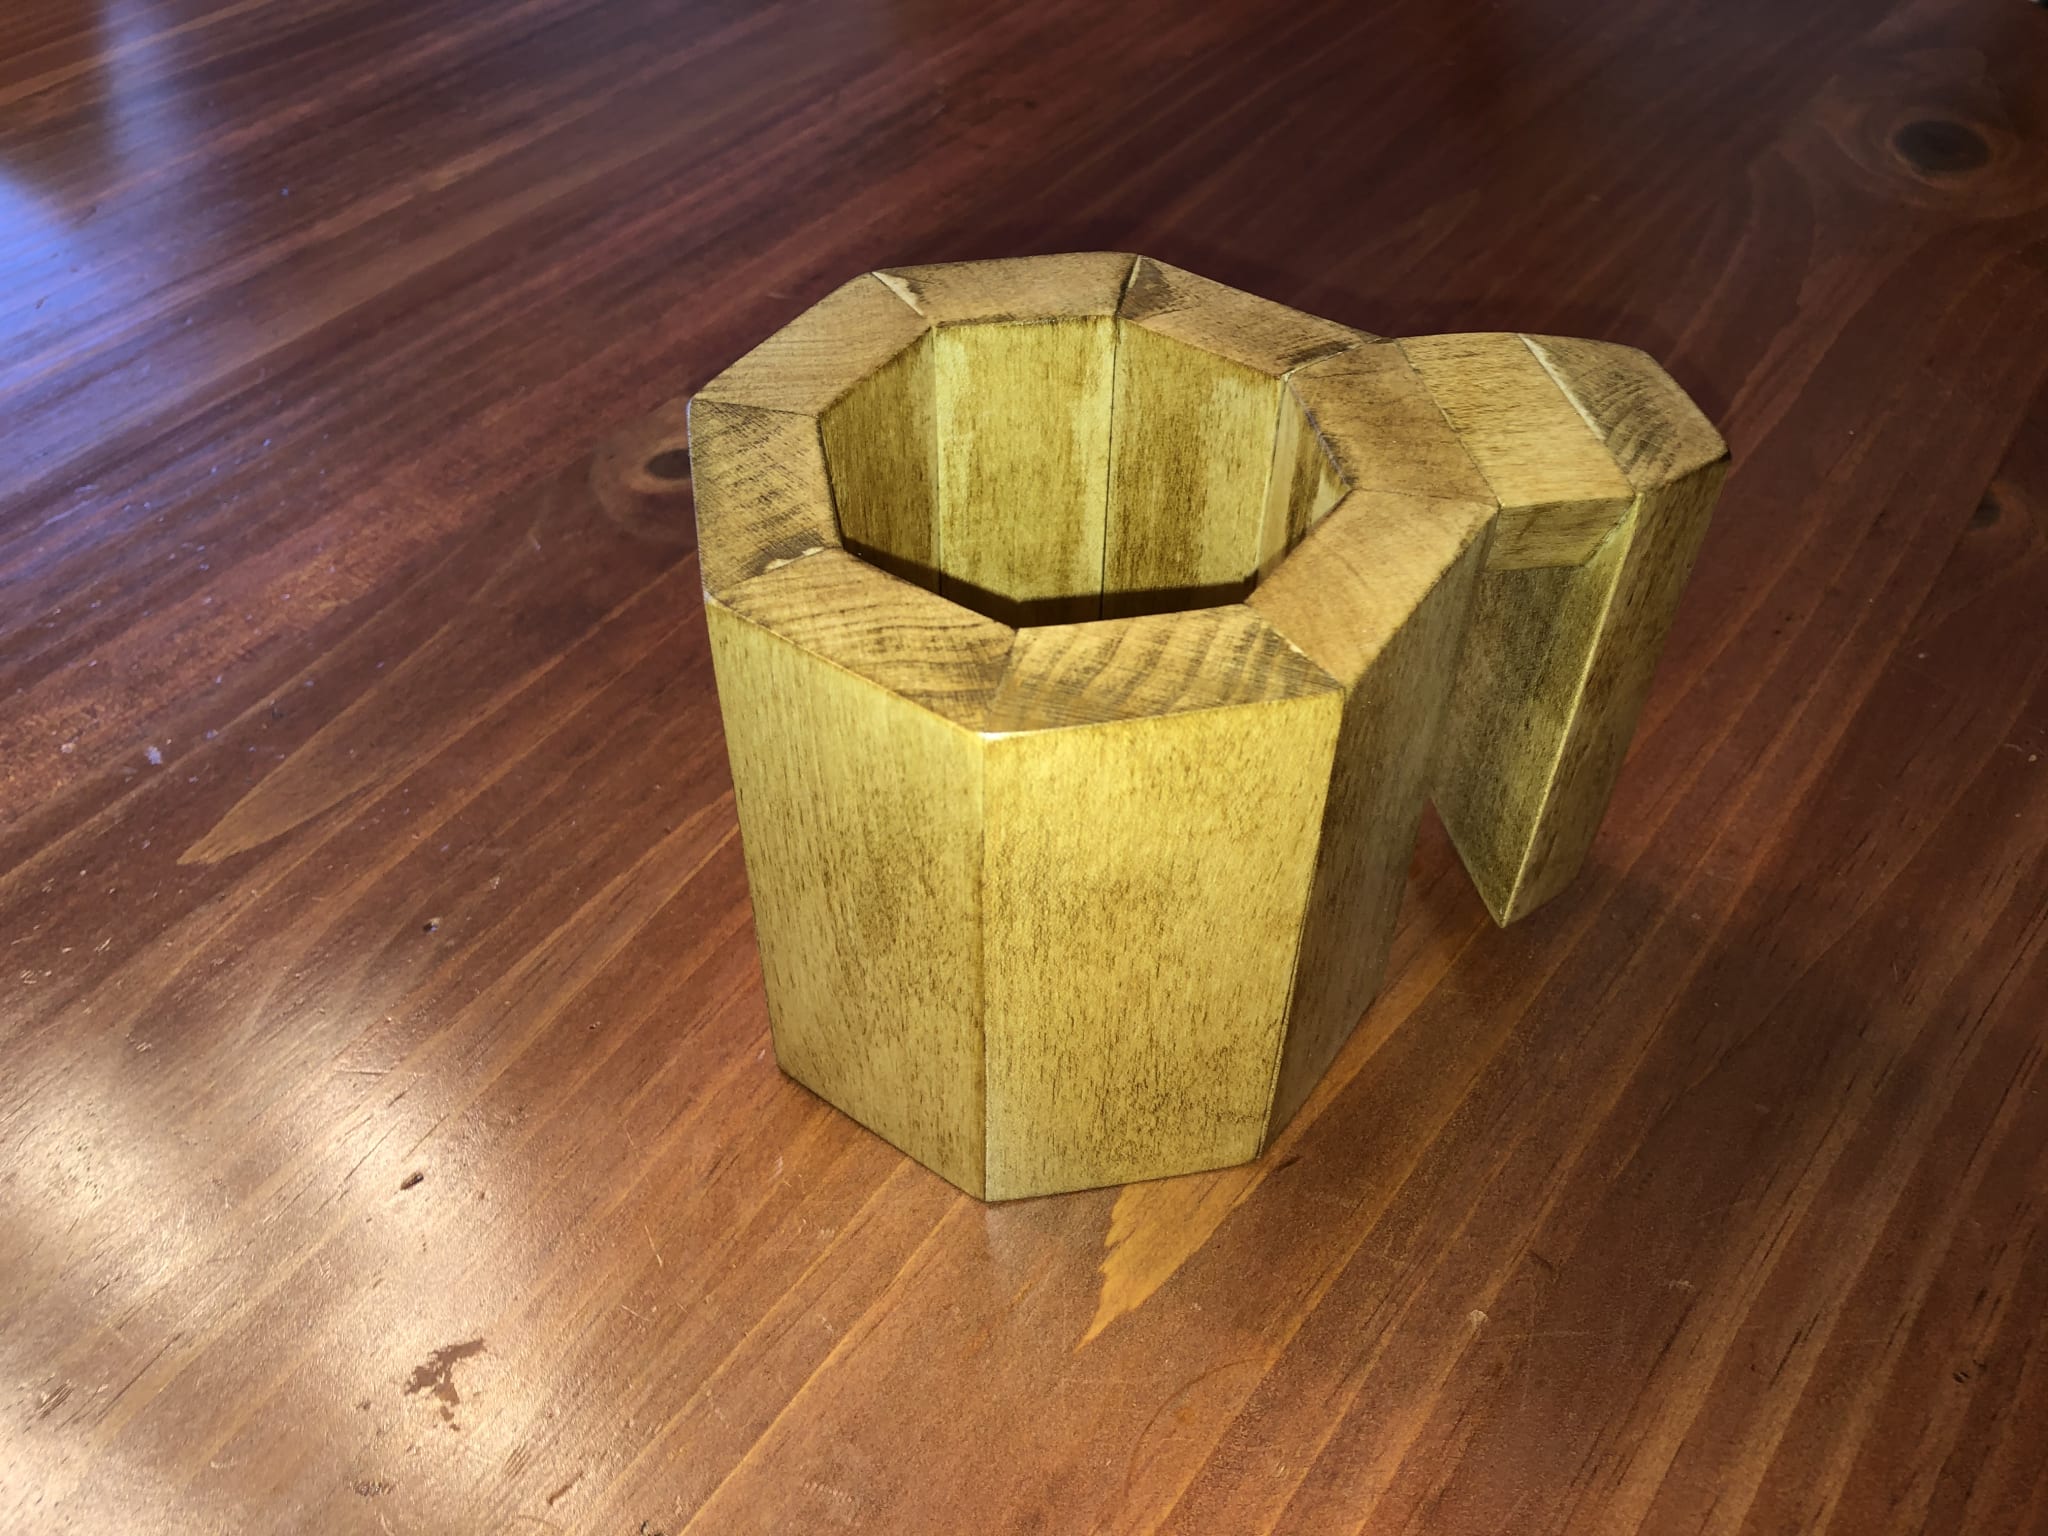
After the glue was set, I sanded the heck out of it to smooth everything out, and I finished it was a light colored stain and clear glossy varnish.
It came out a bit lighter colored than I expected, but looks great nonetheless.
After letting it sit and cure for a day or two, I finally put it to the final test. Will it work? Will the cups fit? Does it hold ok?

Yes, yes, and yes! It works and it looks good. It can be moved around as needed, and hold the cup at the perfect location. Alex loved it.
Mistakes
We all make mistakes, and this is a great opportunity to learn.
Finishing
It would have been a hell of a lot easier if I sanded down the surface of the interior before rolling into the octagon shape, and I wish I had sanded the exterior before attaching the handle. Live and learn, I guess. In this case I made it work with folded sandpaper and a lot of time.
Tear-outs
When using the router I had a few tear-outs for the material that I was cutting for the slot in which the base would go. I could probably avoided this by doing a little bit of sawing ahead of time so the waste material wouldn't break as it was cut away.
Glue
I got glue in the end-grain of the piece which prevented good coloration for when I applied the stain in some places and that annoyed me. I need to be more careful with where the glue goes.
The end!
That's all for this project. Thanks for reading!