Garages usually need more shelves
The problem
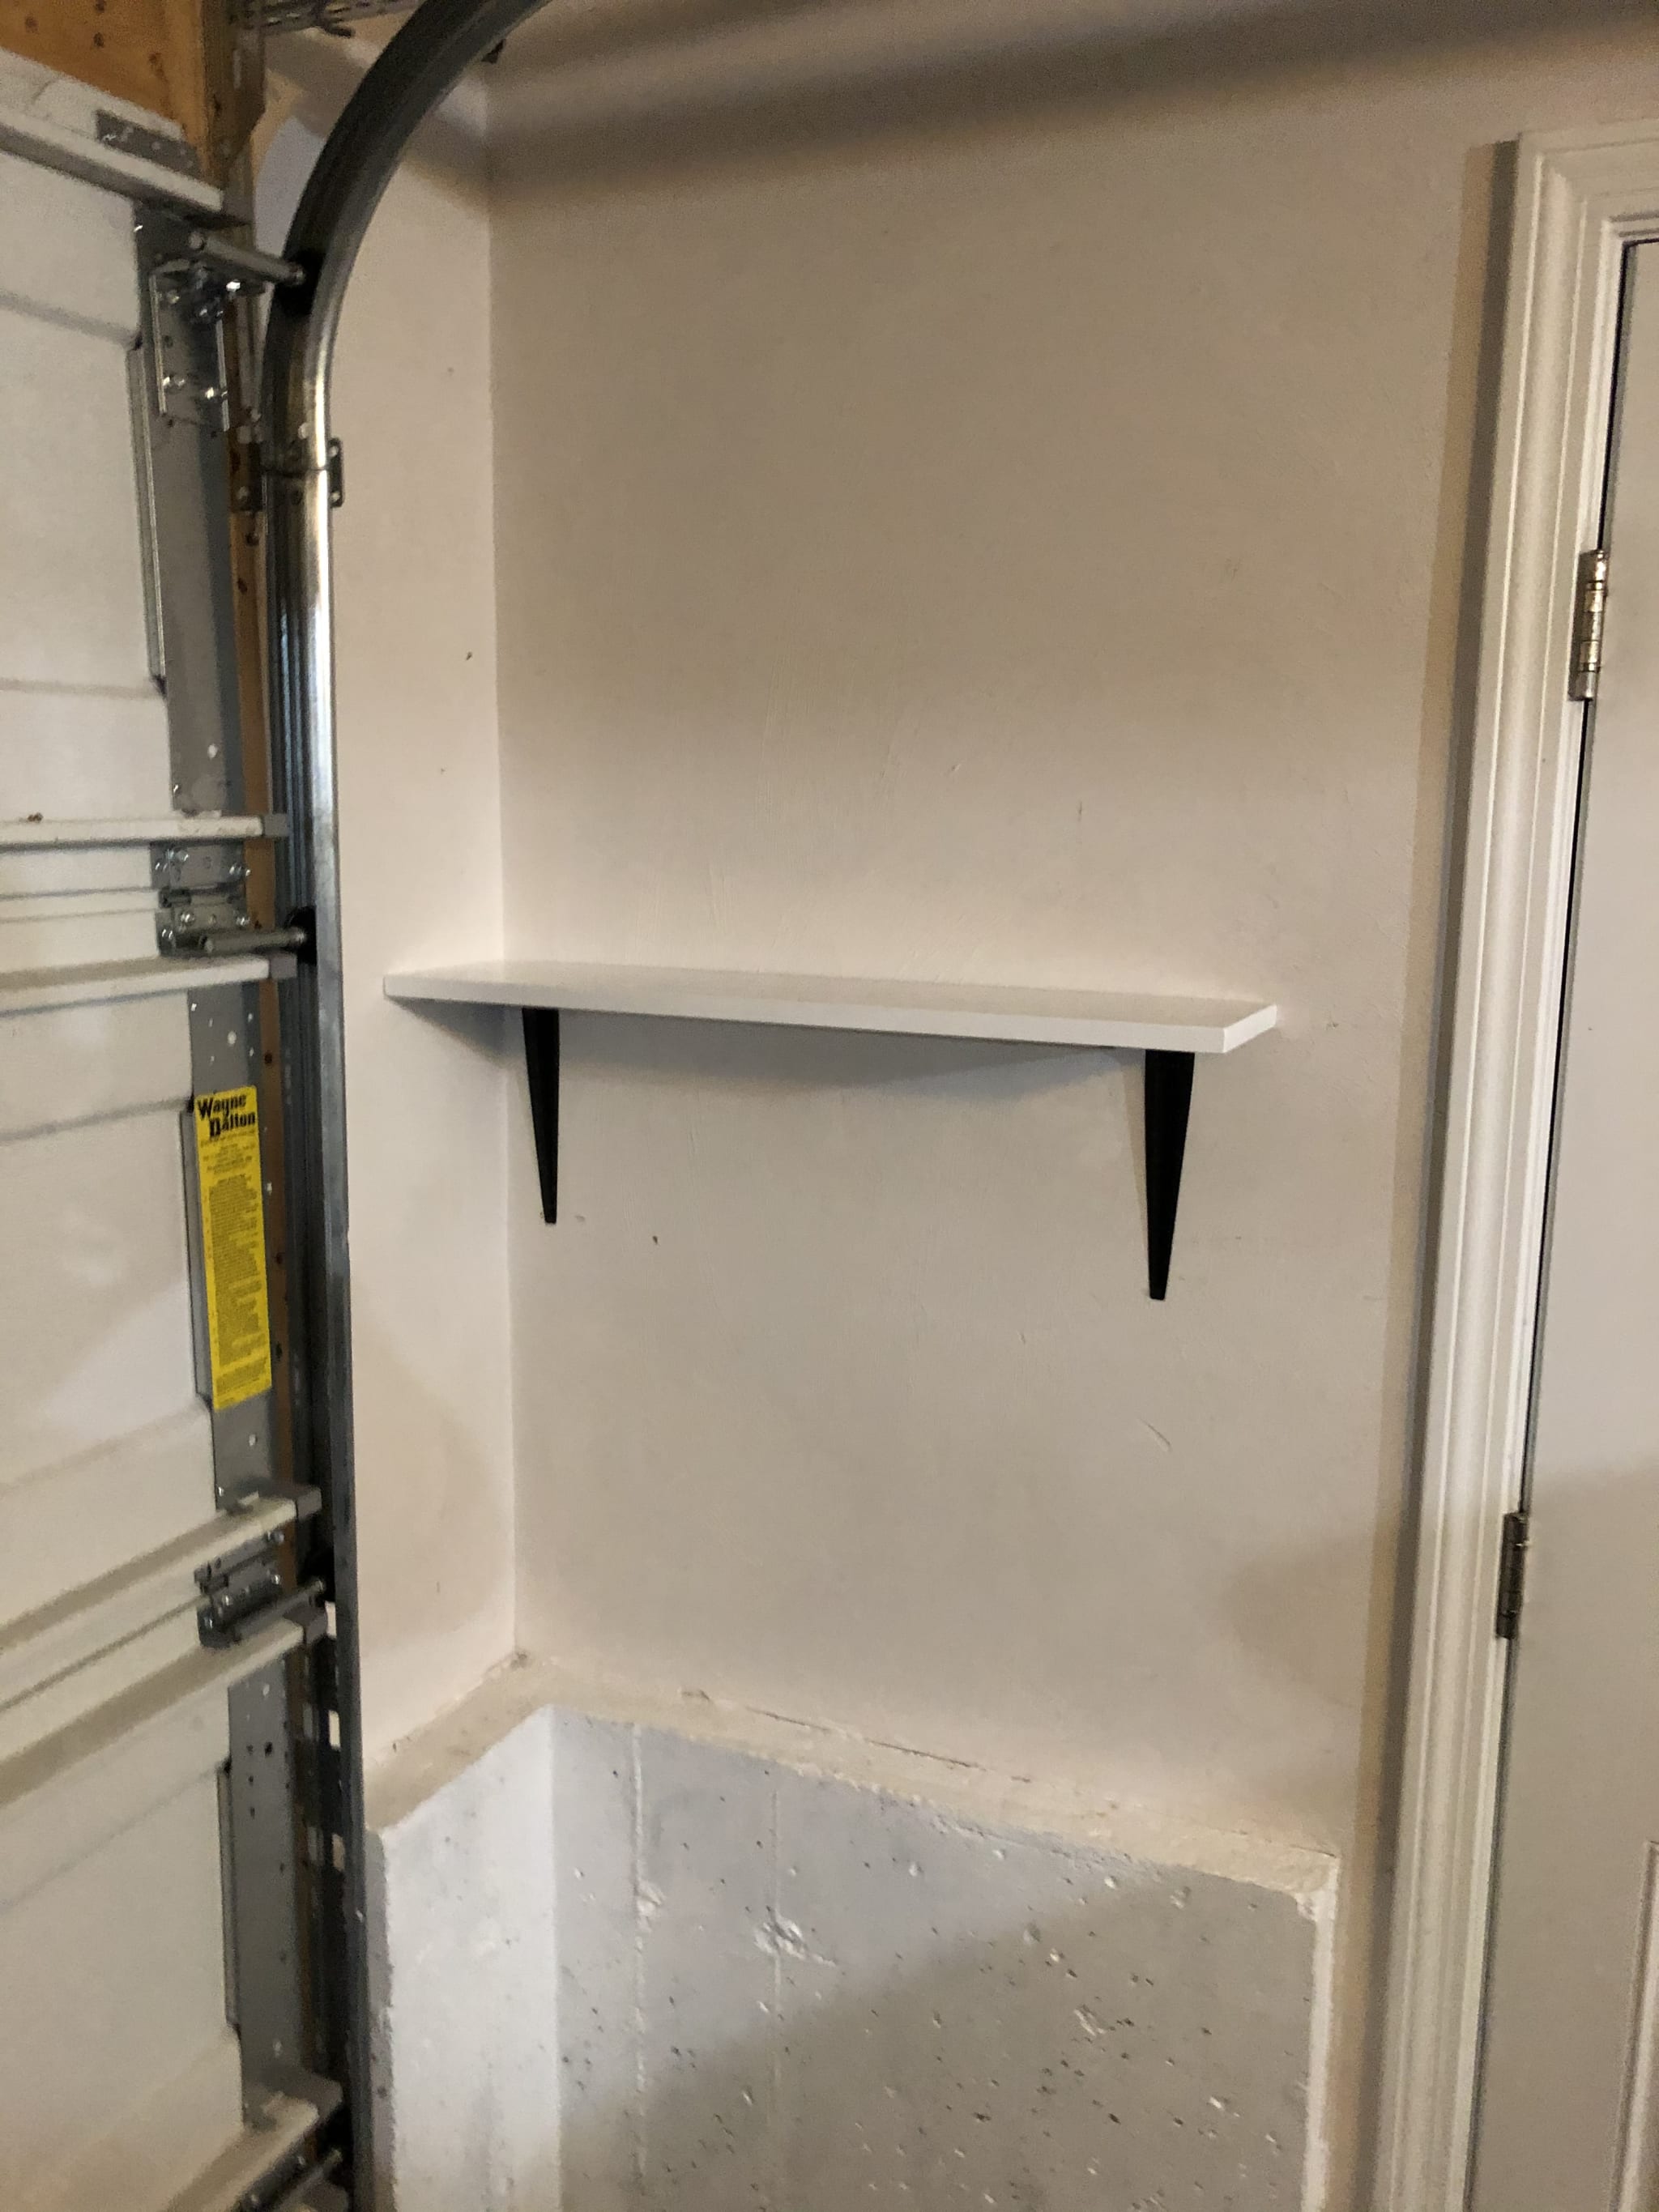
I was strolling through Home Depot, as one does, looking for fun things I shouldn't buy when I noticed some simple black shelf brackets. Nothing fancy, just an L shaped piece of metal coated with a black paint, but they alleged to hold up to 100lbs each with proper spacing, and when I think about it, maybe I could use a shelf somewhere.
Naturally, I bought a few and brought them home with me without a real plan of what I would use them for. While puttering around in my garage I found some walls that would be just perfect for a good shelf. There's always too much stuff in a garage, so this should be perfect.
The design
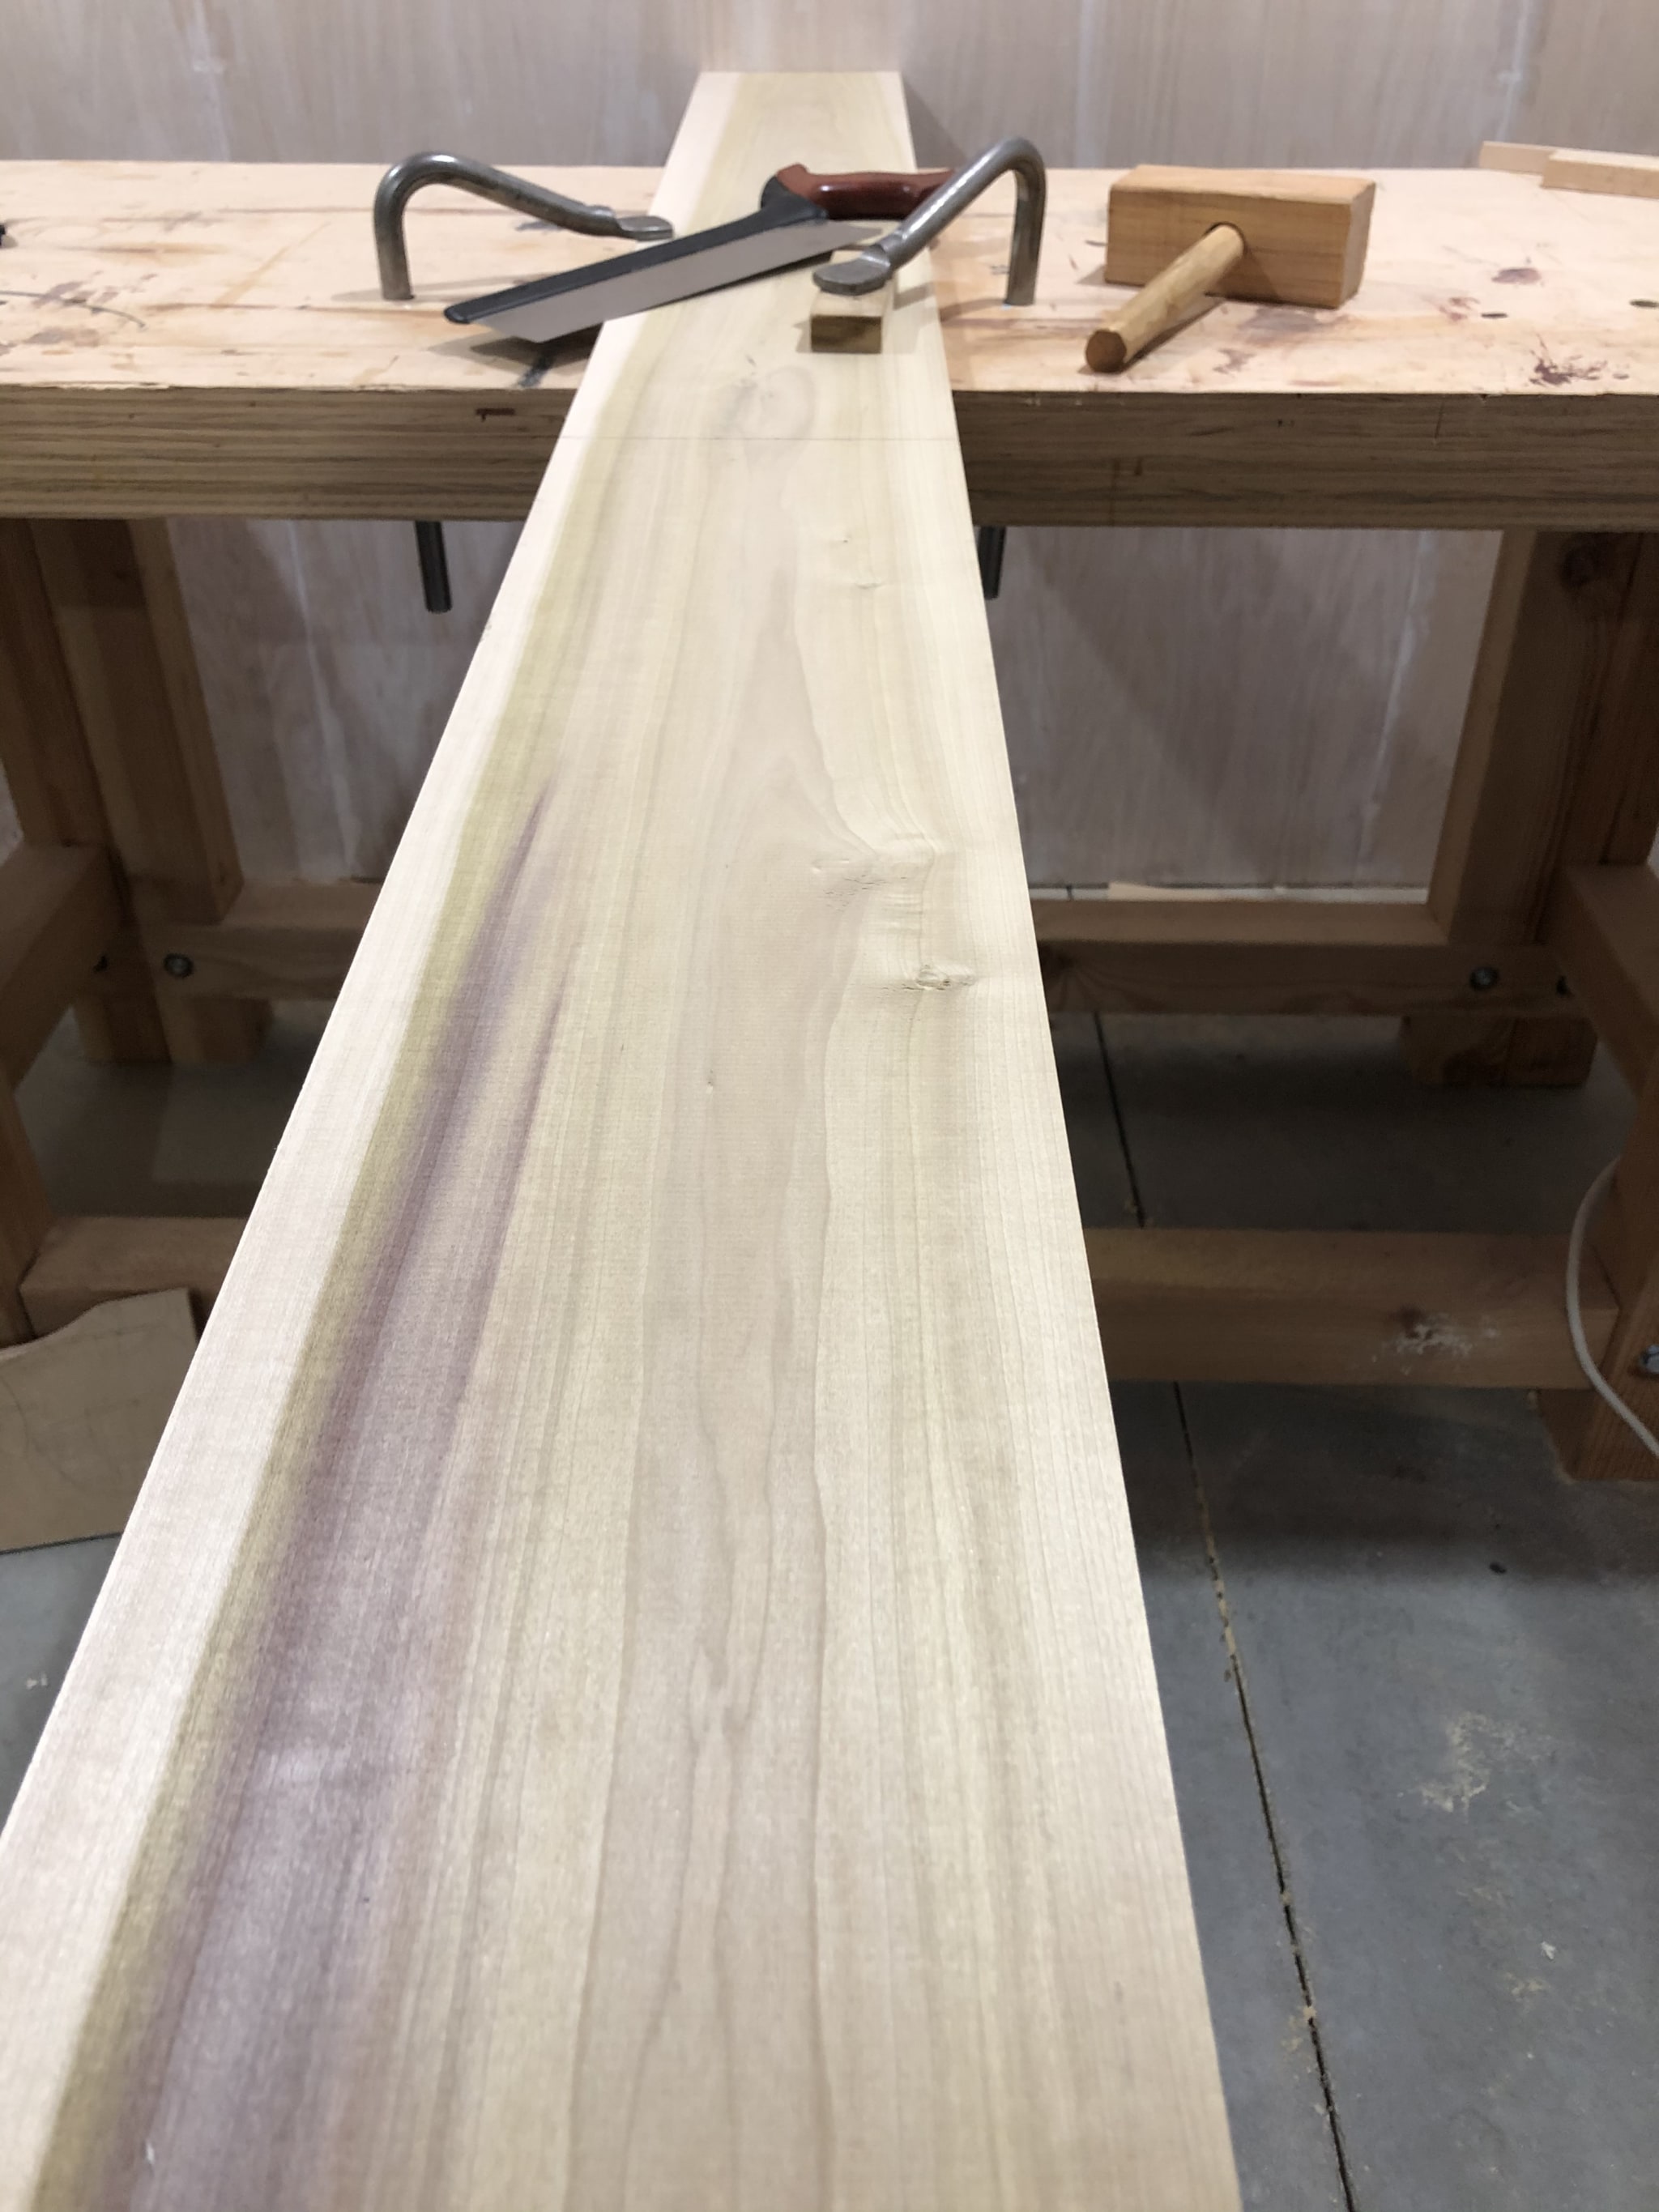
This is nothing fancy. I already have the shelf brackets, now I need something to act as a shelf. Six-inch wide, three-quarter-inch thick poplar was my choice. A lot of people walk past poplar in the lumber aisle because it can have green hues, but I personally quite like it. In this case I'll be painting it white so it really doesn't matter as long as it is straight and true.
I have two places for a shelf - once is 6-foot long and the other just under 3. Picking up two boards and some nice white paint should do the trick.
The build
After I got the boards home I noticed the edges were a bit rough, and I had been watching some traditional woodcraft videos lately, so I busted out the hand plane to clean it up.
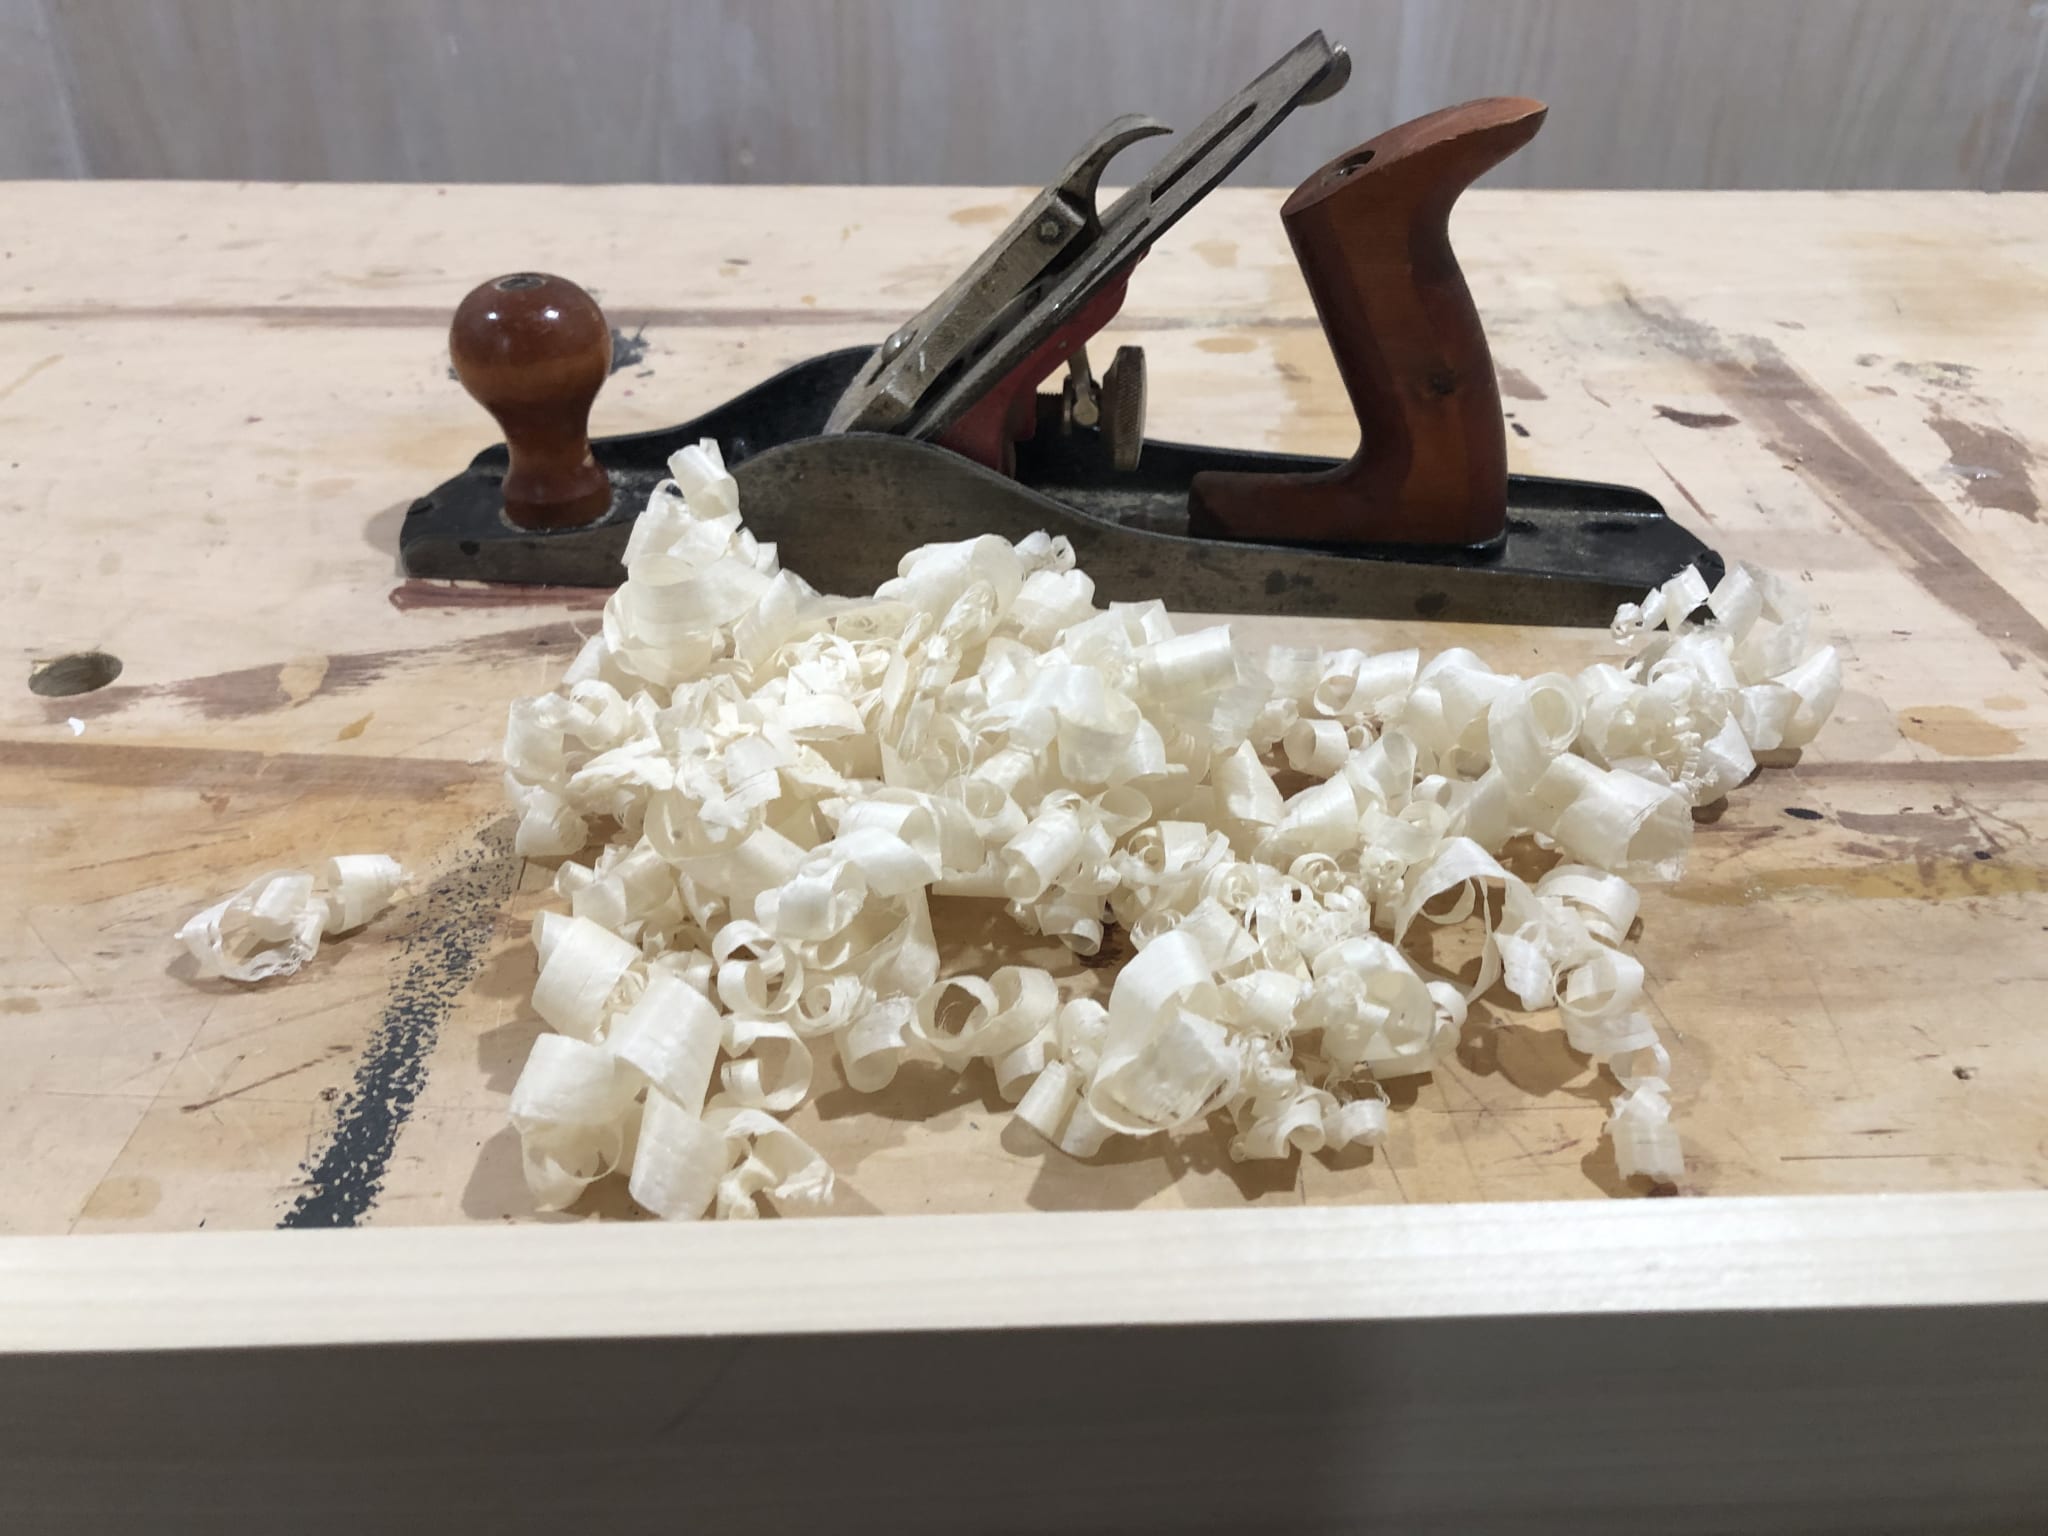
After planing the edges nice and smooth I hit up both faces with sanding to get them nice and flat. I also ran into a rather ugly knot that I had to fill in with wood-filler.
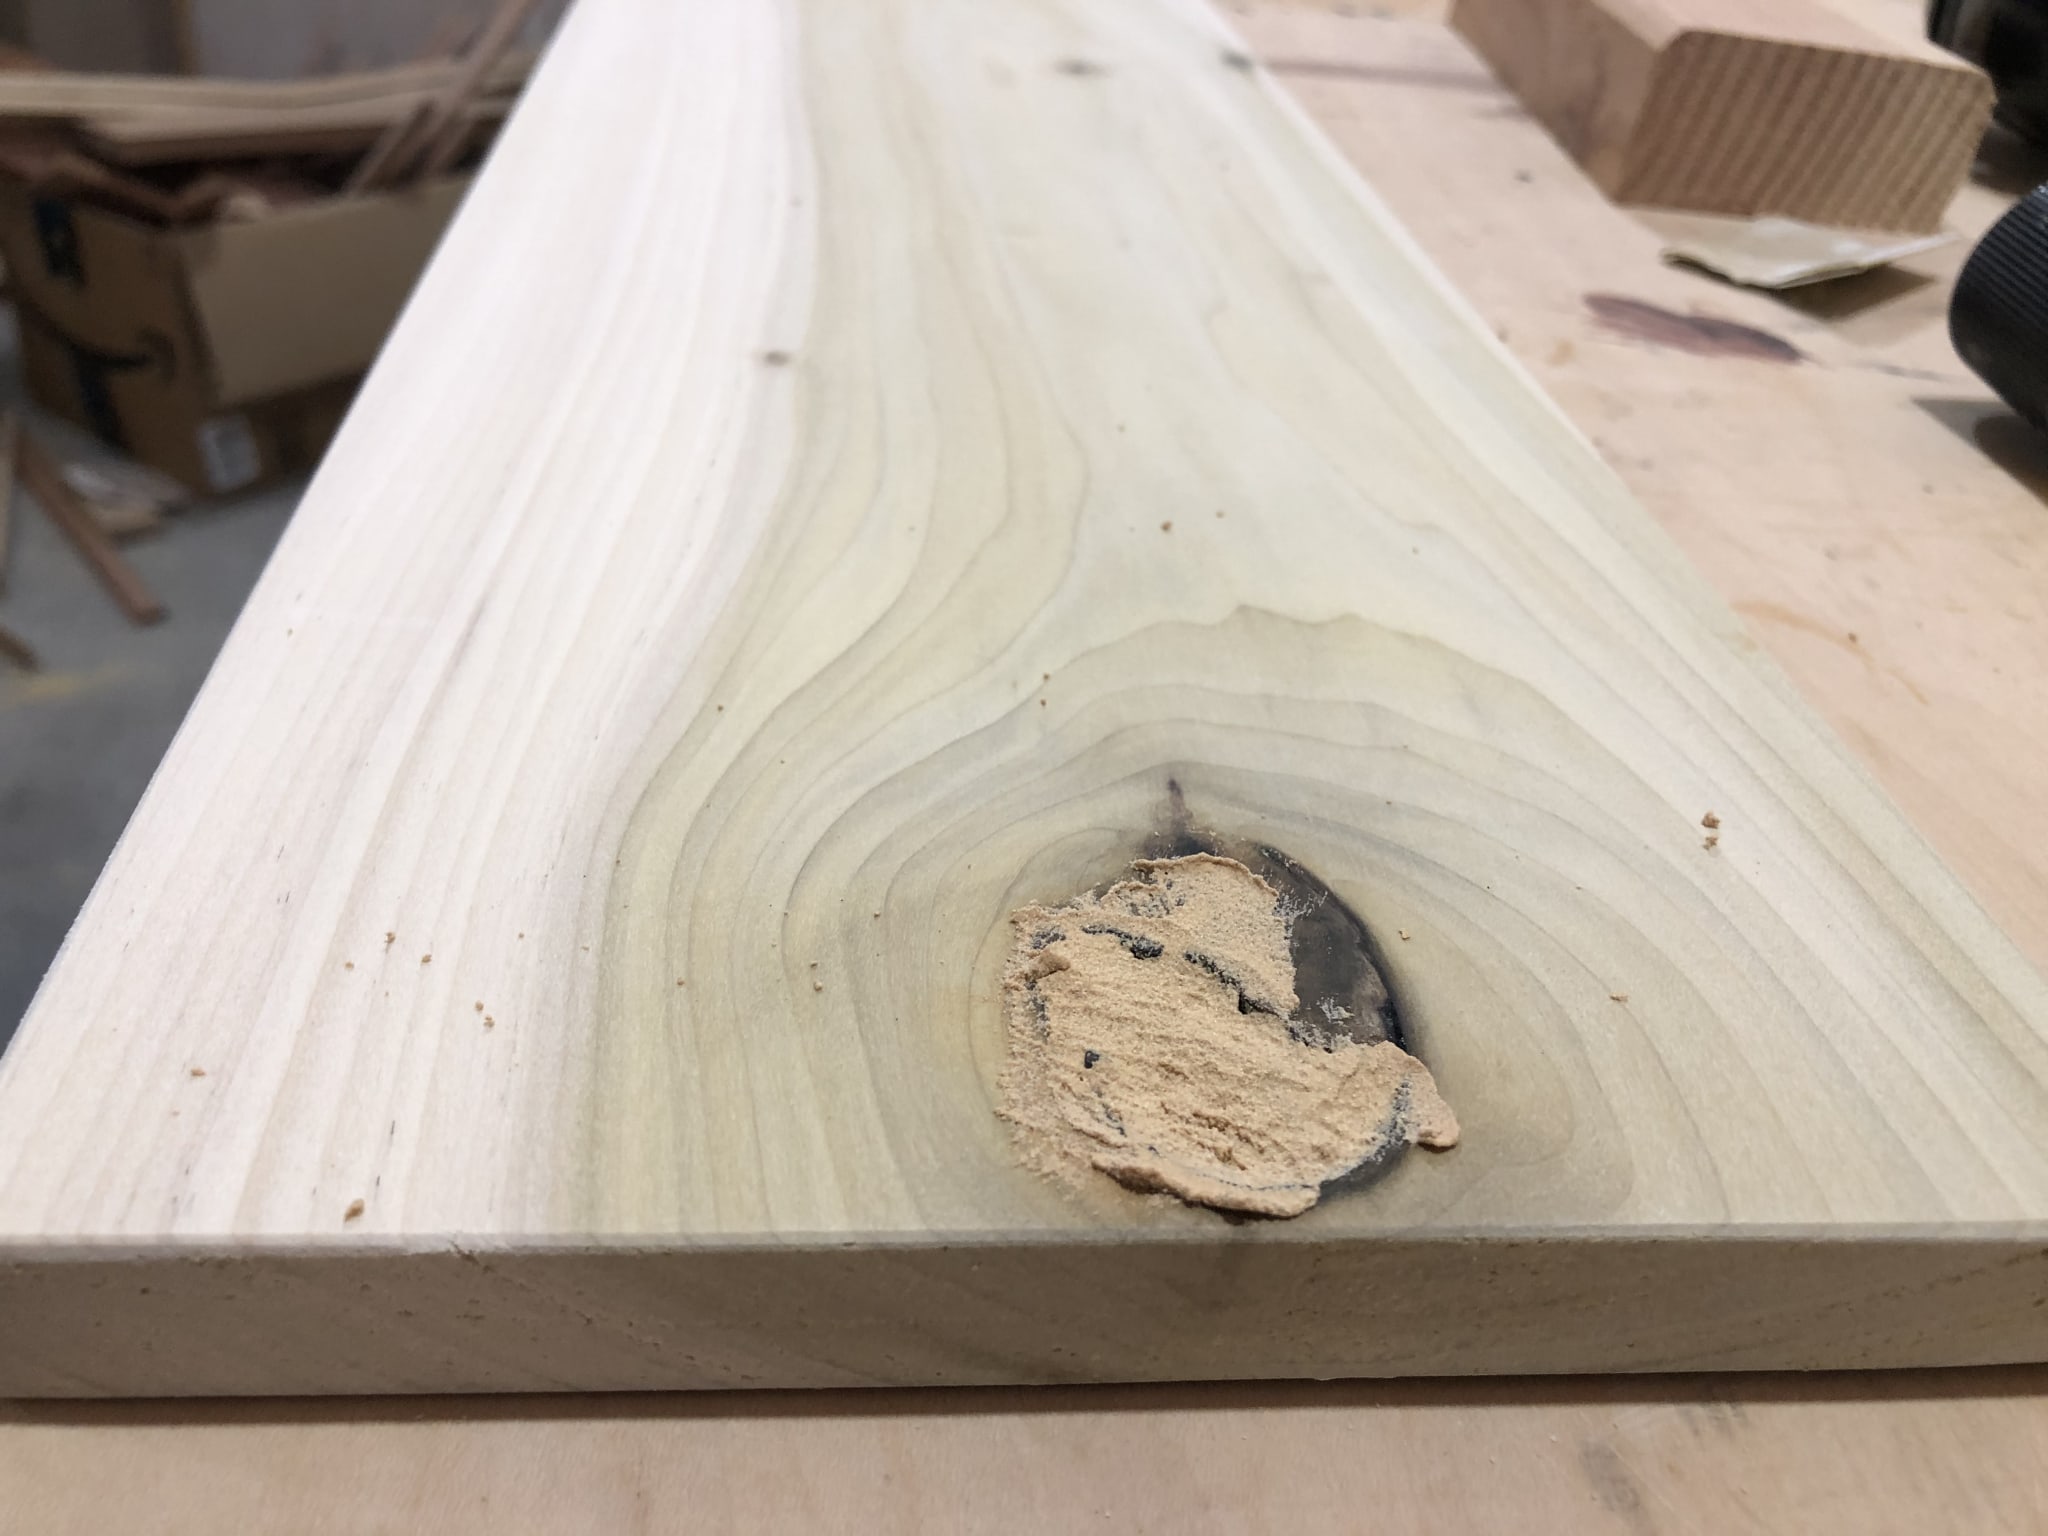
It took two rounds of wood-filler/drying/sanding to get it looking good, but after painting I doubt I'll notice at all. Moving on with the first shelf I gave it the first coat of paint.

I used a high-gloss enamel paint because I wanted it to be easy to clean off as it would be in the garage accumulating all kinds of dirt and oil and who knows what. While the paint was drying, I located the studs in my wall and measured out where I'd put the supports. This was pretty easy since I have a tool for it, I never could hear the difference knocking on drywall. After the brackets were all in place and the second coat of paint had dried I was ready for the final assembly.
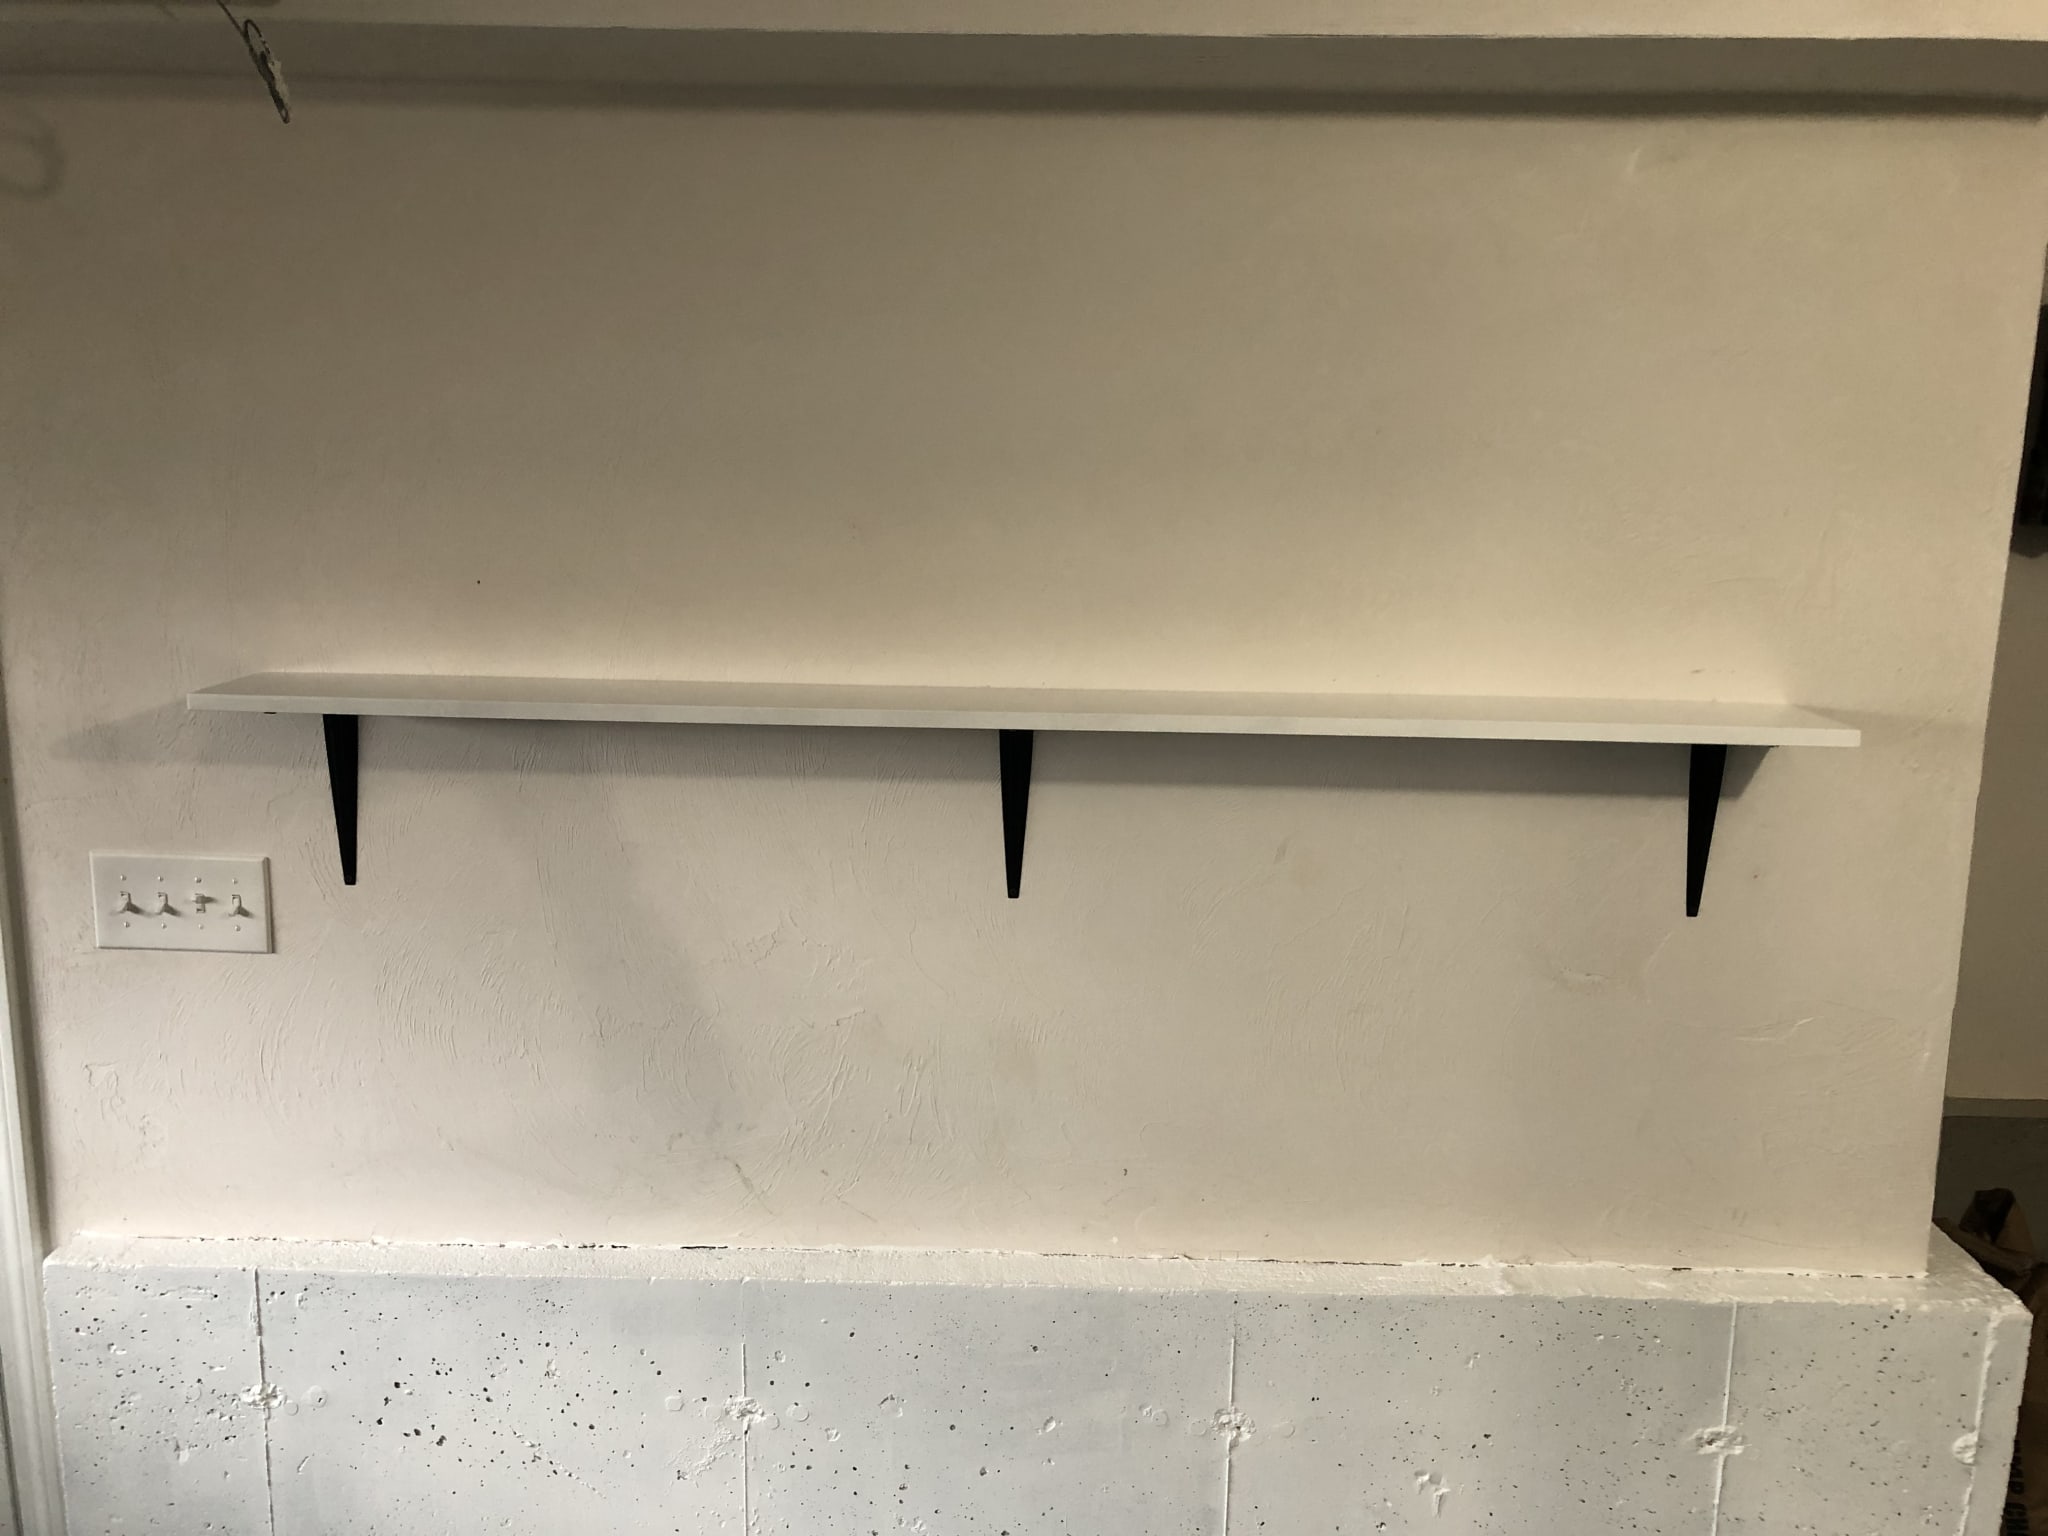
After fixing the shelf onto the brackets, it didn't take long to fill it with stuff.
My second shelf was a lot shorter so I had to cut it to length, plane the edges, and sand it smooth. Another thing I made sure to do on each shell was the break the corners in from a full right-angle. Right-angles in wood are easy to dent or damage, so I ran a quick sanding run down every corner to try to prevent a sharp corner that could break. After all that I could paint it. It's a shame though, this piece had a really interesting purple-and-green thing going on.
After the next shelf was all set, I again painted it, screwed the supports into studs, and affixed it to the wall.
The end
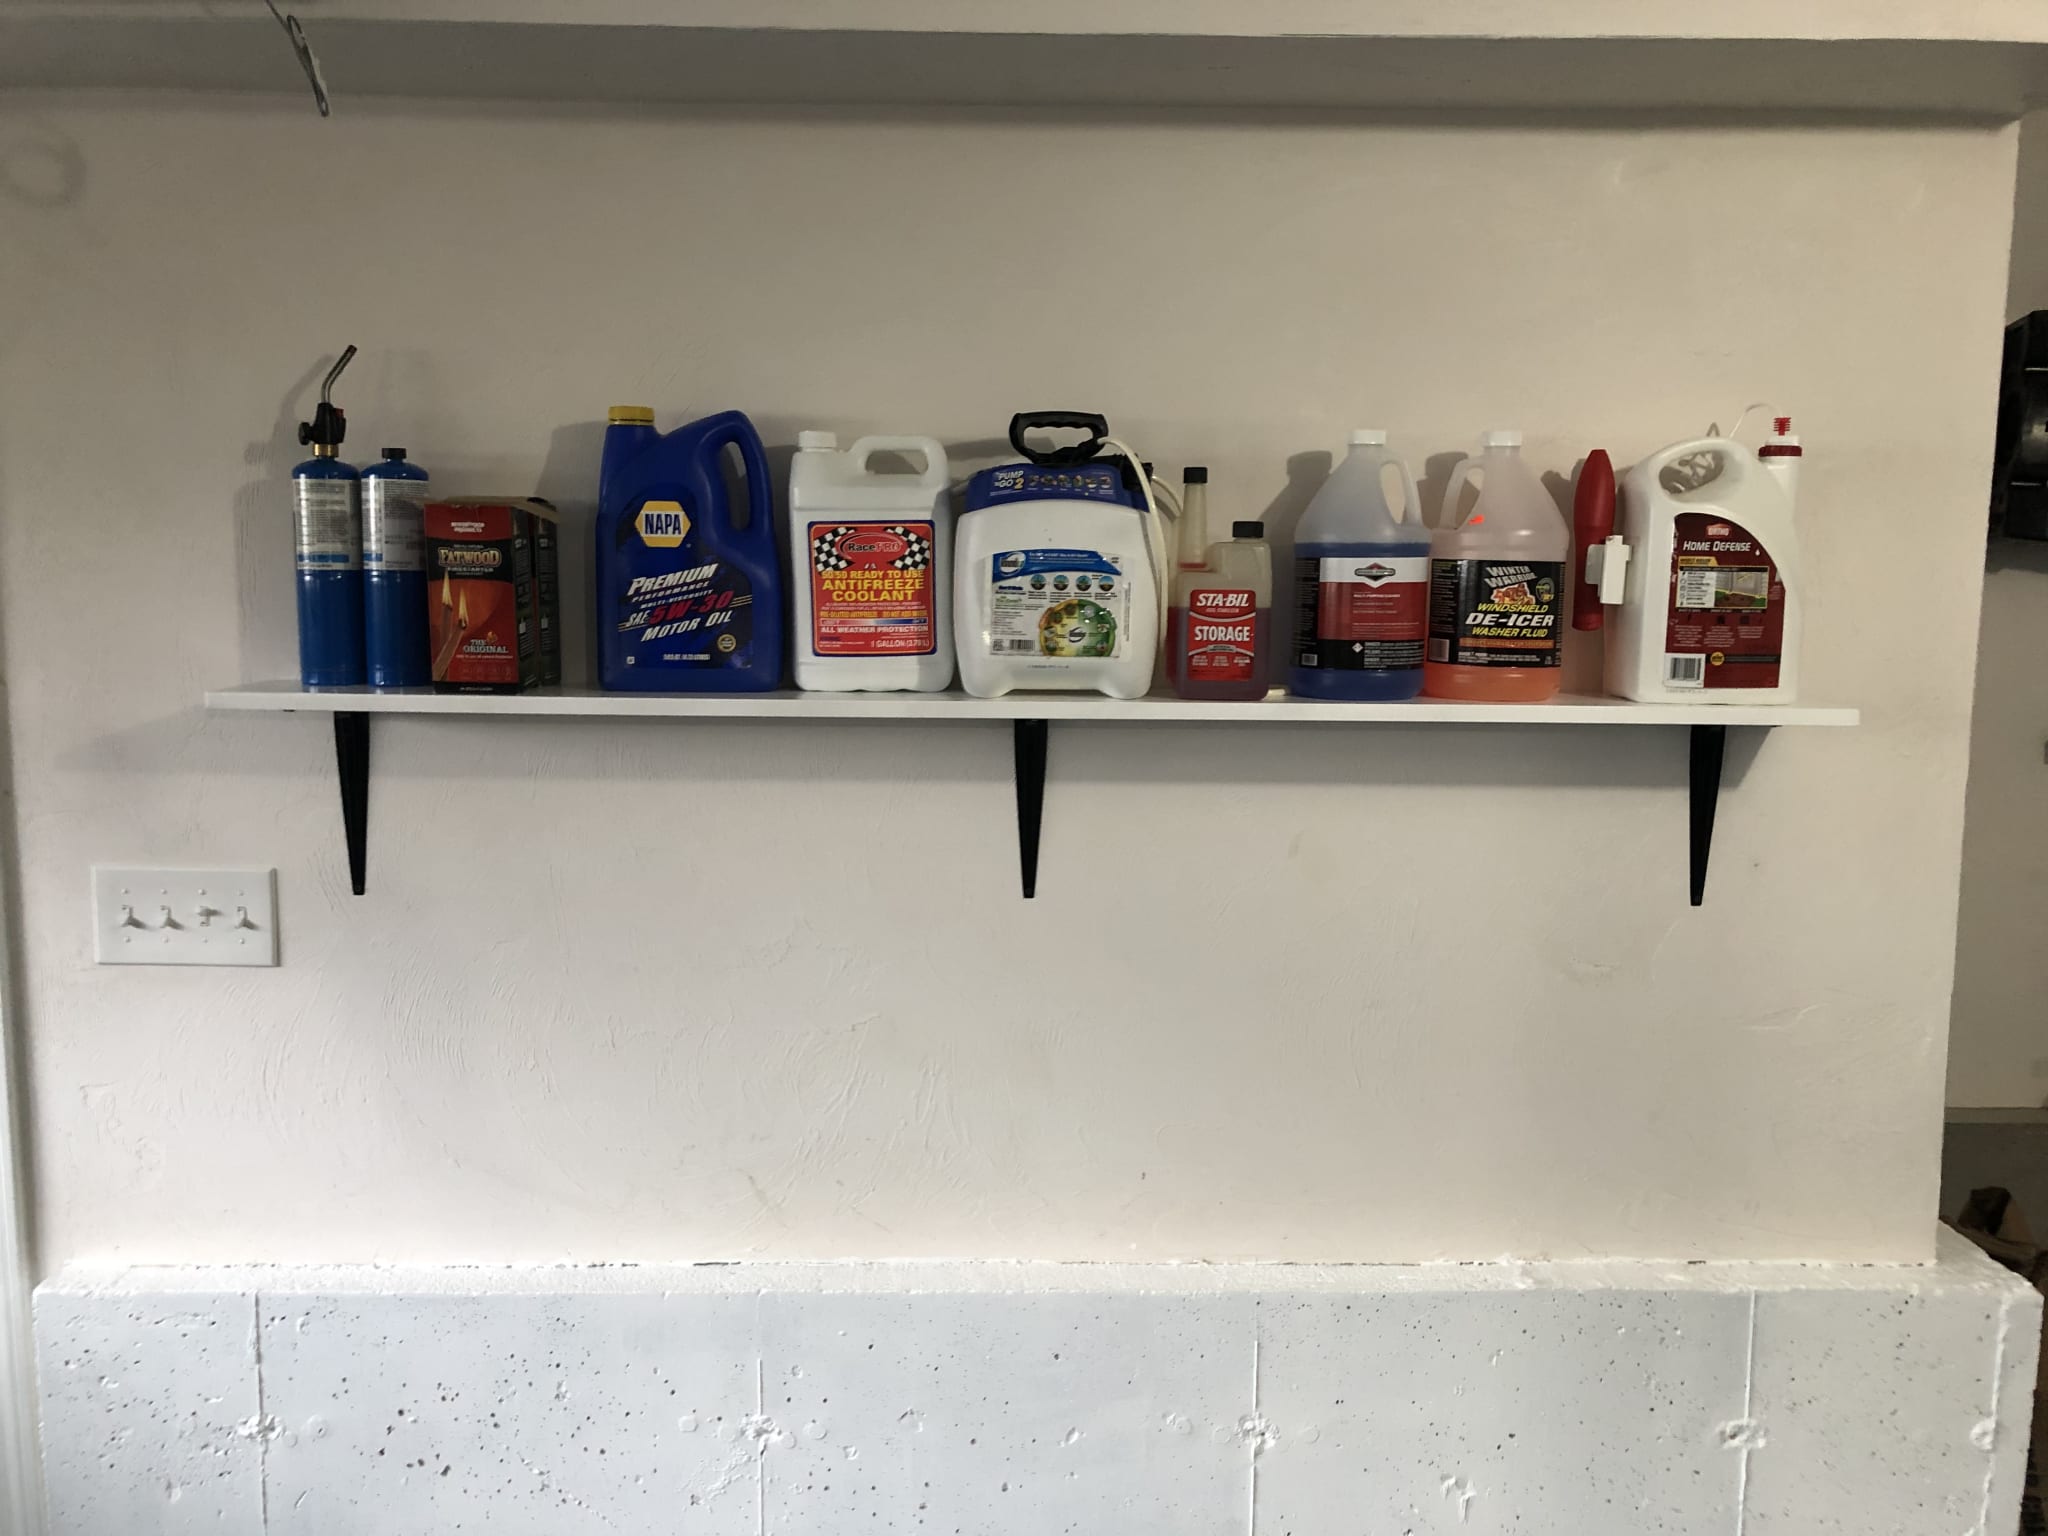
Now I have more space in my garage to put stuff. I'm sure it will be filled in short order.