Fish tank stand
The story
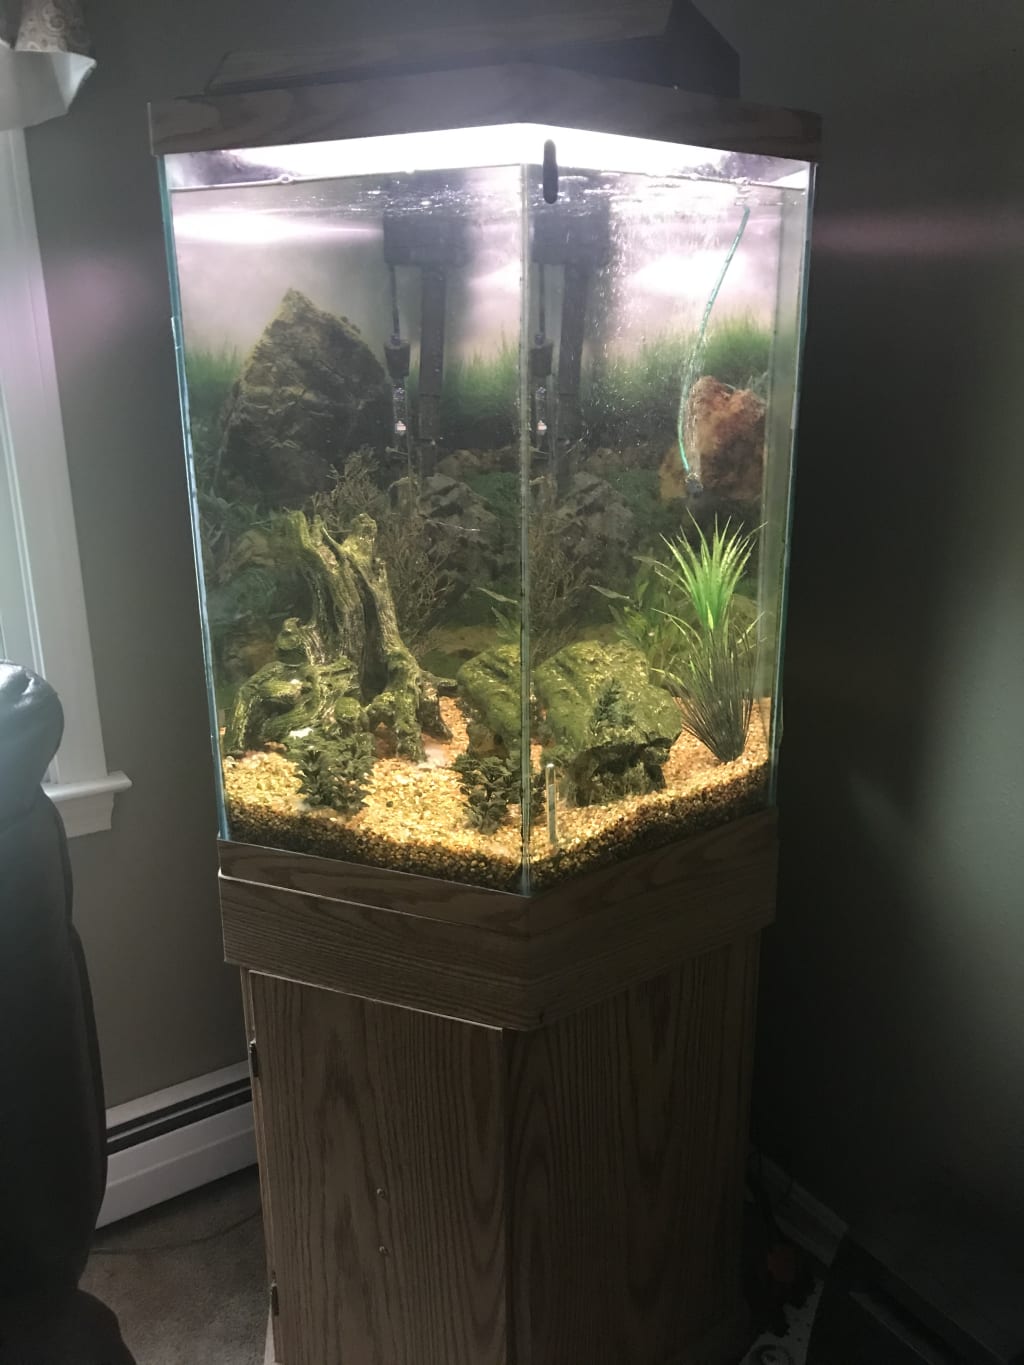
A few months back I bought an amazing 55-gallon hexagonal fish tank from my uncle Mark for an excellent price. He included all the necessary add-ons, like a lid, light, filter, aquatic rocks, gravel, and so on to get me started. As I was unpacking it all from the car once I got it home, Natallia and I were looking at the base he threw in for free. The tank was from 1994, so the base had seen some use. It was a particleboard construction with a faux-wood veneer. A sturdy and totally serviceable base, but I wanted something with a shelf, and maybe something that felt a little more sturdy to me.
The design
It took a while to get a good design. Both Natallia and I poked around the internet looking for inspiration, and we finally hit on something I liked. A 2x4 pine frame skinned with 1/2" plywood. I could even use moulding to hide screws, and dress up the overall look.
I had to look up a few reminders for the angles involved in a regular hexagon (each inner angle is 120 degrees) and make sure I was doing my math right when I was cutting from another direction or from 90-degrees.
The build
The concept is rather simple: build a sturdy skeleton with 2x4s then skin it with plywood. The tricky part is everything else.
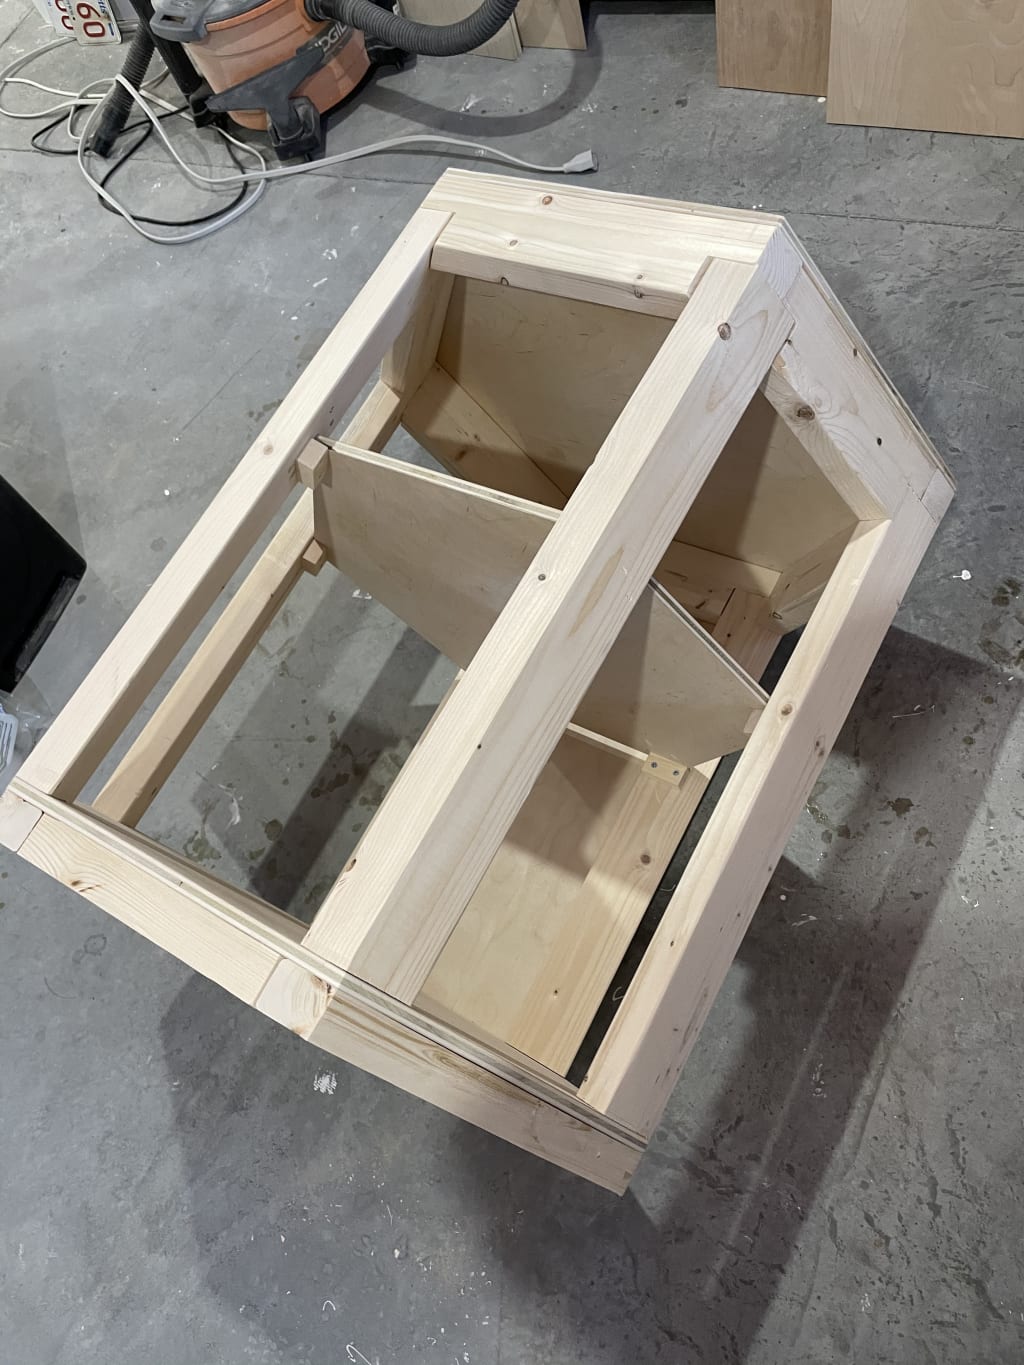
The inner frame
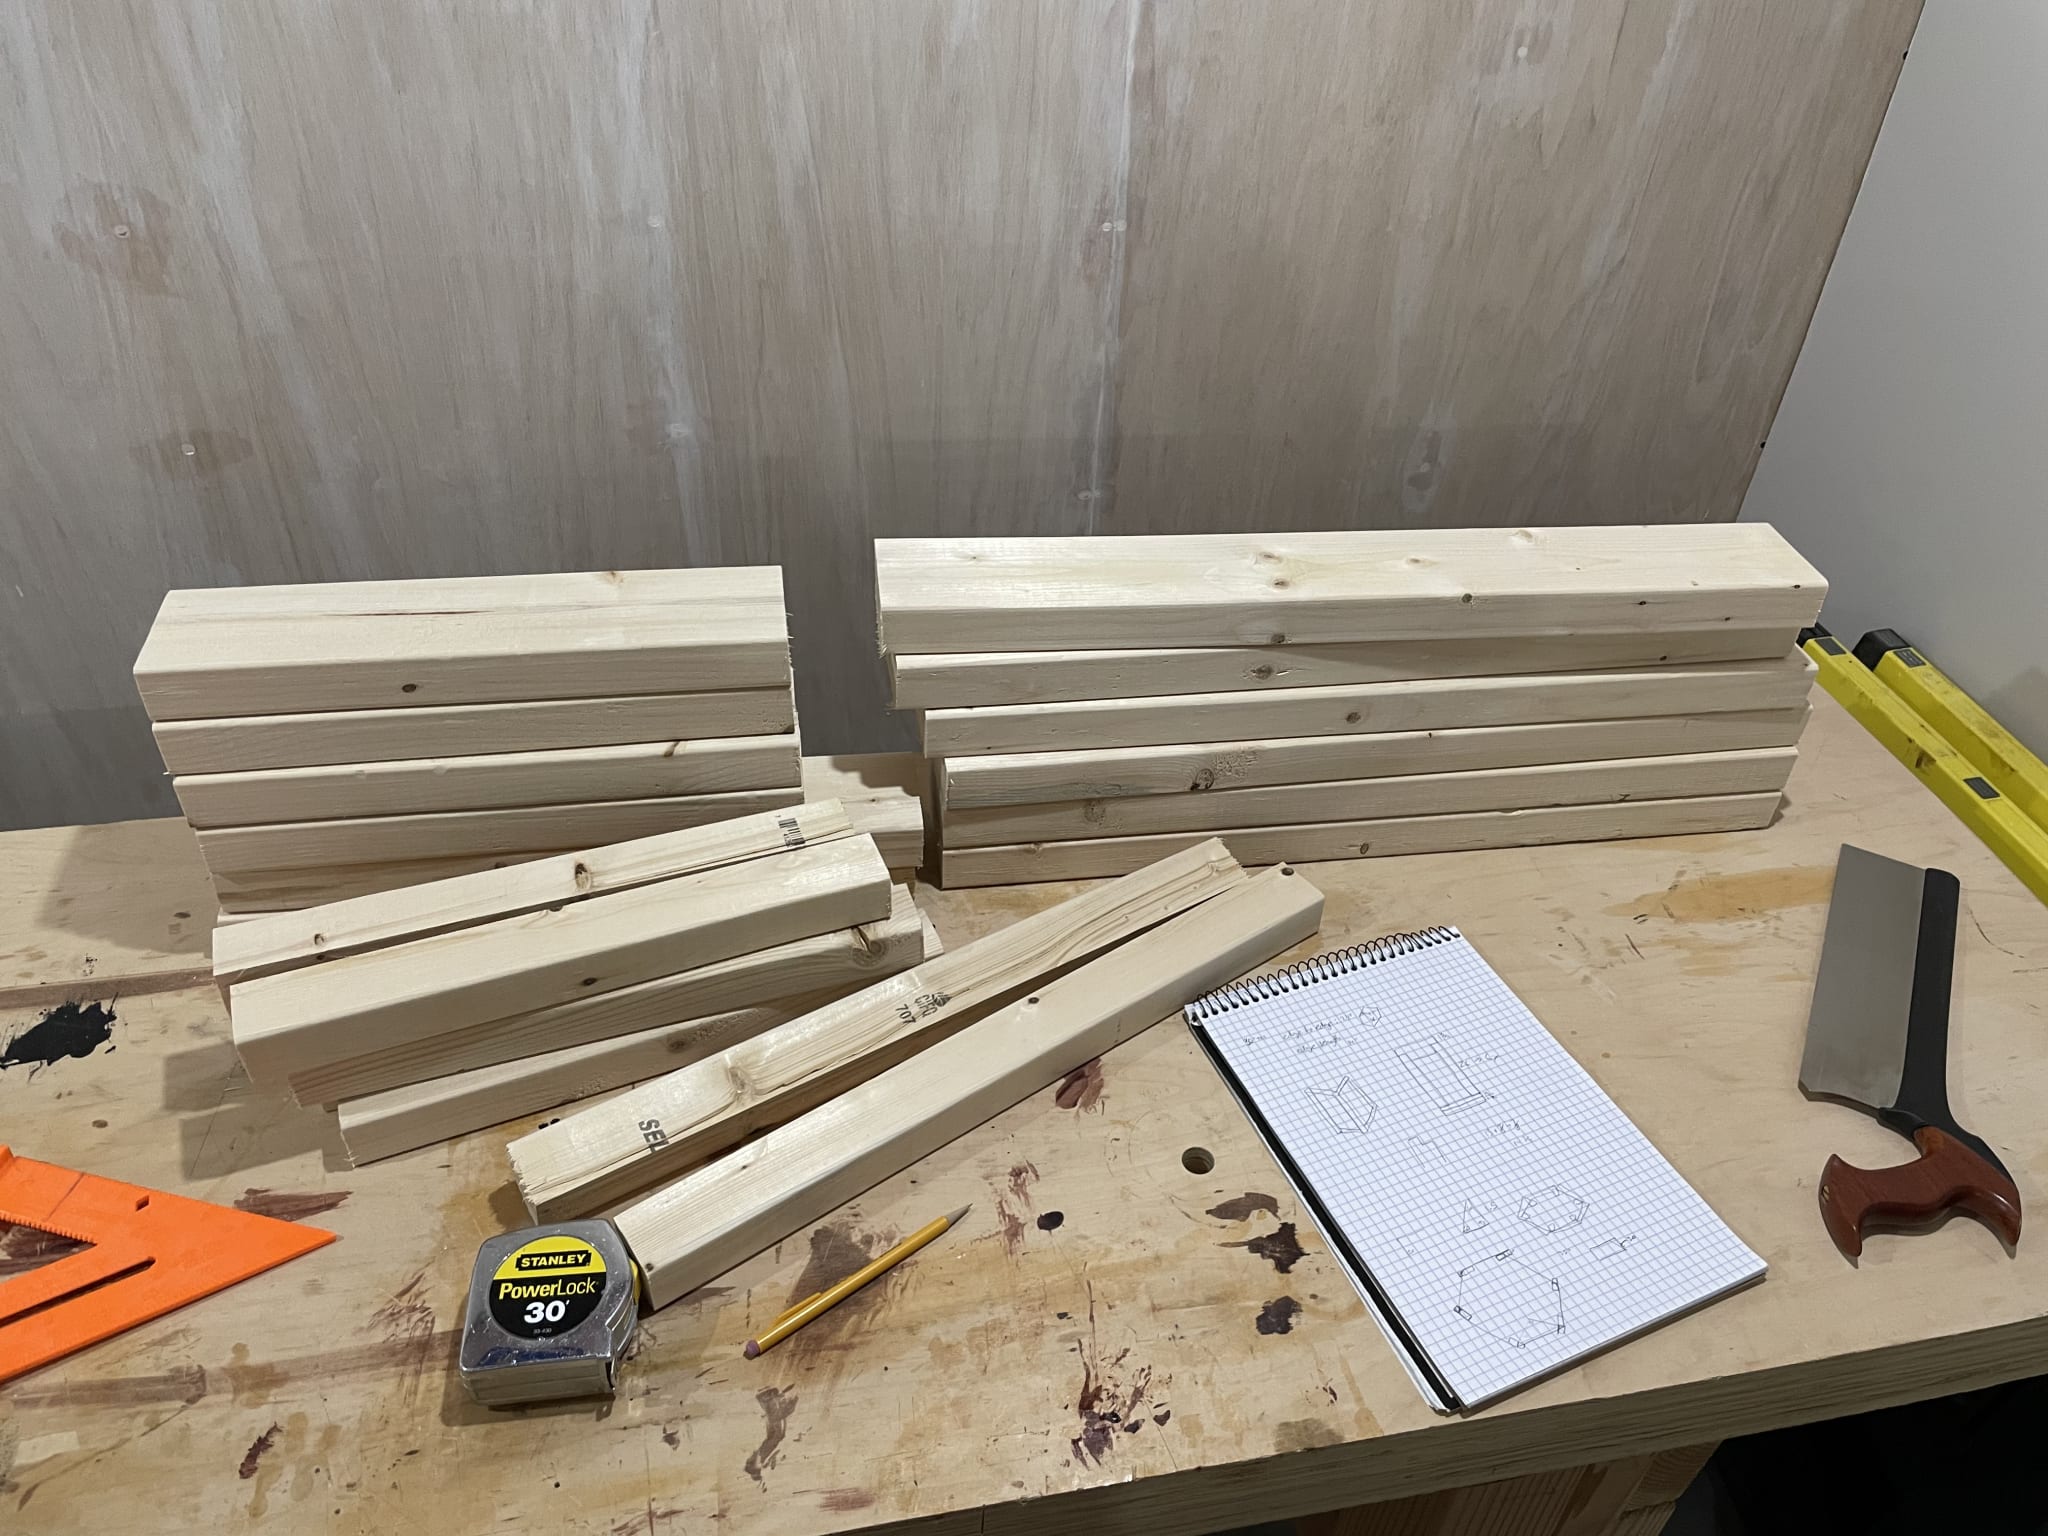
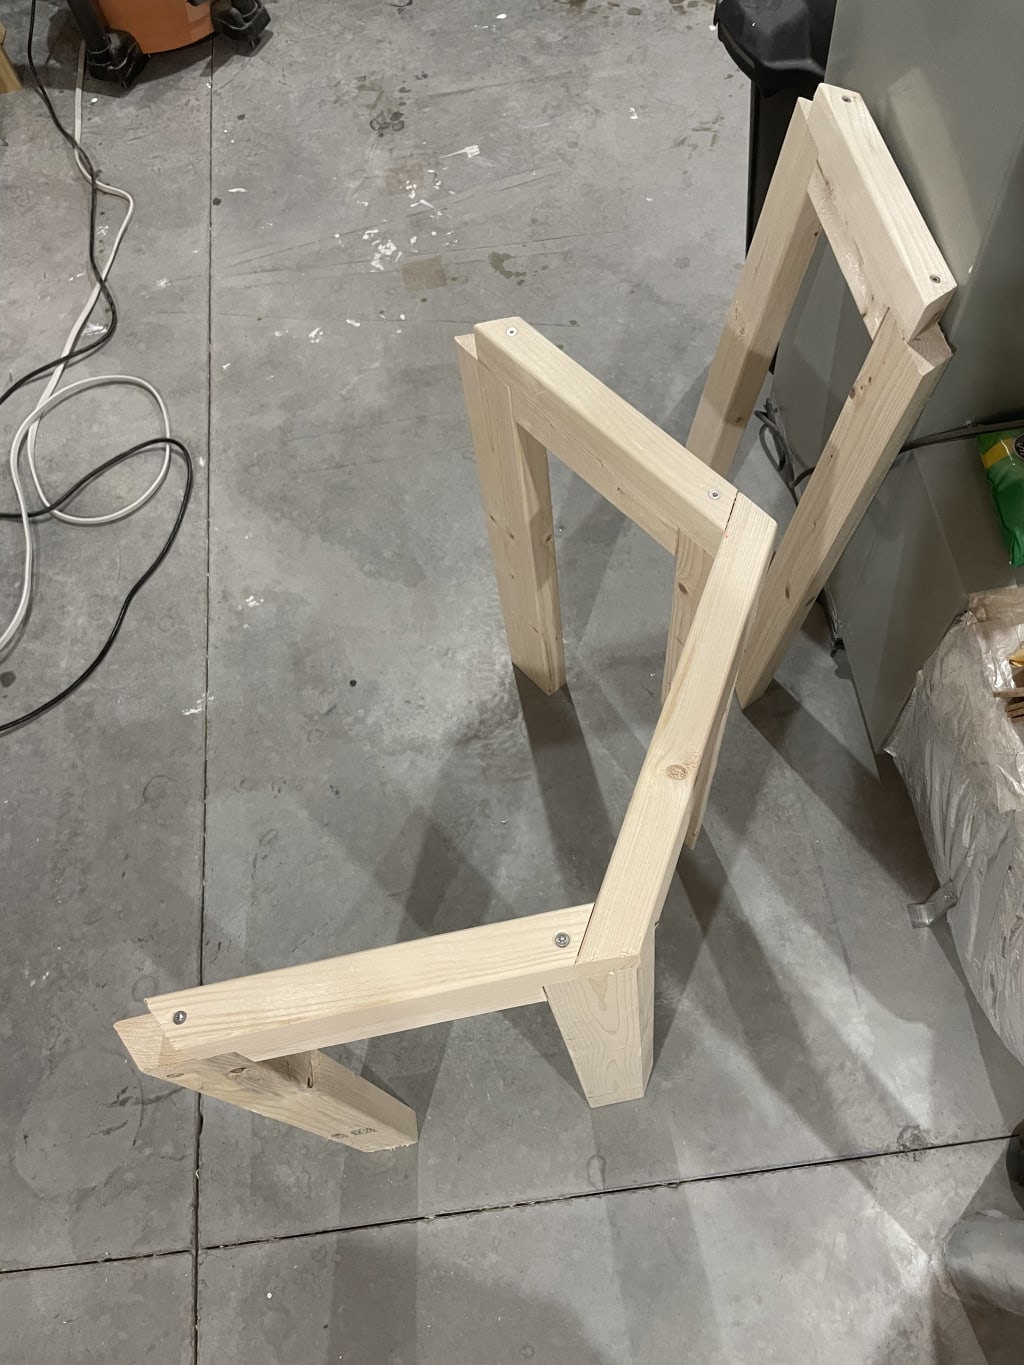
I started off by cutting the lumber to length for each of the elements.
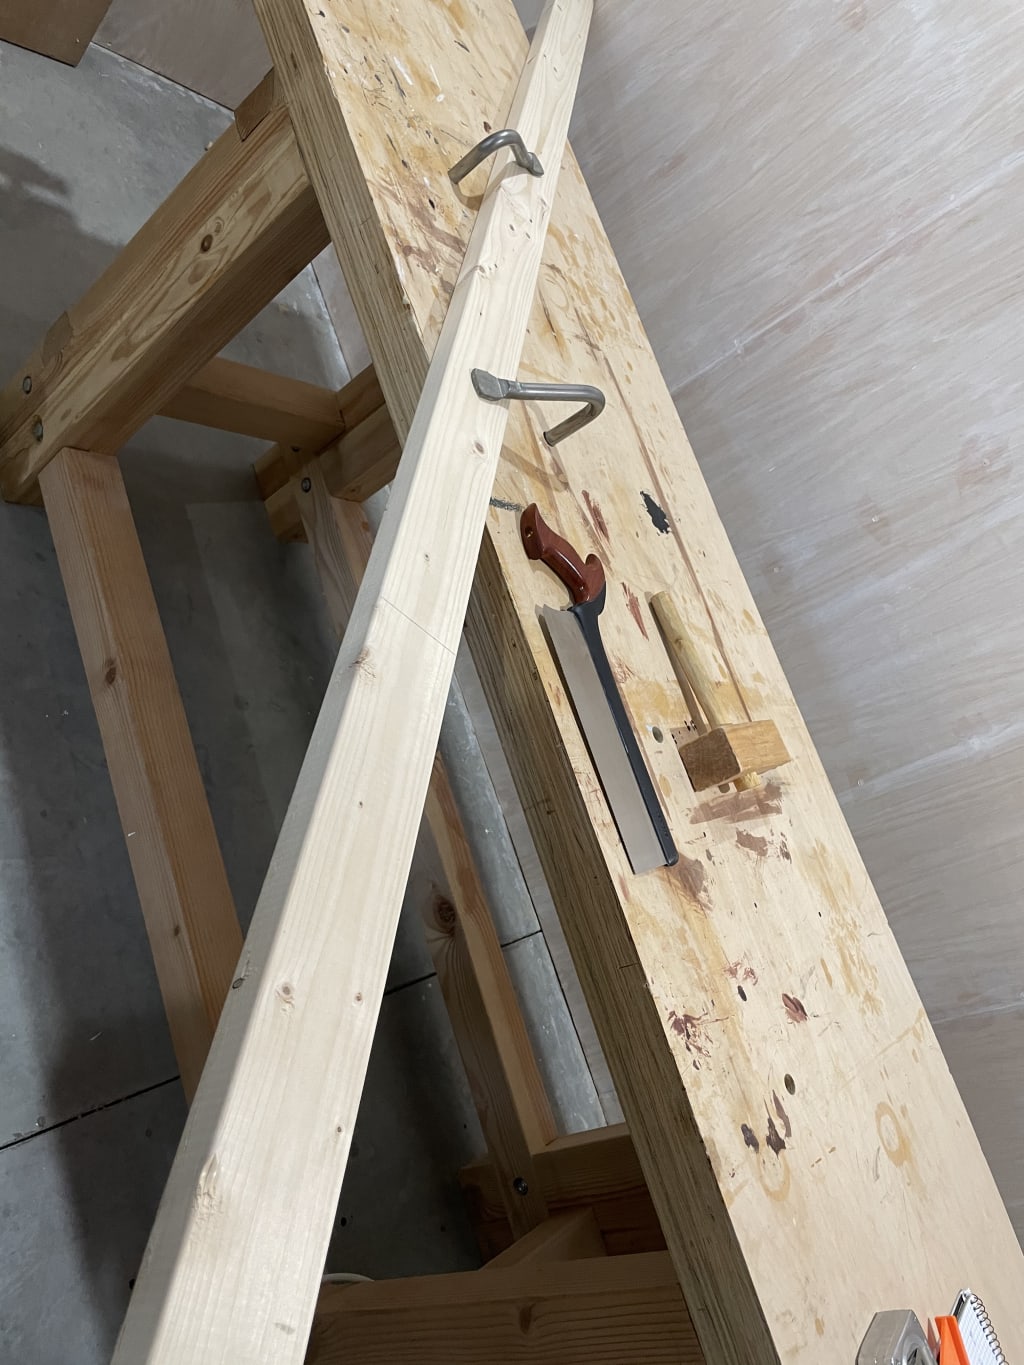
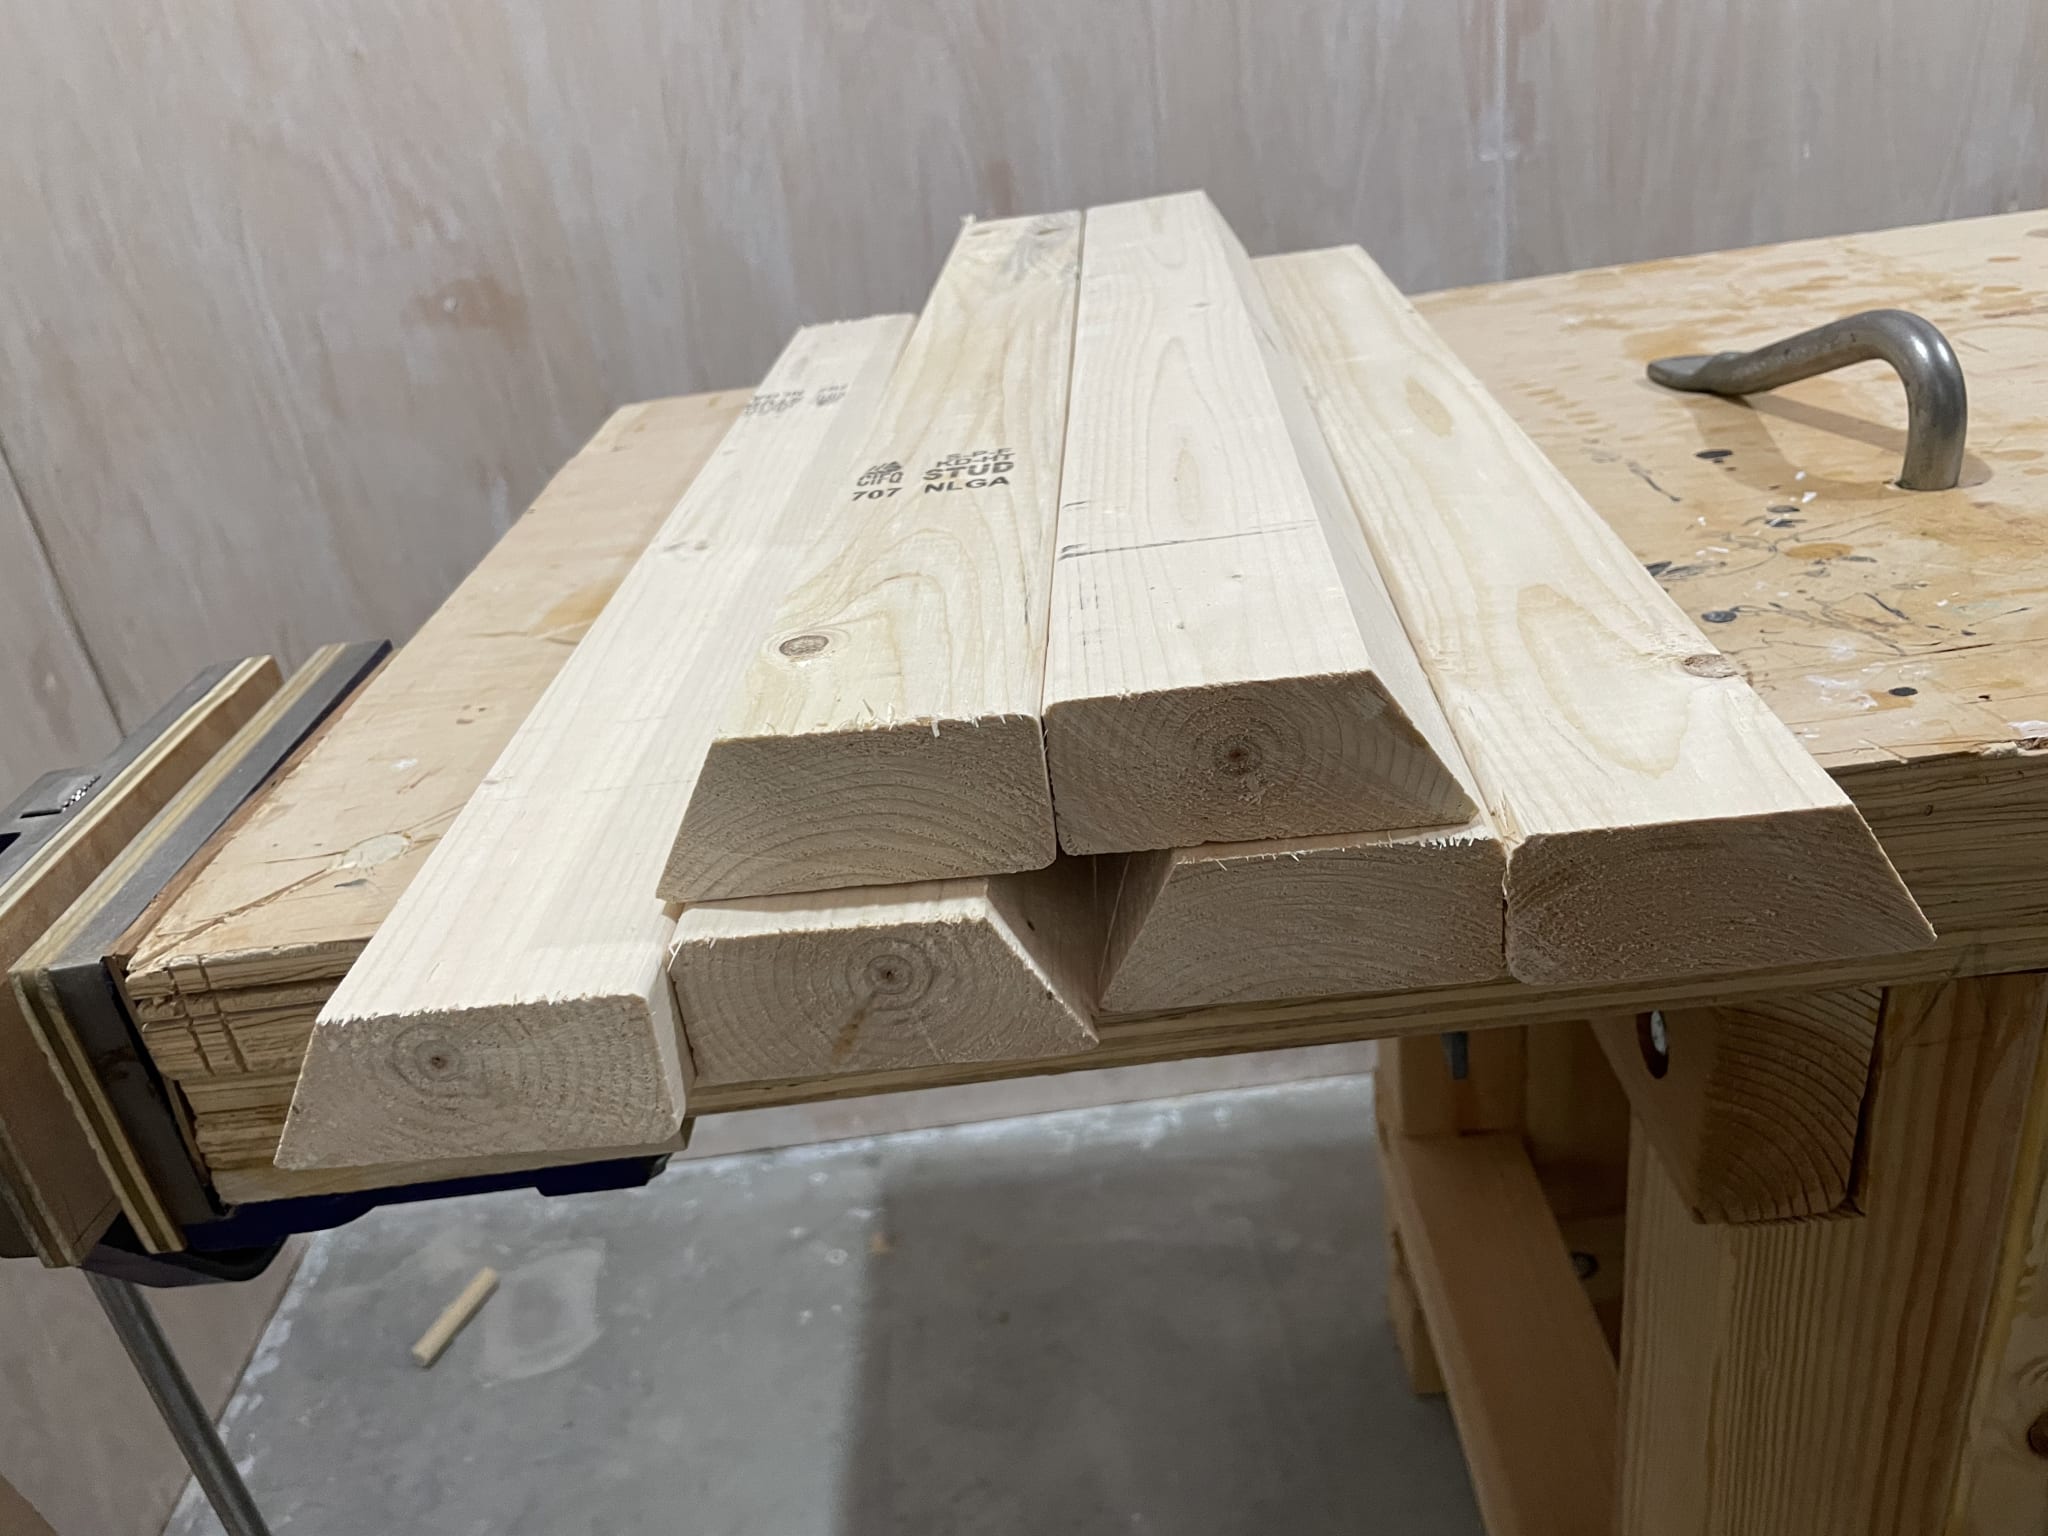
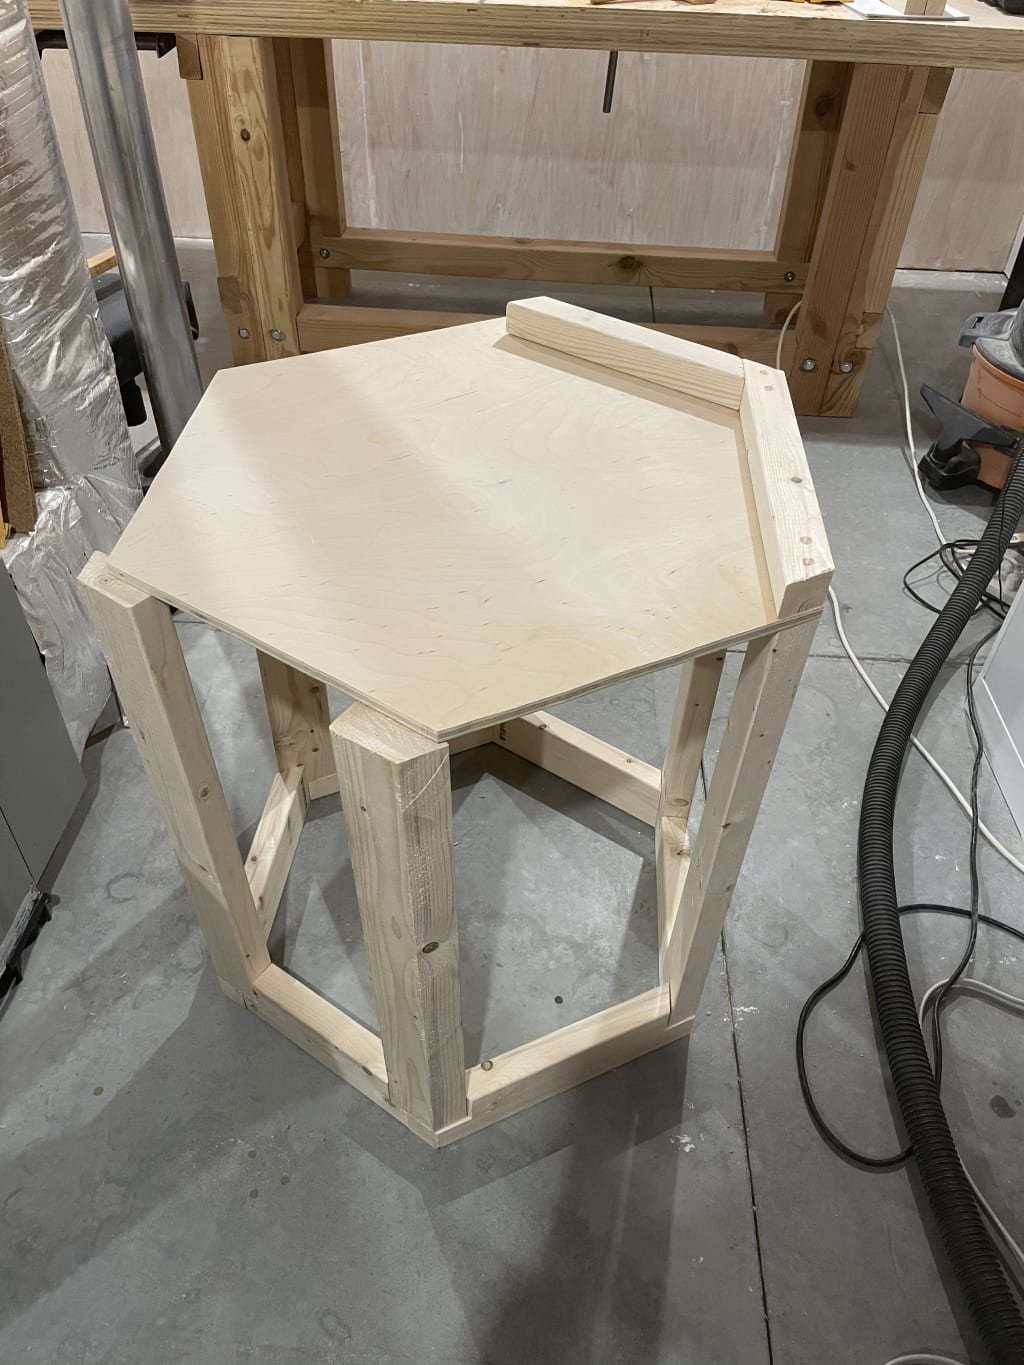
Next, I ran the vertical pieces that would make up the hexagon vertices through my table saw to get the appropriate angle on them.
Each of the joints for the top hexagon frame where simple halflaps with screws for anchoring. Getting all the angles and lengths right was tricky and I remeasured and rechecked a lot.
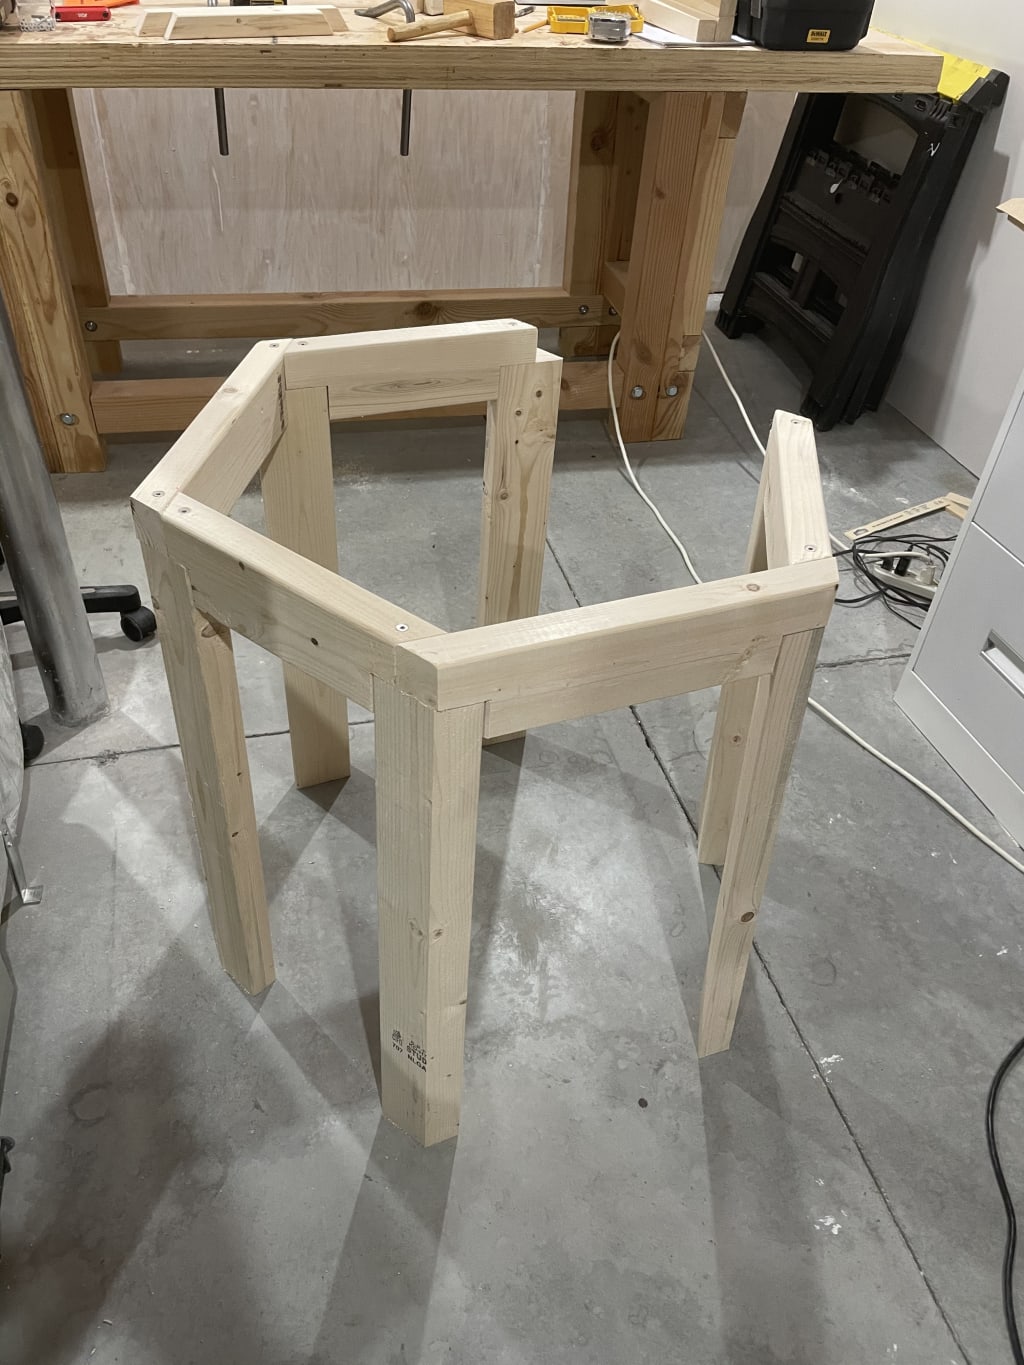
Once the frame was done enough to trace the size of the top and bottom (and inner shelf) plywood pieces, I did exactly that. The best part about tracing the shape is that you don't need fancy measurements. Just draw, cut and fit.
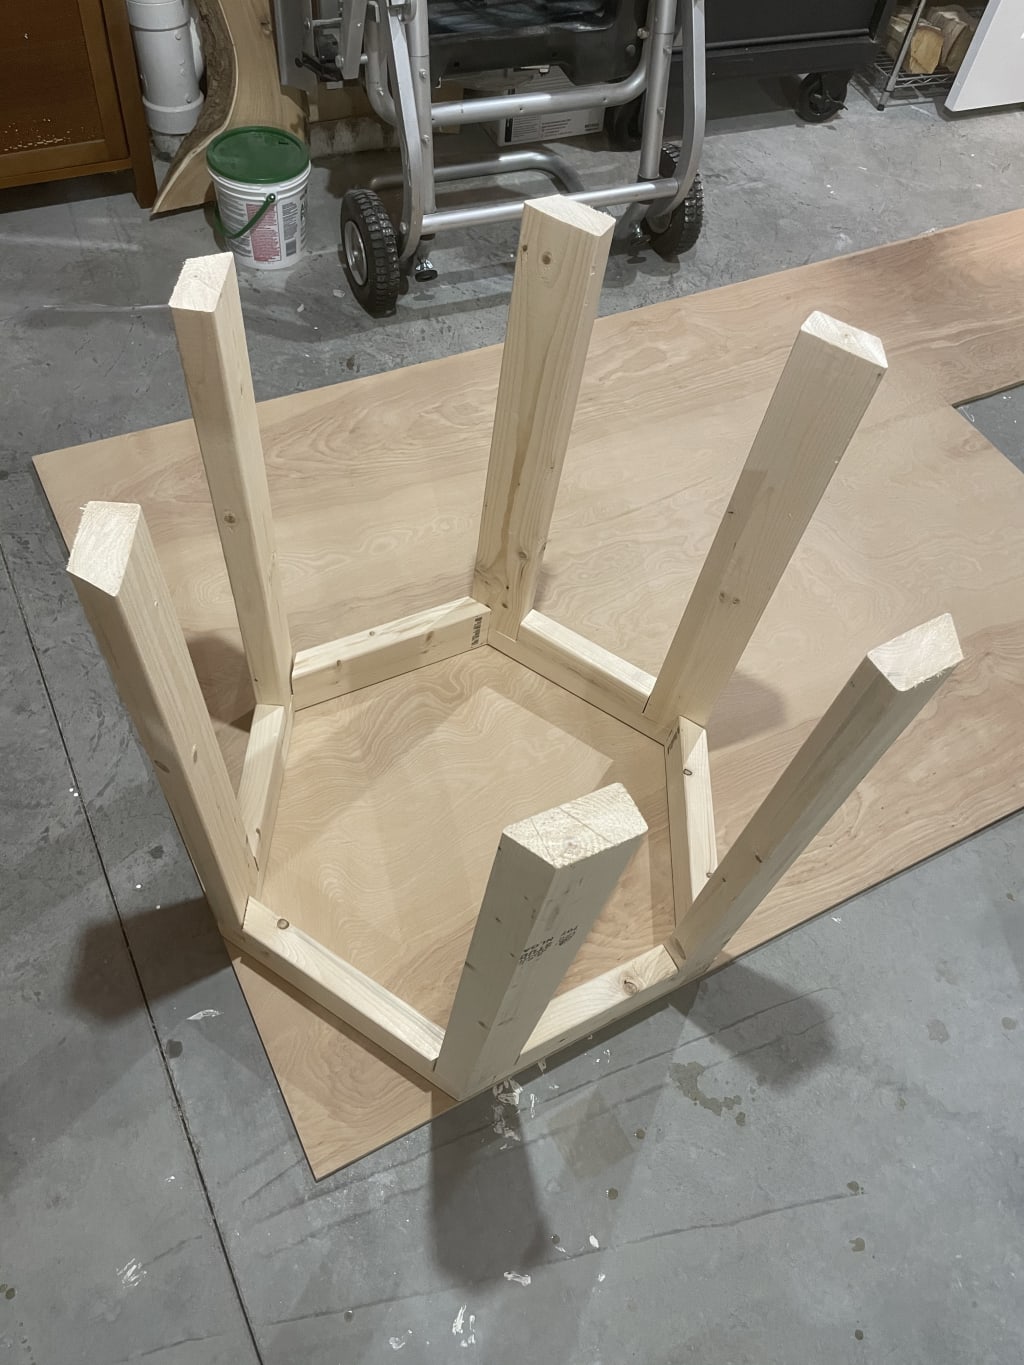
Since I want to put in a shelf at about 2/3rds the inner height of the base, I need to work my way from bottom to top to finish the frame.
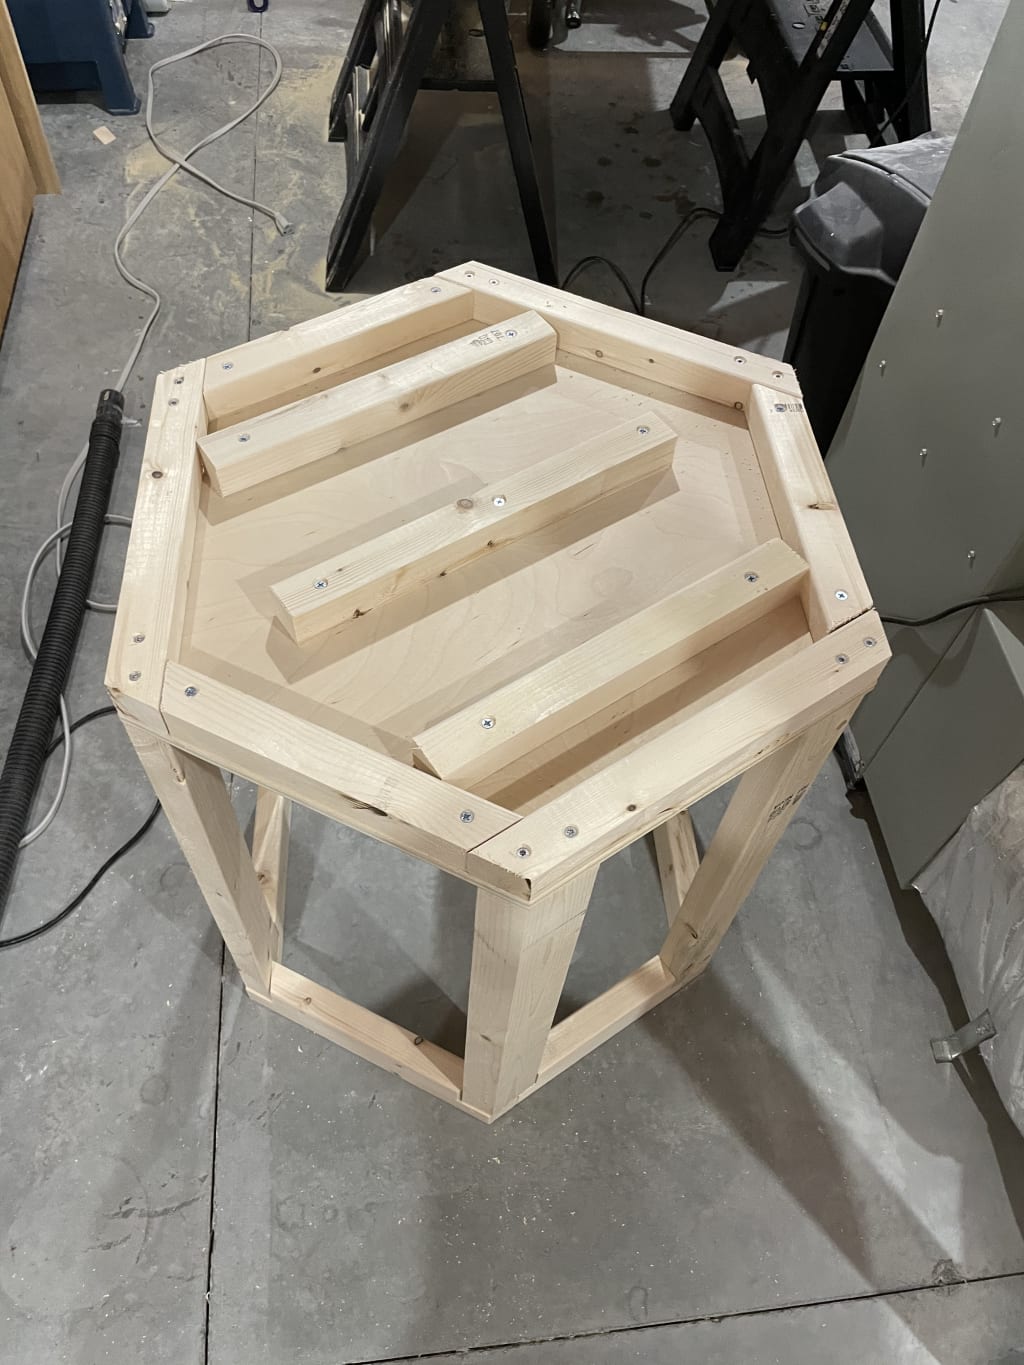
Once the bottom was set, I flipped it back over and added the supports (just a few pieces of scrap) to support the shelf. Then in went the shelf, and on went the top!

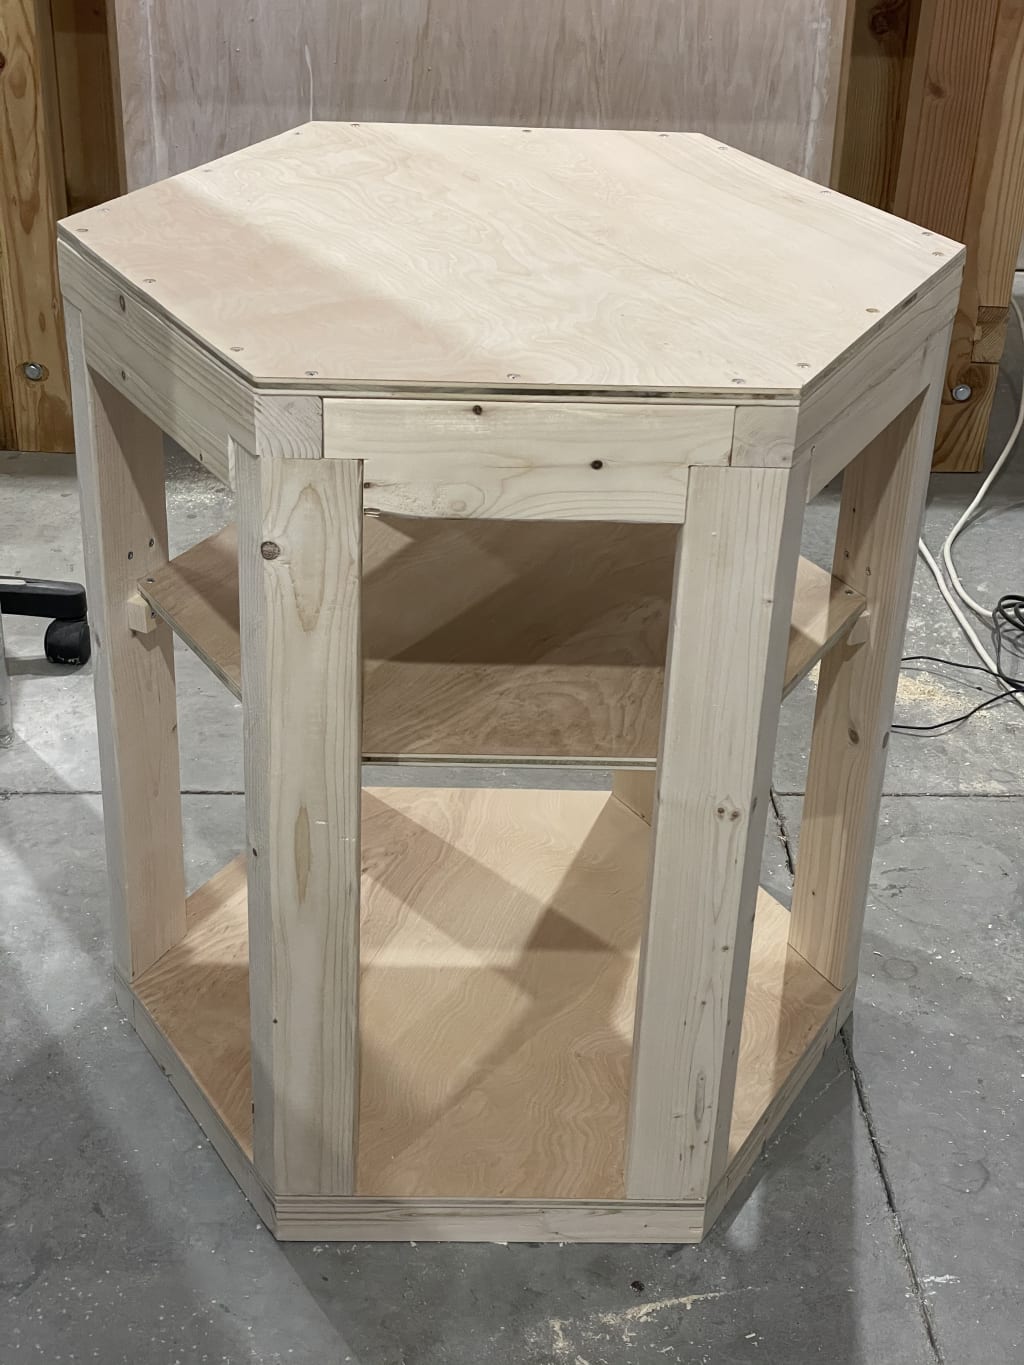
At this point the frame is complete, and I get it a quick sanding so it is all looking nice and smooth.
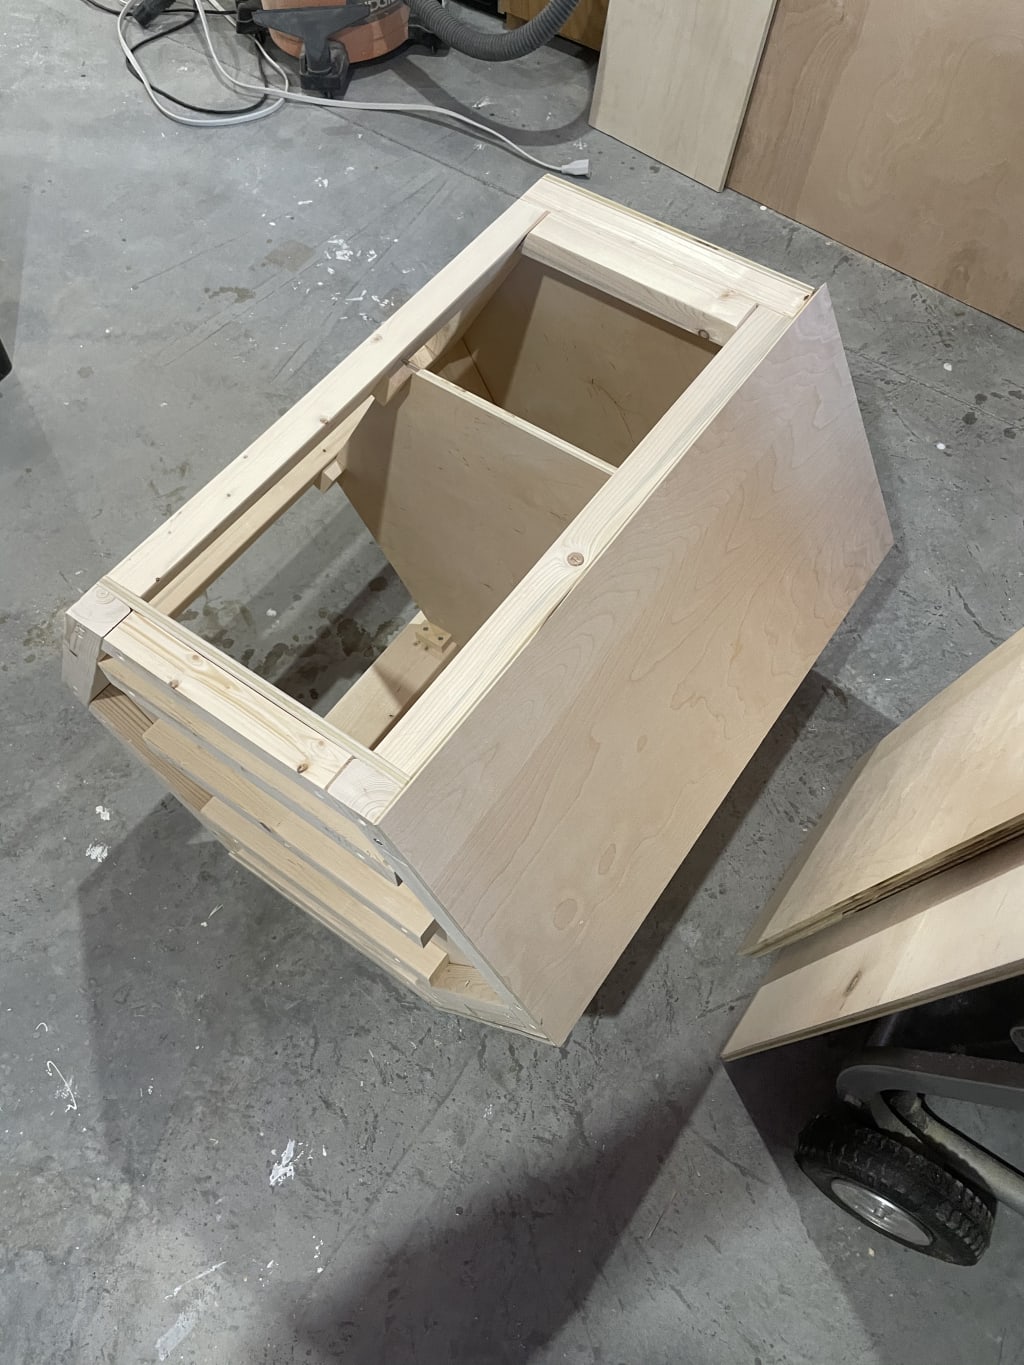
The outer shell
Fortunately when I was ready to work on the outer shell, my brother Bruce was visiting and we used his truck to run and get a 4'x8' sheet of 1/2" thick birch plywood. Not only should the plywood look nice, but it will add to the overall structural integrity of the piece.
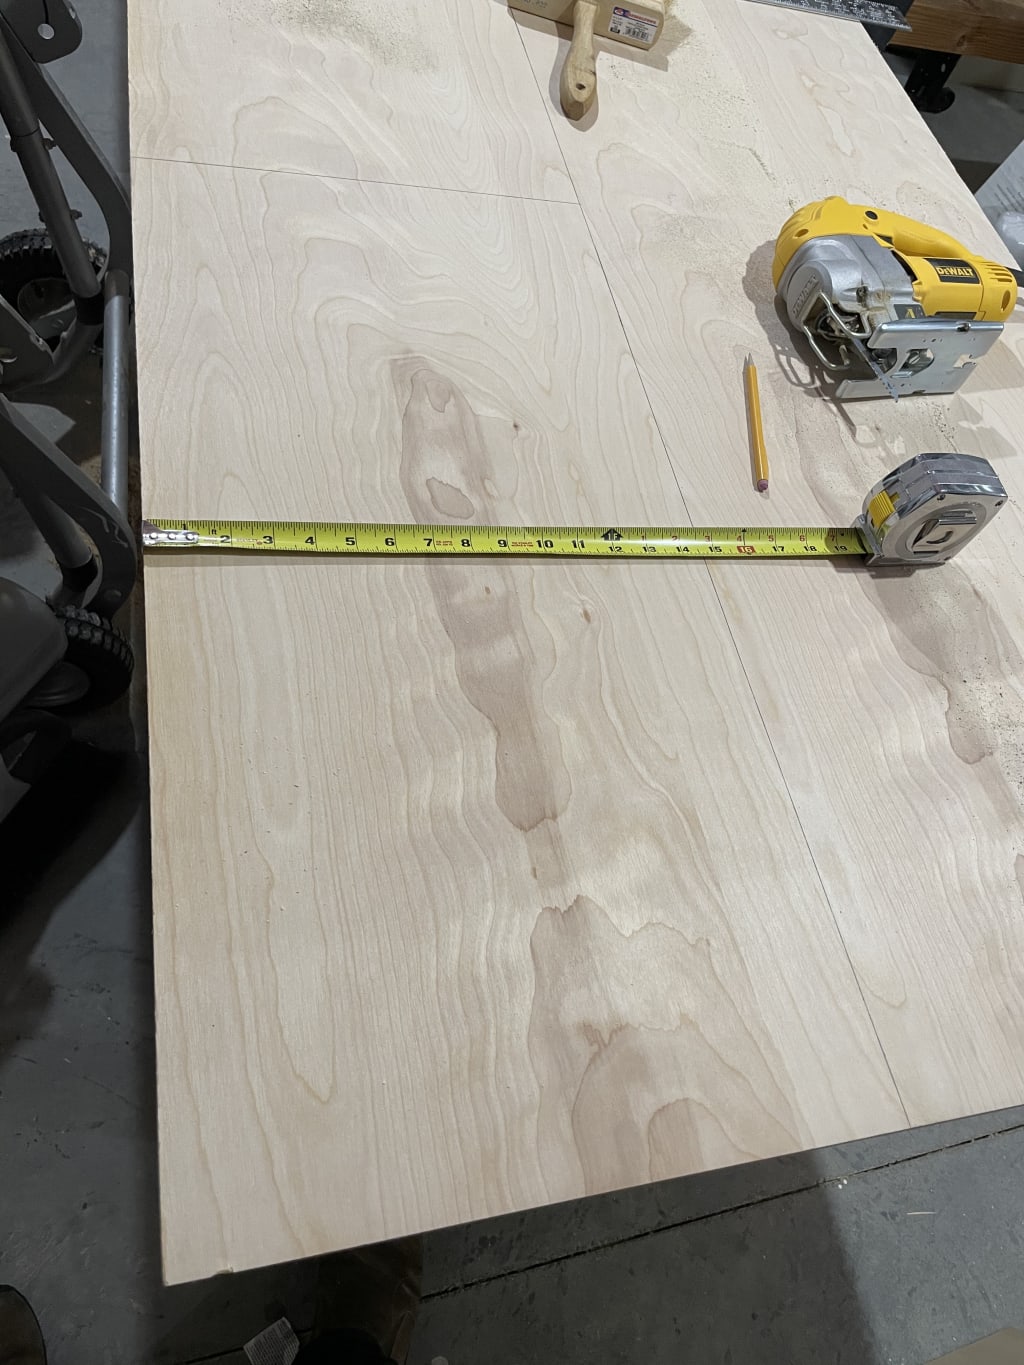
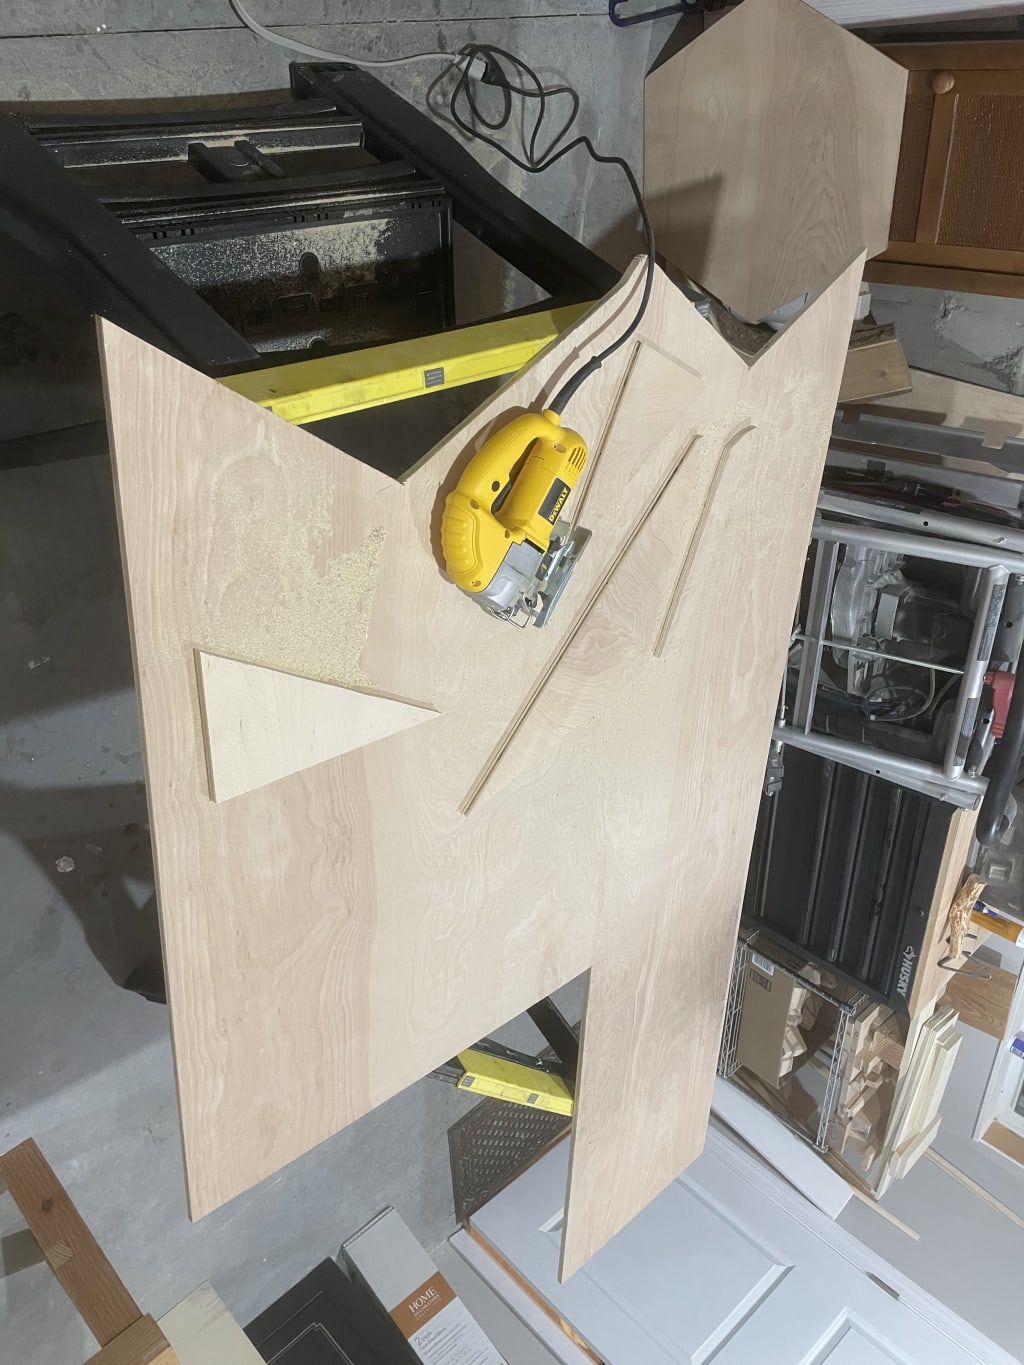
A tricky part for this stage was that each piece needed its left and right edges cut at an angle so they'd all meet up around the outside of the frame in the perfect hexagon shape. This added more complexity. Once I cut all the sheets (plus two extra just to be safe) I started fixing them to frame.
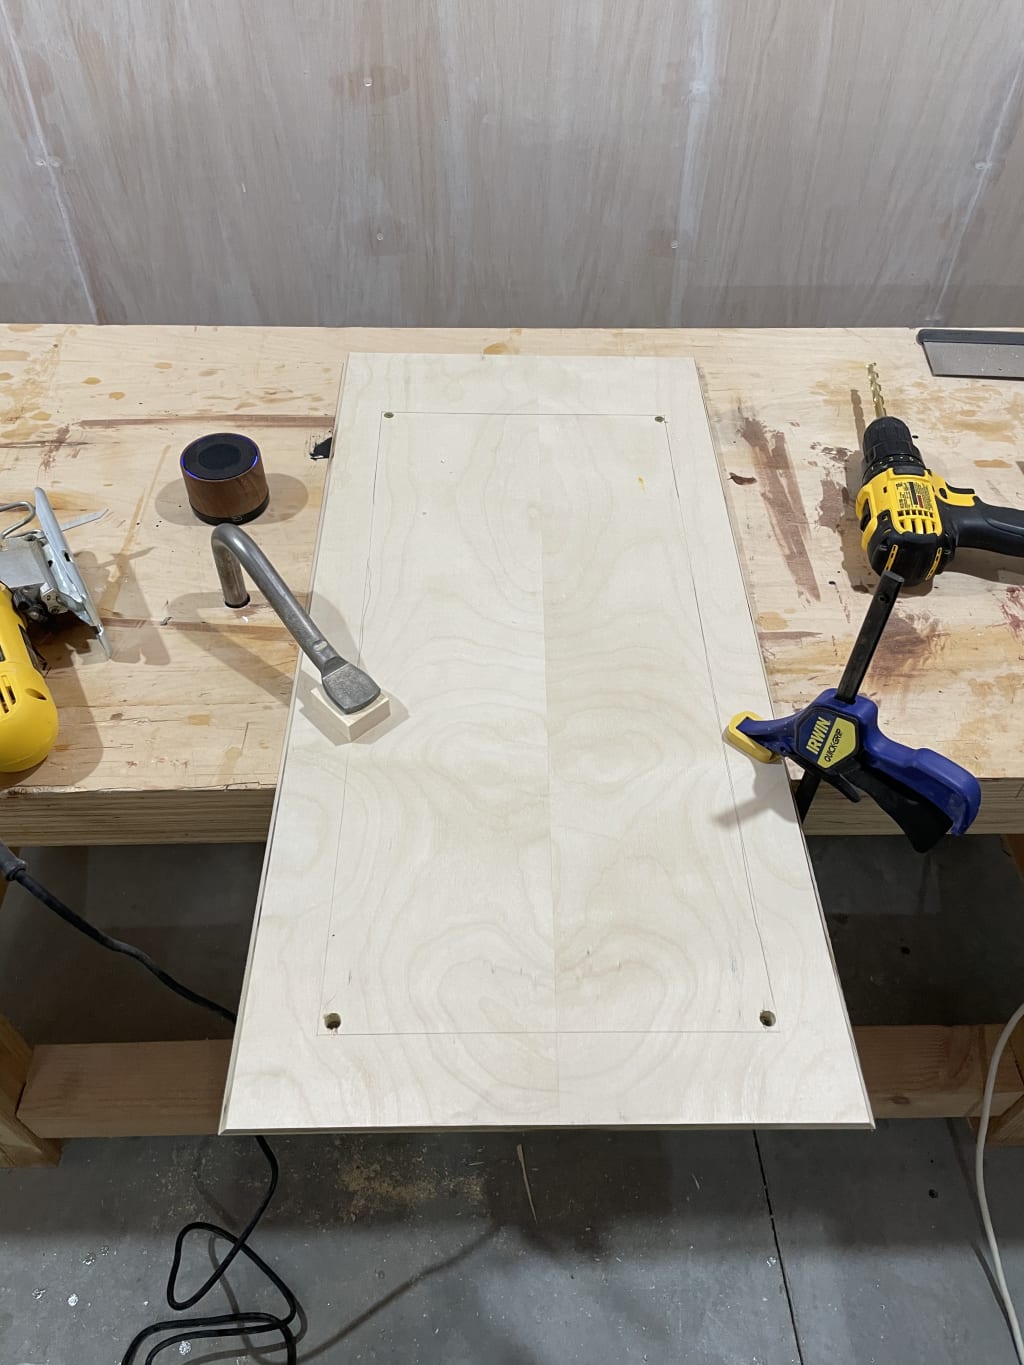
For the side that would hold the door, I marked the inner rectangle with a pencil, and then drilled each corner so I had some space for my jigsaw to get in and move around.

Once the outer shell was complete, I liberally applied liquid nails to all the internal seams and any gaps to make sure this thing wouldn't twist and fail catastrophically under load.
So now I have a hexagon box, but it looks boring. Let's fix that with some moulding.
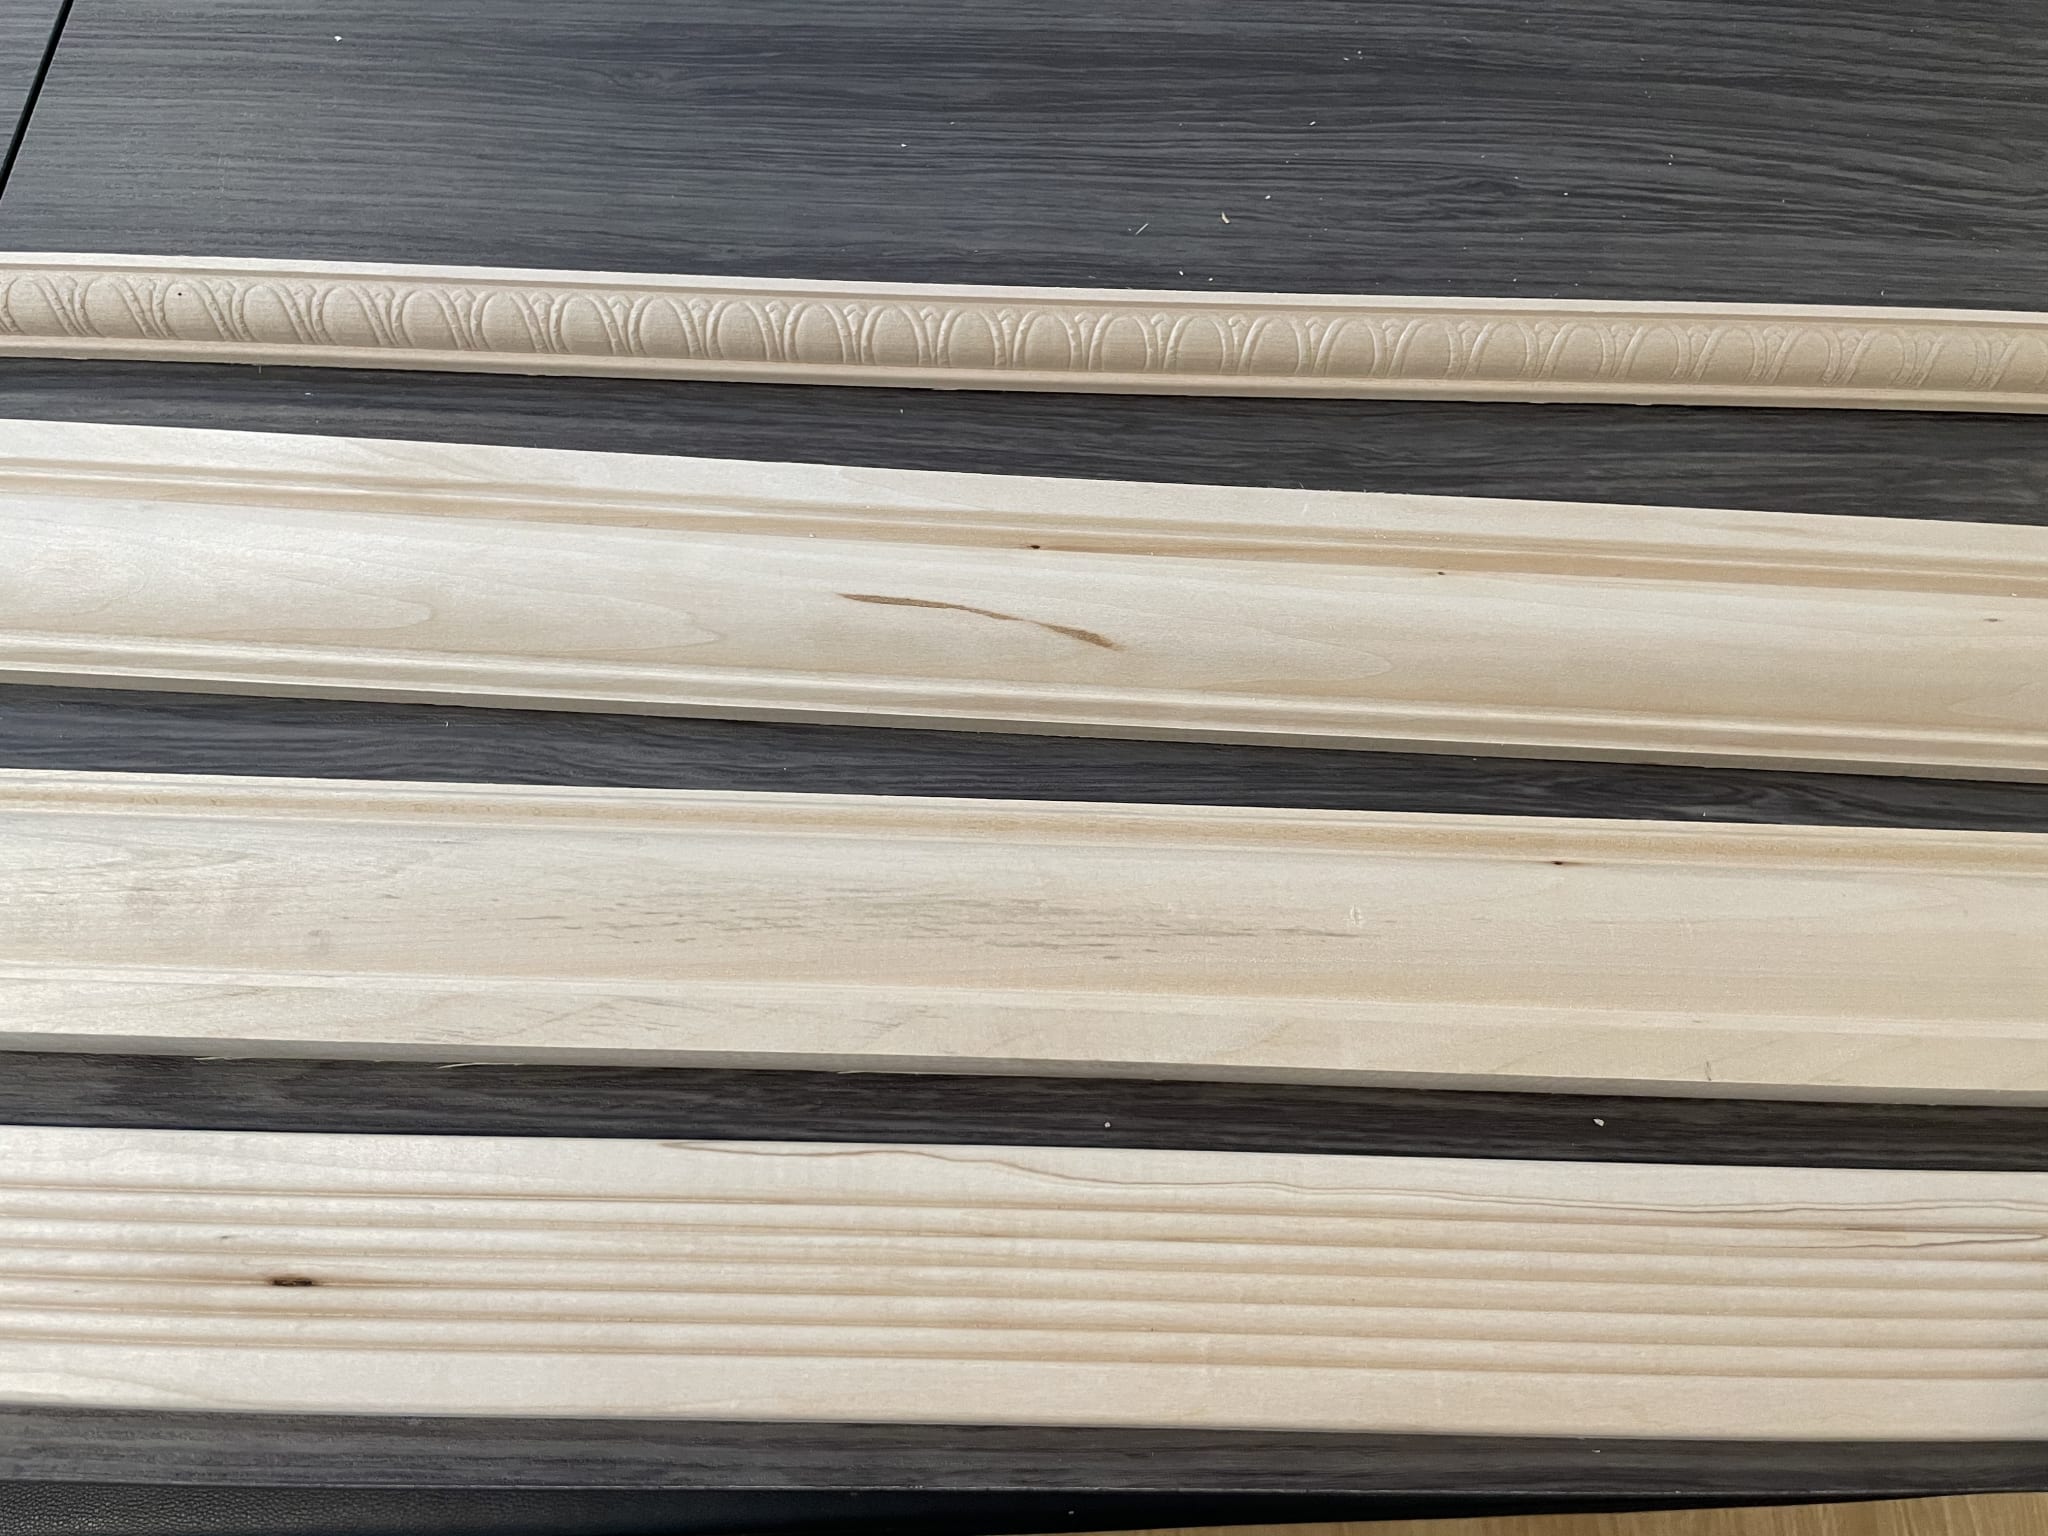
The moulding and door
I checked both Lowe's and Home Depot for moulding, and I probably could have gone to a larger specialty lumber yard, but I found three that I liked. One was for the base board, one for the crown, and one for the door.
Once again, I started on the bottom and worked my way up. First I cut the 60-degree angle on each side and then glued each on.
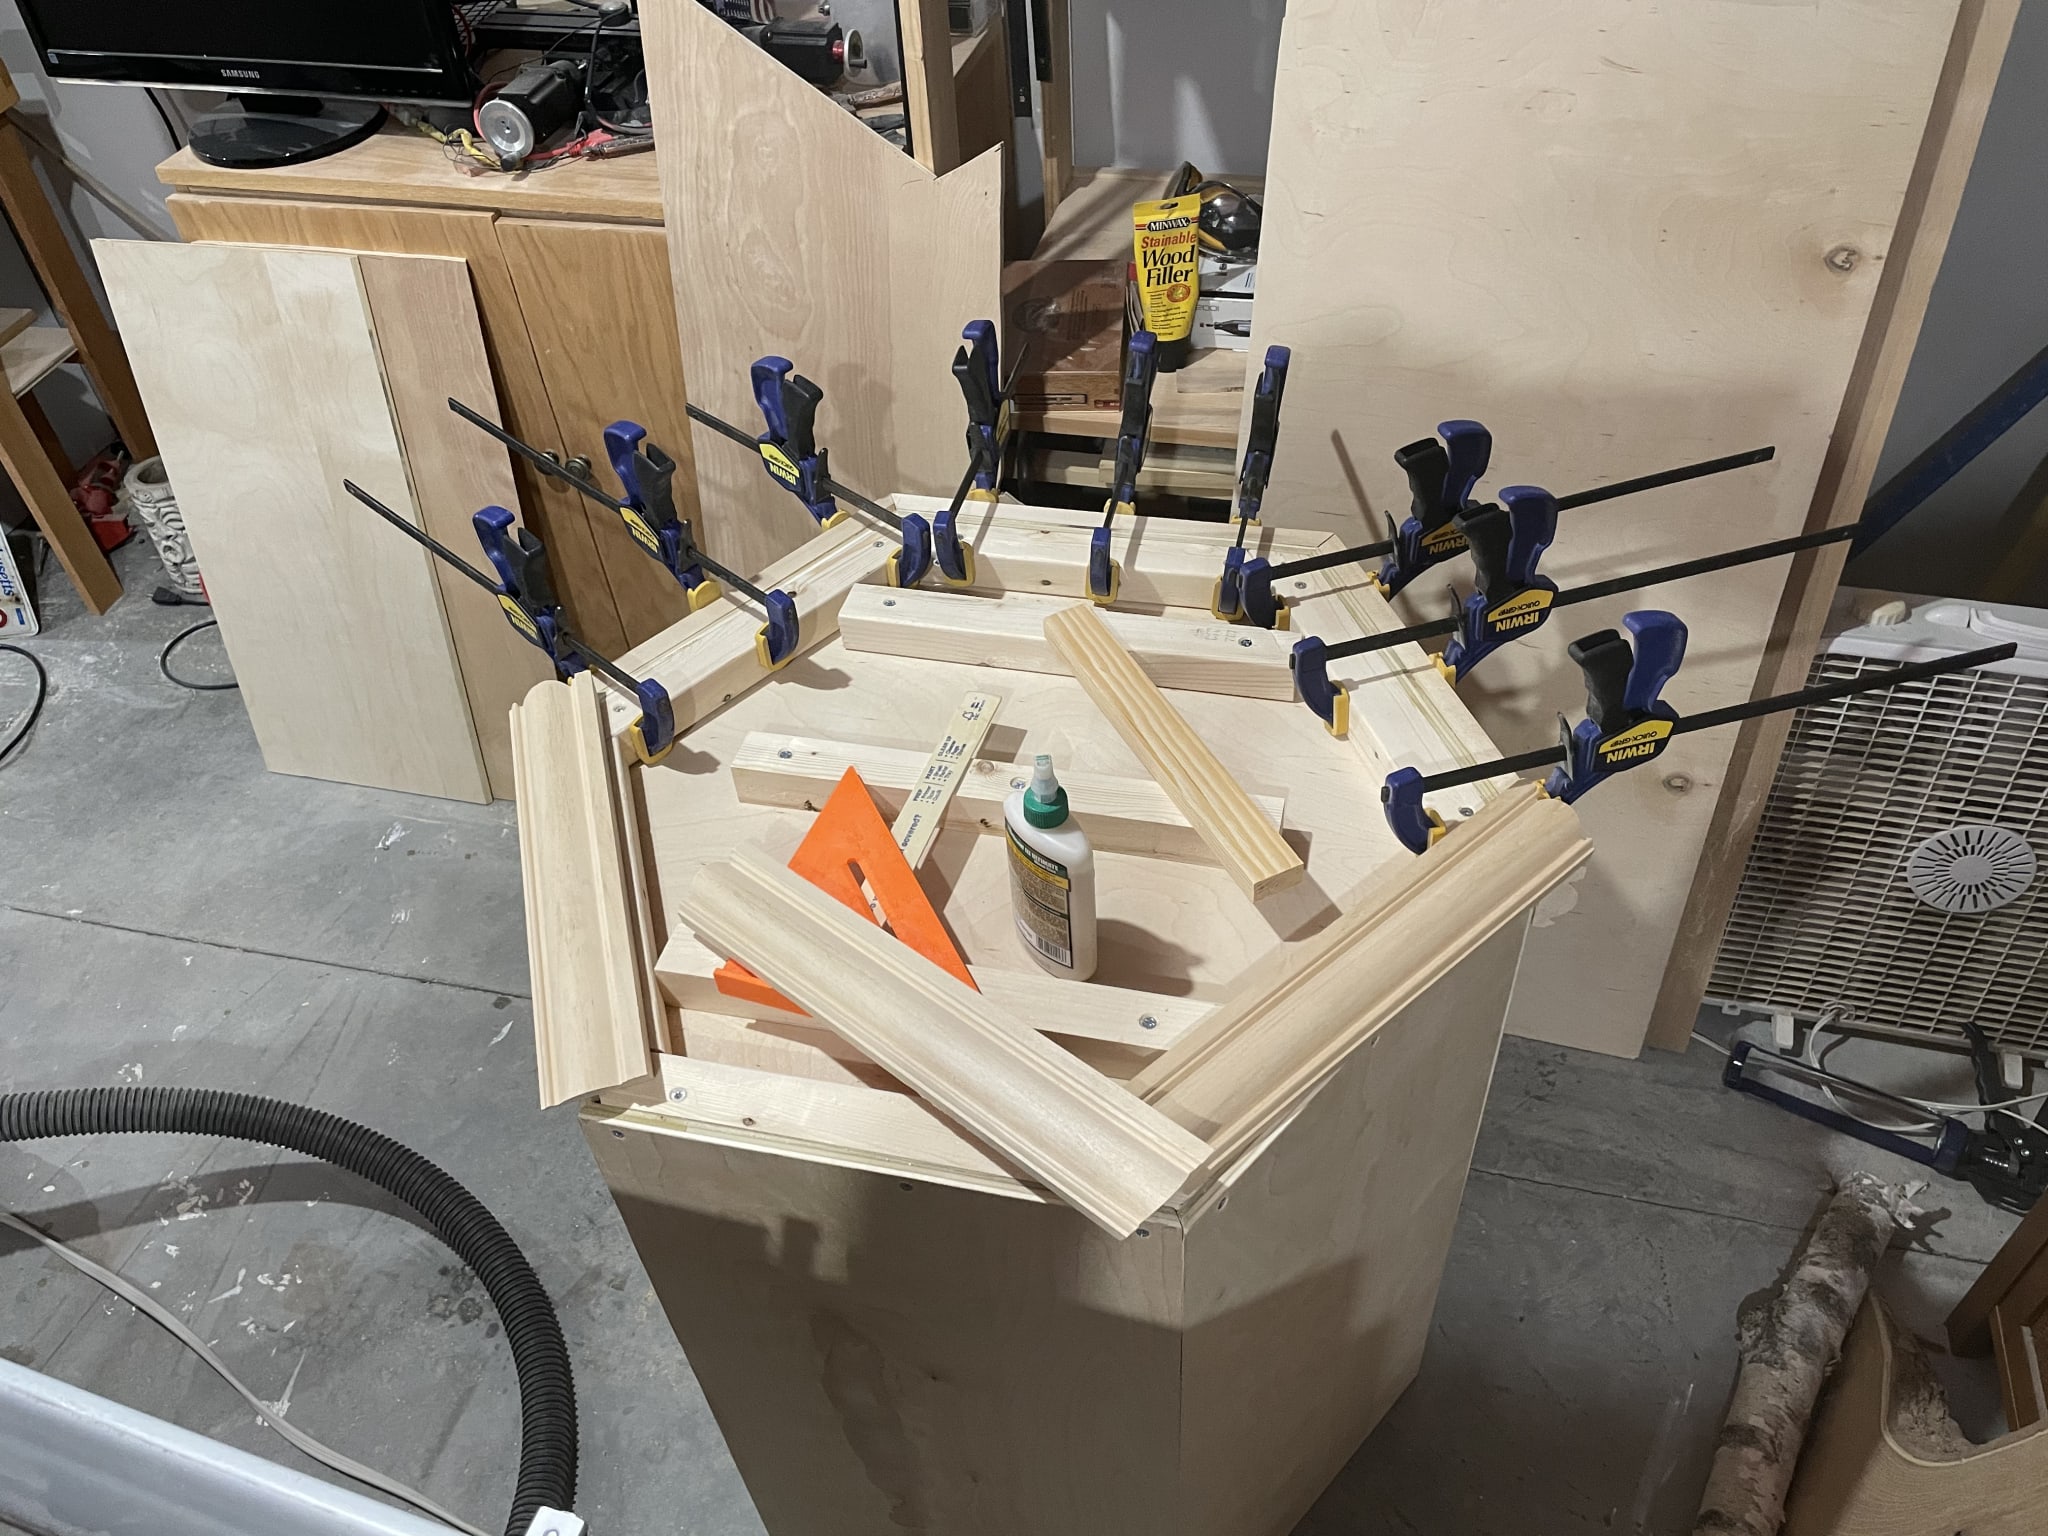
I can only glue so many at a time due to not having enough clamps (fun fact you can never have enough clamps).
Any gaps in the moulding got liquid nails for big gaps, and wood filler for small ones.
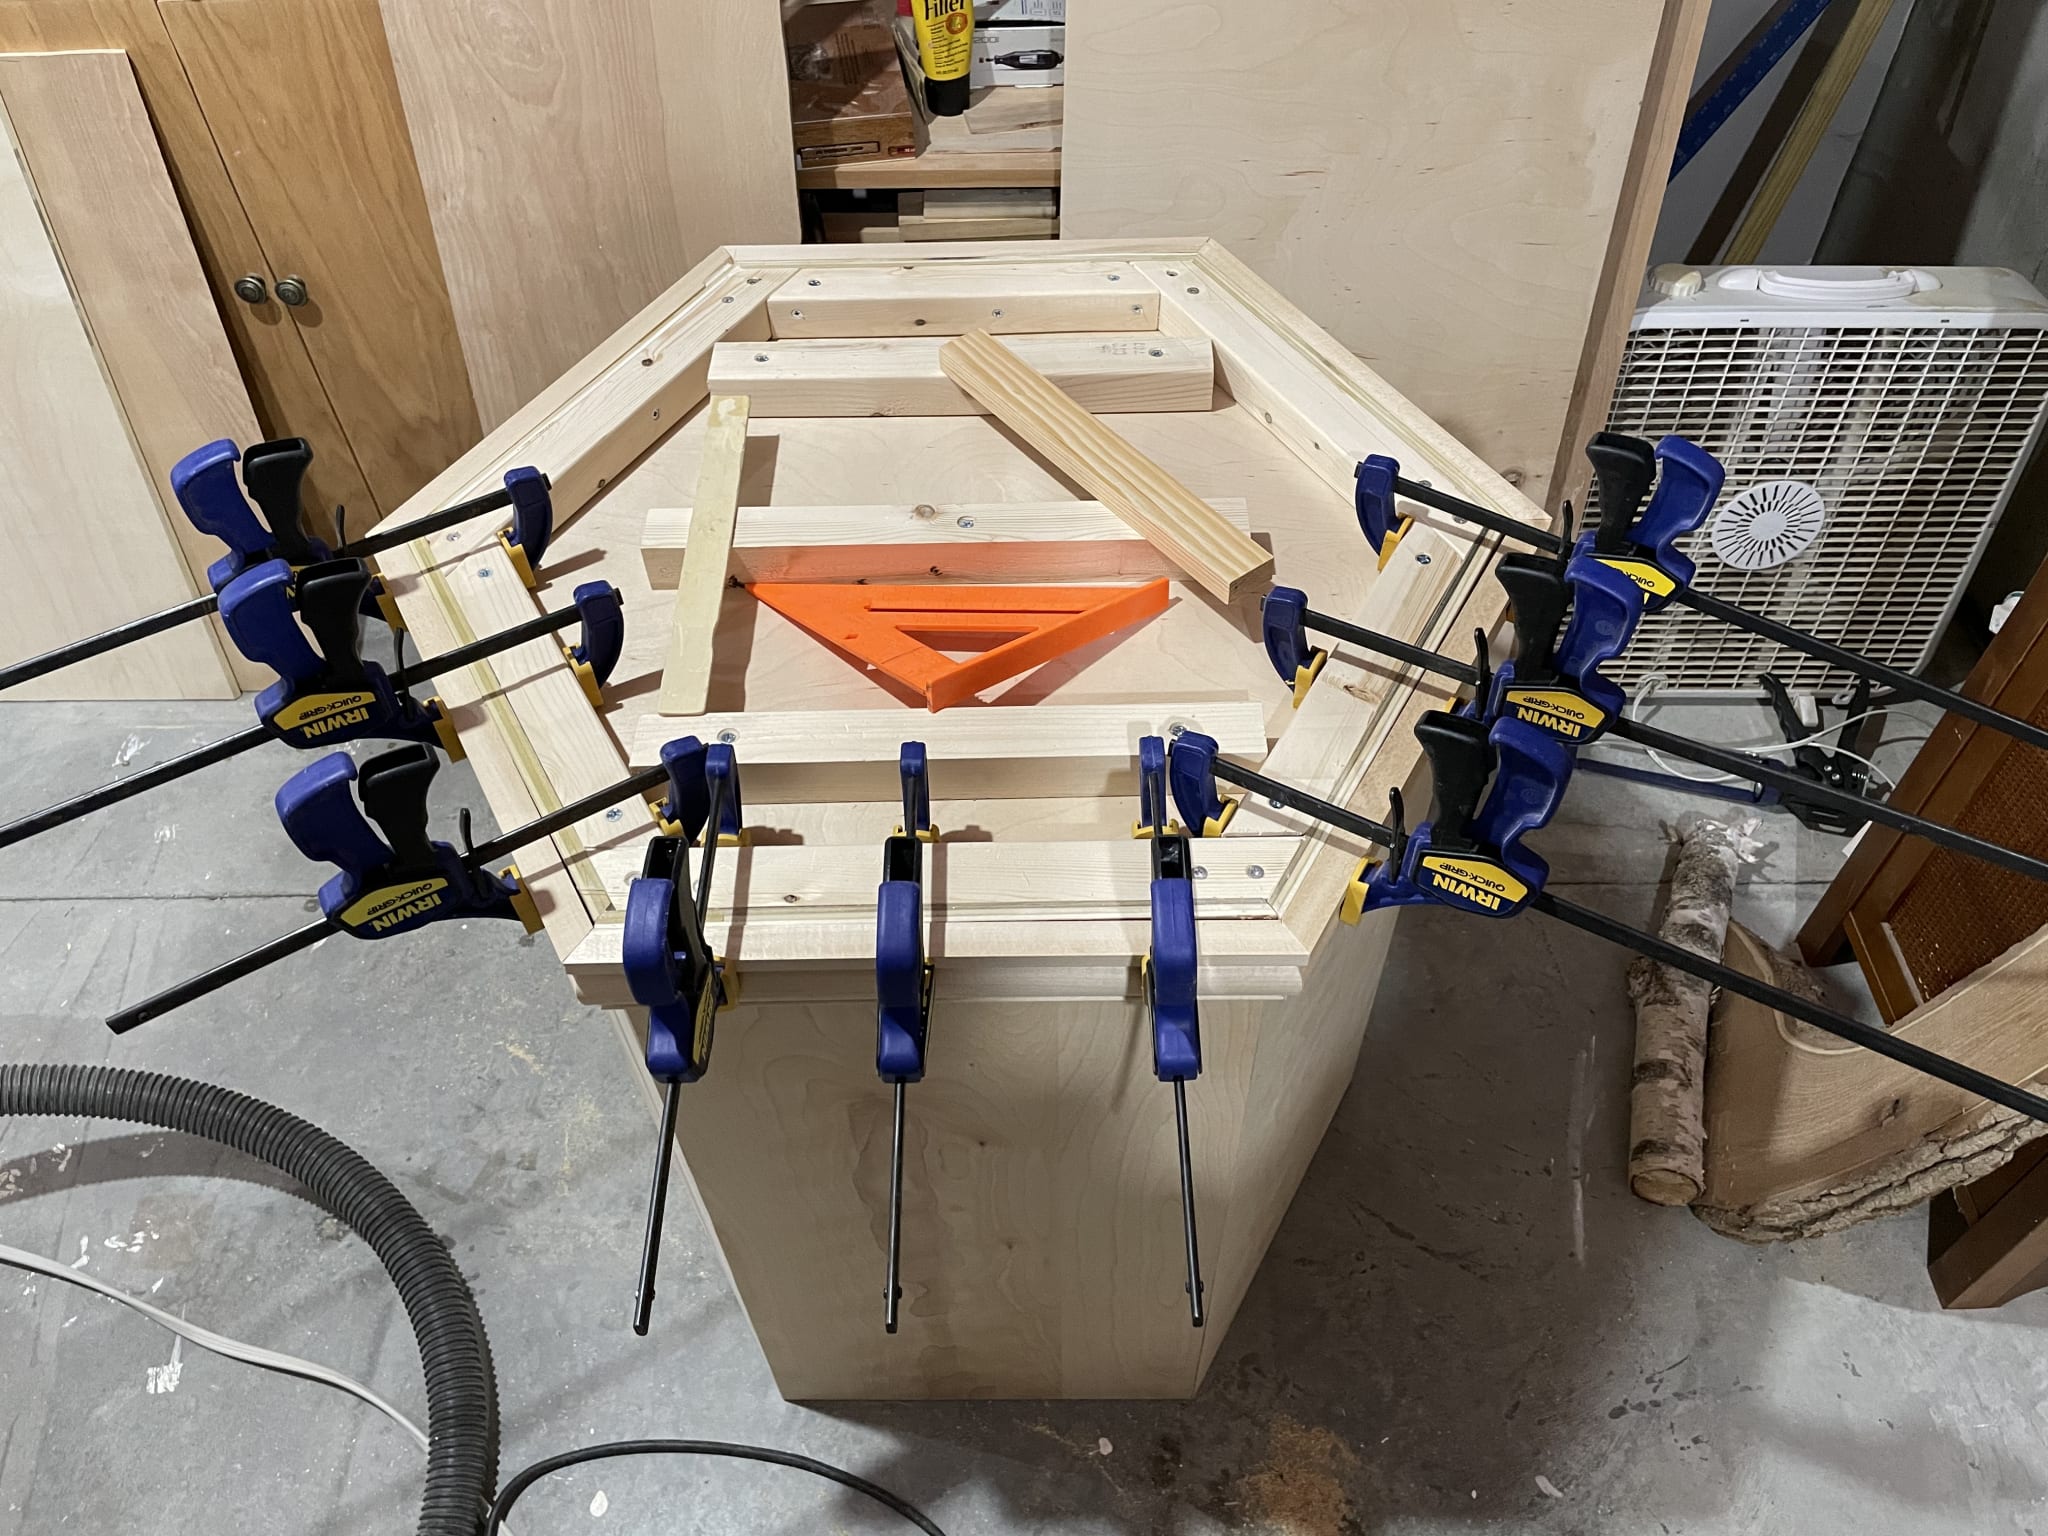
Next I worked on the crown moulding. This would sit on top of the base hugging the bottom of the fish tank. I am using it to hide the edge of the plywood as well as looking nice.

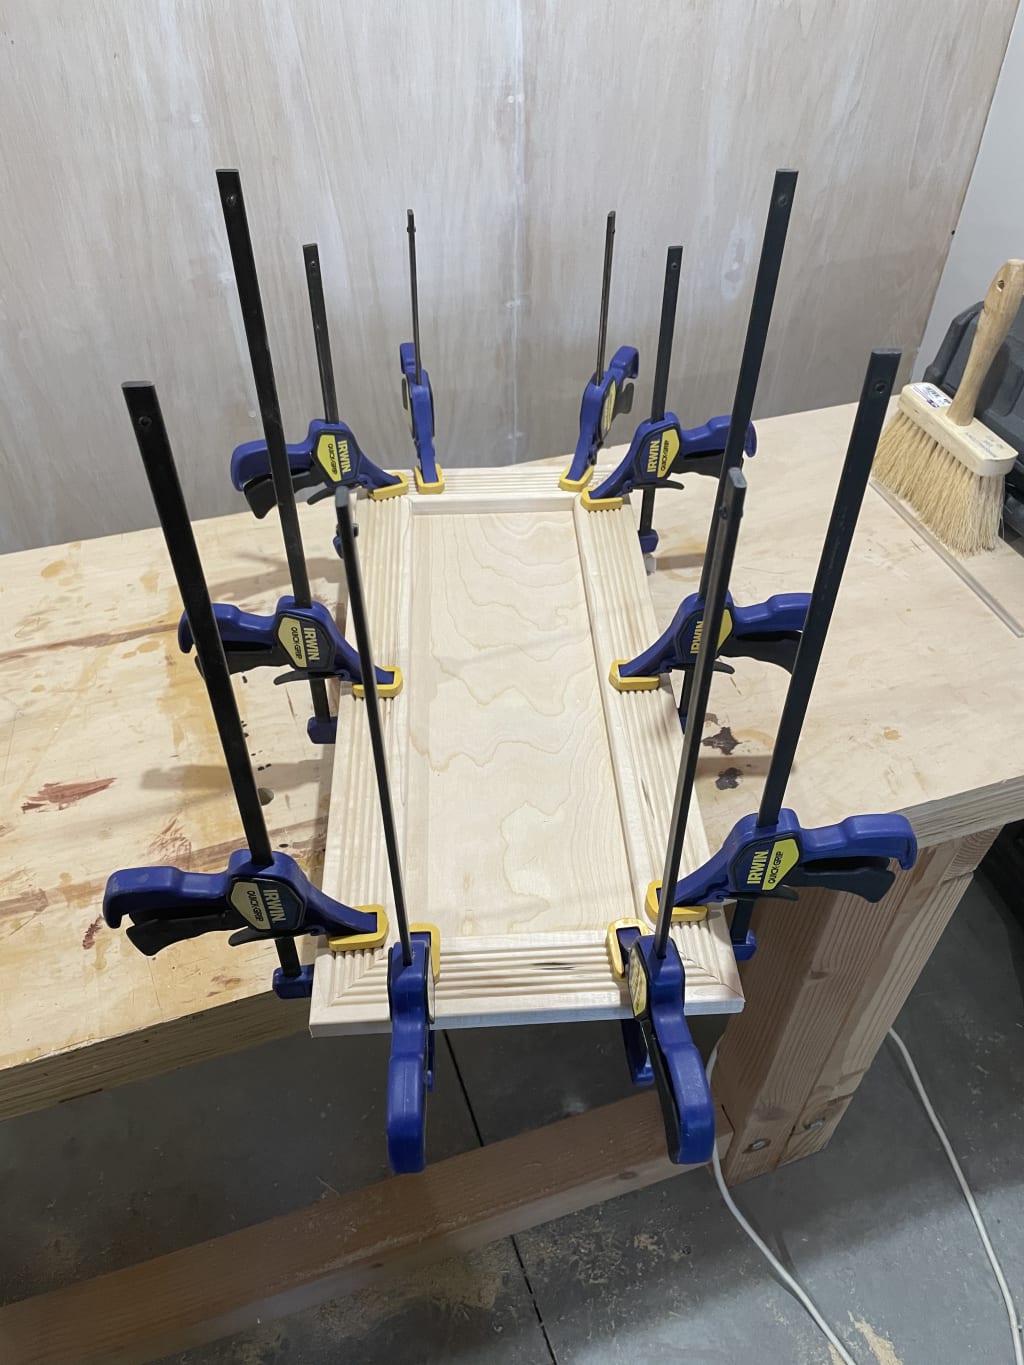
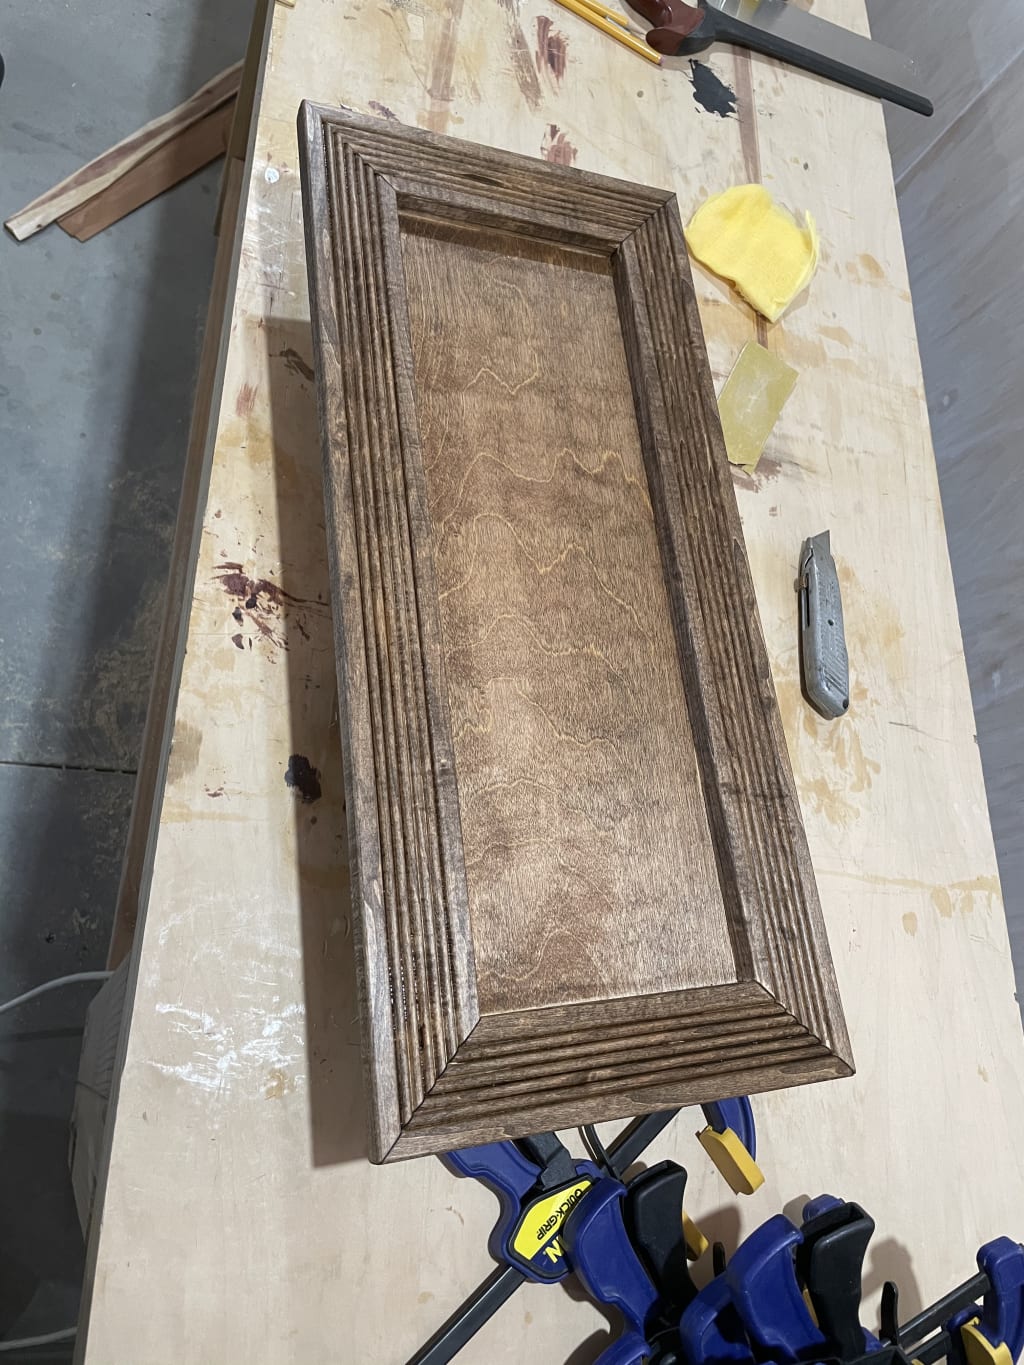
Once again, glue is good enough here. I didn't nail any of the moulding in. Finally it was time to do the door moulding. This would just be a simple rectangle serving to be 1. nice looking and 2. as an overlap on the frame to provide a natural stop for the door when it closed. Finally I was able to cut an easy angle of 45 degrees!
Once the glue was set it was time to move on to the finishing stages.
Finishing
Before any staining, I put in the magnetic door catch. Once that was set it was time to pick a color.

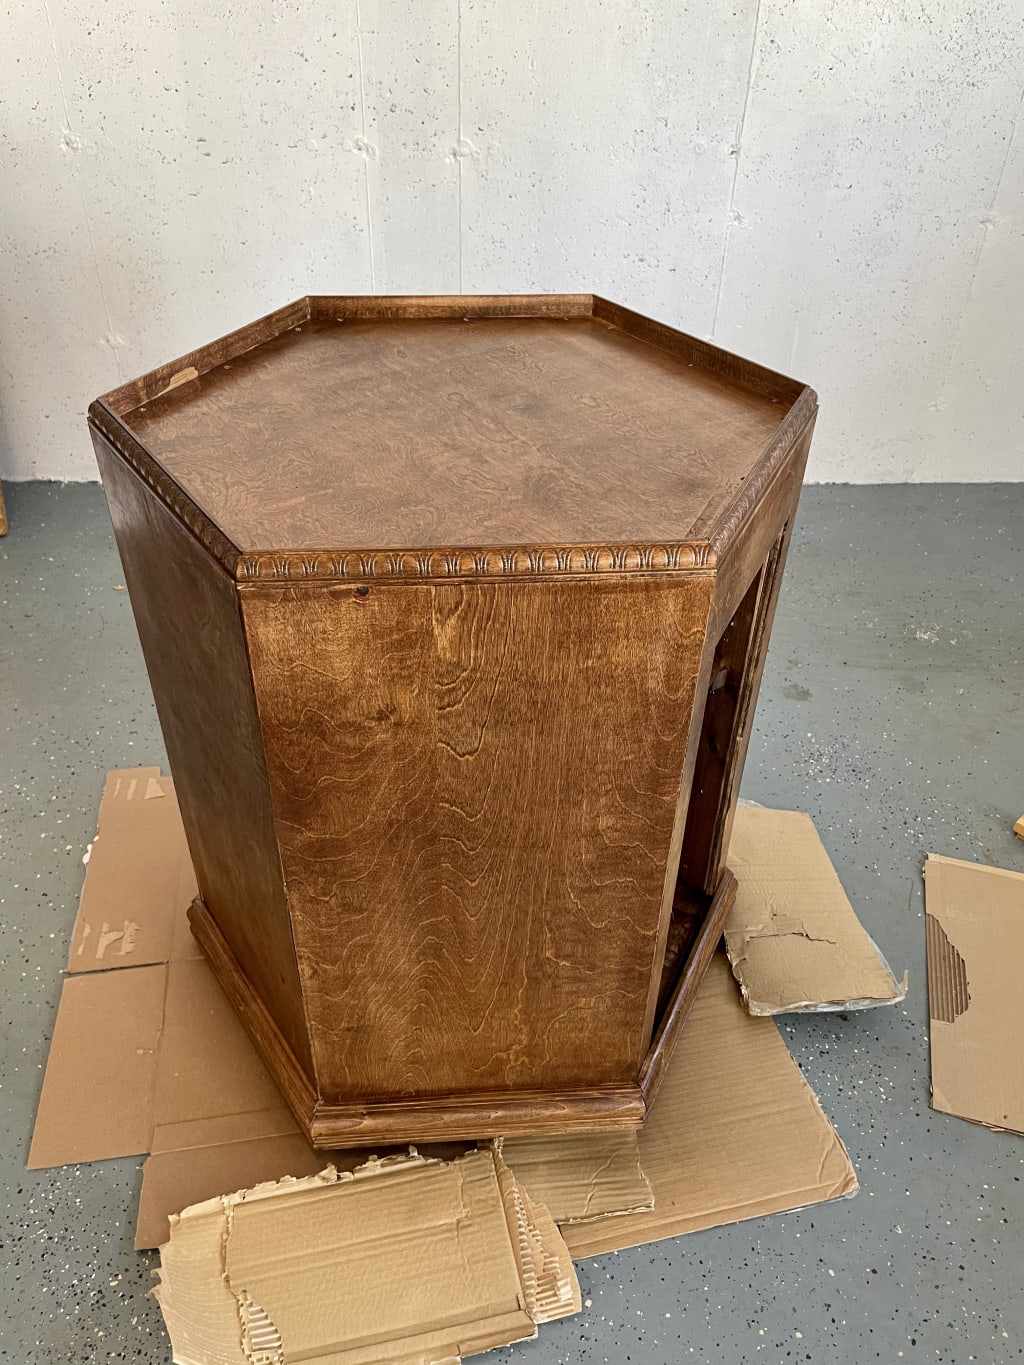
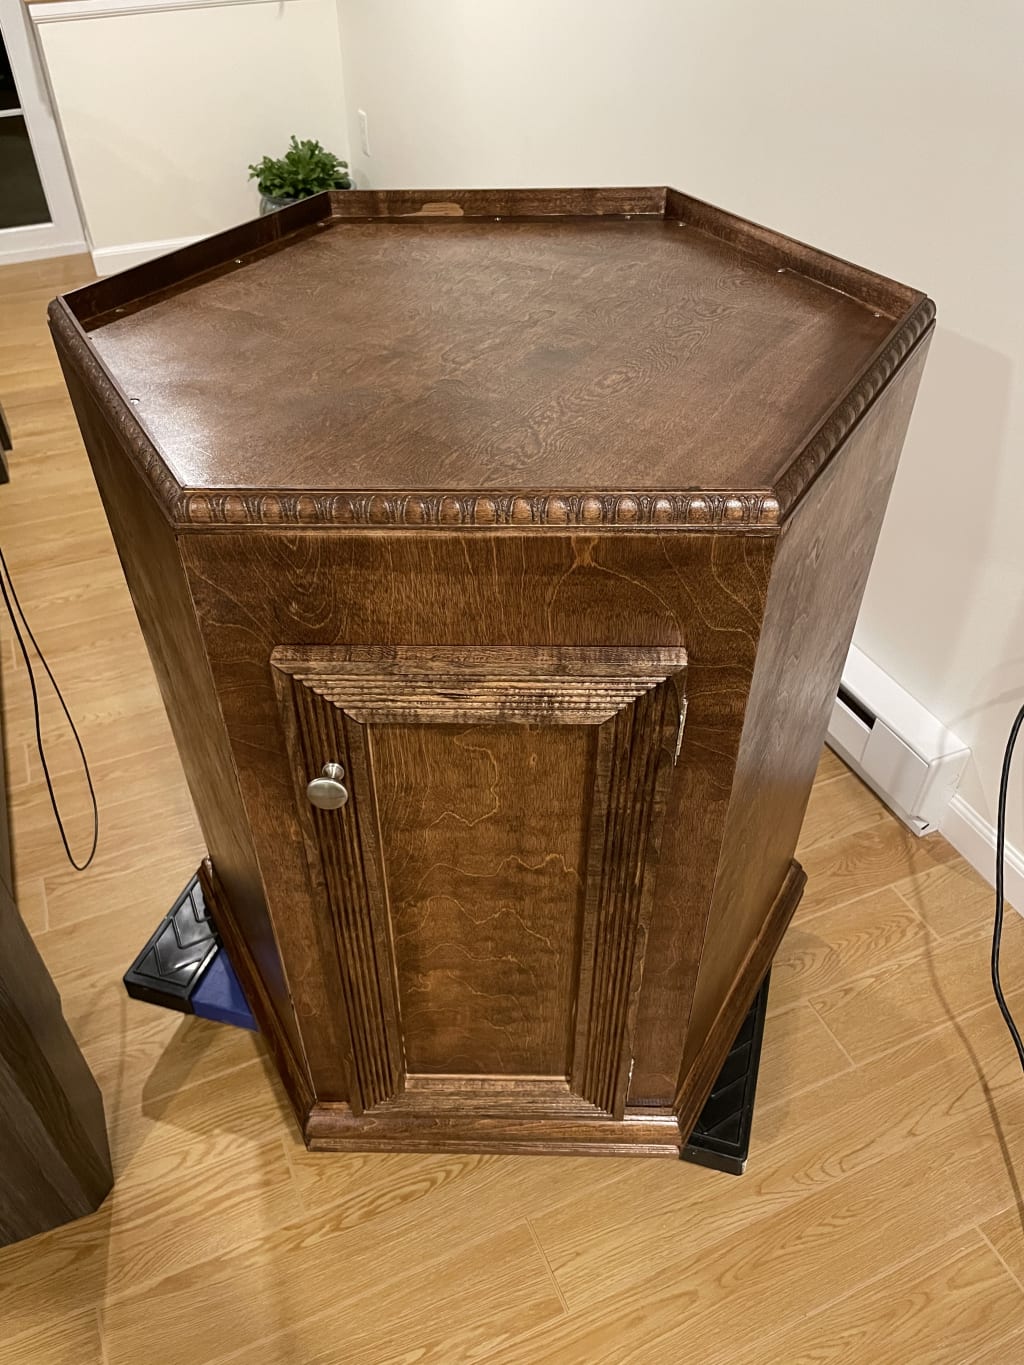
I have several wood tones where this will end up sitting, so it would be hard to pick a bad one, but I was going for a red-mahogany much like my kitchen cabinets.
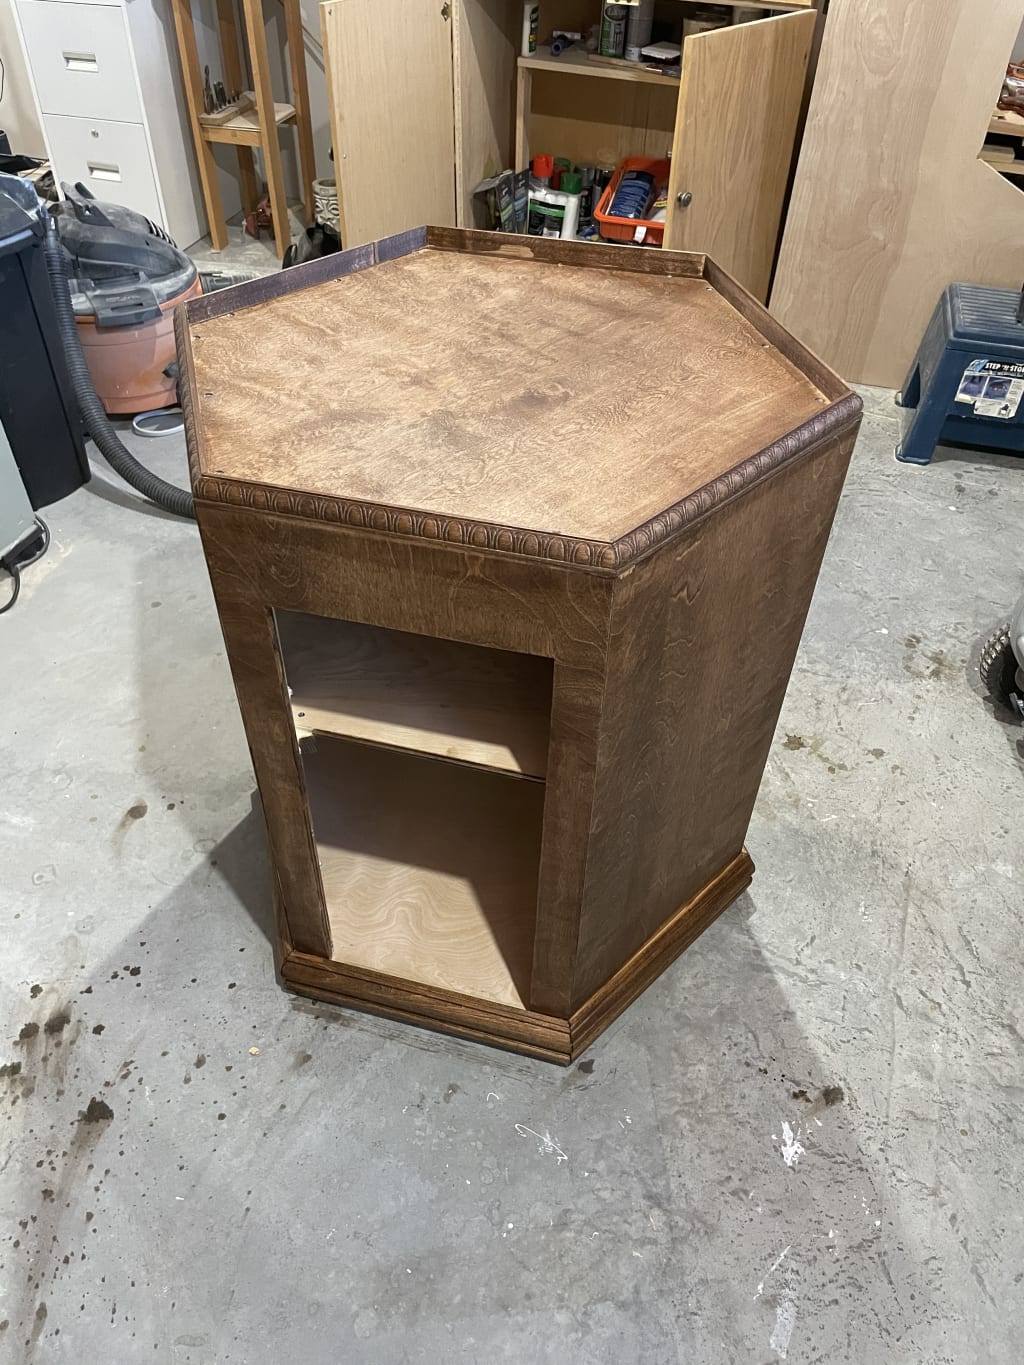
As you can see, the stain ended up being a much more of a brown color than anything else. Oh well, it looks nice anyway. I also stained the inside of the cabinet. I ended up doing two coats of stain to make sure I had an even and consistent application.
After letting it dry and cure for 24 hours, I gave it a light sanding and moved everything to the garage so I could try out using a spray on clear enamel. I've used enamel paints before, and wanted to try it as clear coat.
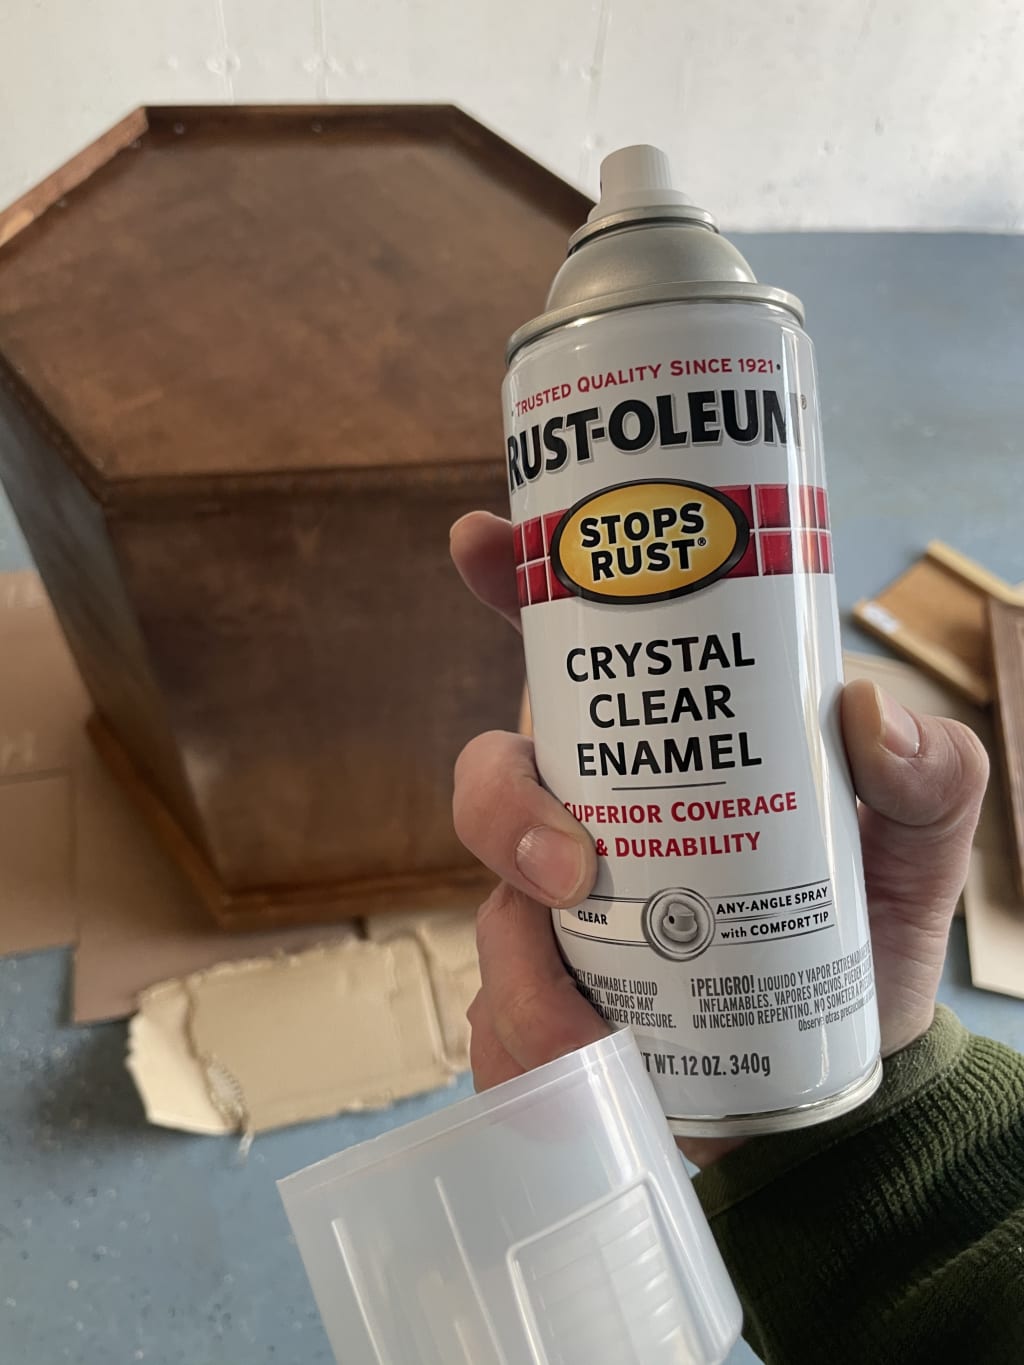
The downside of the spray on stuff is that the solvent stinks. I used a respirator and had the garage open, and still I felt like a chemical cocktail when I was done. After three coats (each with a light sanding). It was ready. Well, it was ready to sit in the garage for about a week and off-gas.
Once it sat for a while in the garage, I moved it back into the basement for the final touches: hanging the door. I used satin nickel hardware for the hinges and knob, this is what most of the hardware in my house is so it will match nicely.

I did a test fit and found the door was so tight it was almost impossible to open and close. I just needed to remove a tiny bit of material to snuggle the hinge plates closer into the wood.
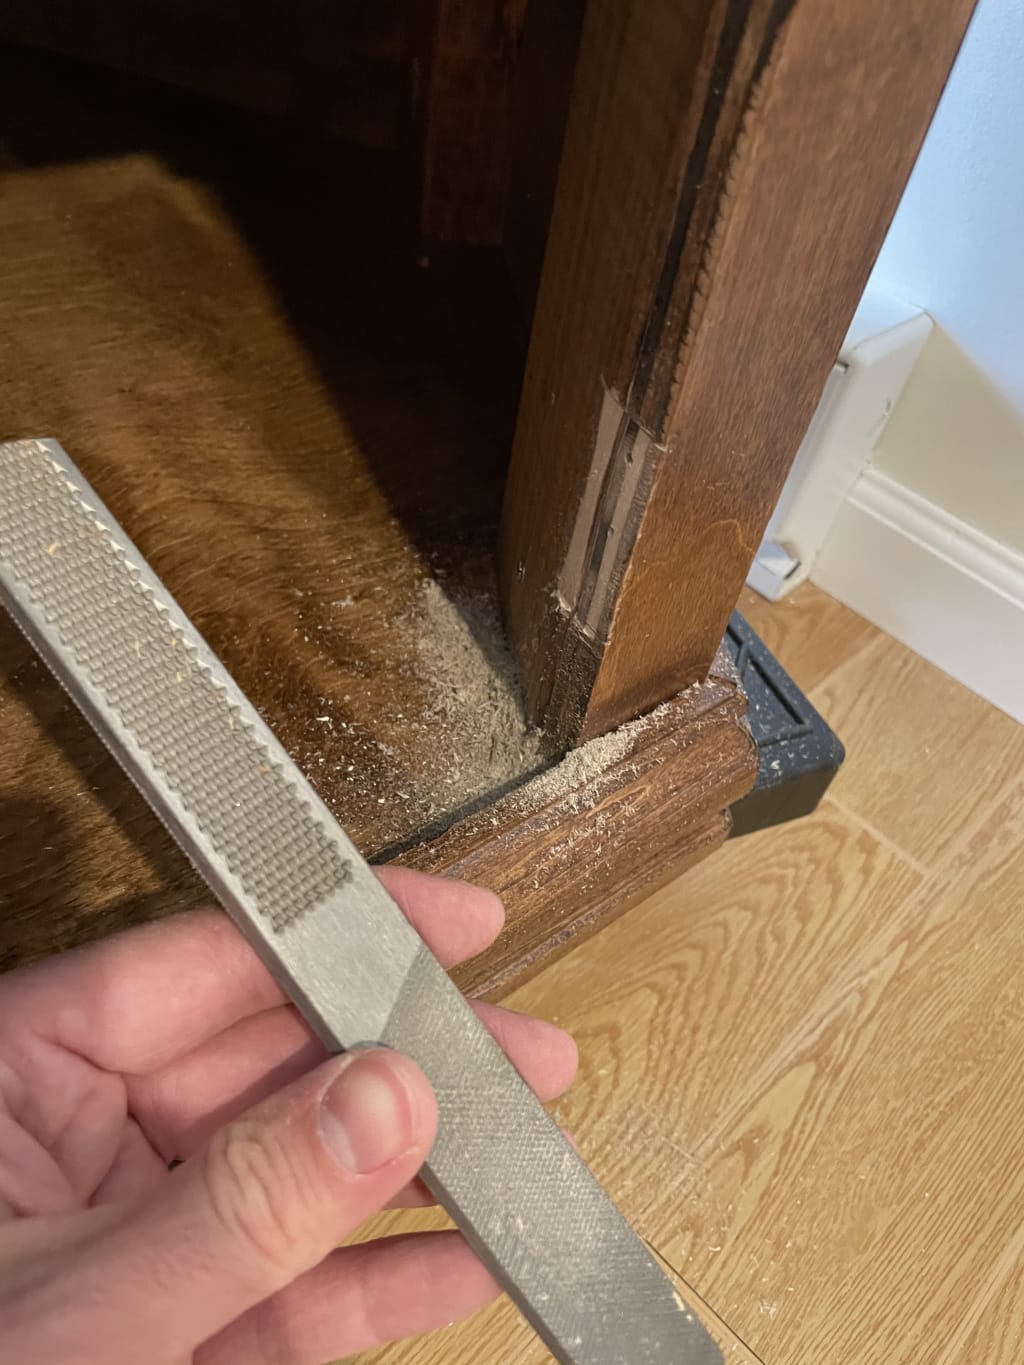
I was a little nervous doing this, but taking my saw and first cutting to depth on either side of where the hinge sits, then using the rasp to remove material worked quite well.
We're done! Now I left it in the basement for another week to keep off-gassing the unpleasant smells from the stain and clear coat.
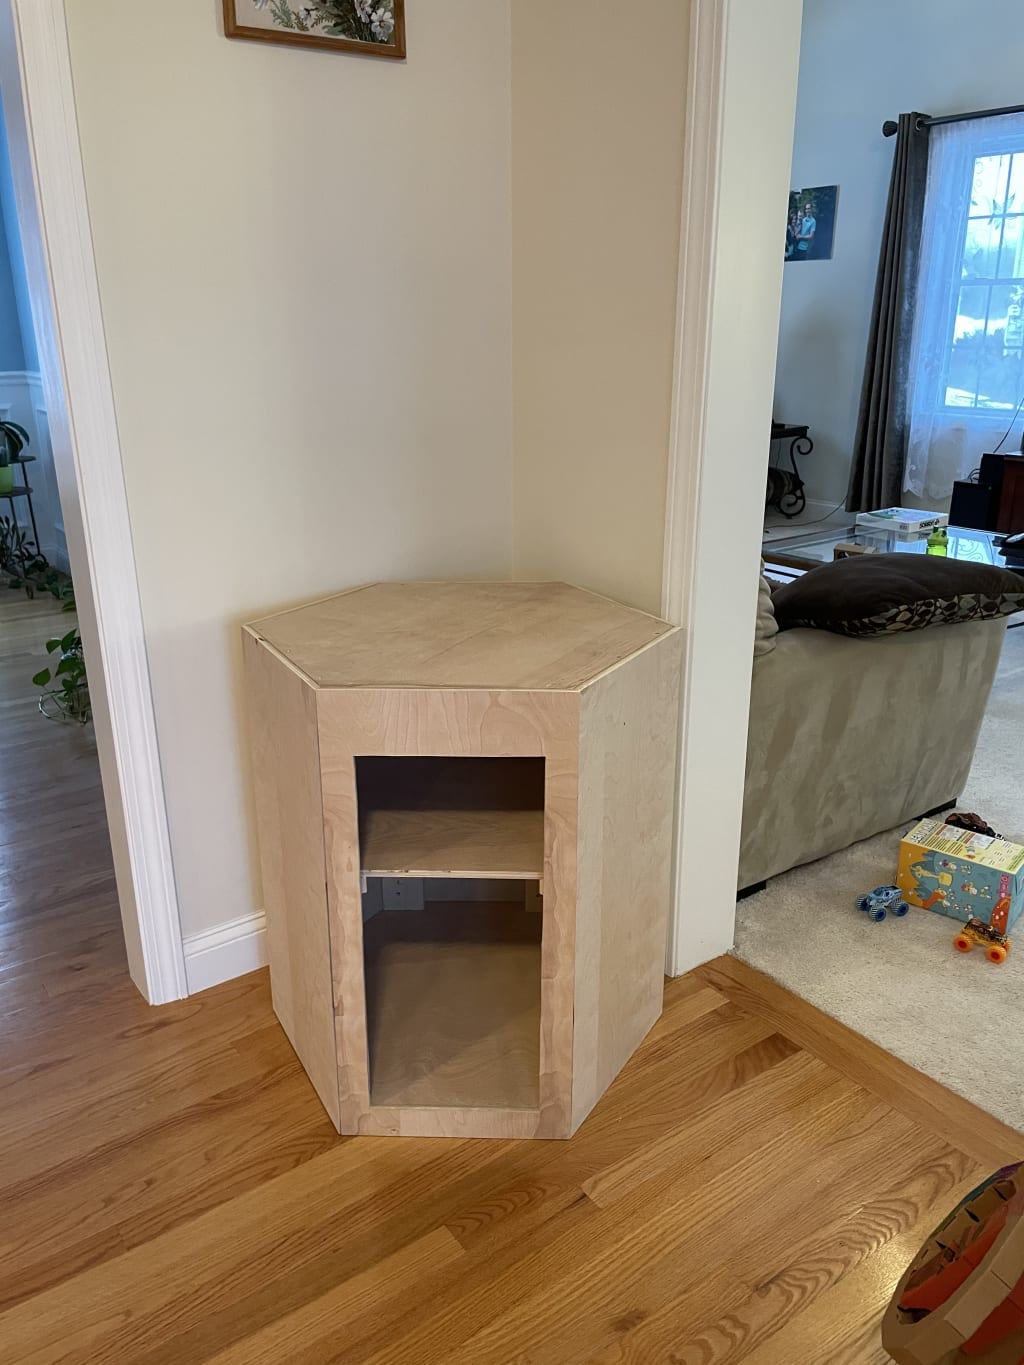
Setup
The moment we have all been waiting for, the setup!
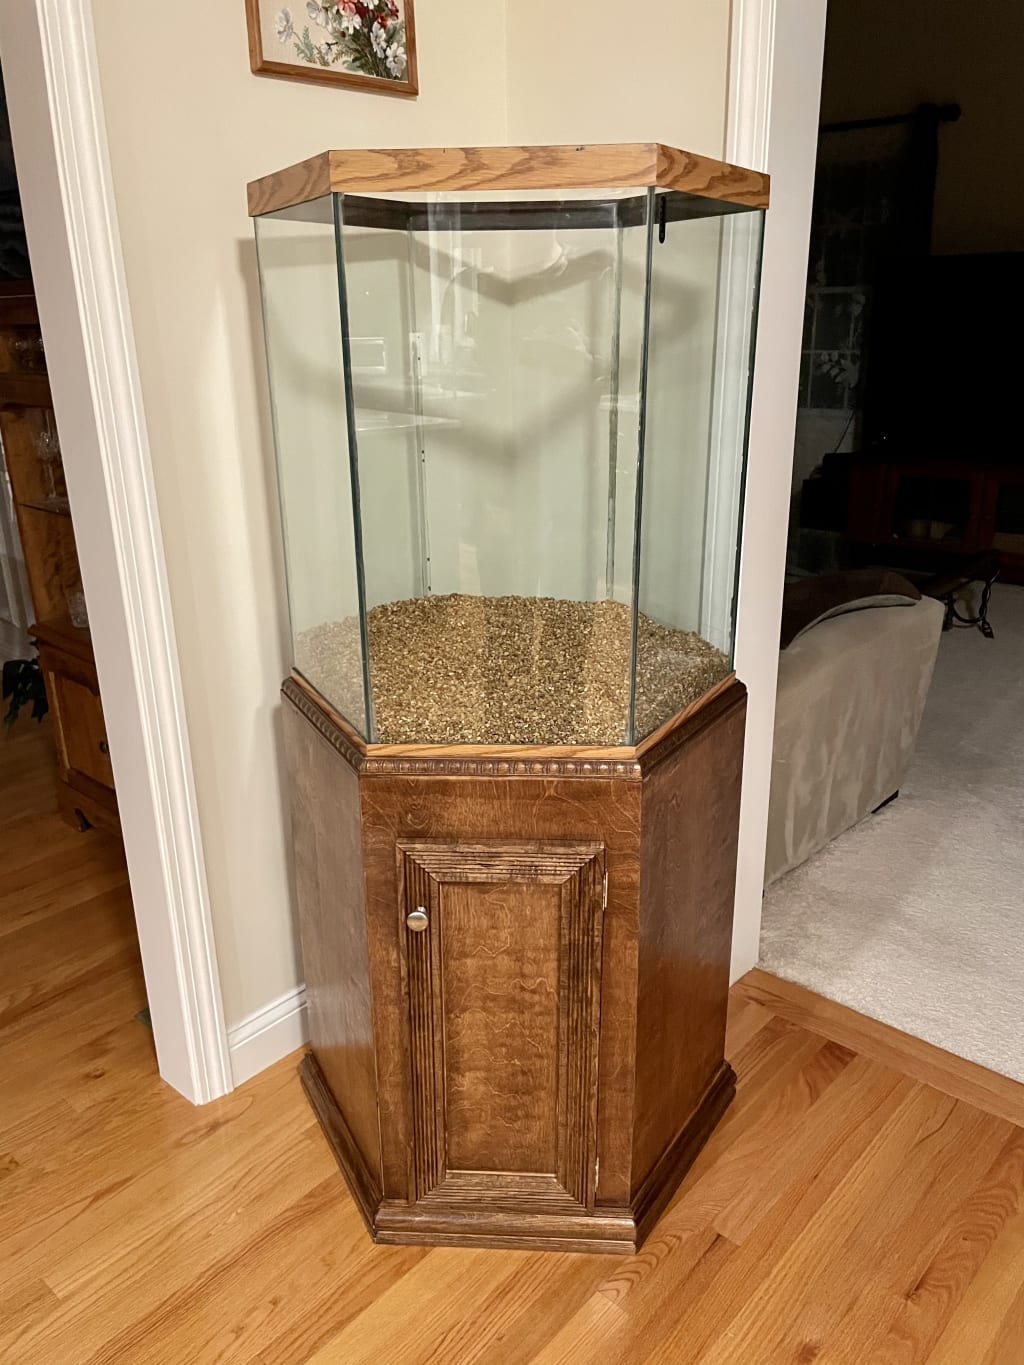
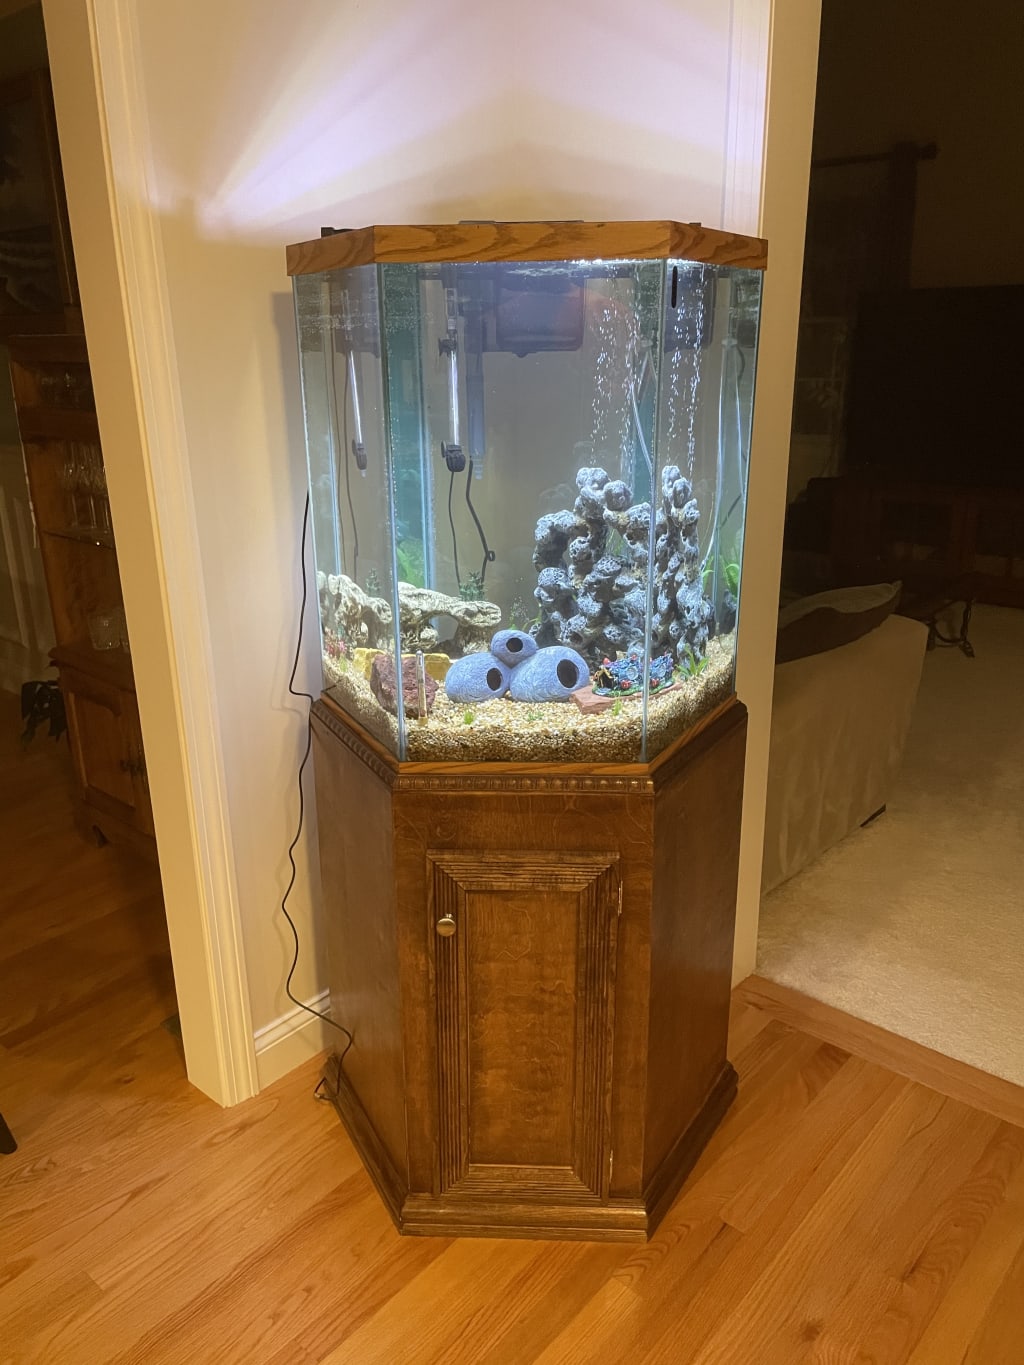
I am so excited to get some fish in this thing now!
Read on to see my favorite mistakes.
Mistakes
With all the tricky angles in this one, there are plenty of mistakes to choose from.
Gaps
Most of the gaps were small, usually from sloppy measurement or cutting on my part. Some I ignored, and some I filled with wood-filler or even a scrap of plywood.
Fitting the sides
Getting the sides on was annoying, I screwed through the plywood in a few places and had to hide the holes. I also had to remove a panel a few times to get at other panels to screw them in.
Cutting the miter wrong
Sometimes I just cut the miter exactly the opposite of what I needed. Fortunately I had extra wood that I was able to recover.
Fitting the tank
The tank fit was a tiny bit to snug on the crown moulding and I had to remove just a bit with my chisel to get it all to fit happily.