A Bar Cart for My Dad
The story
Not terribly long ago, I made two American Flag themed coffee tables for my brothers. I built them out of solid pine and they came out really nice. My dad didn't need a coffee table, however, so I wanted to try something different. I thought something more counter-top height might work well since he does a fair amount of grilling and cooking. After a quick phone call, we decided that a stand-alone bar cart was the thing to do. What's a bar cart, you may ask? Well, it is a piece of furniture that can hold liquor or wines, and any glasses you might want to use. Basically it's a little bar that you can move around where you need it when you need it. With the rough plan figured out, I got to work.
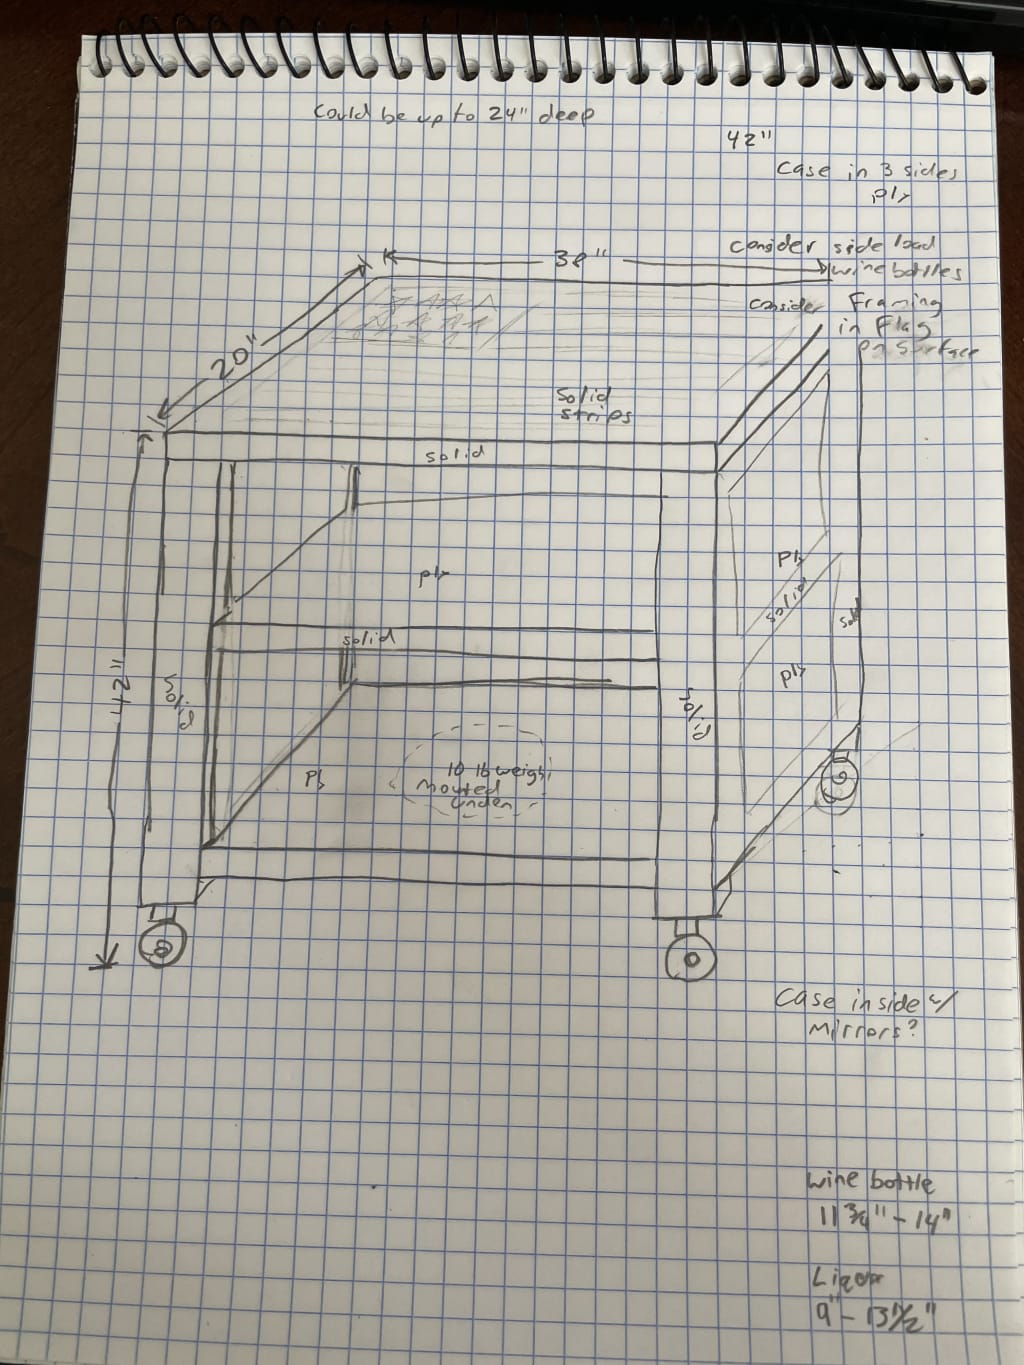
I sketched out a plan, this would be a great birthday present.
The plan
So my plan was originally to build the frame and top with poplar, and case it all in (side note: the frame of a cabinet before you put on all the outside goodies is called a carcass) with half-inch birch plywood. Seems straight forward enough, what could go wrong?
The build
Building the table top
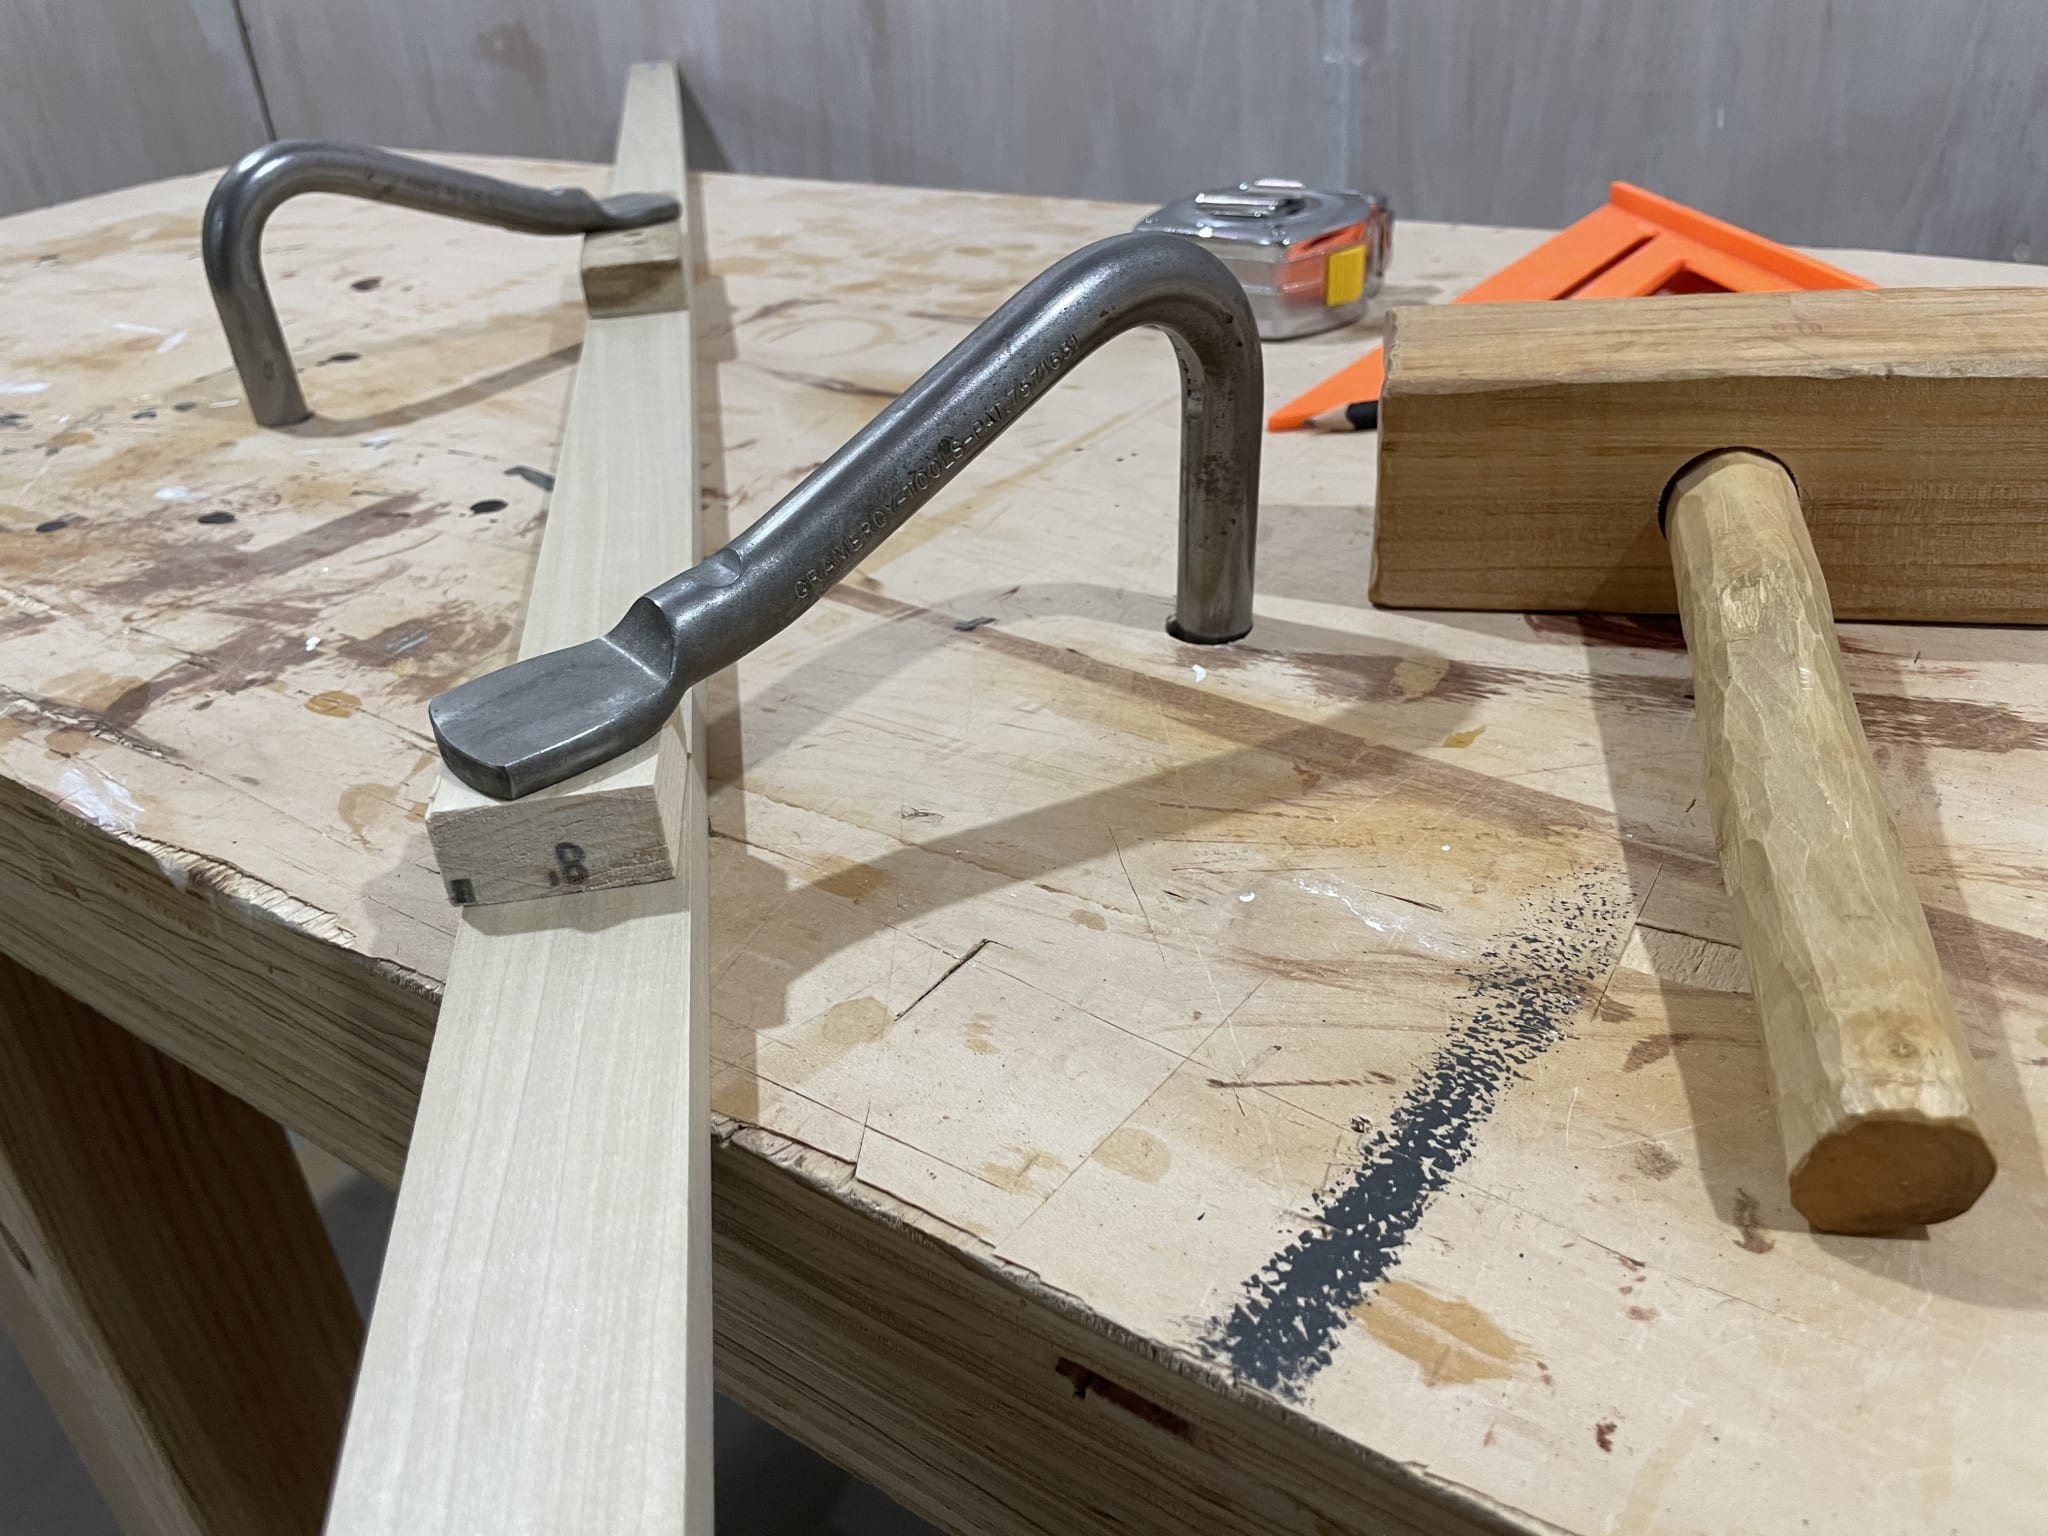
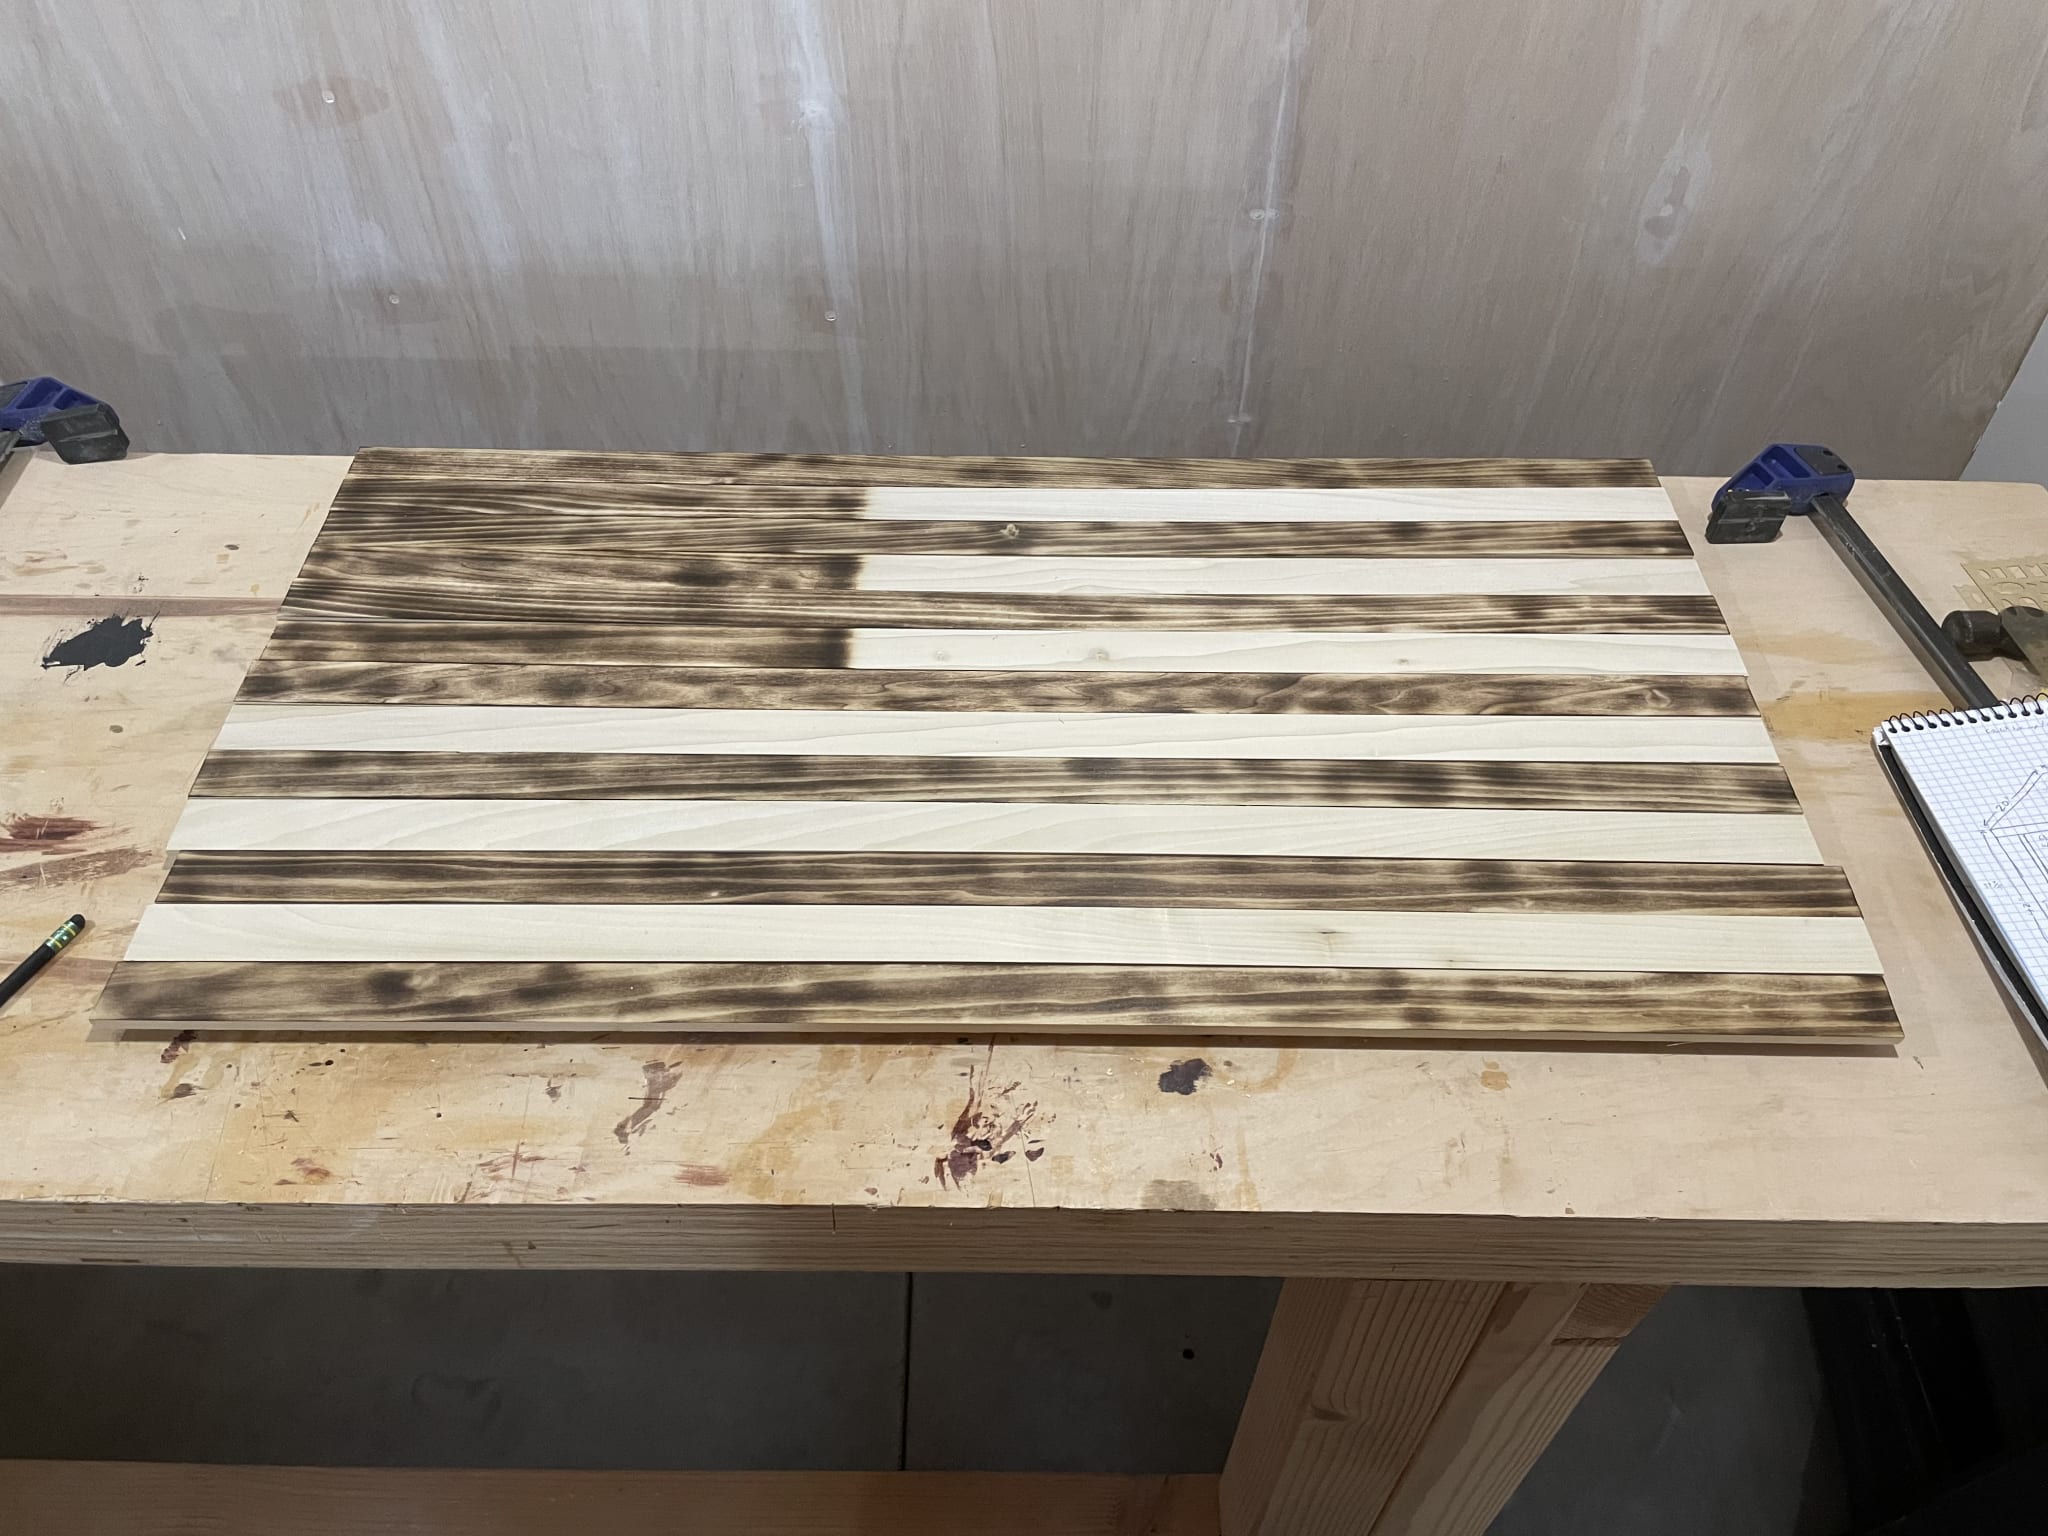
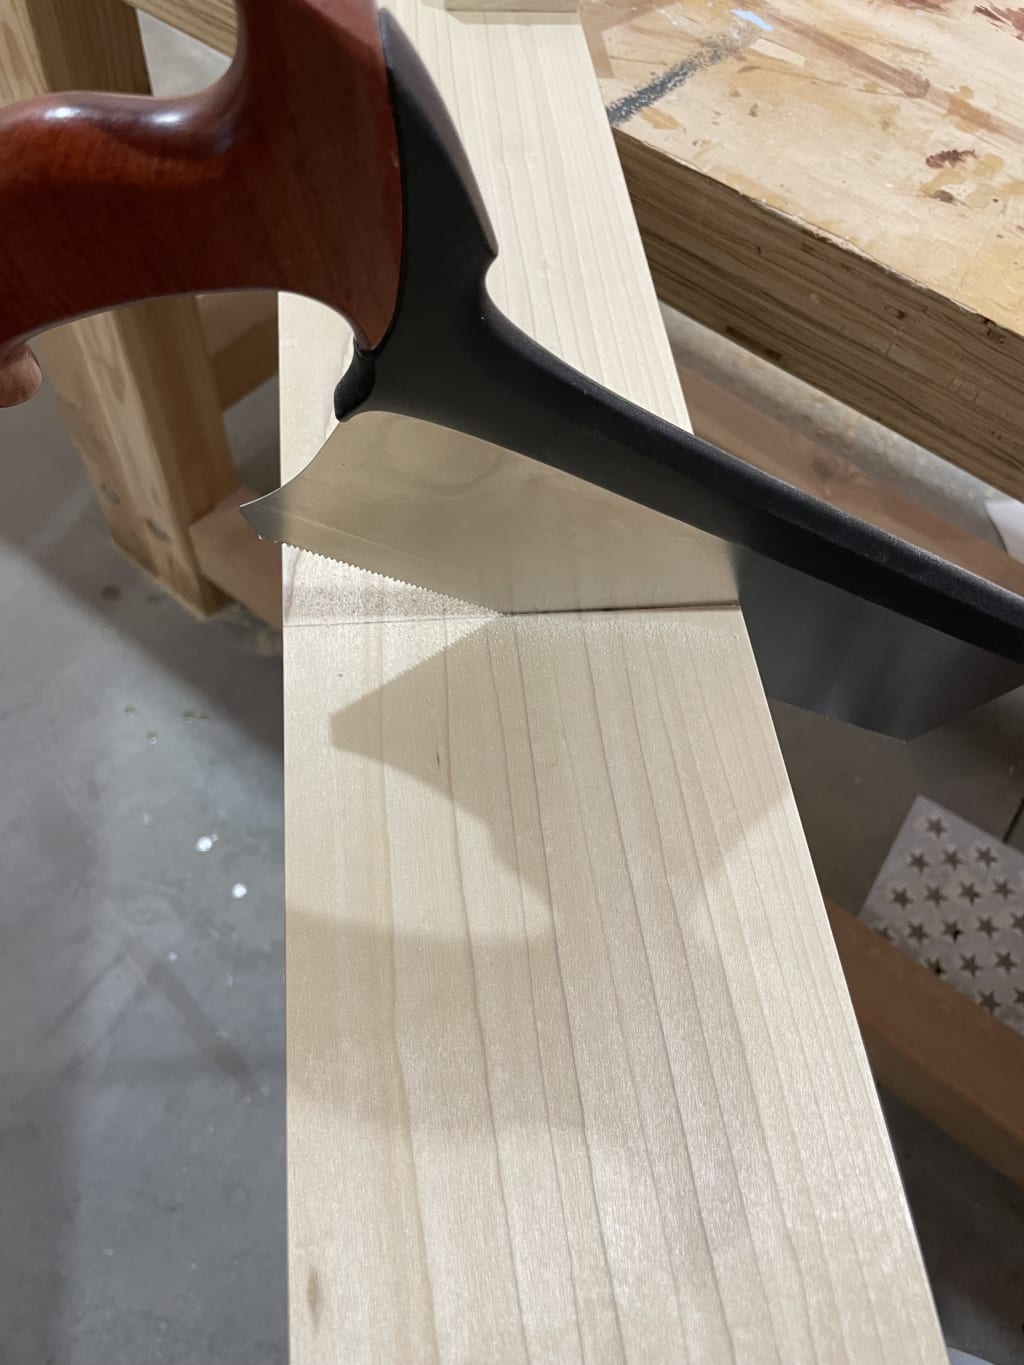
So I started out like with the coffee tables, cutting the strips for the flag to length by hand. The stock was a little bit too long to use on my table saw. Sawing by hand really isn't that bad, but it does take practice. The key I have found is take it easy and slow, and don't squeeze the saw handle too hard, just let the blade do the work.
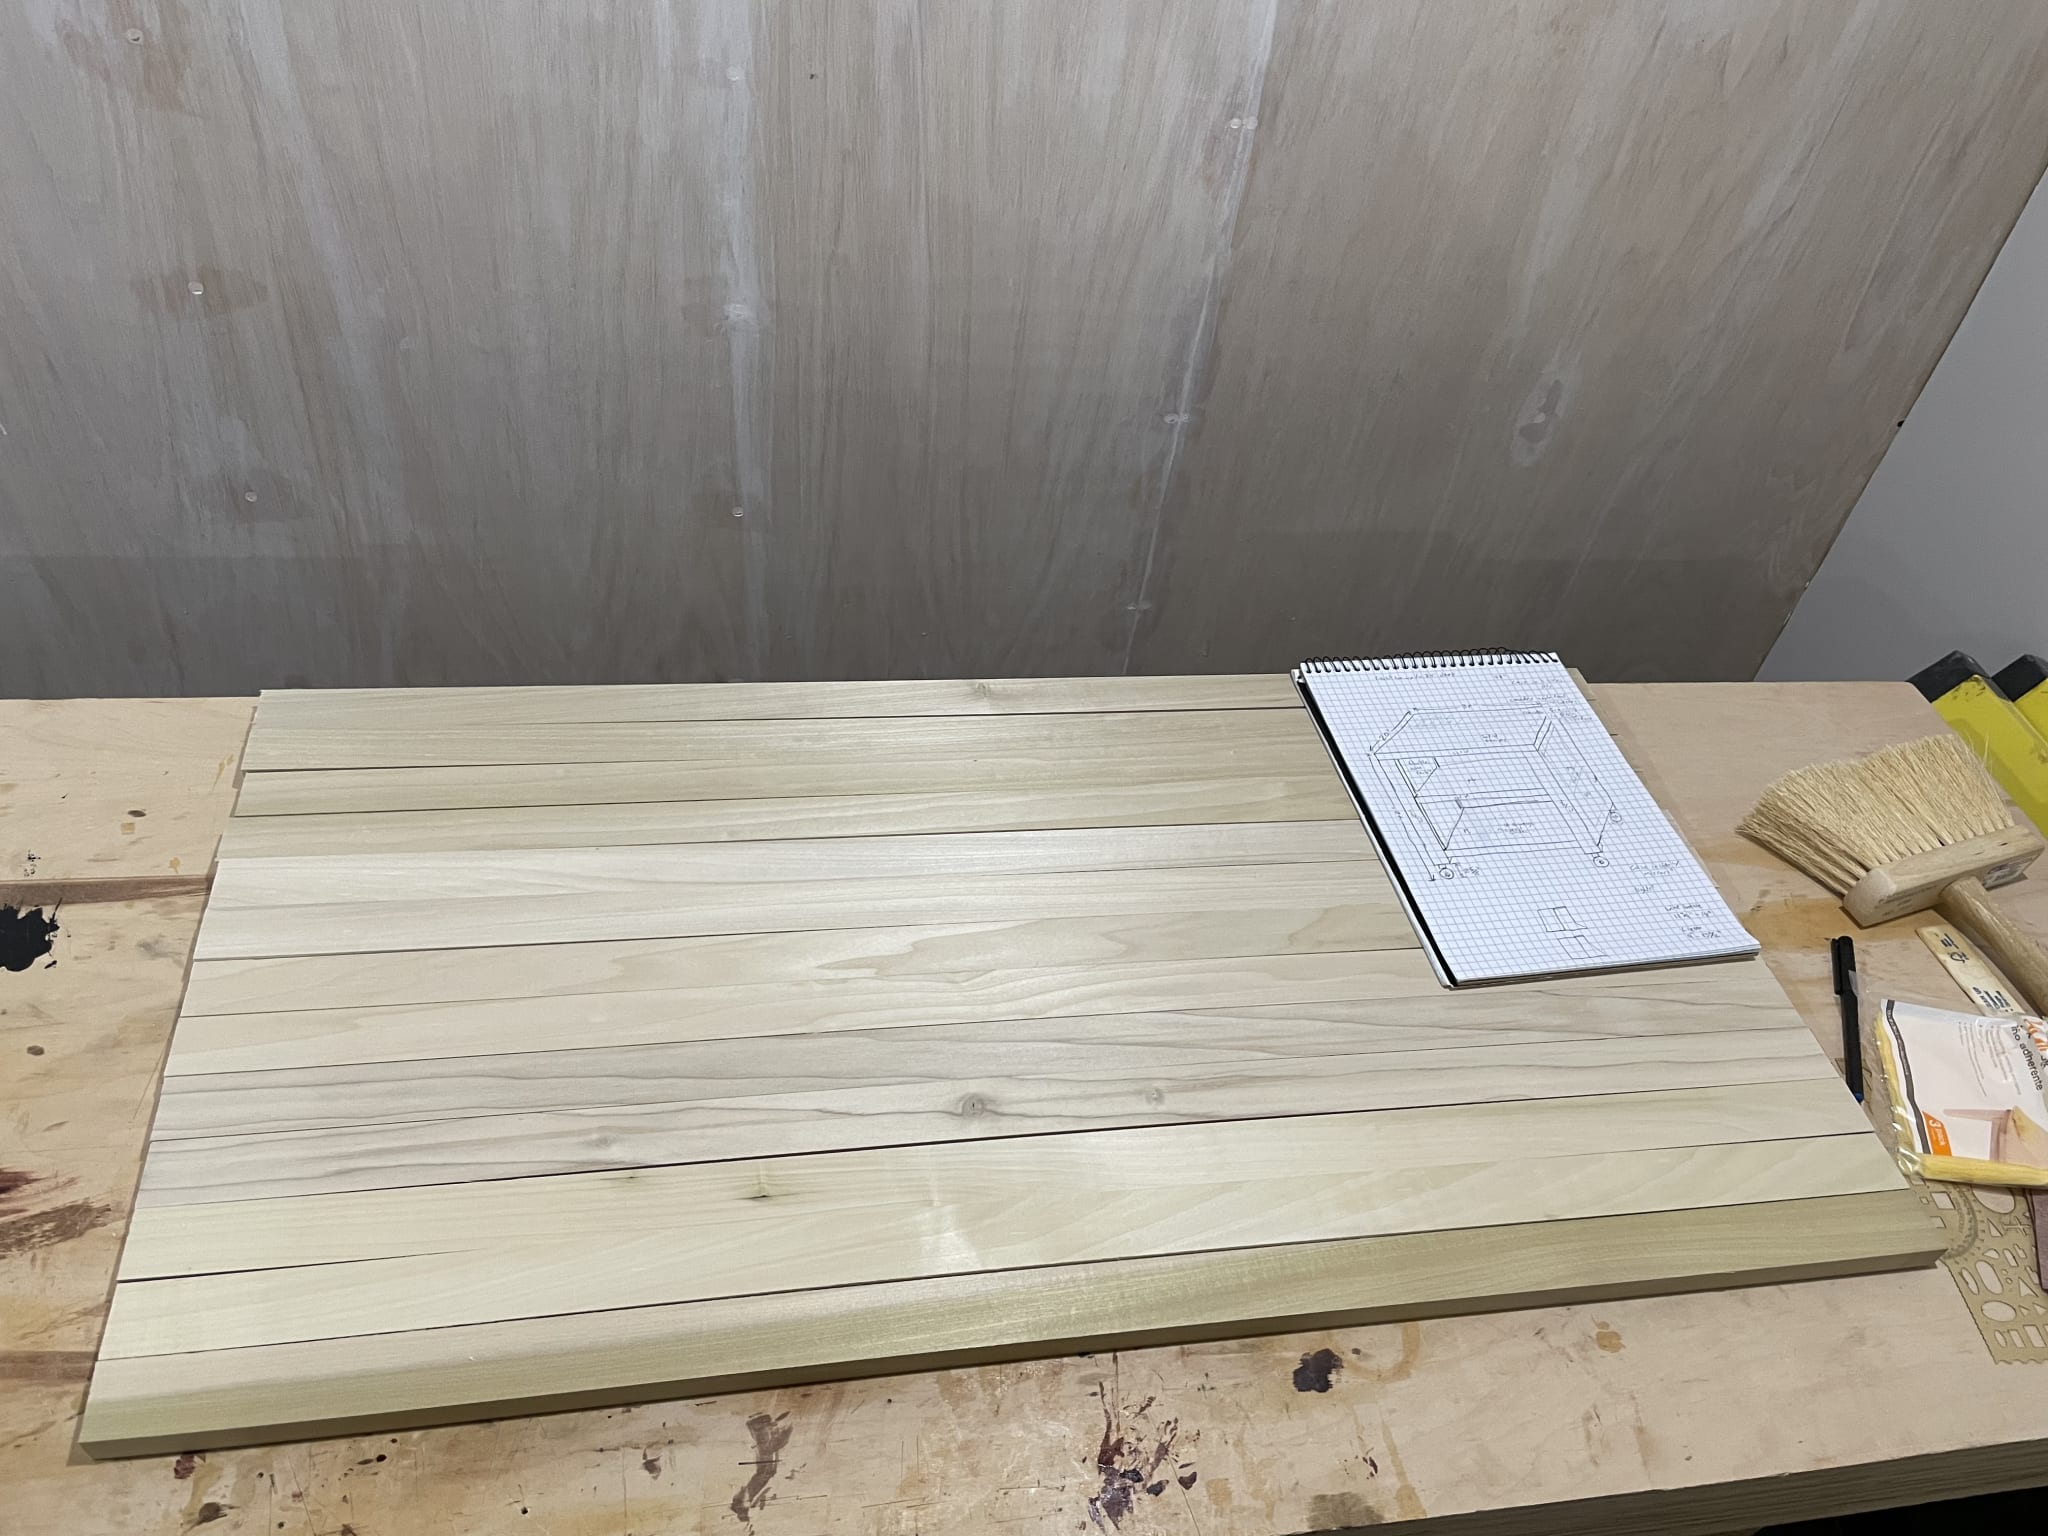
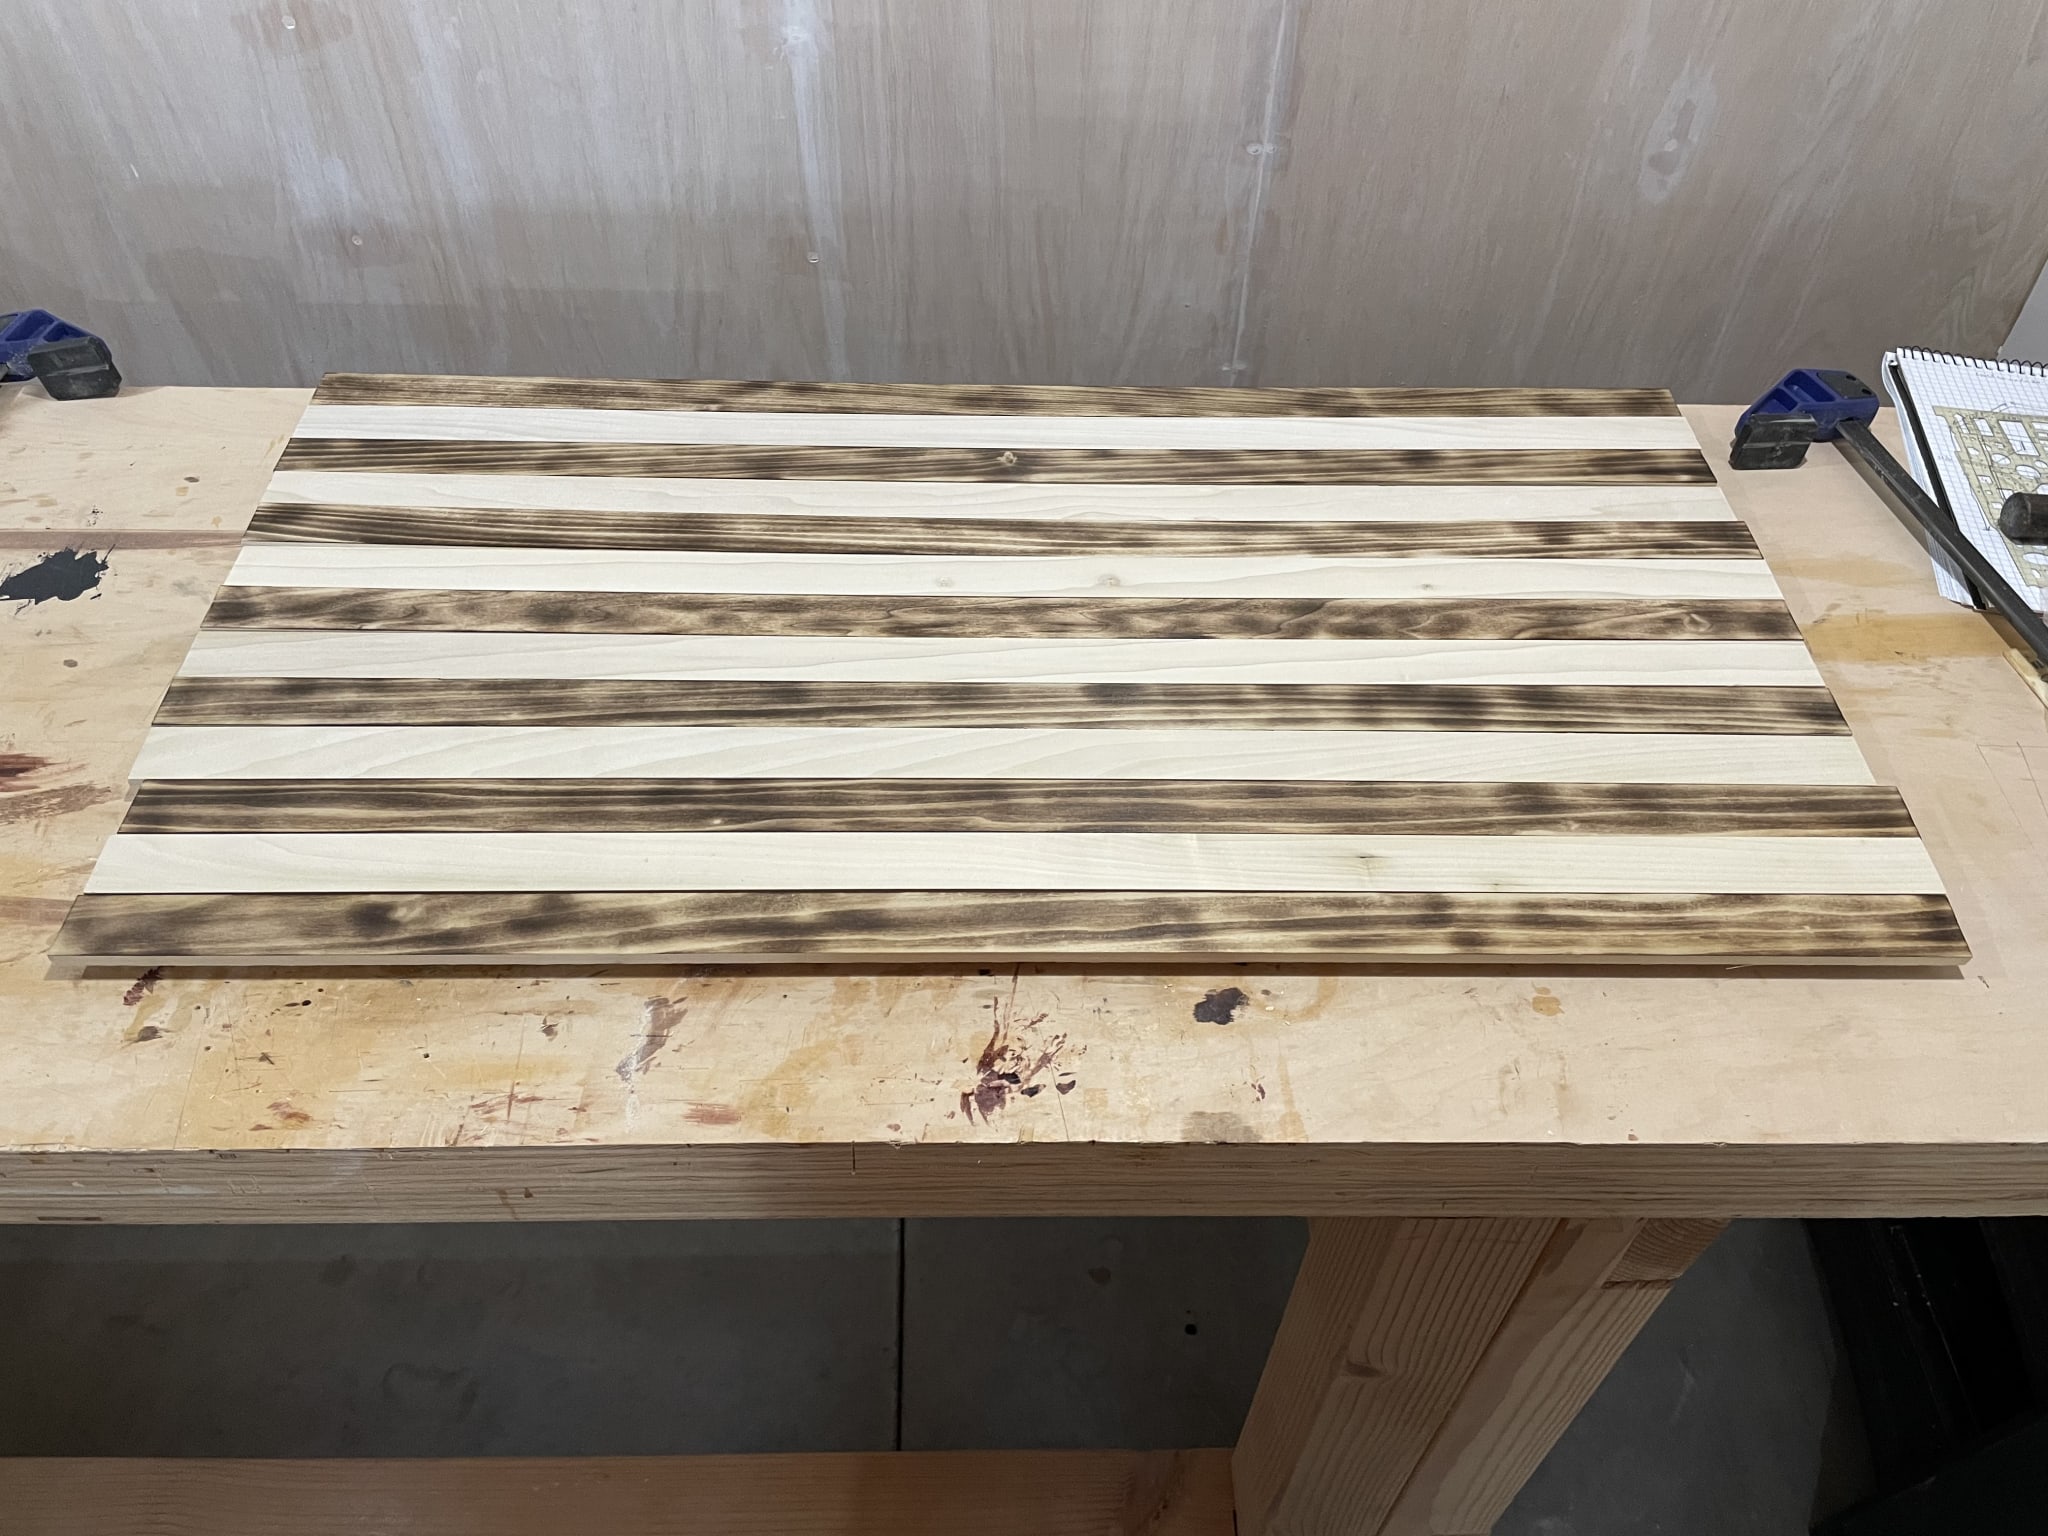
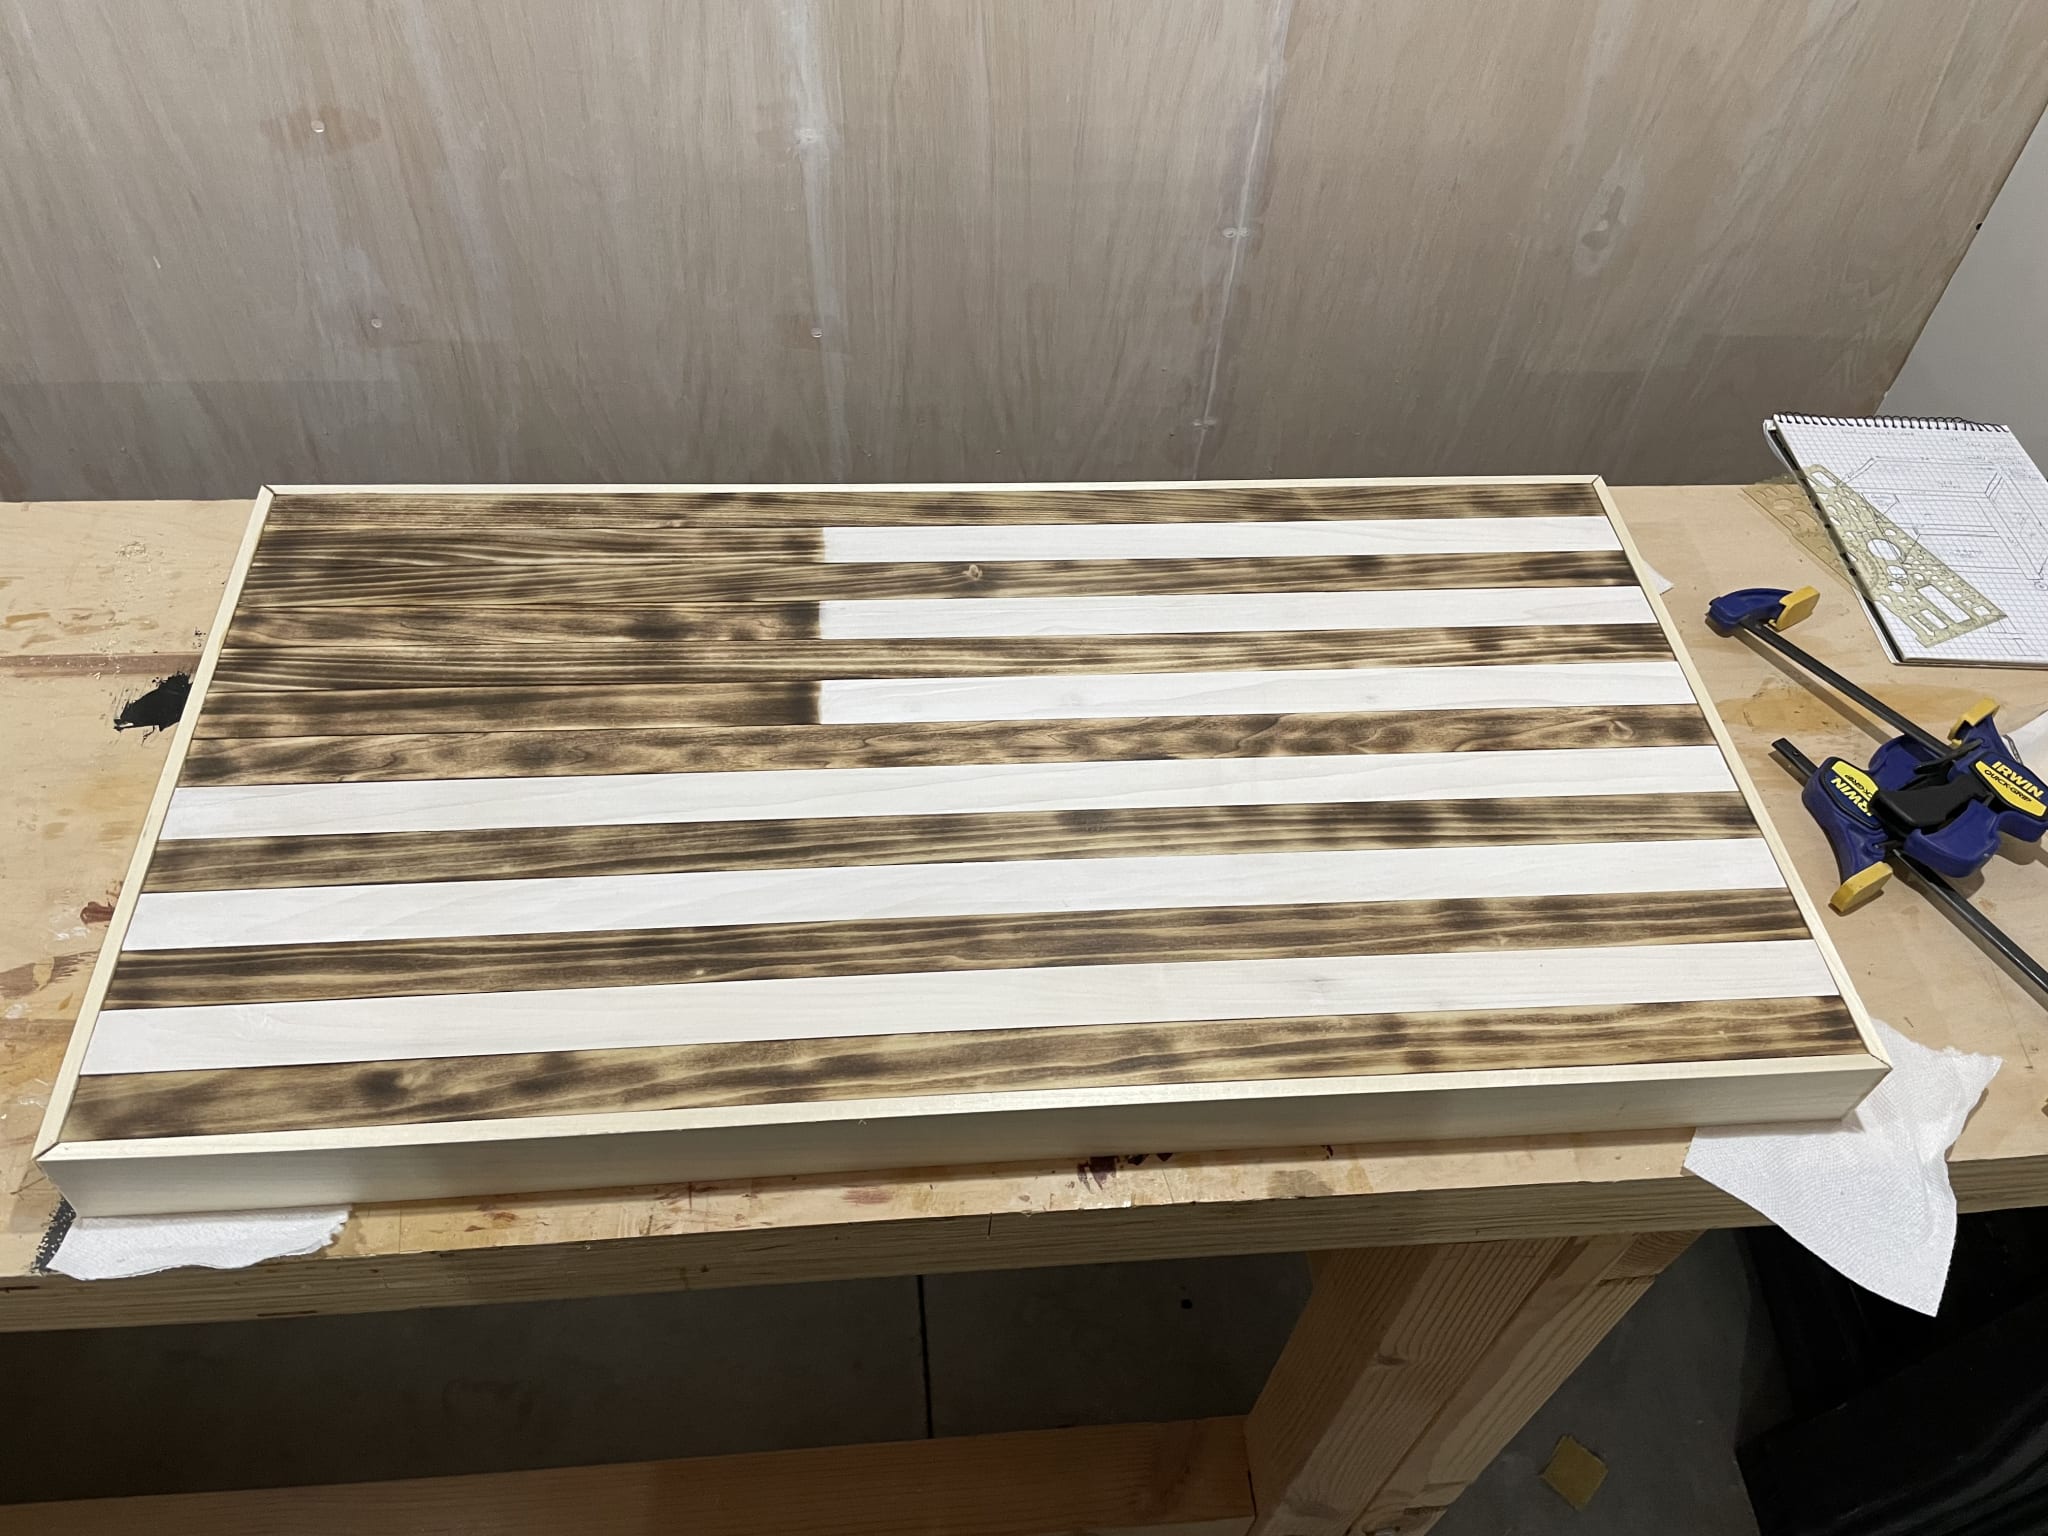
For the next step I toasted every-other strip, and whitewashed those between.
Finally, I toasted the area that the stars go on. I didn't paint the stars on just yet, in case I scratched or otherwise damaged the top I wanted to be able to do some resurfacing.
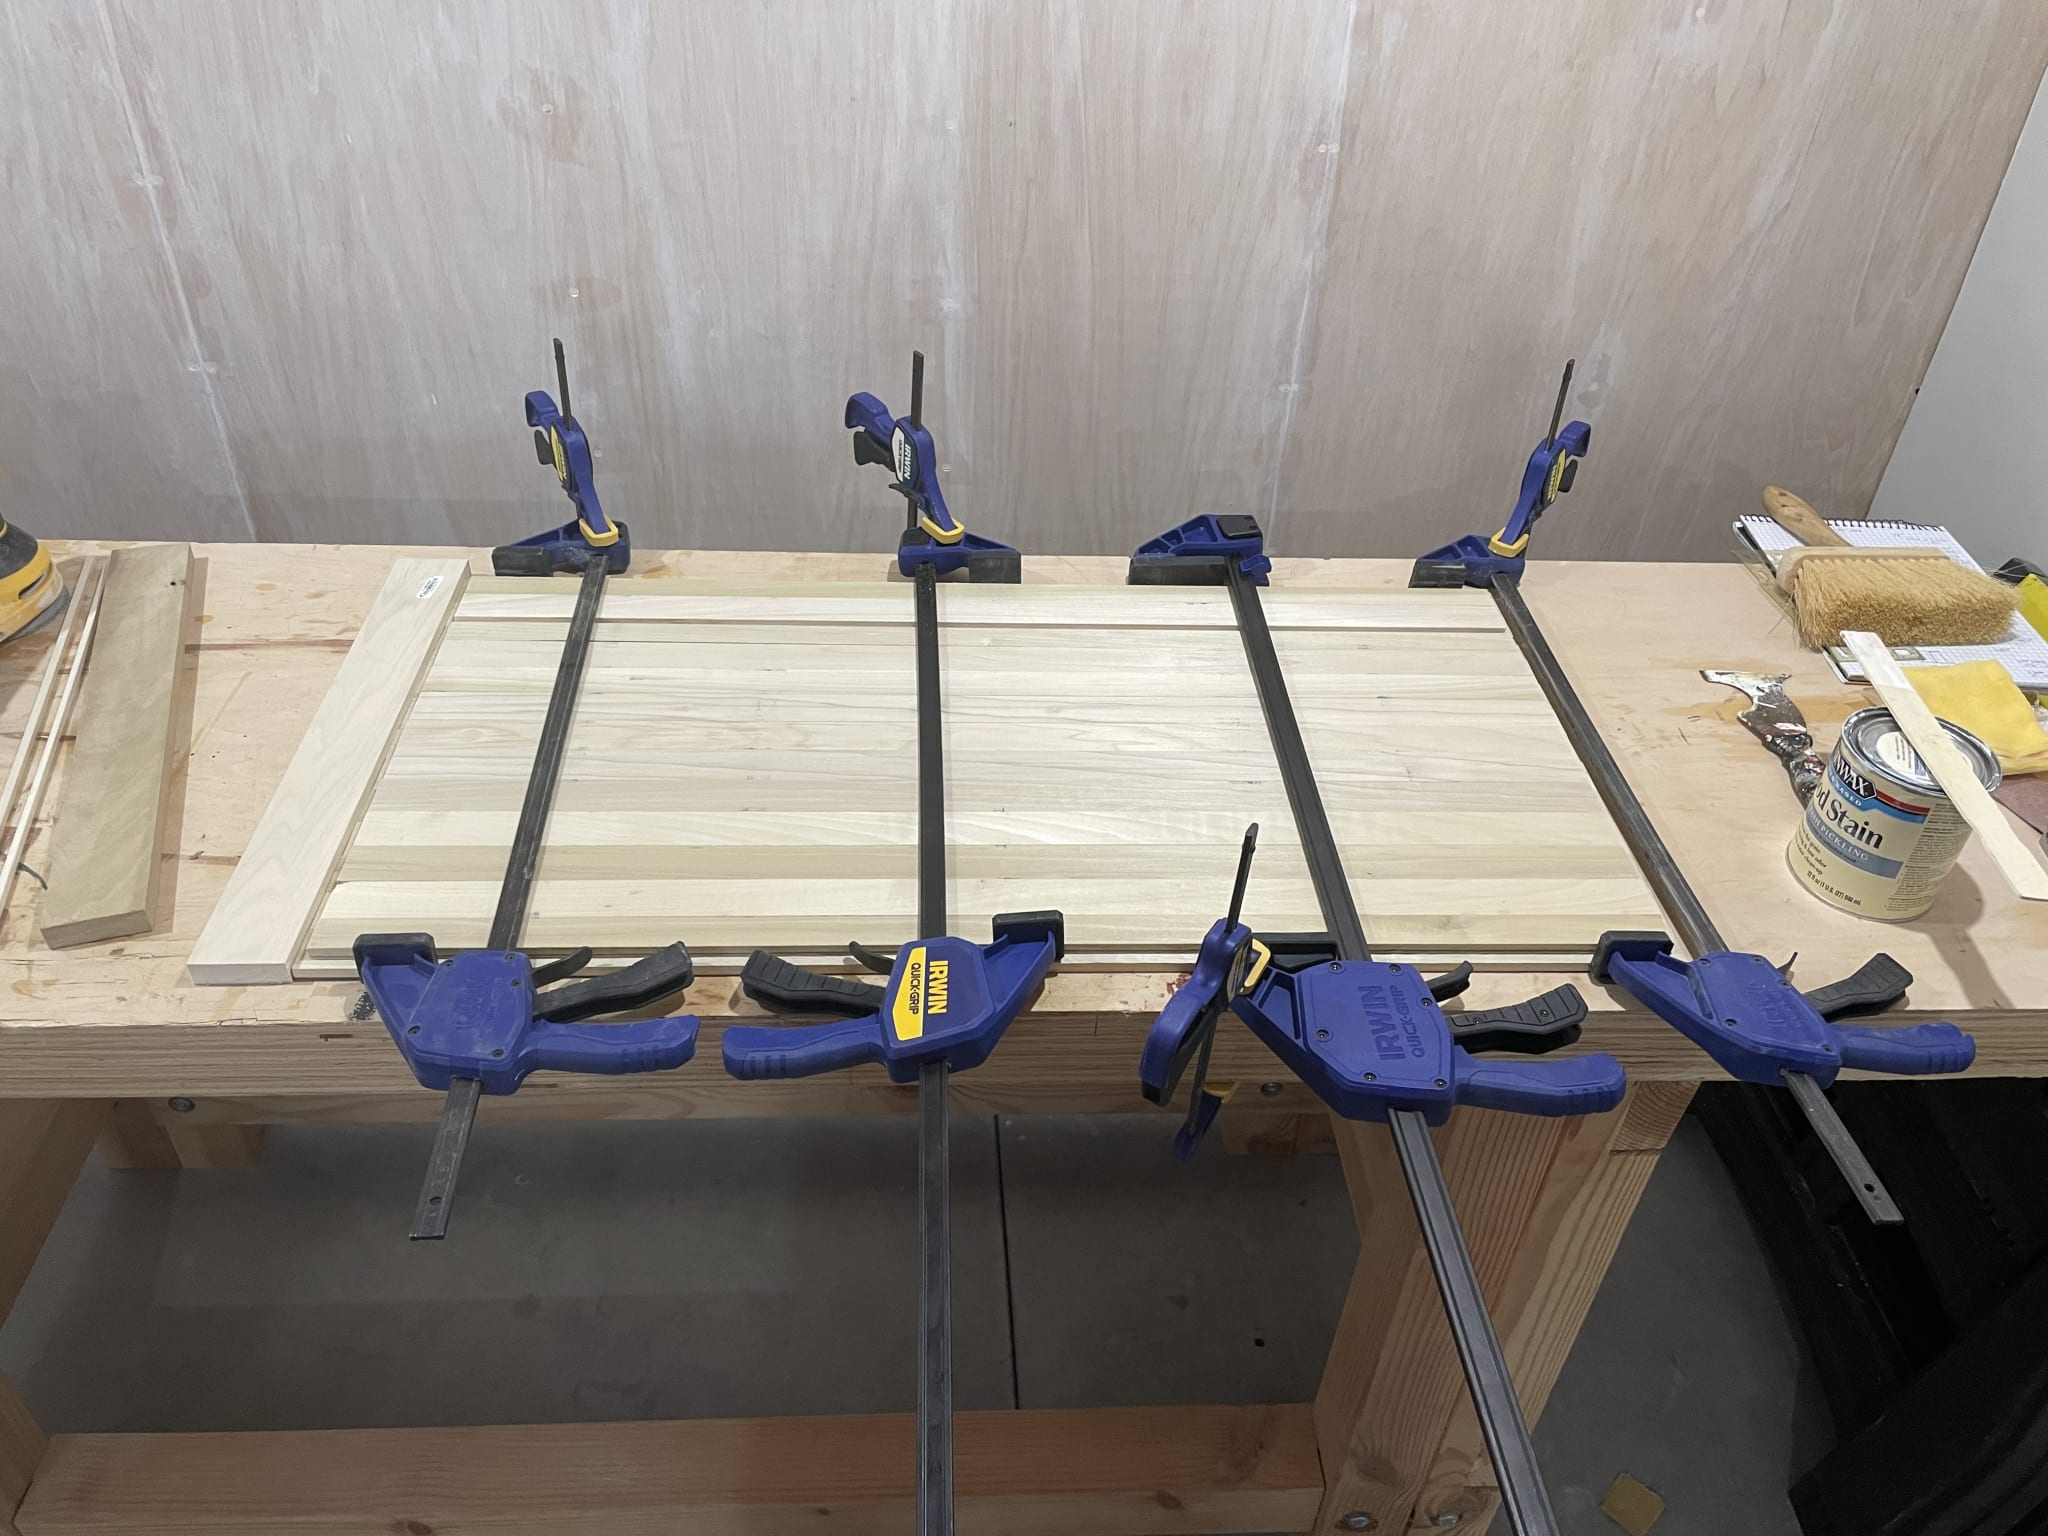
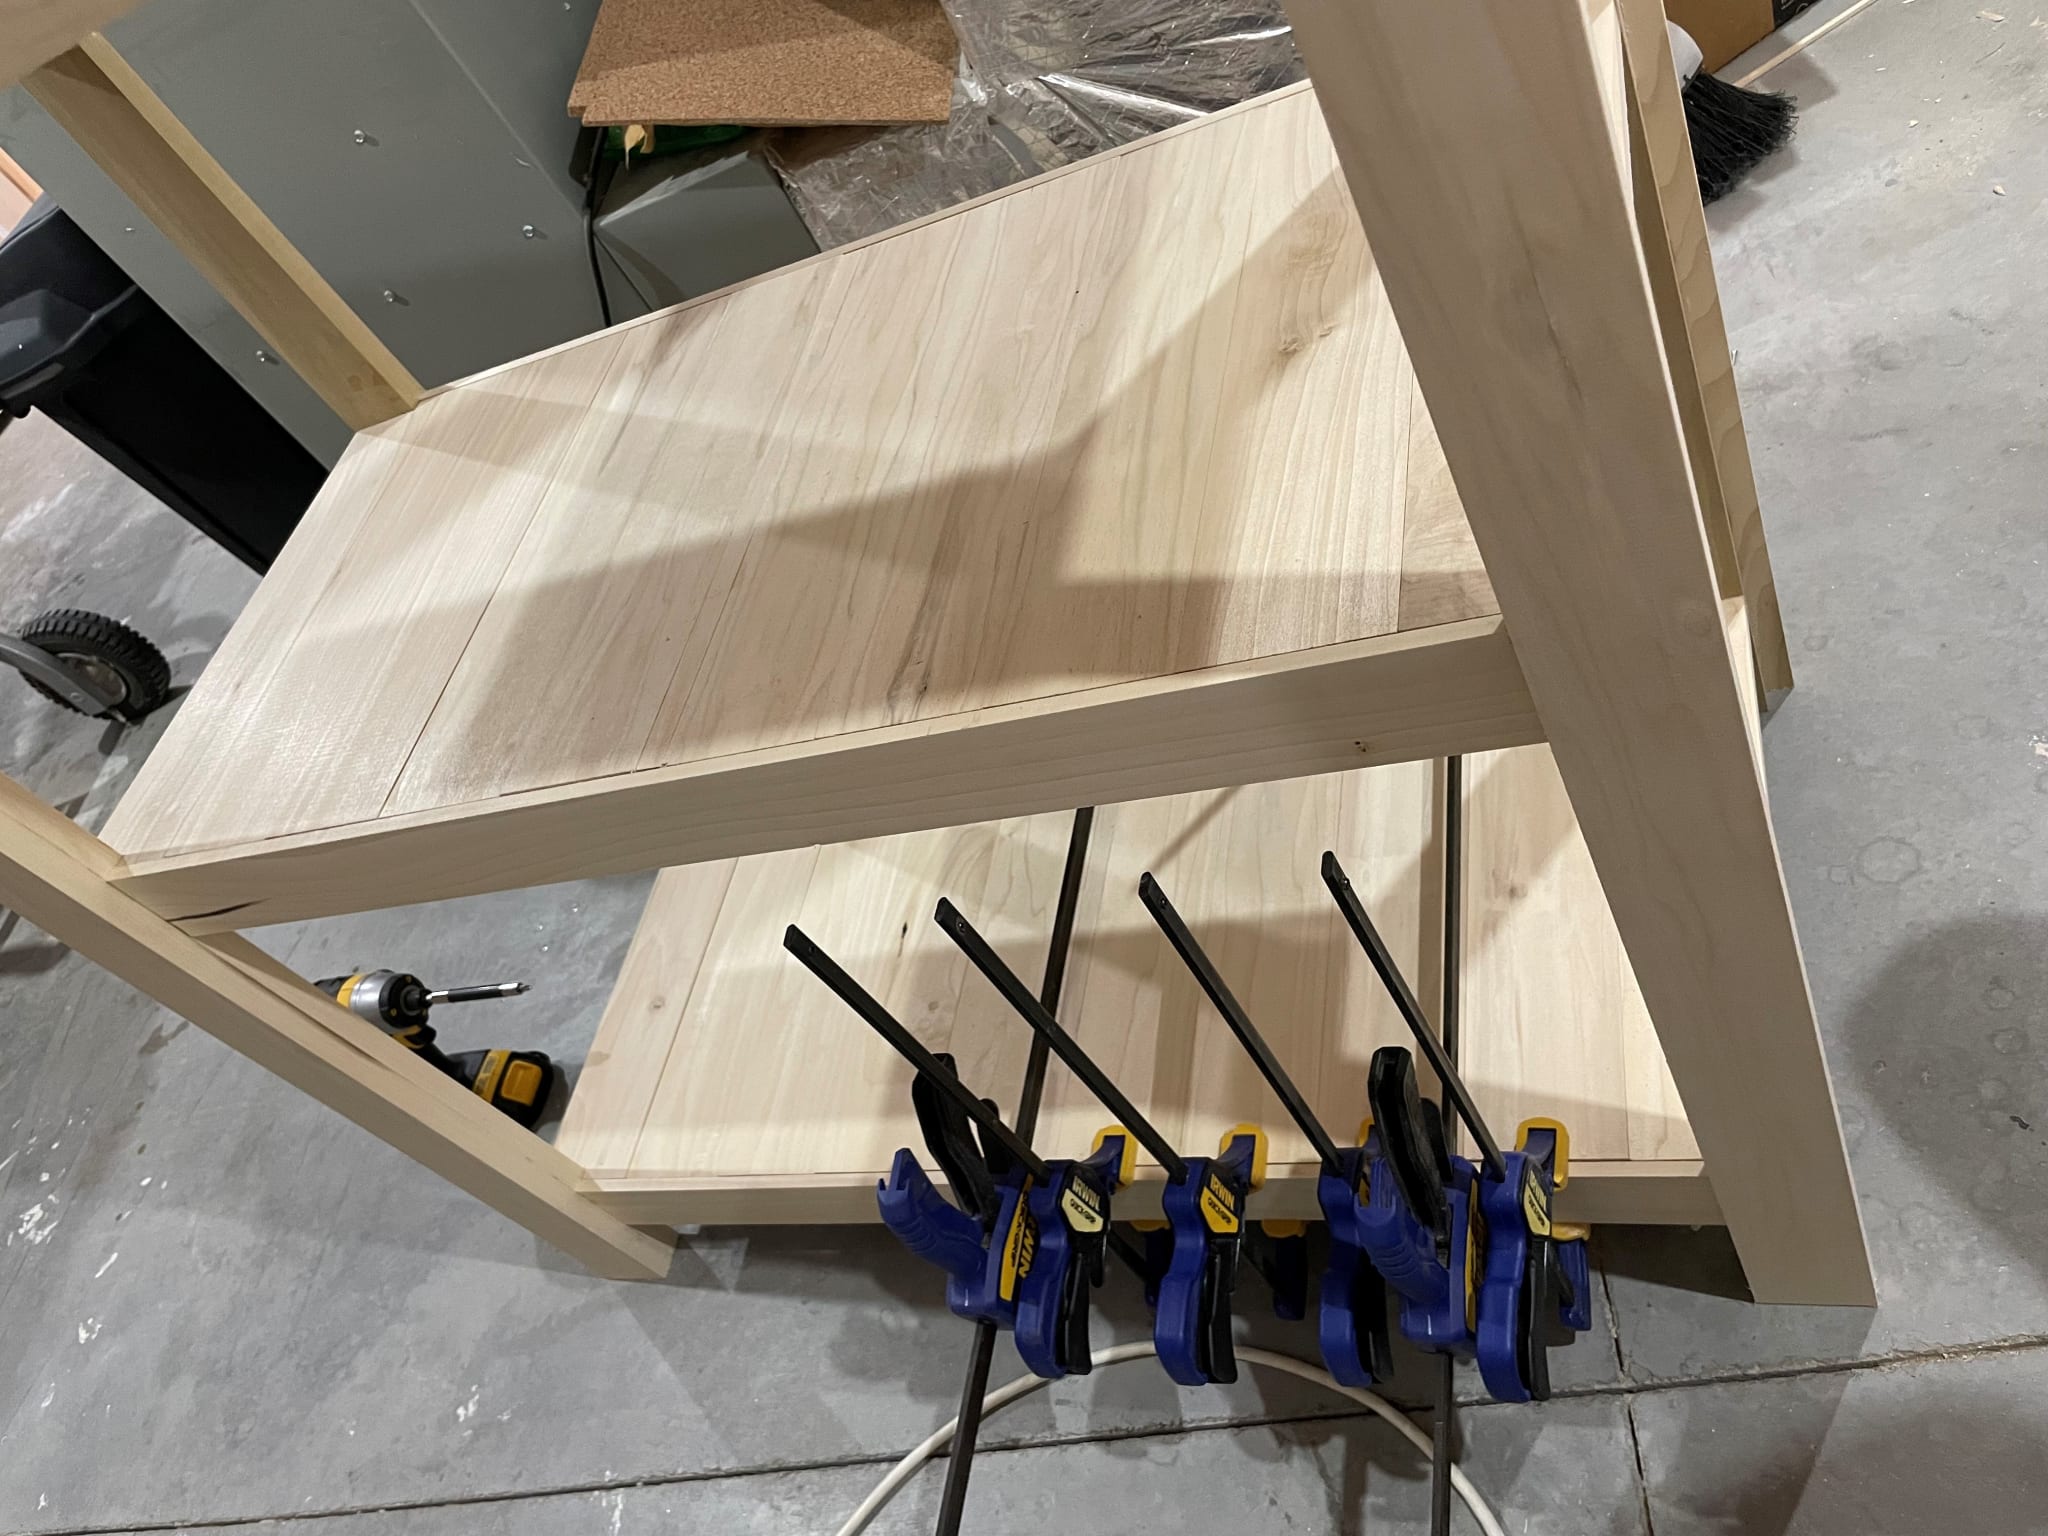
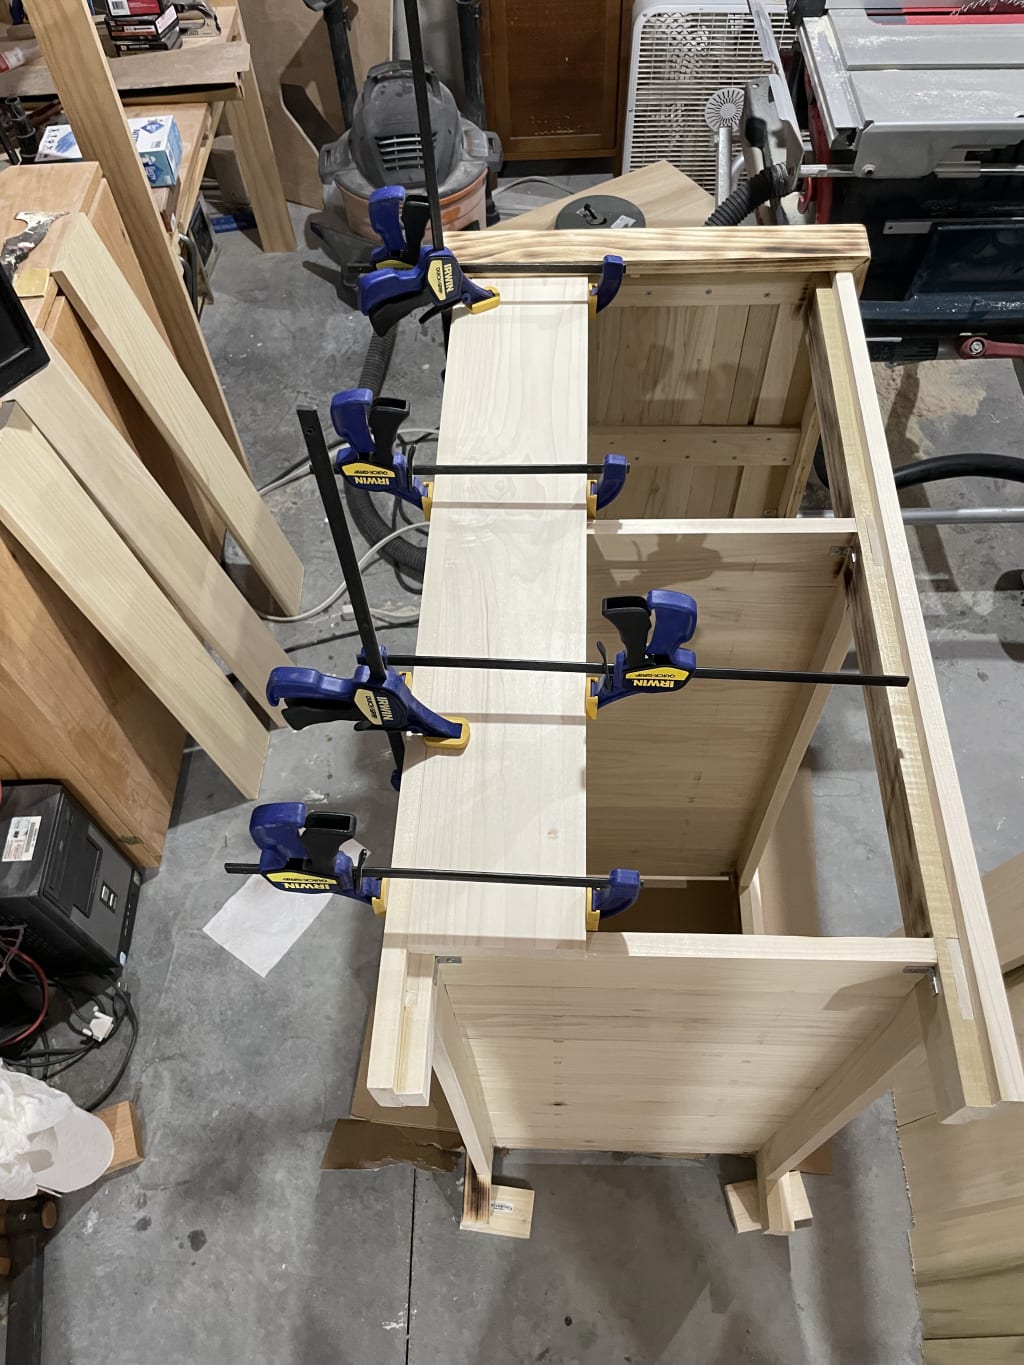
I glued each strip to its neighbor and clamped it all together to make a sturdy table-top surface. I also screwed perpendicular pieces onto the underside to increase stability, but I managed to forget to take a picture during this period.
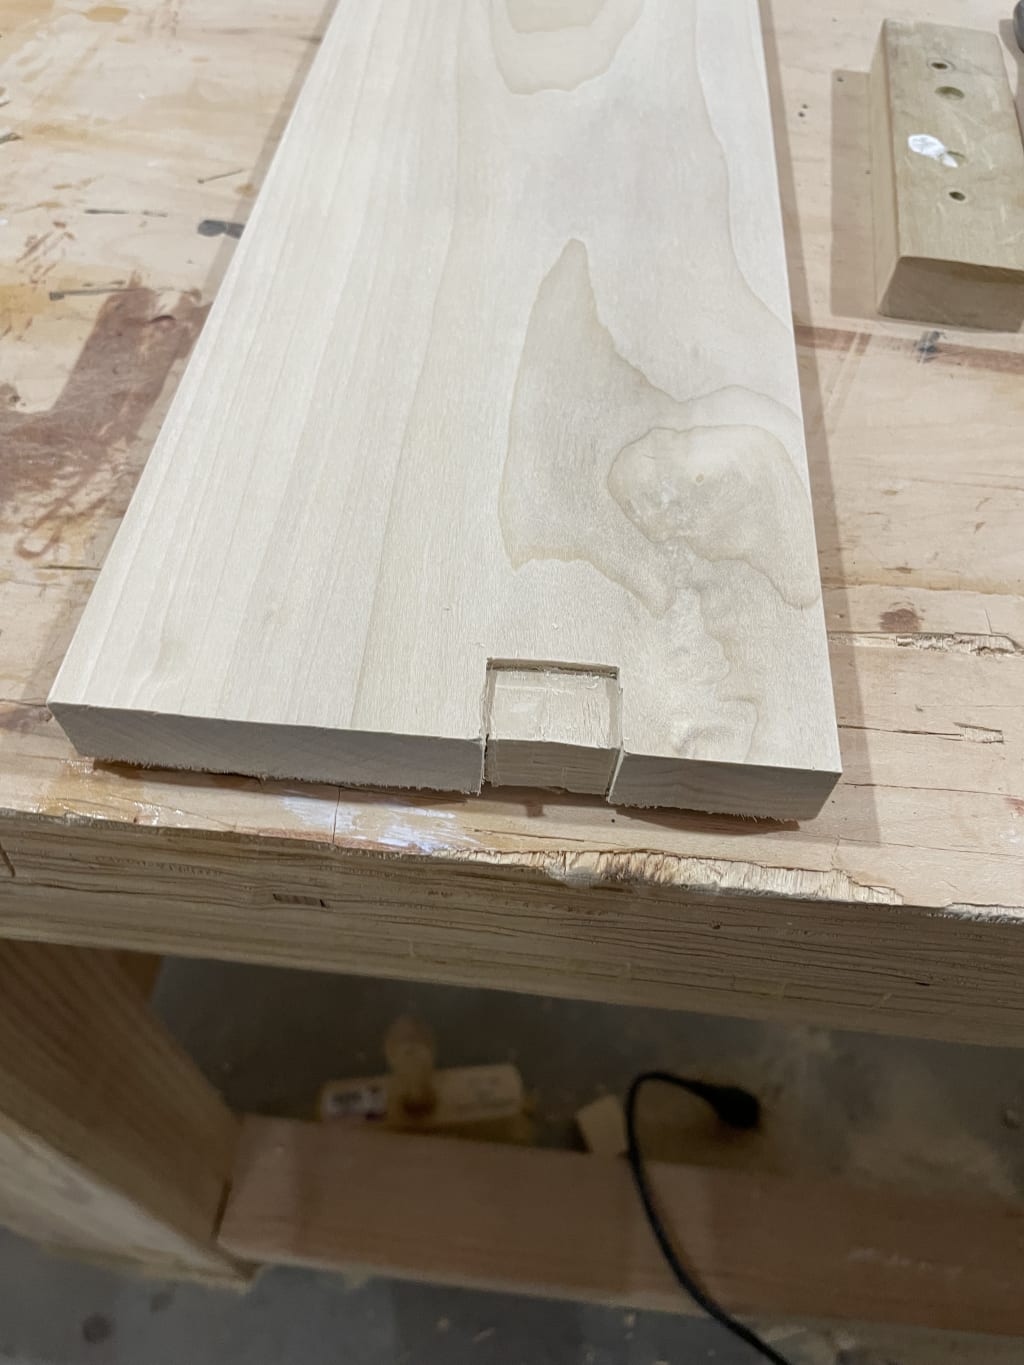
Finally for the table top, just like with the coffee tables, I cut a skirt that would go around the outside edge. Each strip I removed some material from so that on the ends the strips could sit down into the skirt. The Skirt, likewise, had a shoulder cut out for the table top to sit into. This gave a nice flat flush surface.
At this point the tabletop was in good enough shape that I could move on to the framing for the legs and shelves. Side-note: I could really use some longer clamps for the lengthwise portion.
Building the frame
After I got the top surface of the bar cart complete, I took a bit of a break while considering how exactly I was going to accomplish the rest of the piece. I had originally planned to use plywood for exterior and shelving, with poplar only as the top surface and carcass. When I looked at the calendar, however, I realized I was very likely not going to make my timeline - at all. There was a lot of work to do.
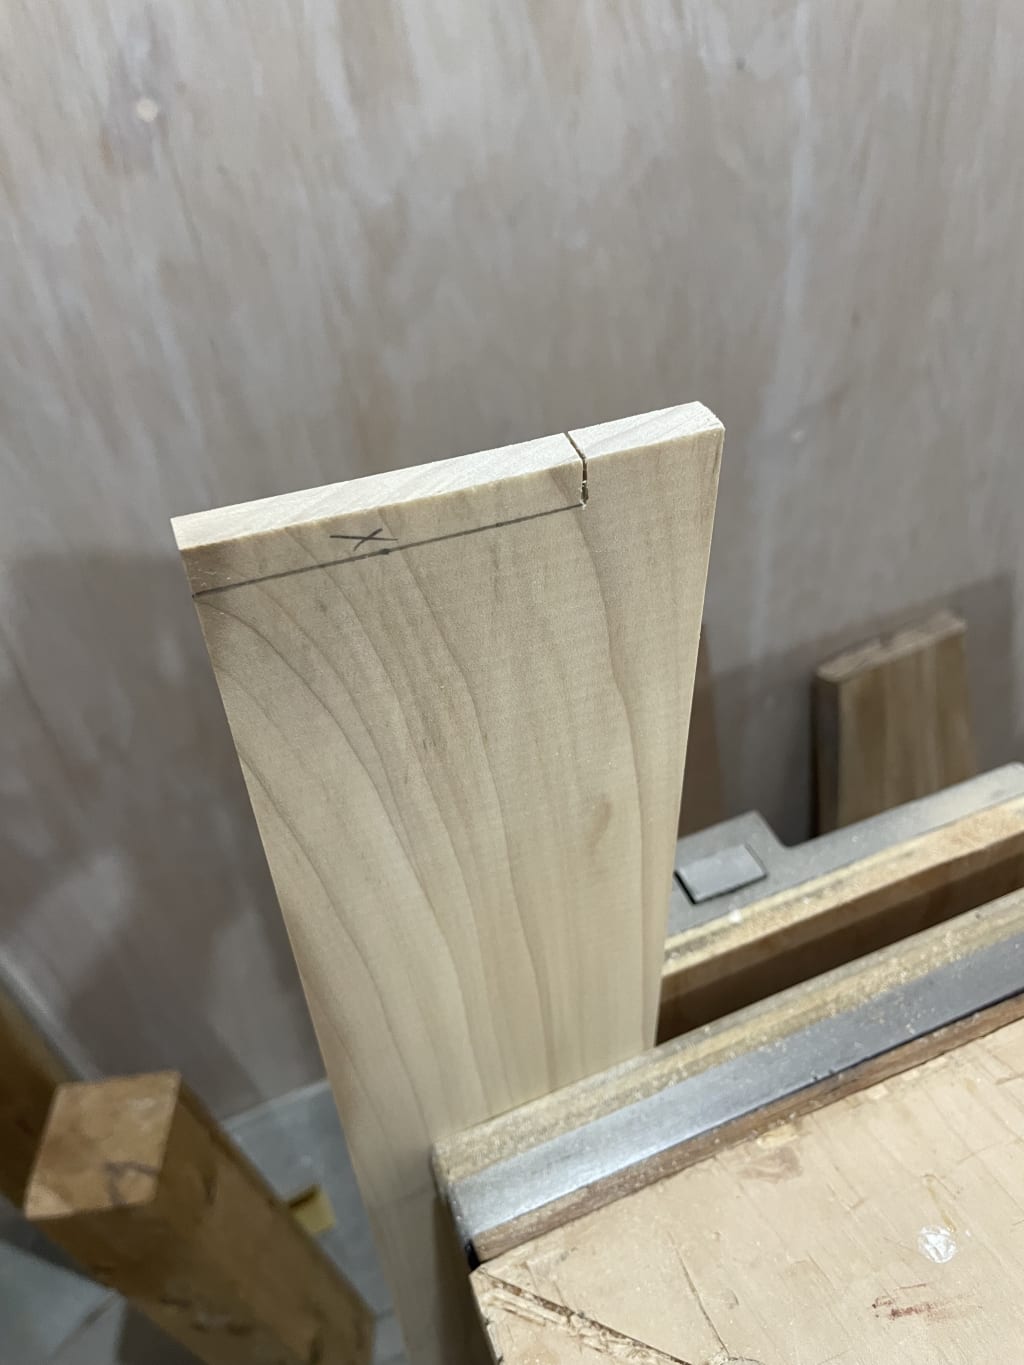
I decided to make the inner shelves out of solid poplar as well, cutting shoulder joints so it all fit flush. When building the legs, I also made sure to offset by the thickness of the panelling so everything on the outside could sit flush, but be well supported.
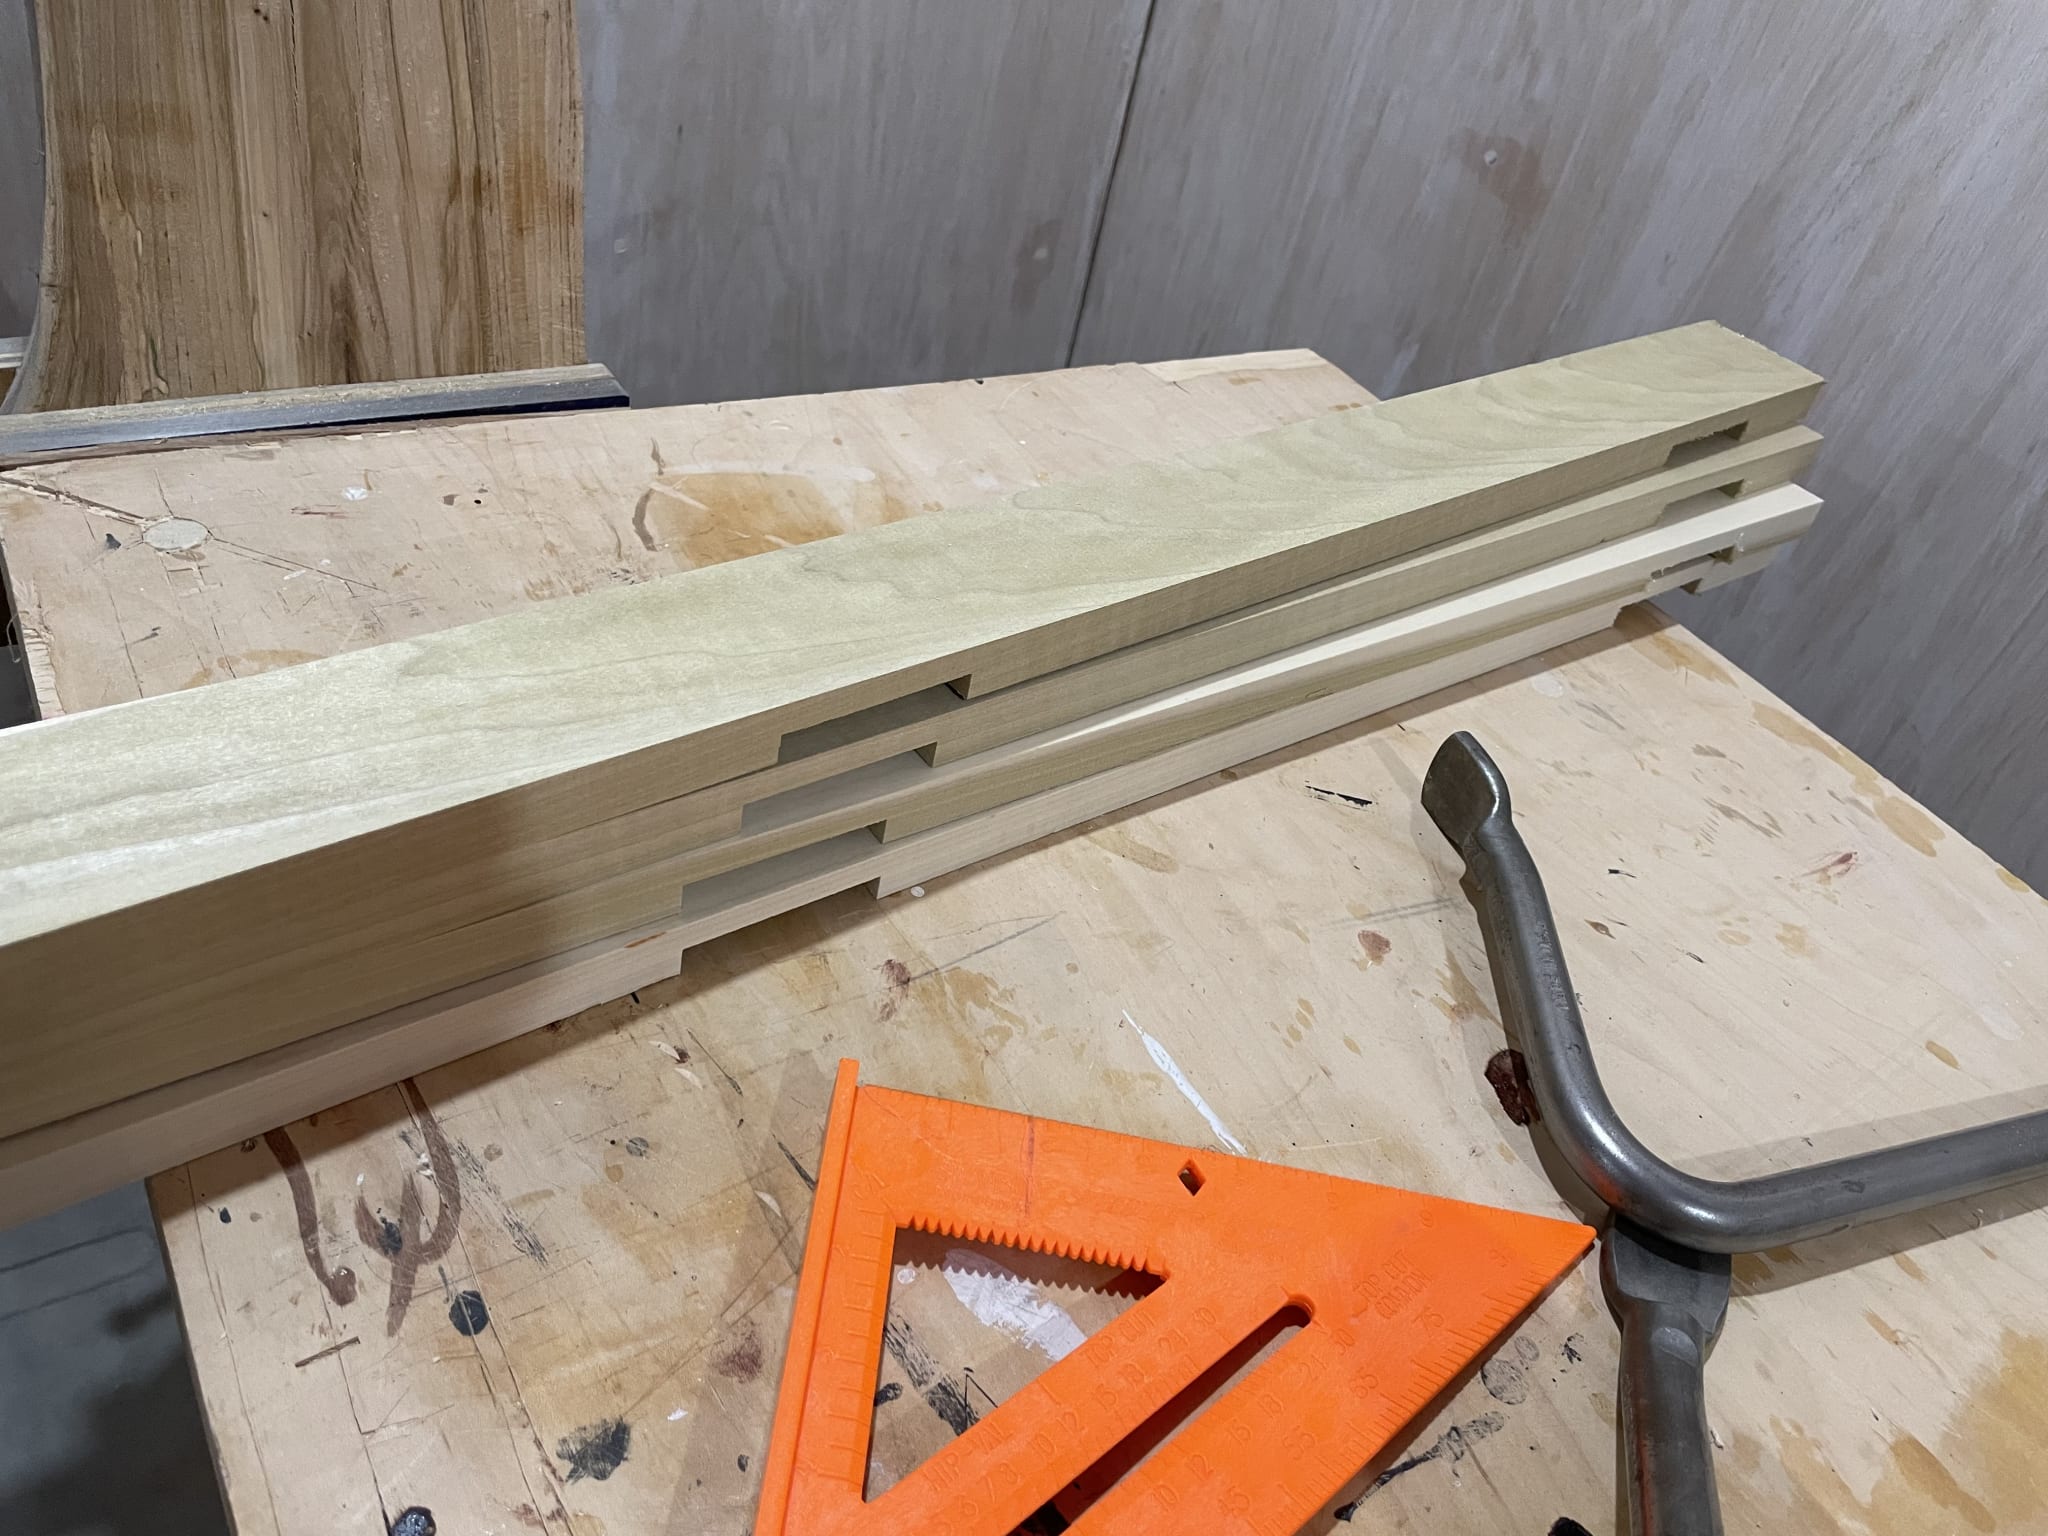
Since I am putting two shelves in, and I want it all to sit flat and flush with each plane of the piece, I chose to use a simple half-lap joint for connecting the horizontal shelf supports and the legs. This is the same as I did with the coffee tables, just more so.
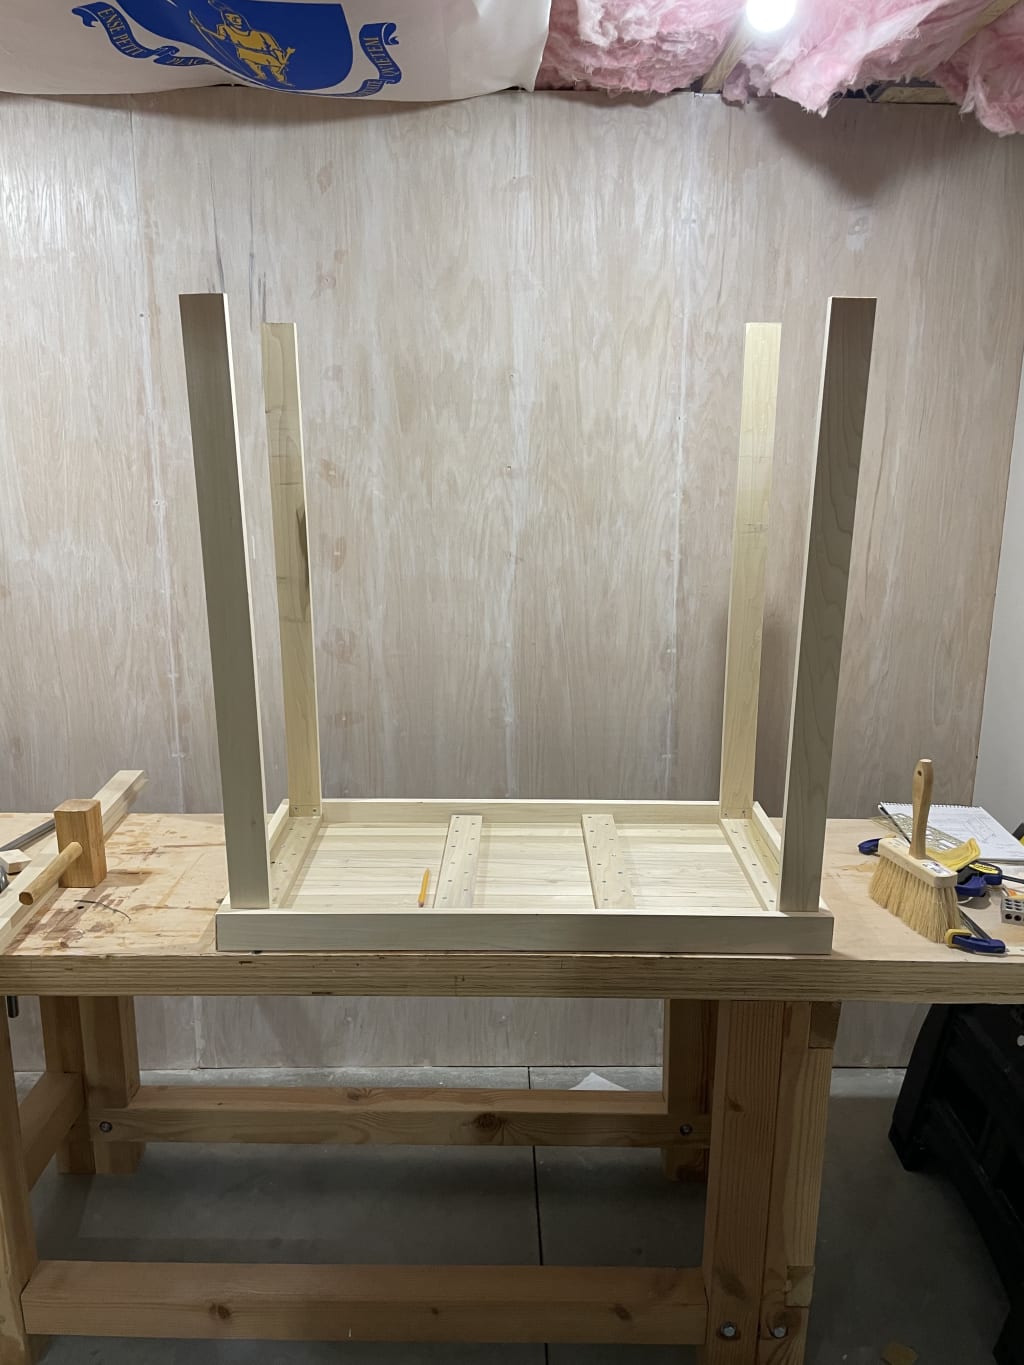
Next I flip the table top over and connect the legs with a few screws so they don't wander off; these screws end up being totally hidden.
Once the outside part of the legs are on, I get my half-lap-prepared inner portions of the legs to laminate on with my trusty wood glue. Spread evenly across a surface, wood glue can effectively join two pieces (or more) of wood into one.
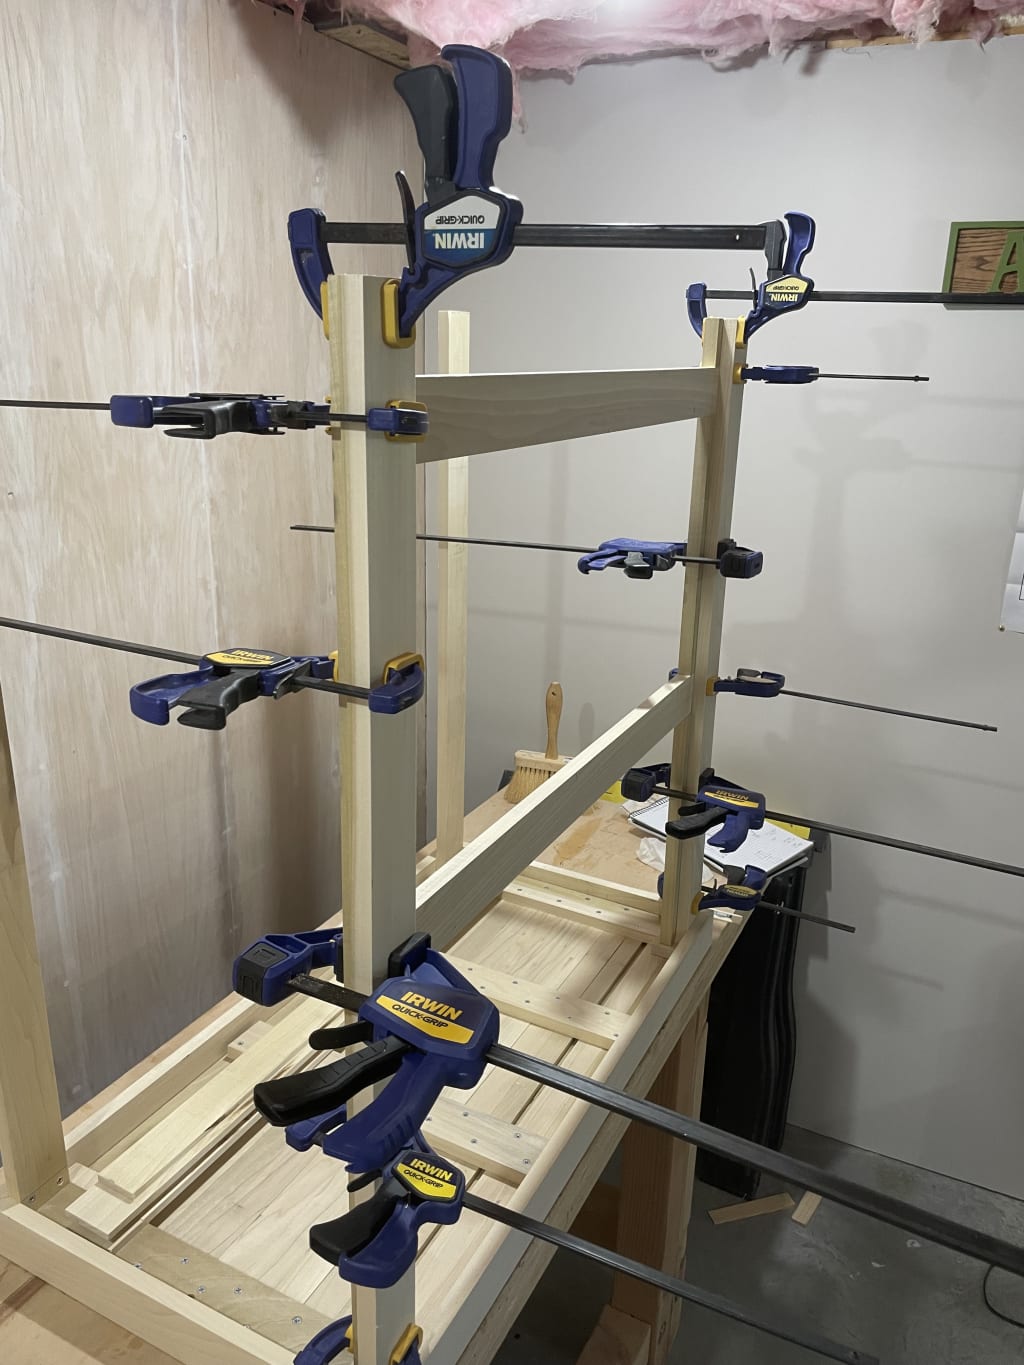
Due to how I was building everything, I also needed to clamp in the horizontal support pieces for the shelves as I put the legs together. I had previously cut these to have shoulders cut out so that the shelf would set into it. If you're curious, this is what's called a rabbet joint (technically I did a double-rabbet).
One of the side-effects of all the overlaps I planned in leg construction was that I needed to remove some material from each end-piece of each shelf. And because one side of this bar-cart-cabinet thing was left open, the open side and the closed side would be different. Fun.
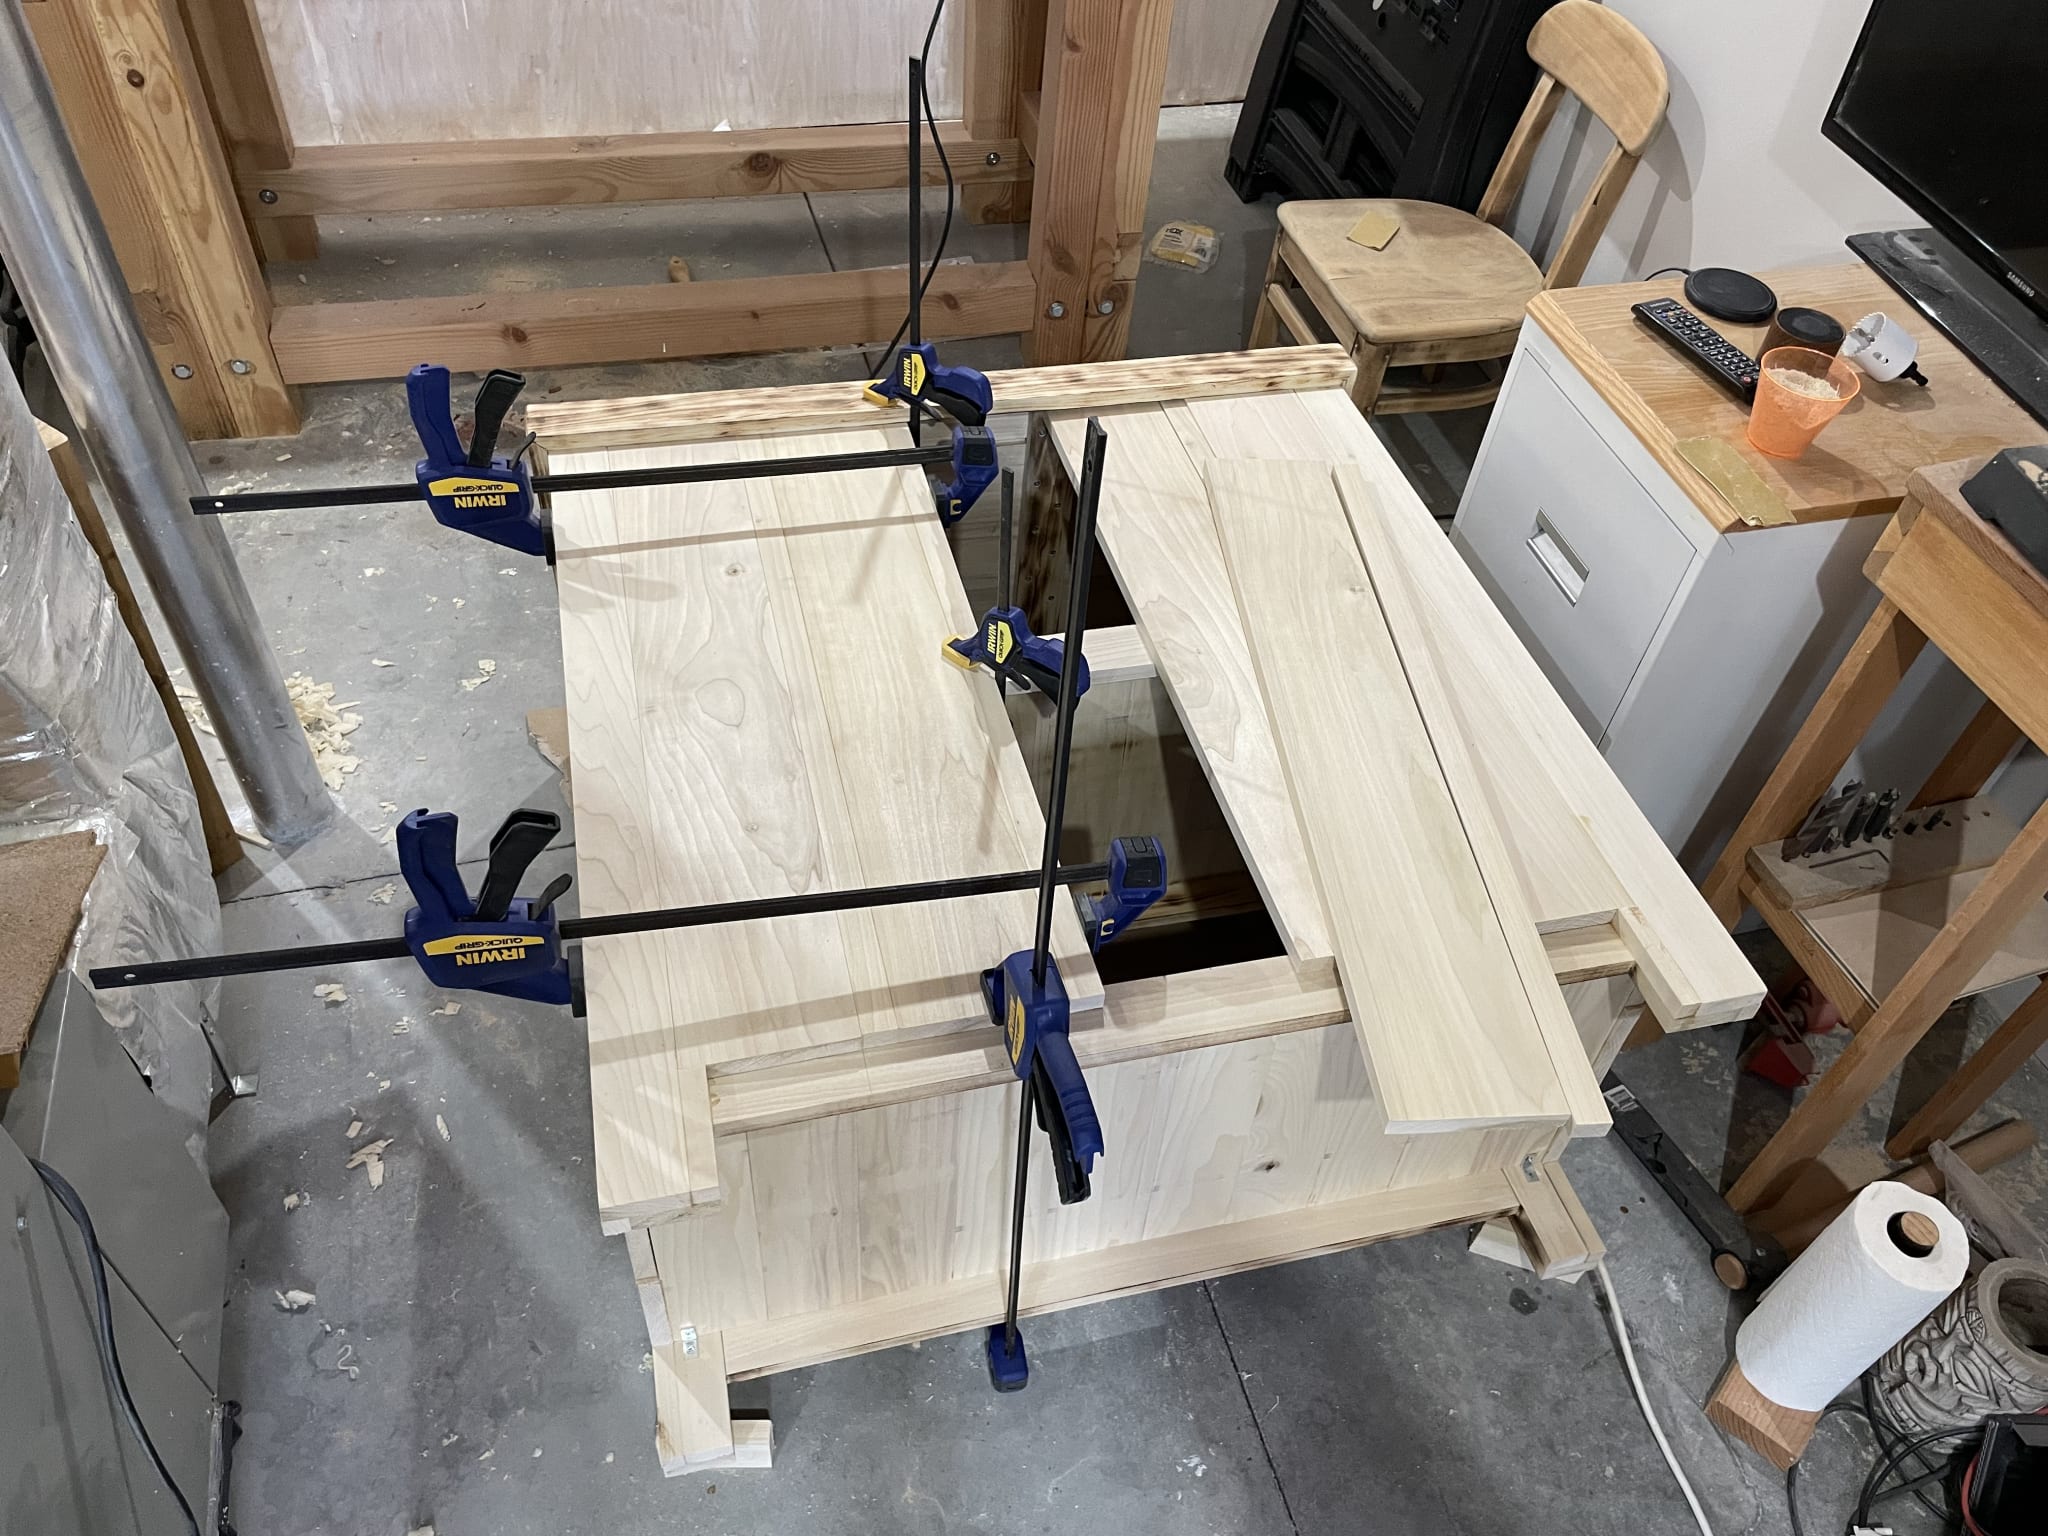
With that out of the way, I cut the rest of the shelf pieces and did a quick test fit. From prior math I knew I should have some kind of gap left over to fill.
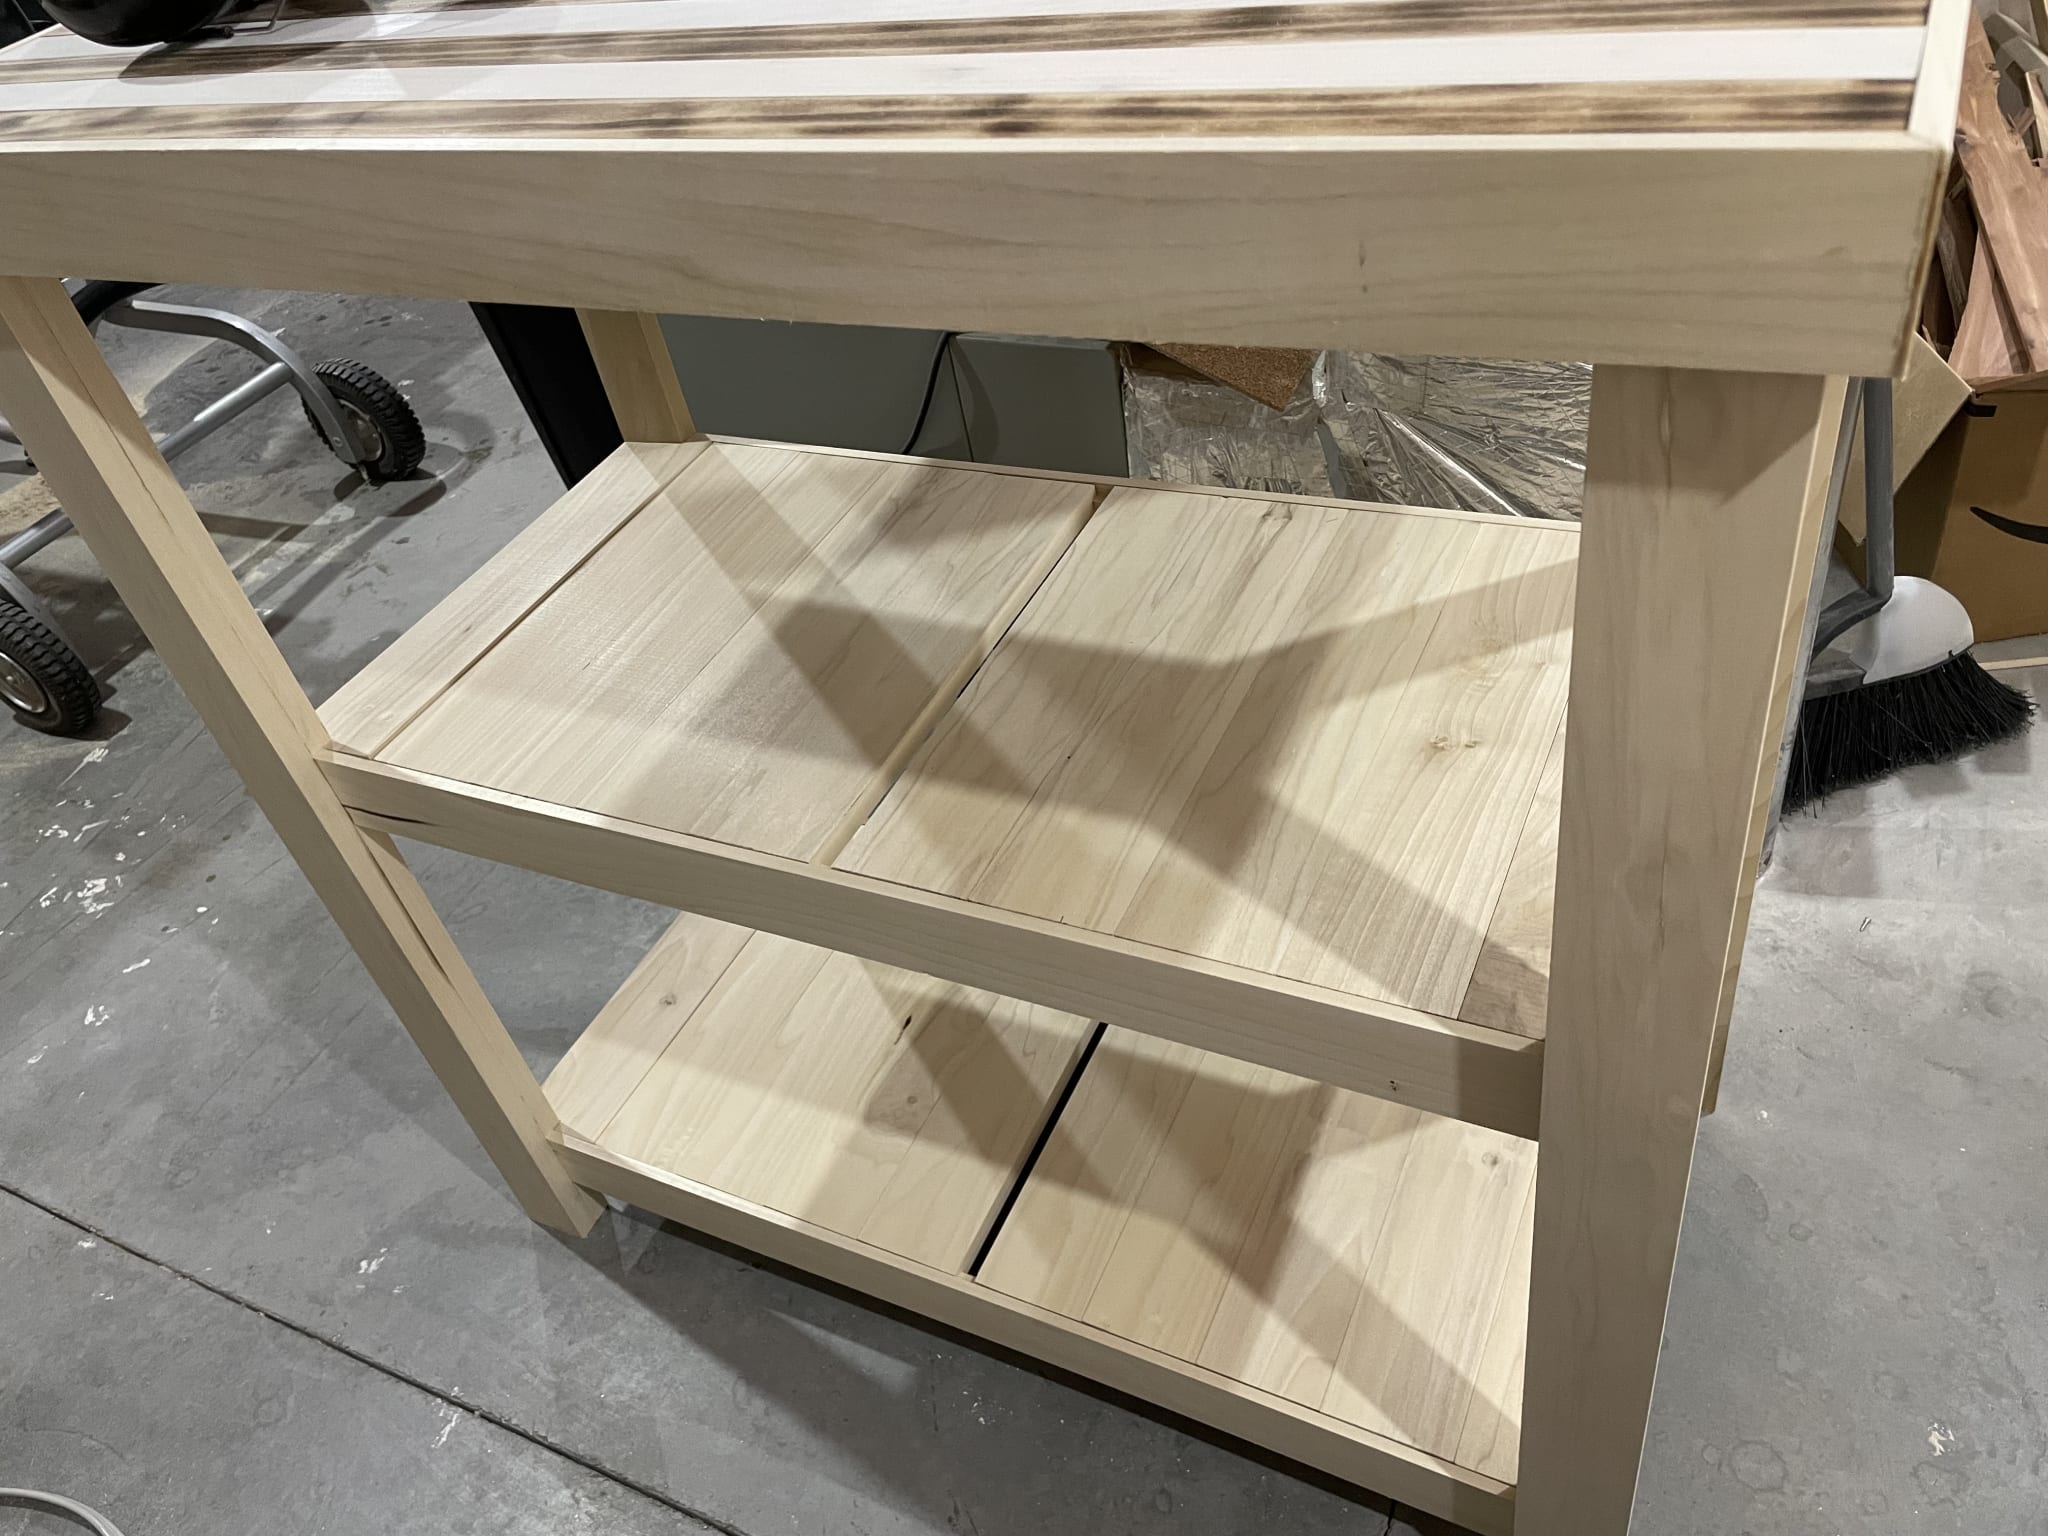
With the test-fit in place I could measure and cut the small strip in the middle I would need to make a solid shelf. Once that was cut to size and verified to fit, I got to gluing and clamping and gluing and clamping and... well, gluing and clamping.
I also added extra little supports on each floating end on the shelves because one can never be too safe with stability.
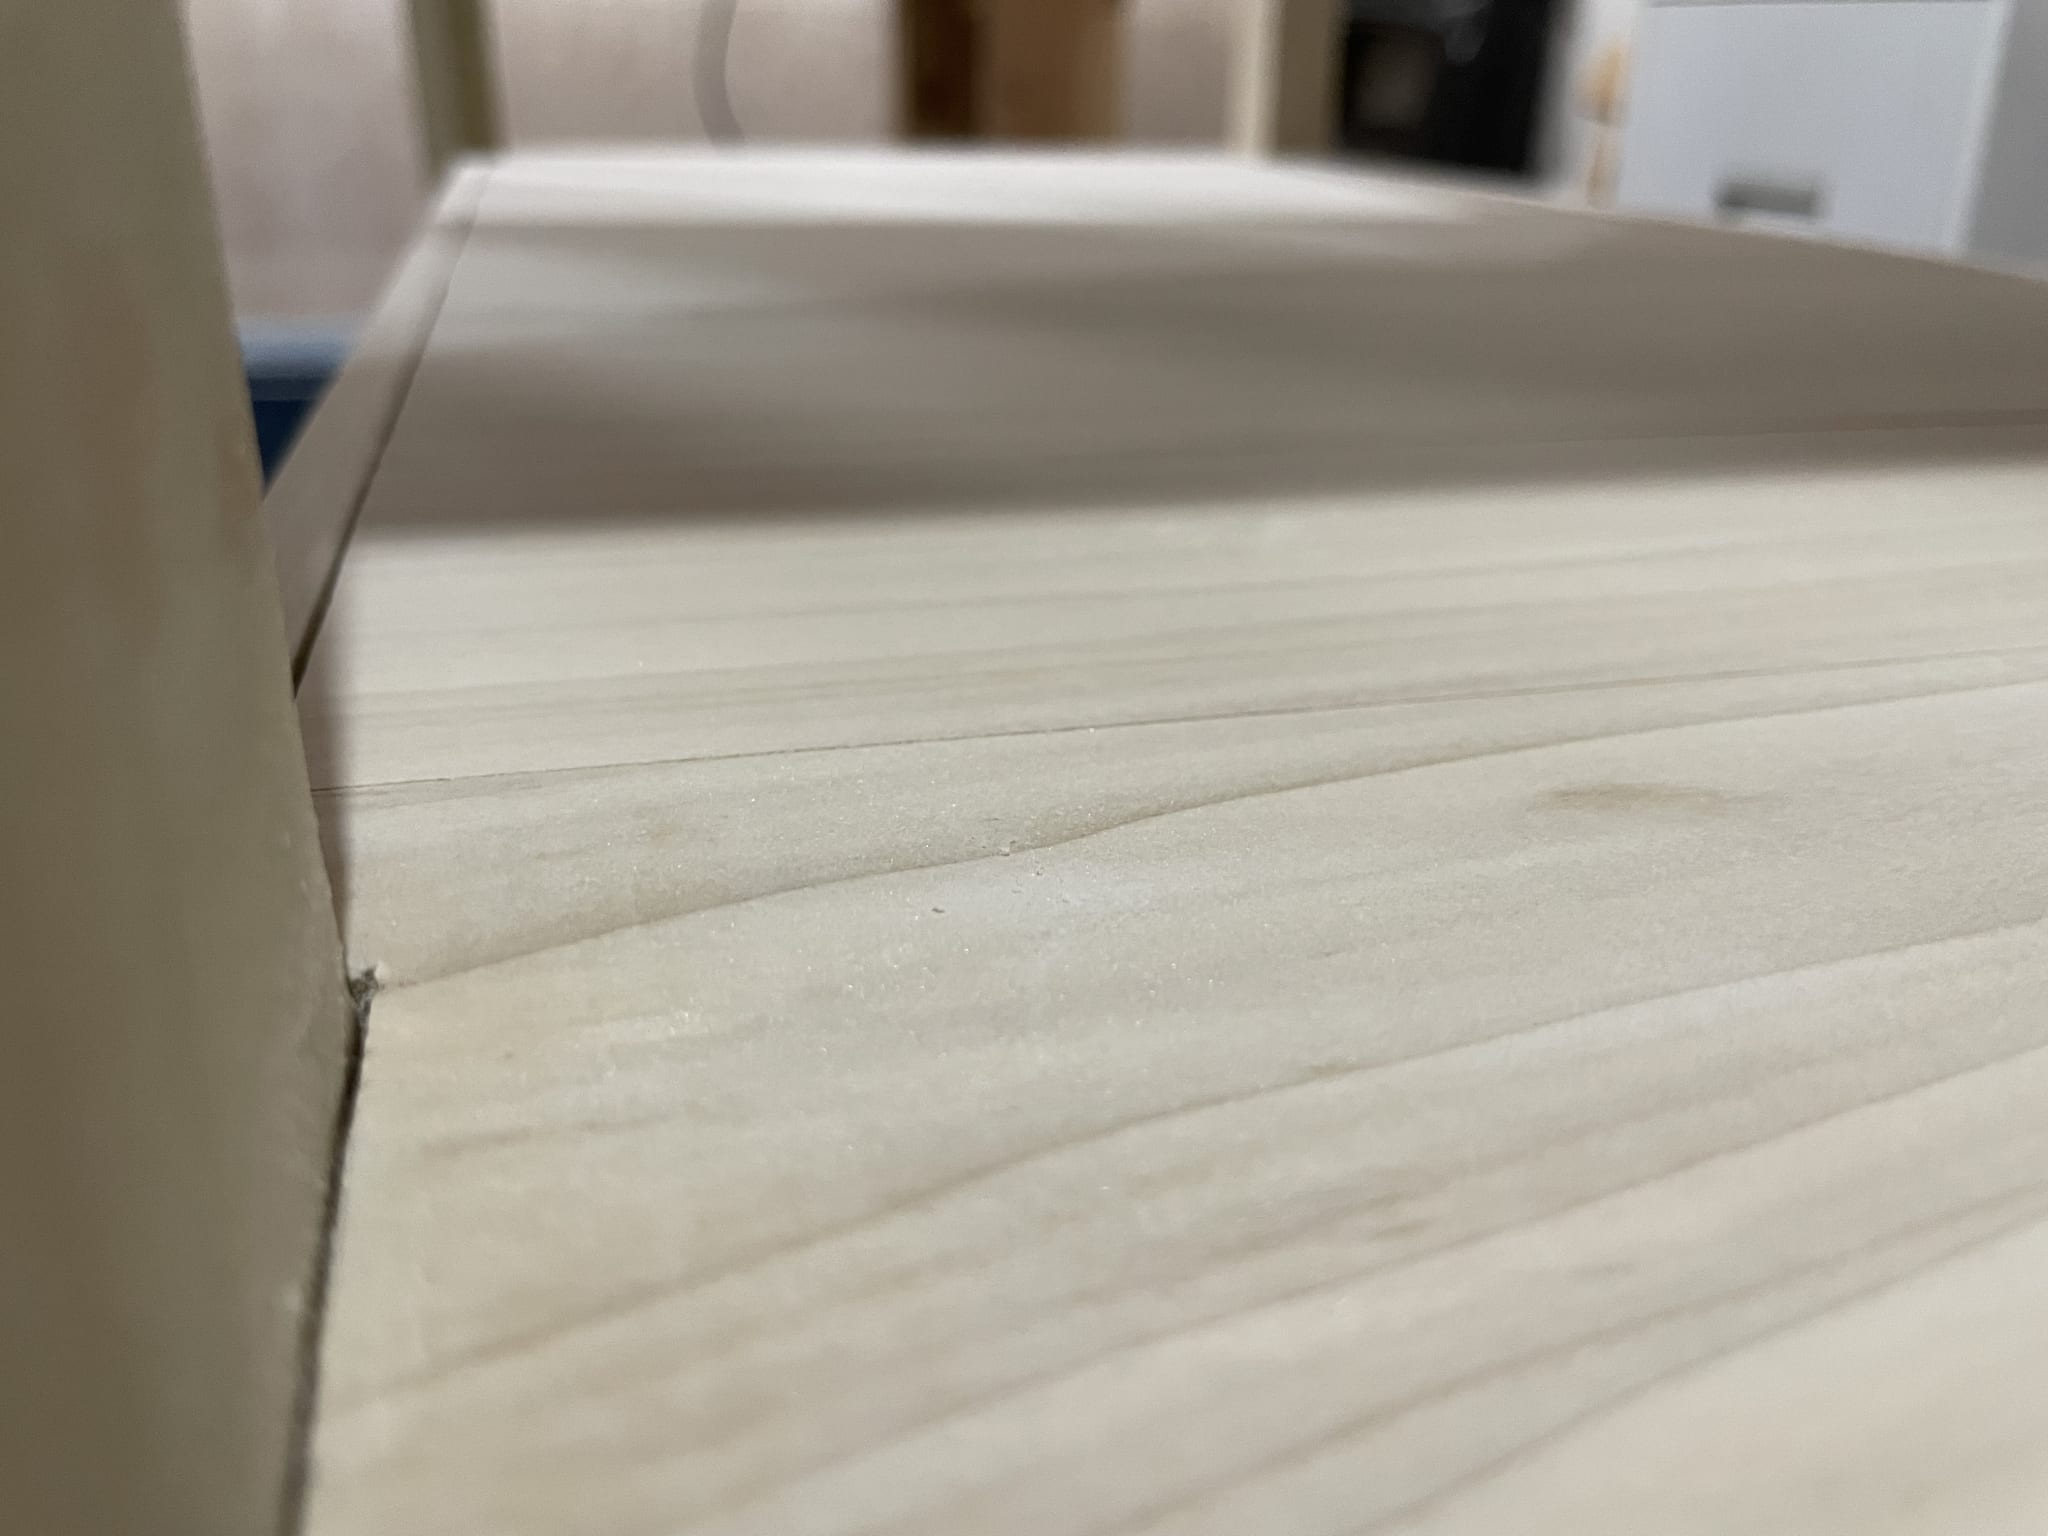
I'm pretty happy with how the lines and joints came out.
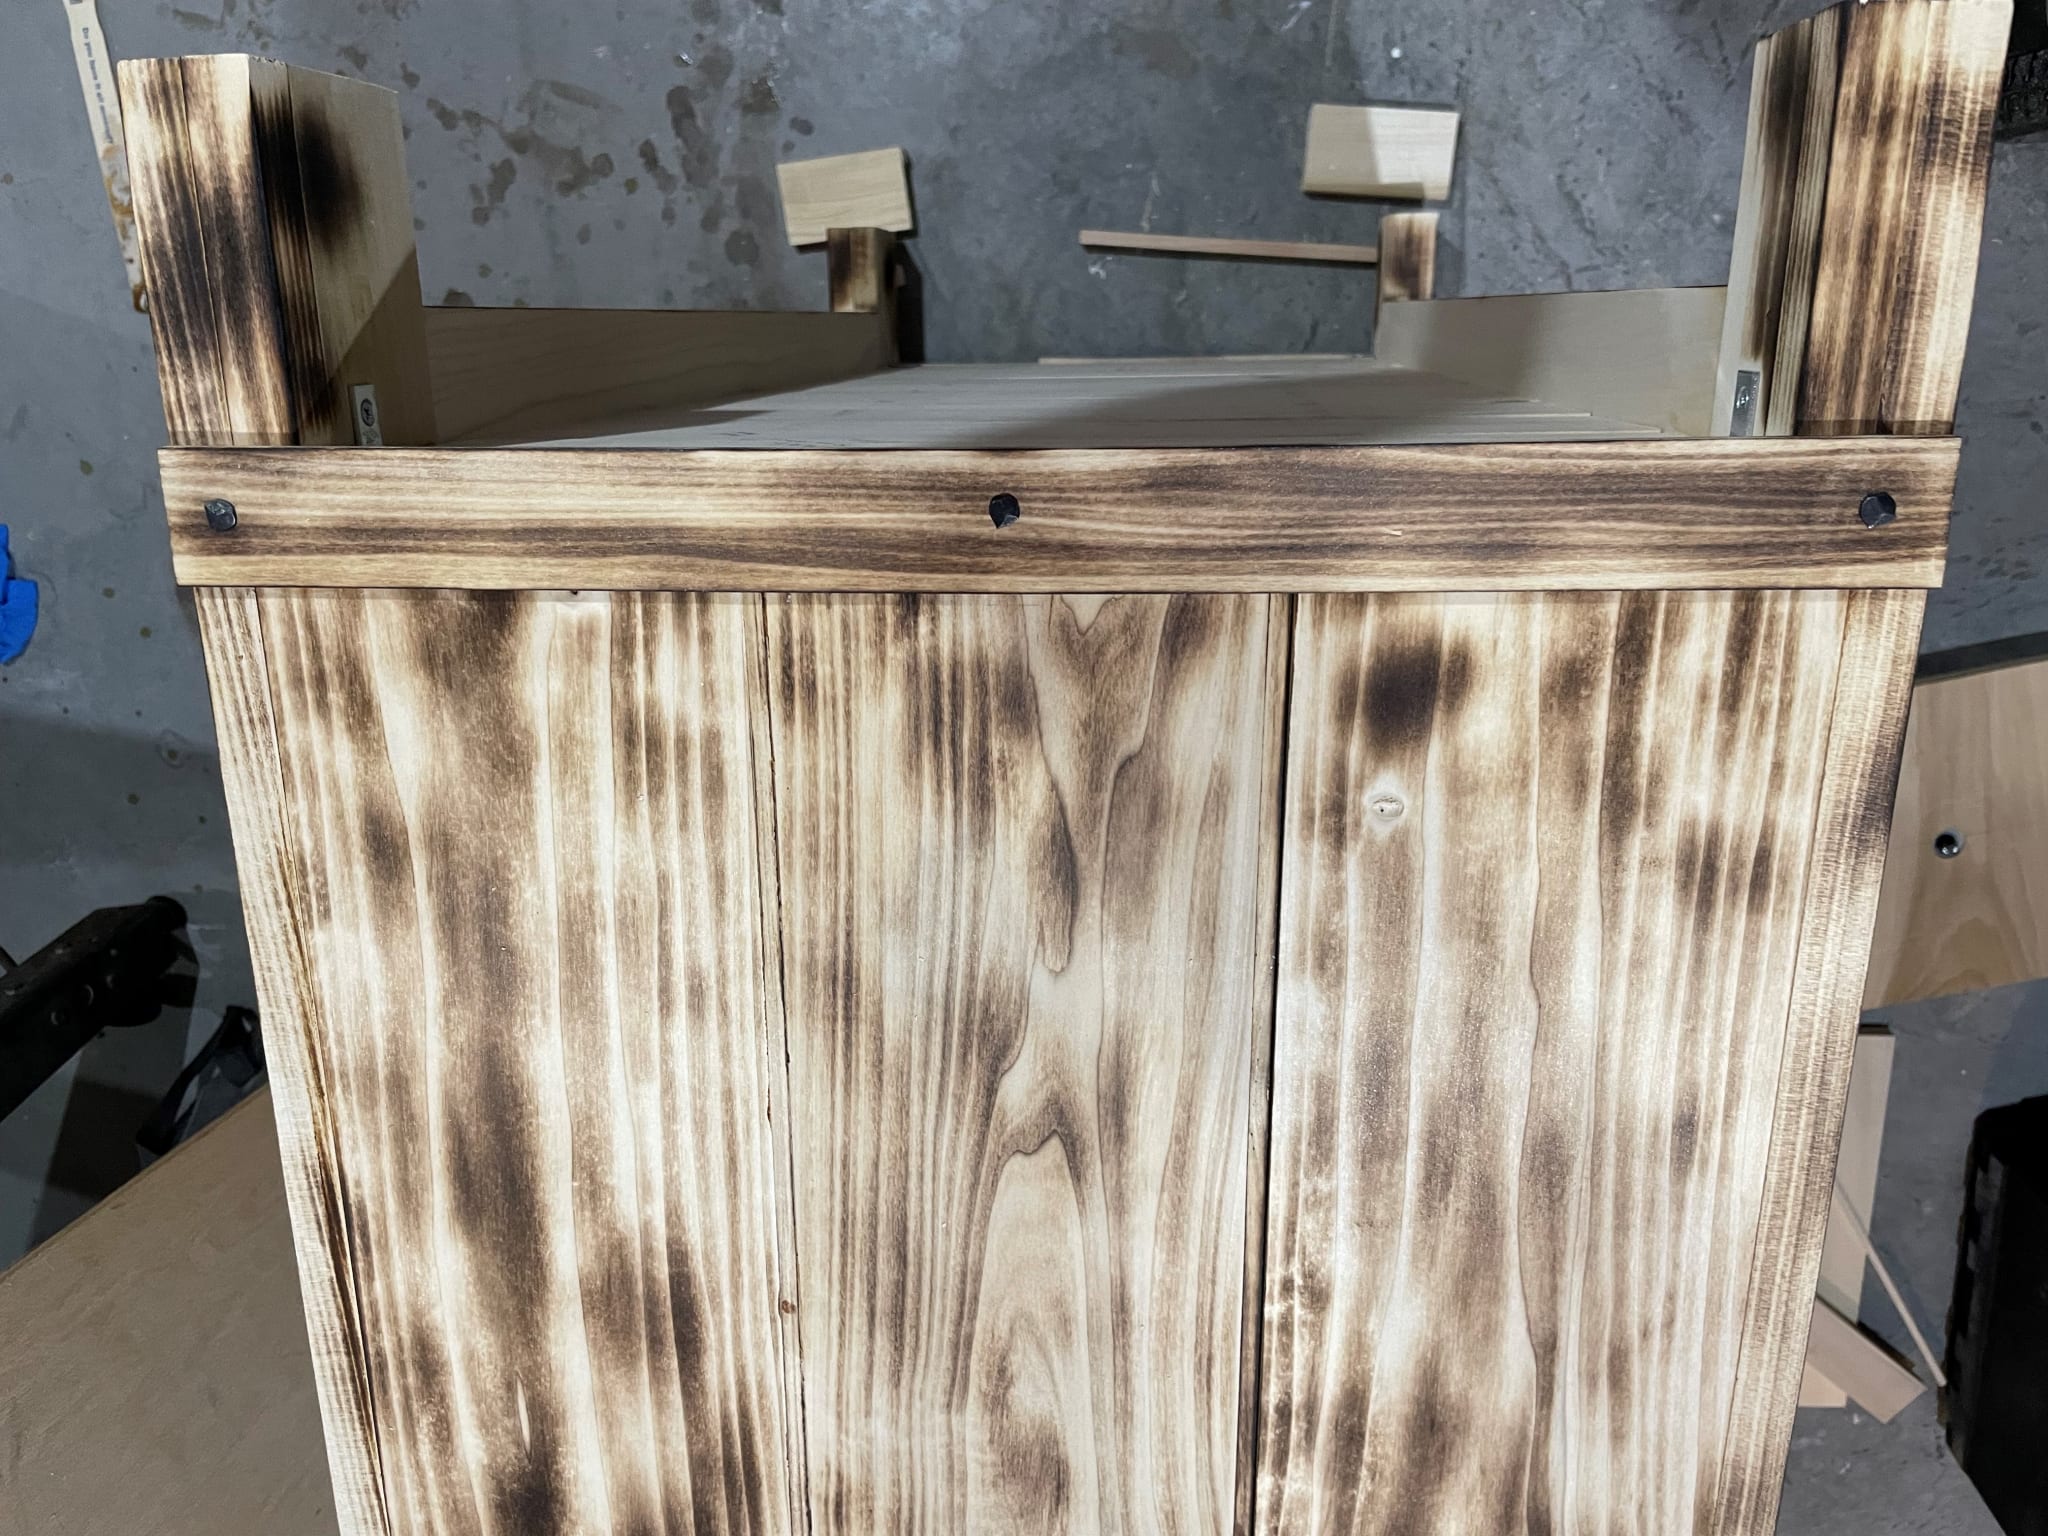
Once I had the shelves on, I decided to toast parts of the frame with my torch, as well as the shelves.
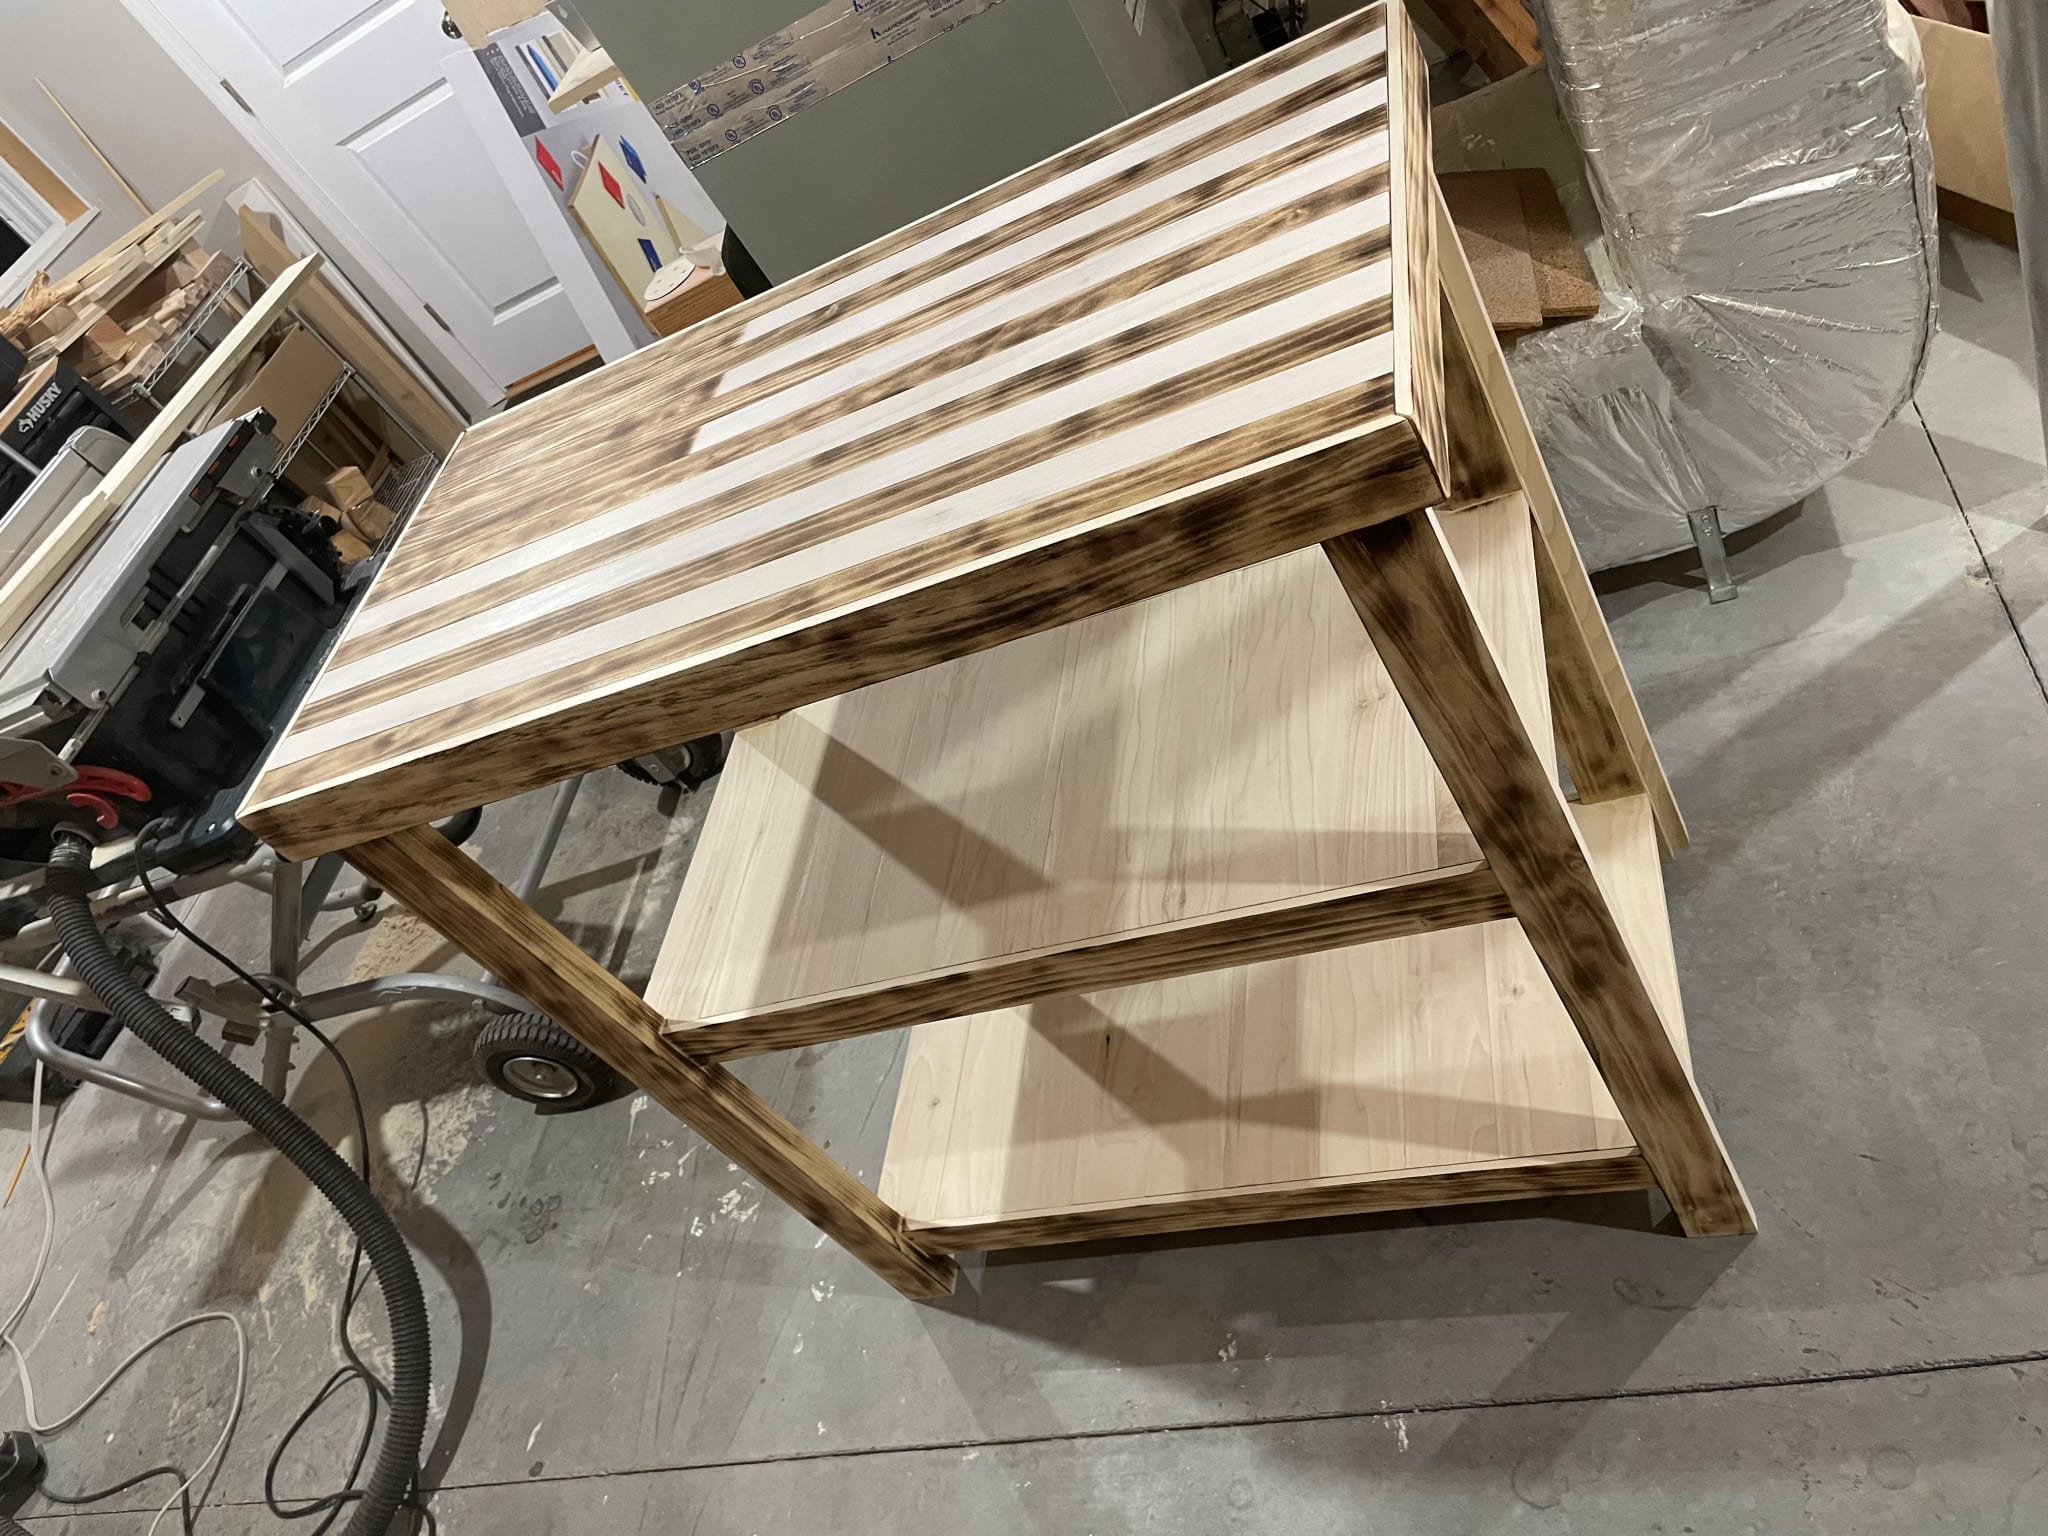
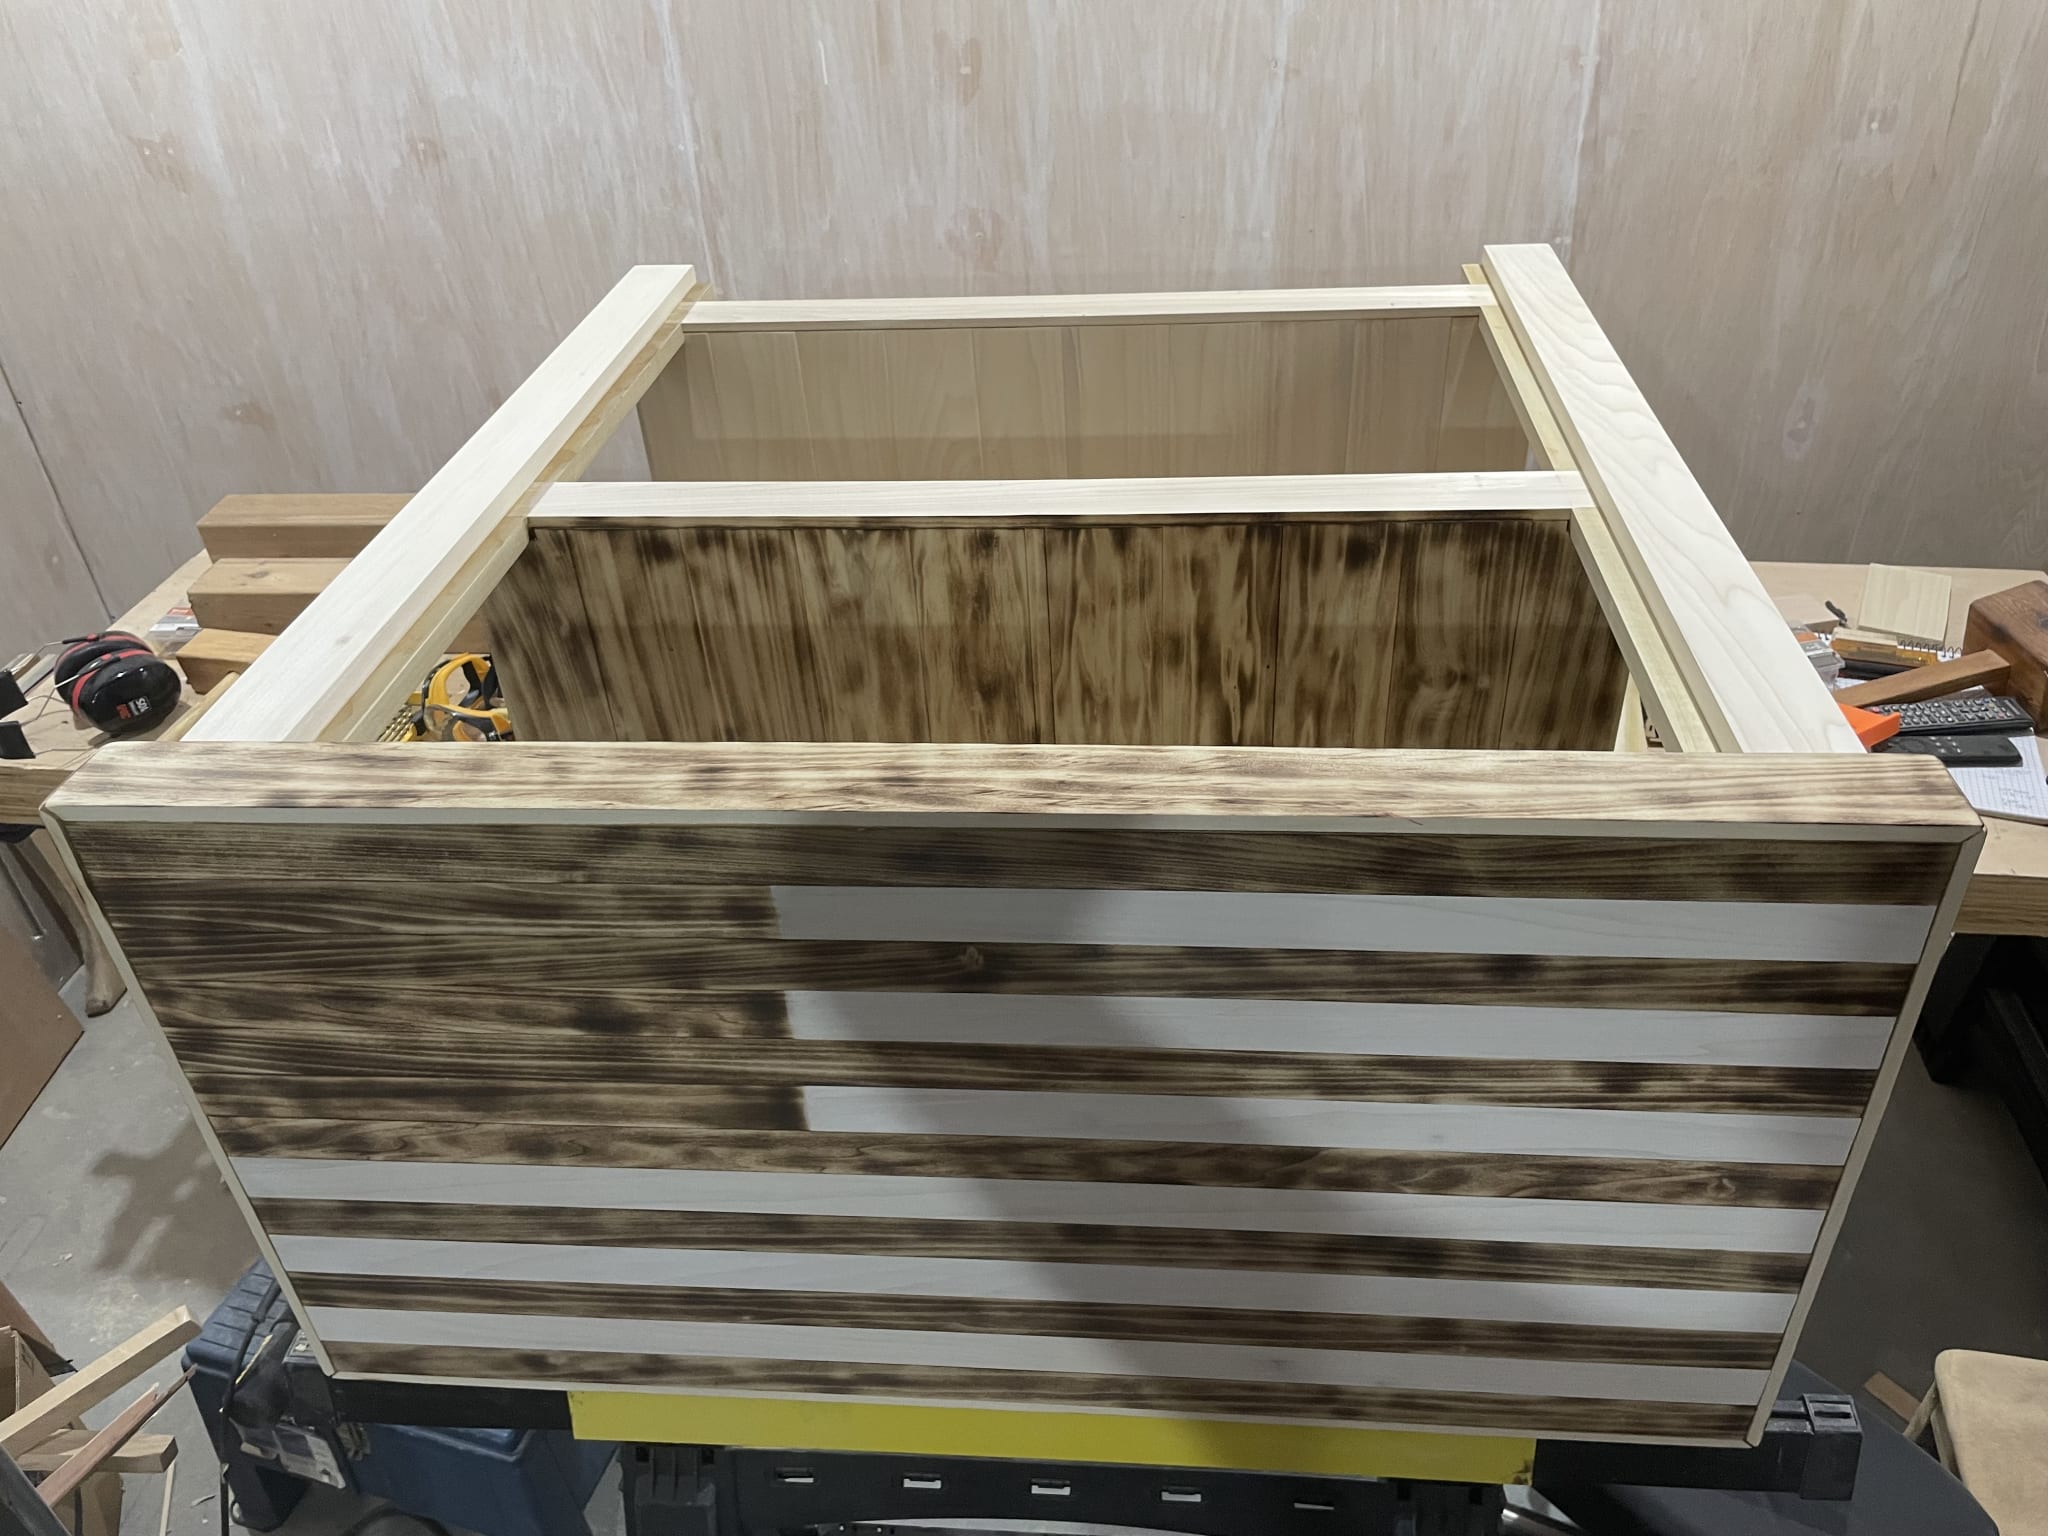
This thing was already getting pretty heavy, by the way. Now, on to the casing/panelling!
Building the exterior
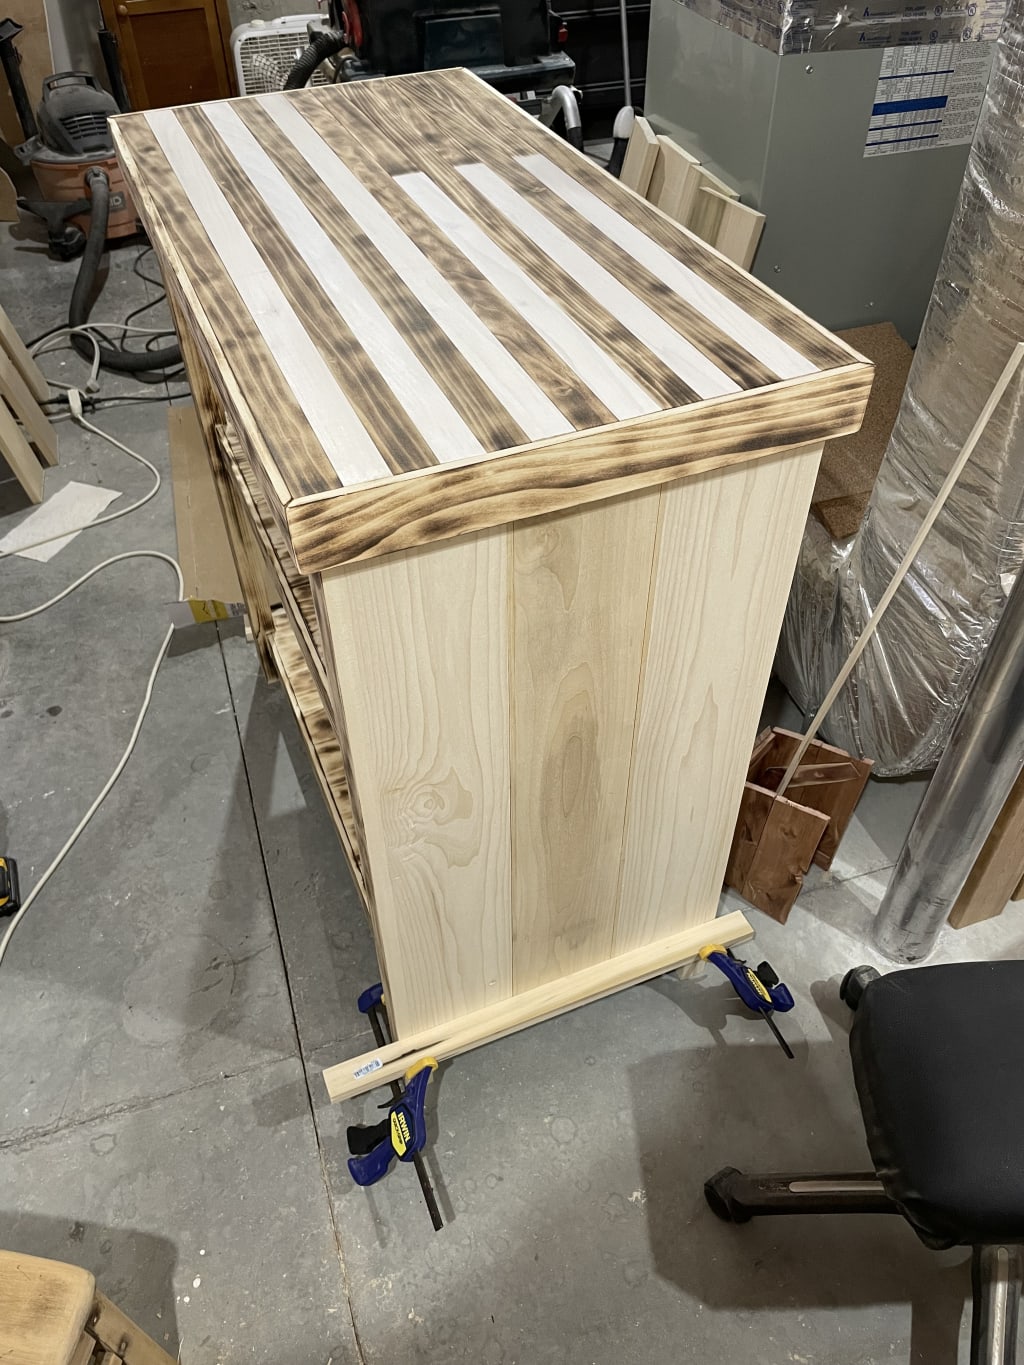
I had to take a look a few times to determine if I wanted the boards (and thus the grain) running vertically or horizontally for the outside, and eventually summoned Natallia to the dust-scape I call my workshop to render an opinion. In the end I went with vertical. It would look better on the sides, and may make the whole thing "feel" taller.
This part was fairly straight-forward. Cut a bunch of boards and stick 'em on the outside!
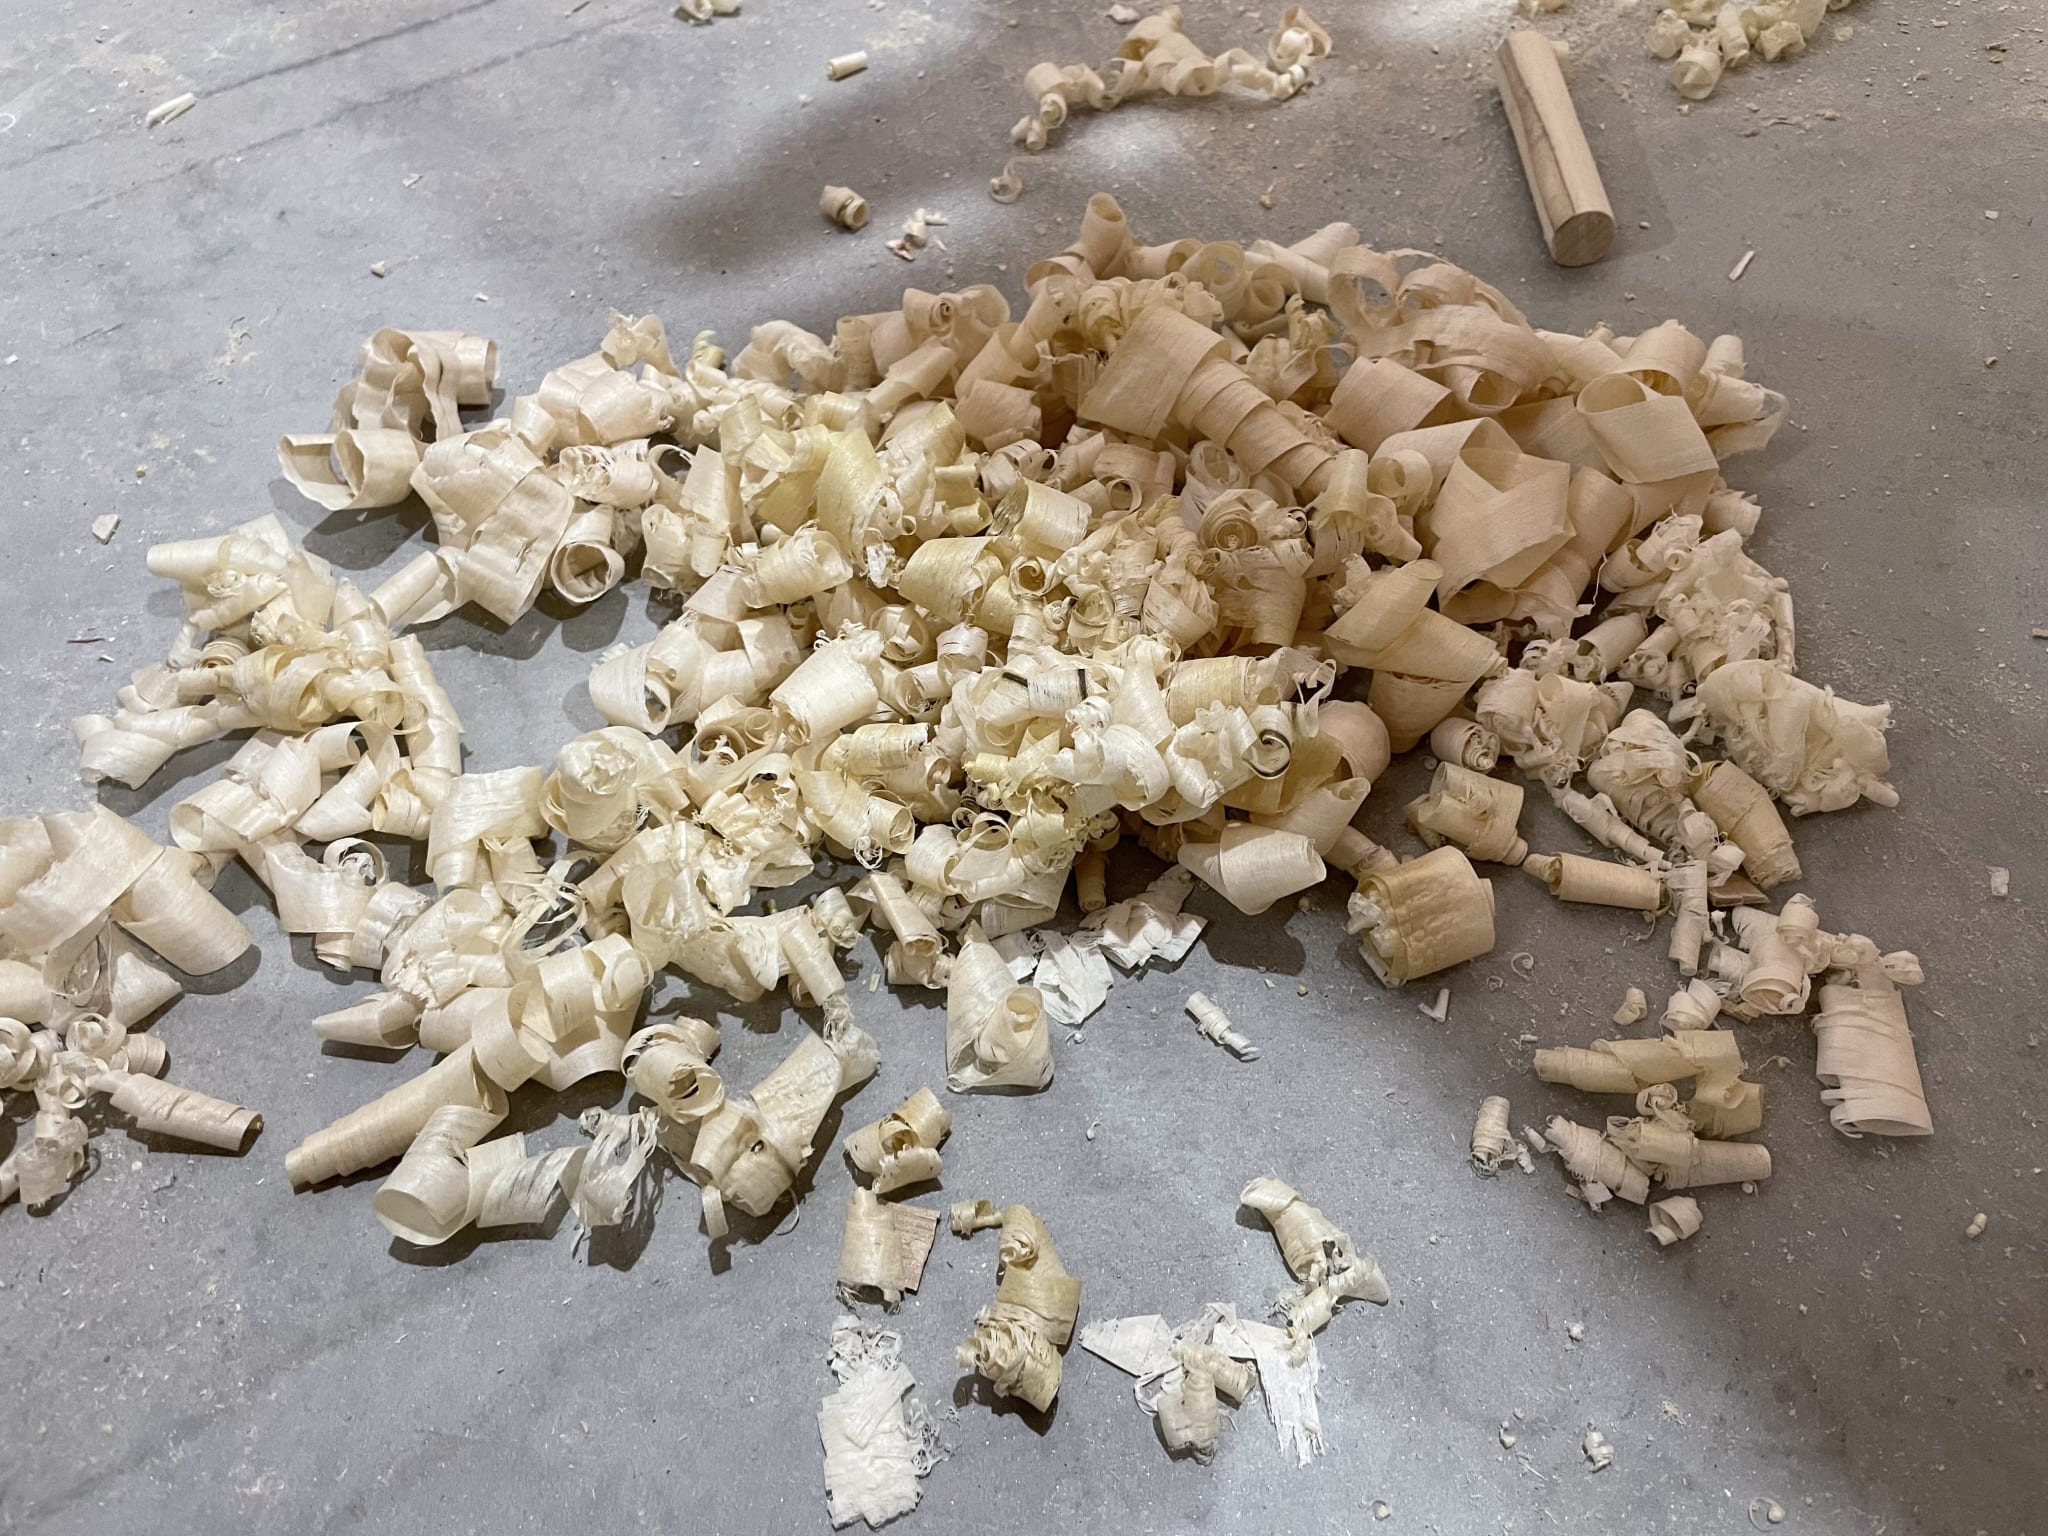
Well, once they're all rectangular and correctly squared off that is. I had to bust out the hand plane to take off a little bit of material to get things to fit nice.
Again, I used my strategy of clamping and gluing, but this time also with hidden screws drilled in from the top inside.
When I measured the boards, I realized I would have a small space to fill. About 1/2 of an inch. I decided to cut this in half and make two small strips to space each of the three boards on the end rather than one single filler.
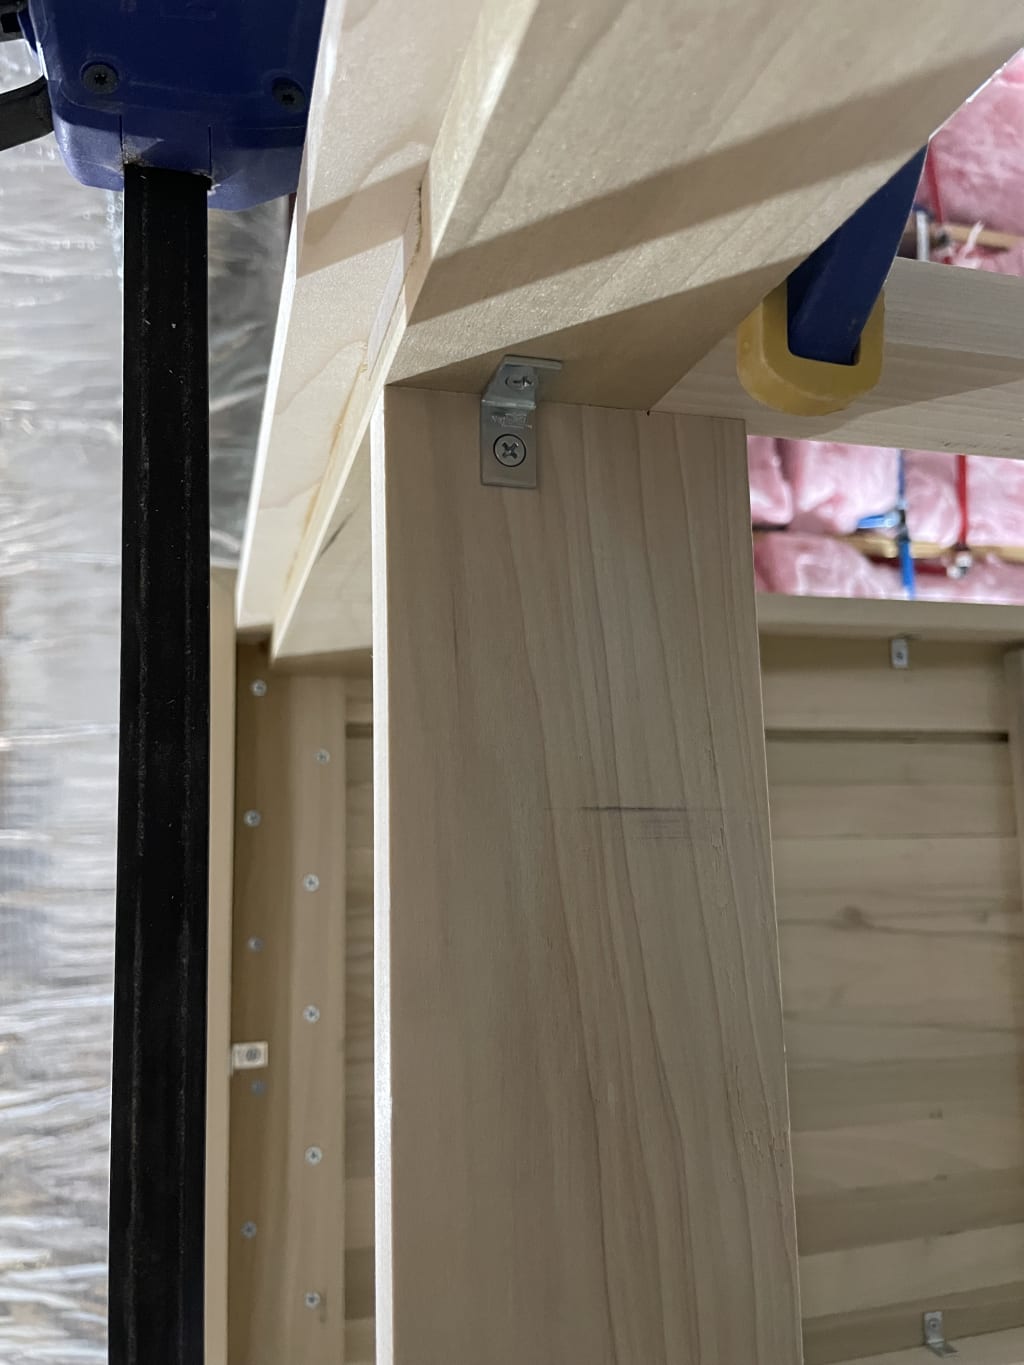
While putting boards on, I remembered I had used right angle brackets to help stabilize the top. I left them in and just cut out some space in the board so they would fit.
Then I was able to put it all together.
Once one side was done, I moved to the other side, and finally did the front. Or the back. Depends on how you look at it, I suppose. In any case, the closed off side that was longer than the ends!
Once the front was in place, I made sure each leg was fully squared off as a nice rectangle. Remember that since I offset the boards for helping the exterior go on, things would look weird if I didn't fill in at the bottom.
At this point I finally painted on the stars with my template using whitewash.

Once the stars had dried I finished the wood-burning on the rest of the exterior. To toast the wood to the proper color without darkening it too much was pretty tricky. Too little and you get no color at all, and too much it turns black and smudged, losing all the color and wood grain texture. I tried going across the grain and with the grain. Burning across the grain didn't look as good as going with the grain, which I learned the hard way.
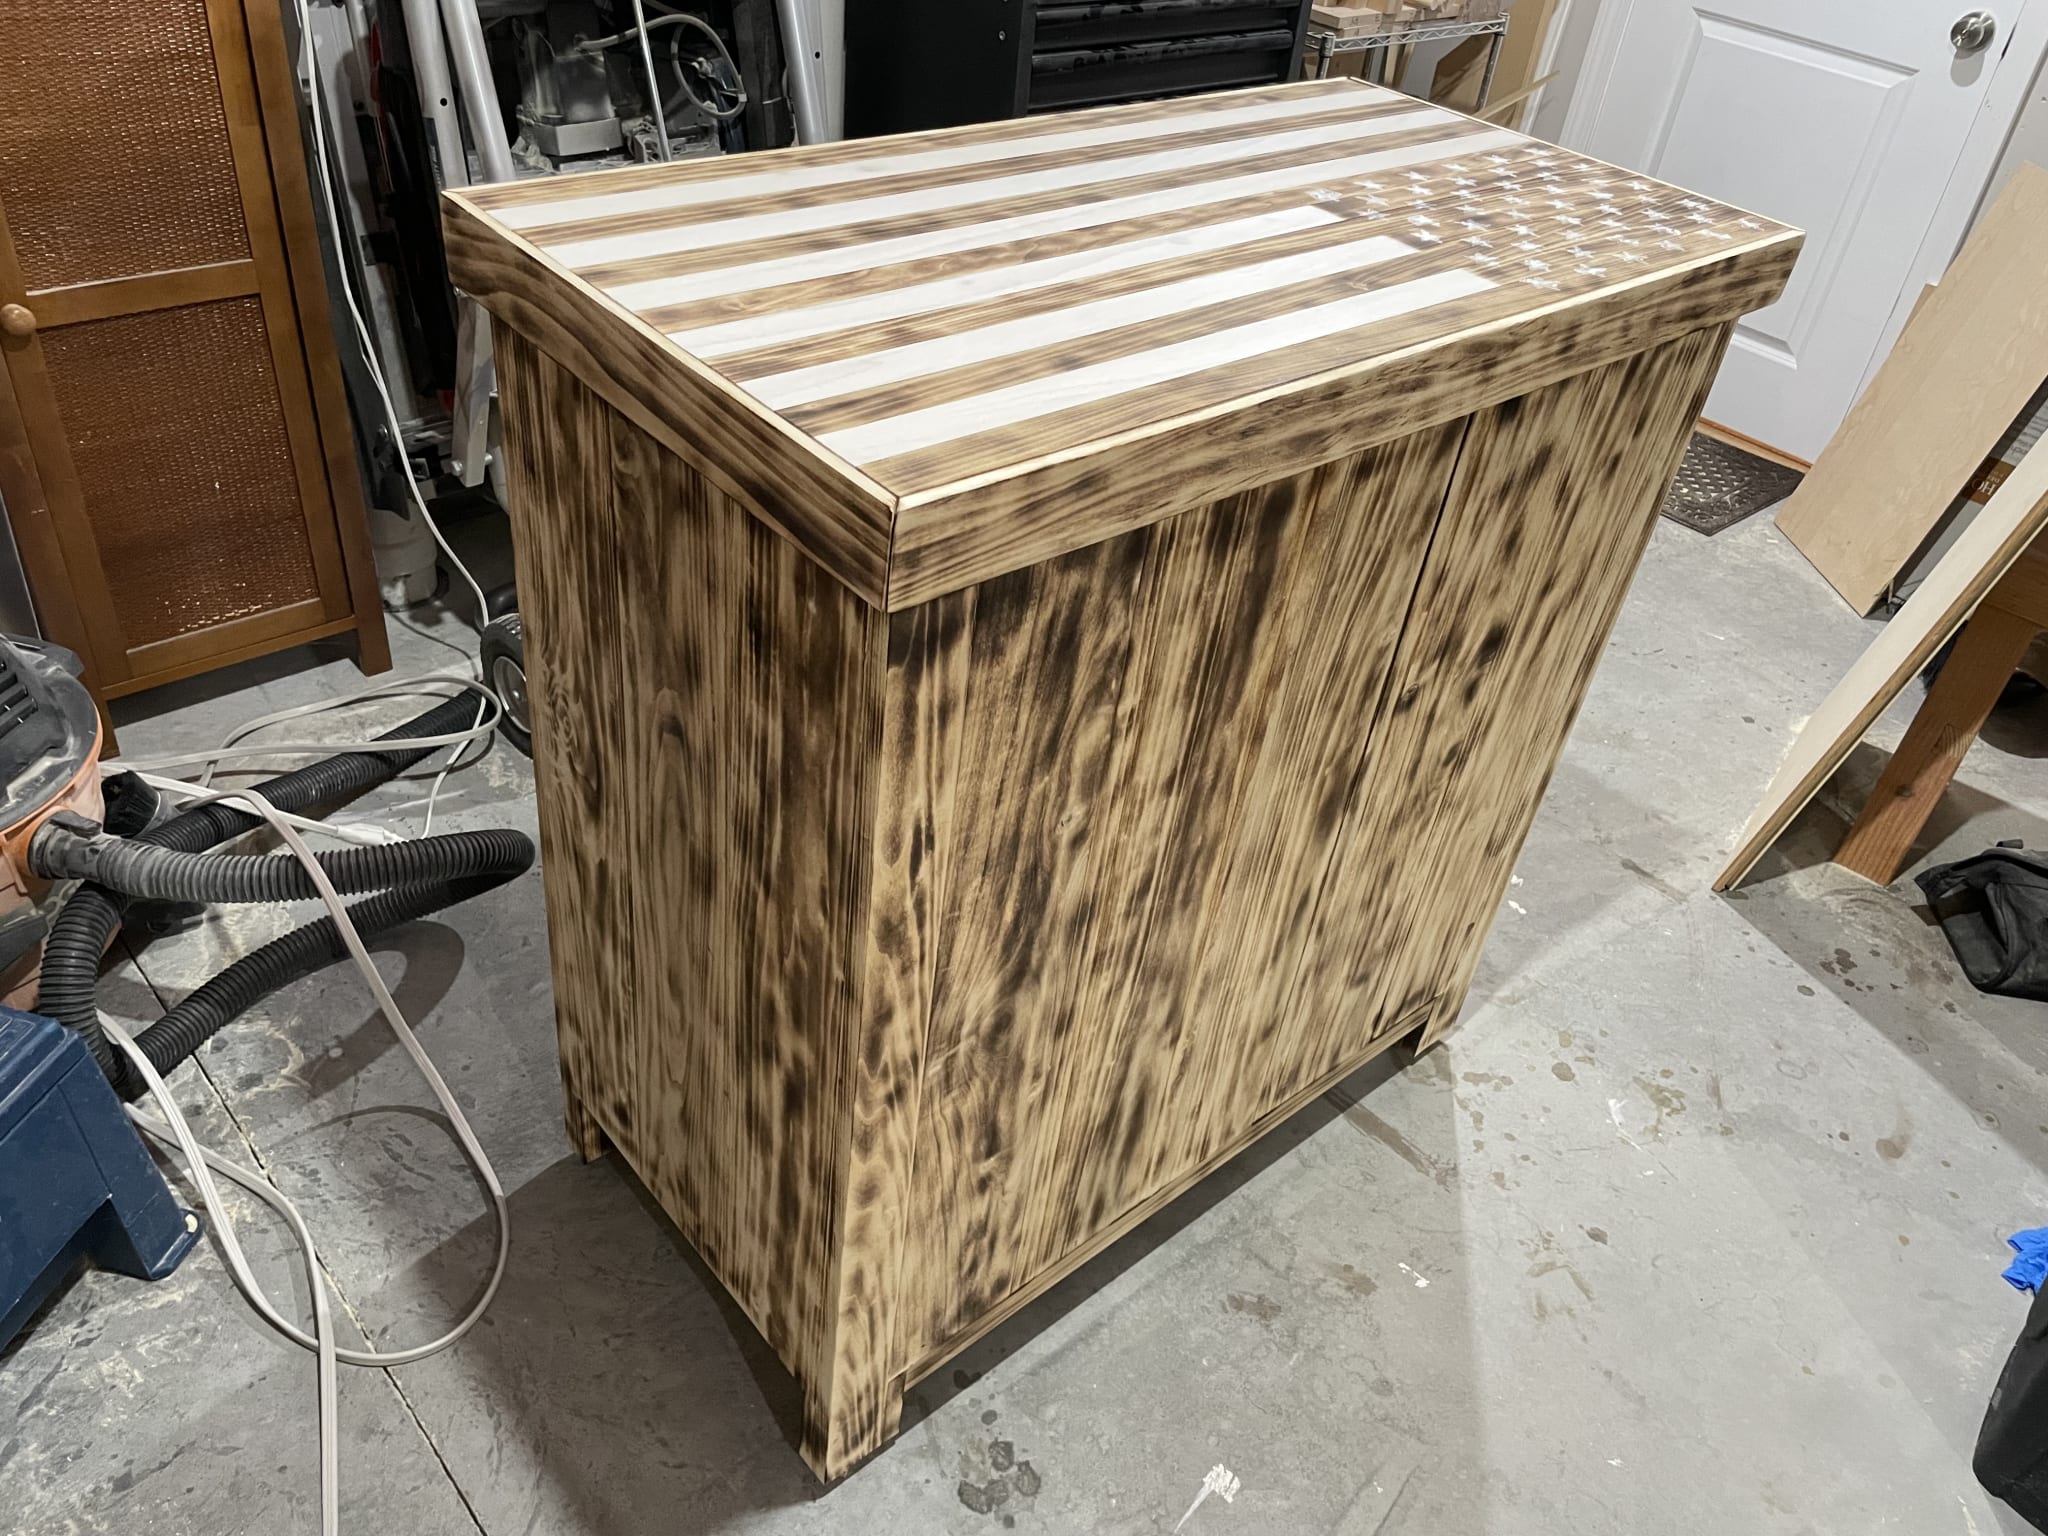
If you look closely at the exterior you'll notice that the bottom edge of the outside is not clean and straight and perfect. This is fine! I plan on hiding it behind a nice strip of wood held on with glue and decorative cut nails.
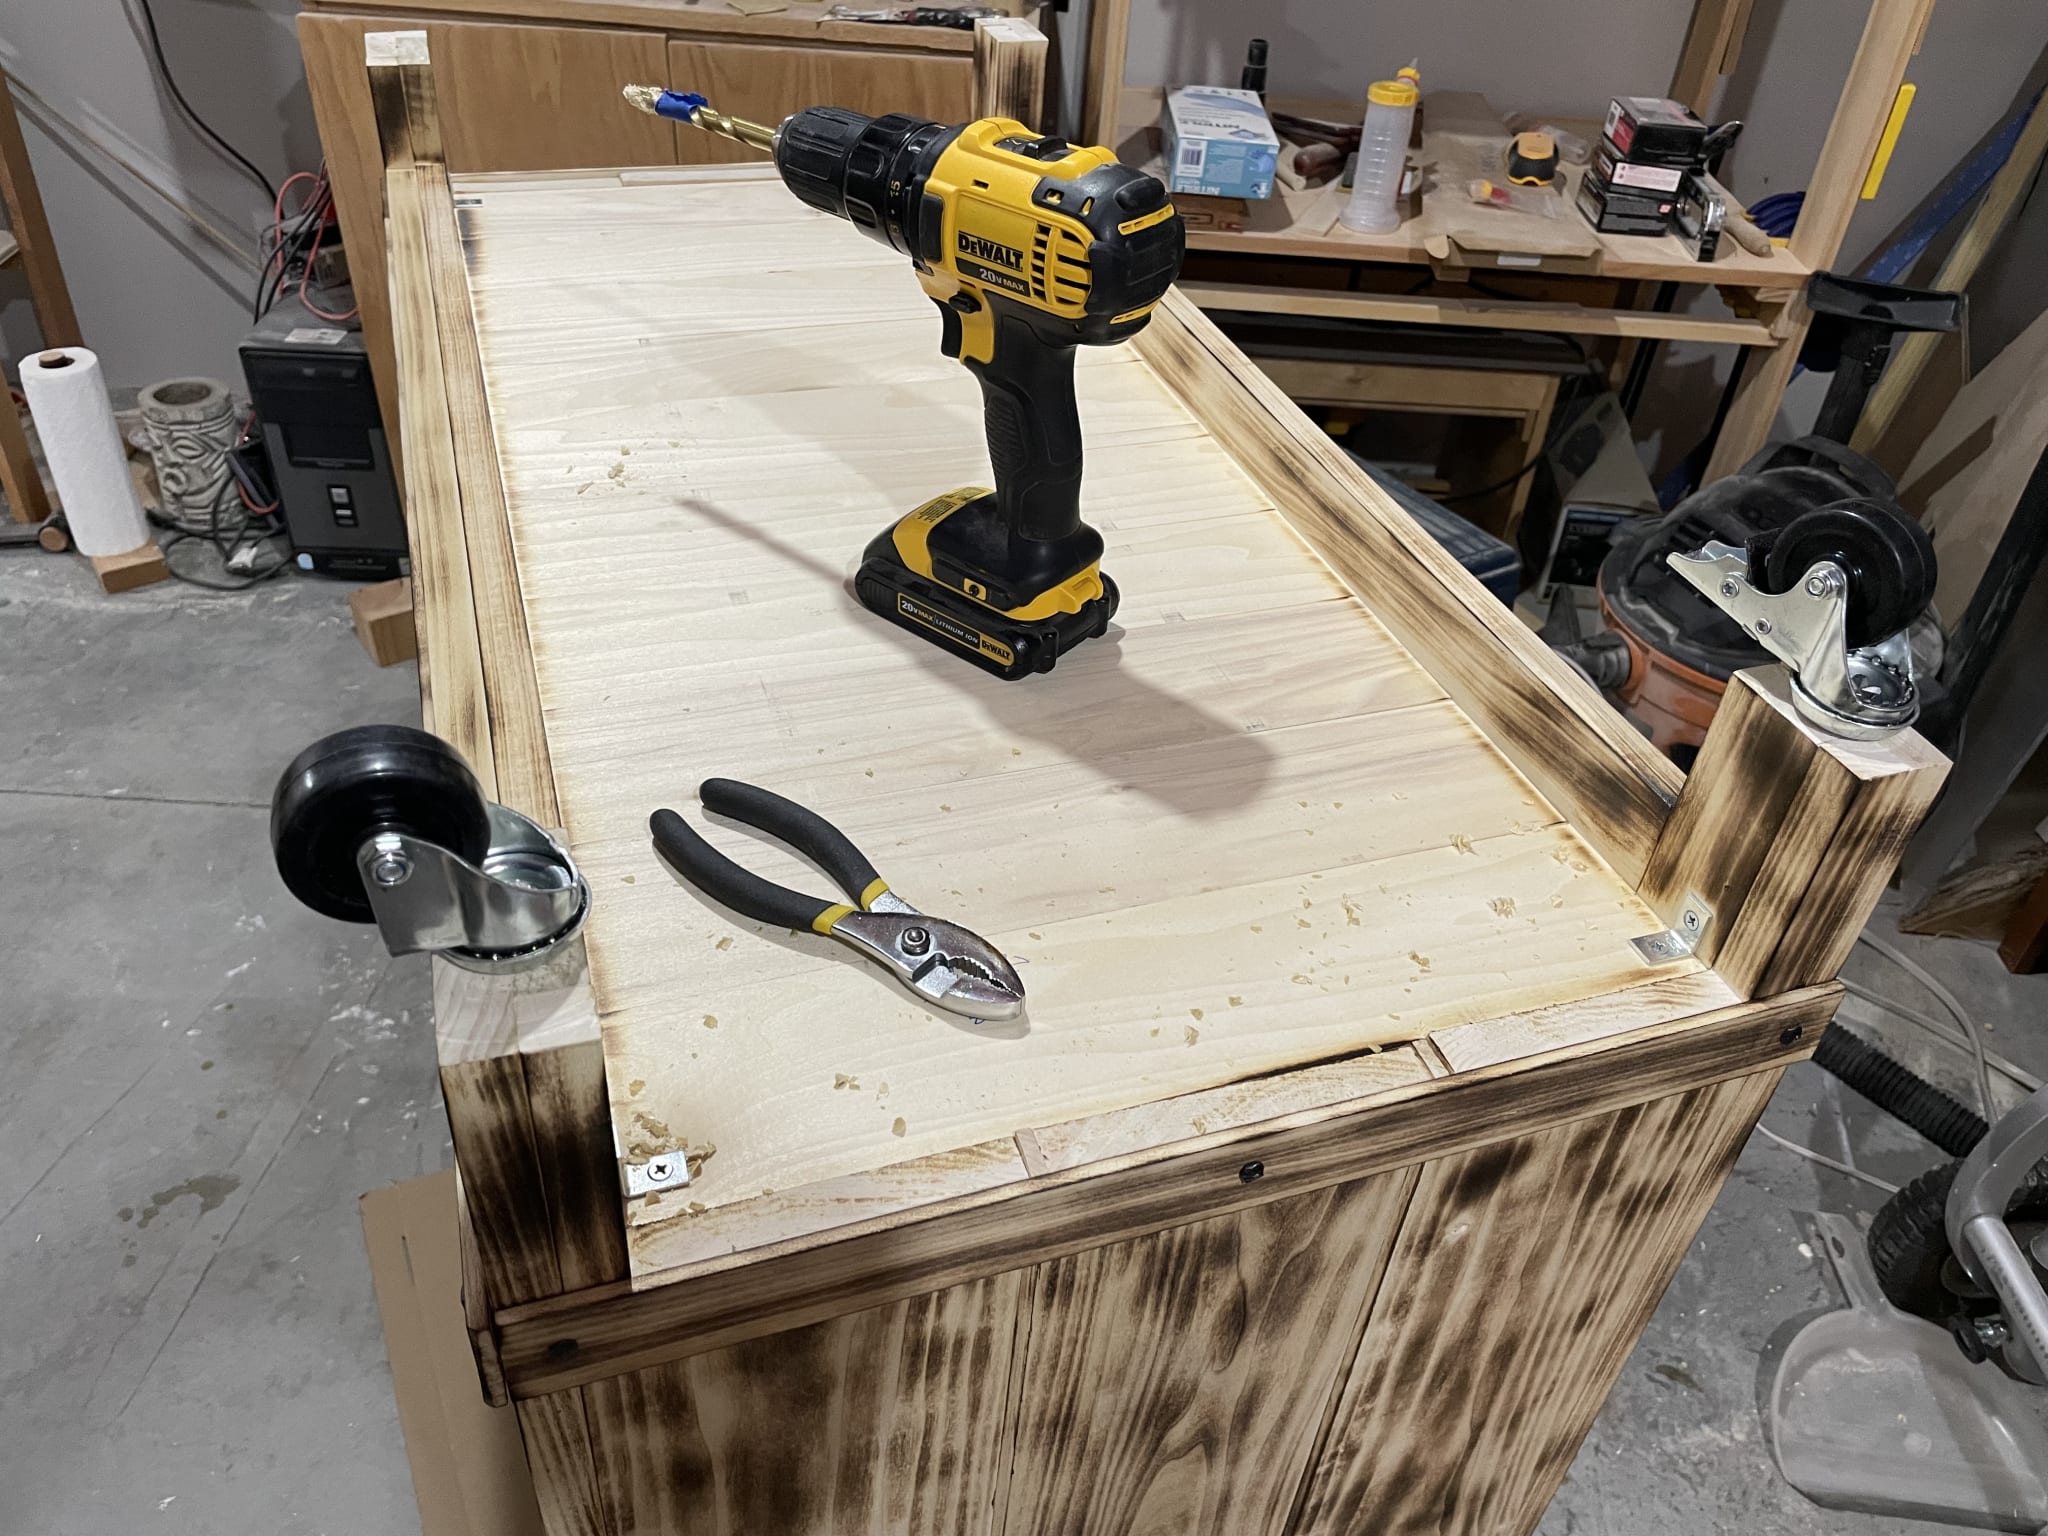
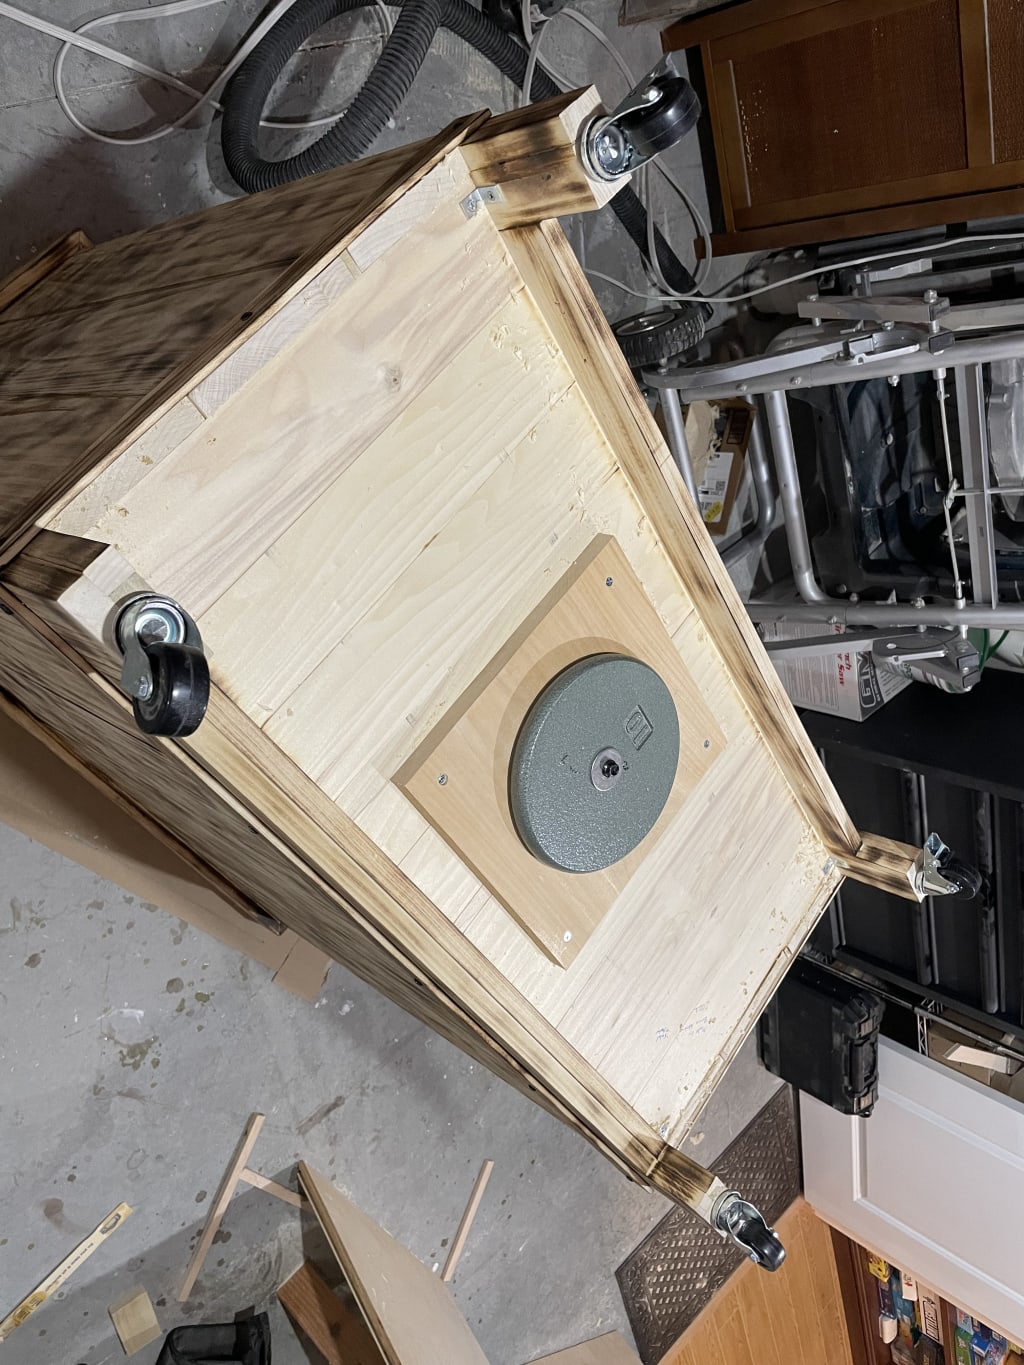
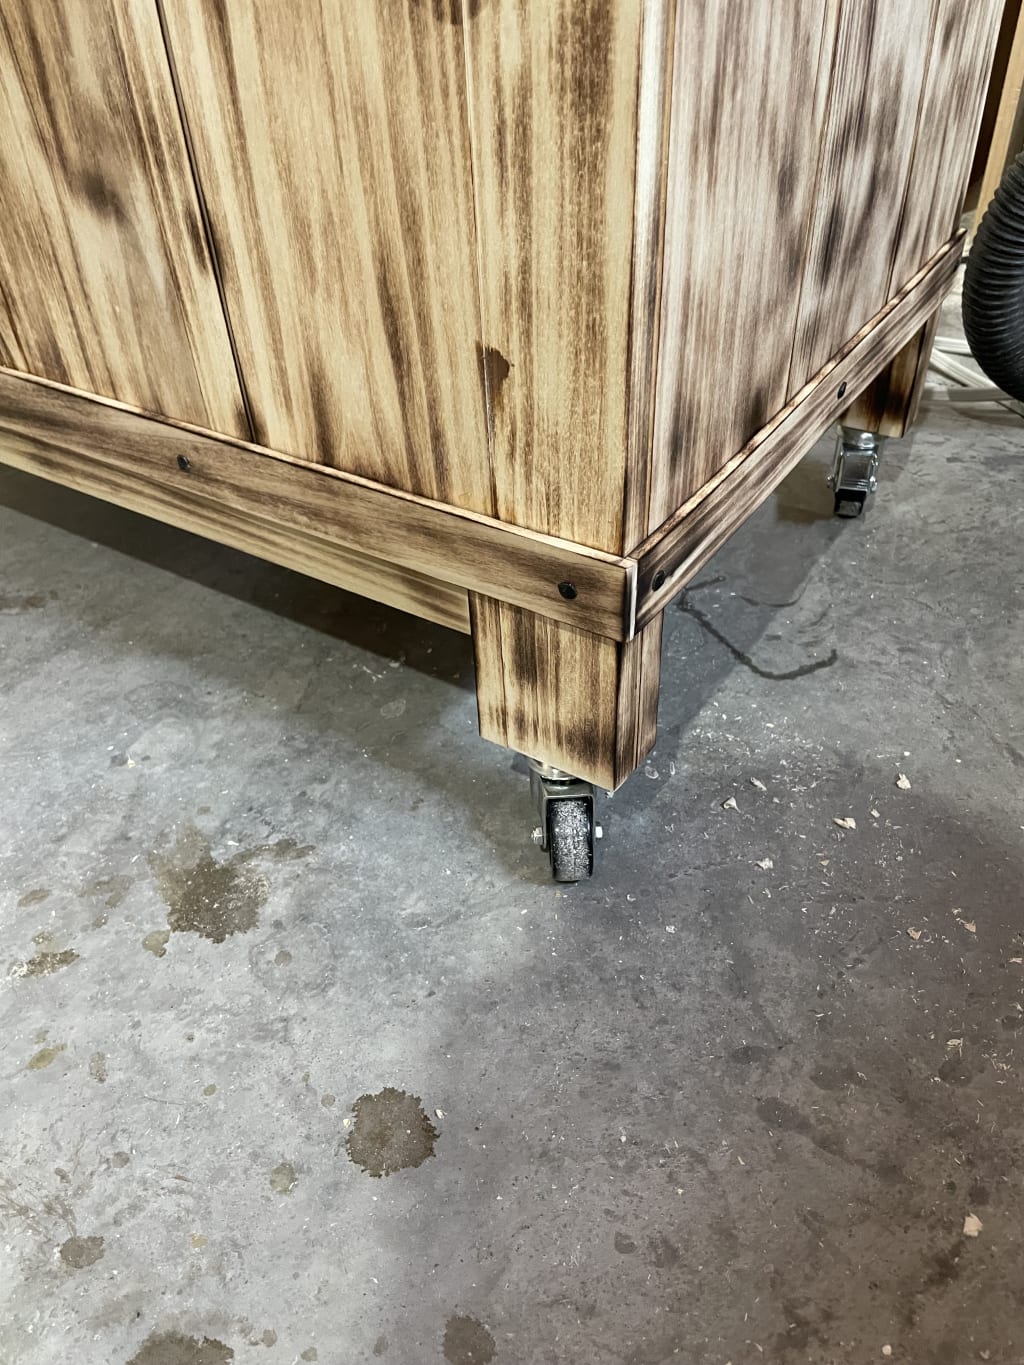
Once the bottom strip was on, I flipped the entire thing over onto its top to attach a counterweight so it will (hopefully) not be top-heavy, and casters so it can roll around easily. Two of my casters are free spinning, and the other two were locking so it can be locked into place.
First, casters. I drilled a hole for each of the wheels and then dry-screwed them into each leg. The fit was nice and snug so they won't fall out, but since I did it dry, they can be removed and replaced should the need ever arise.
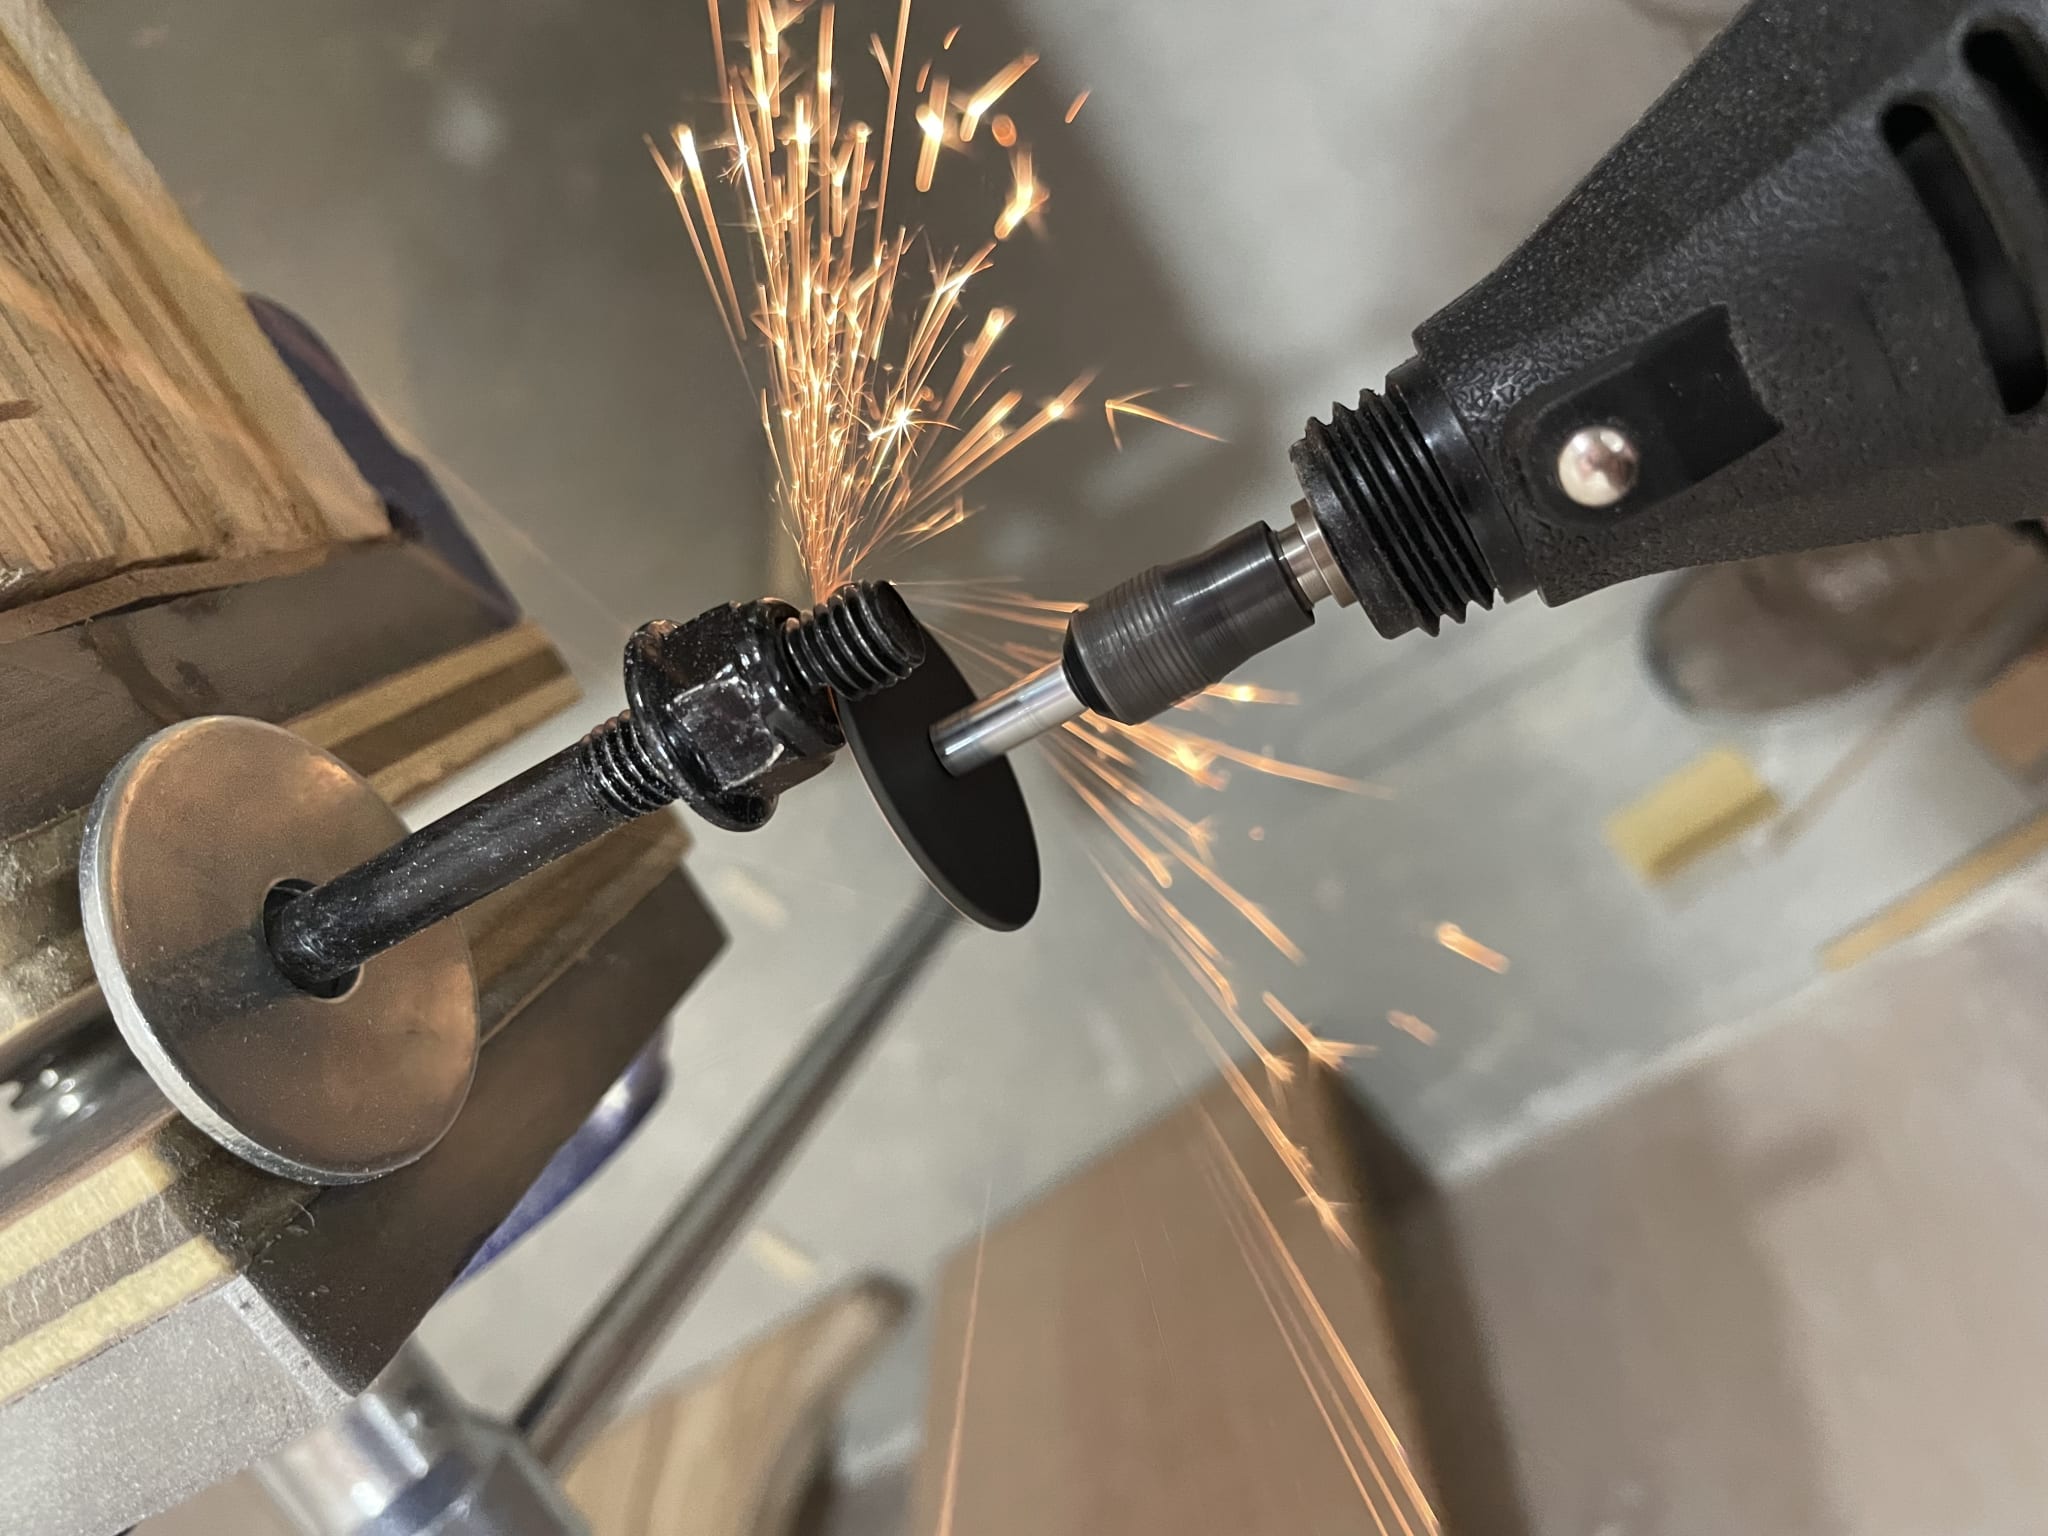
One little problem I had was that the only bolt that I had that was long enough and had a thick enough diameter to bolt on the weight was actually too long. I grabbed my Dremel and cutting wheel and made a bunch of little sparks and cut it down to size.
Once the bolt was cut to size, I took a spare piece of wide poplar I had laying around from an earlier project (side note: keep your scraps from old projects if you have the space!) and cut it down to square. I drilled a hole through it with a countersink for a washer to sit in. I also drilled a space in the underside of the bottom shelf for the small protrusion of the bolt and nut from the board. I then screwed the whole assembly into the bar cart.
I then flipped it back over and rolled it around a little bit to test out the wheels and weight.
Finishing
Finishing of this unit was pretty easy. As I constructed it, I kept it sanded smooth (up to 220), and I had no need to stain since I was using wood burning as a way to bring color and visual interest to the piece. I put three coats of oil-based polyurethane on every part of the bar cart that I could reach. If you ever go to buy polyurethane you'll notice that there is an oil base and a water base. I have both. Oil based has more volatile off-gassing, tends to be a little harder when cured, but also has a tiny bit of amber color to it if you make a very thick layer. Water based is not a volatile, goes on very clear, but isn't quite as hard when cured.

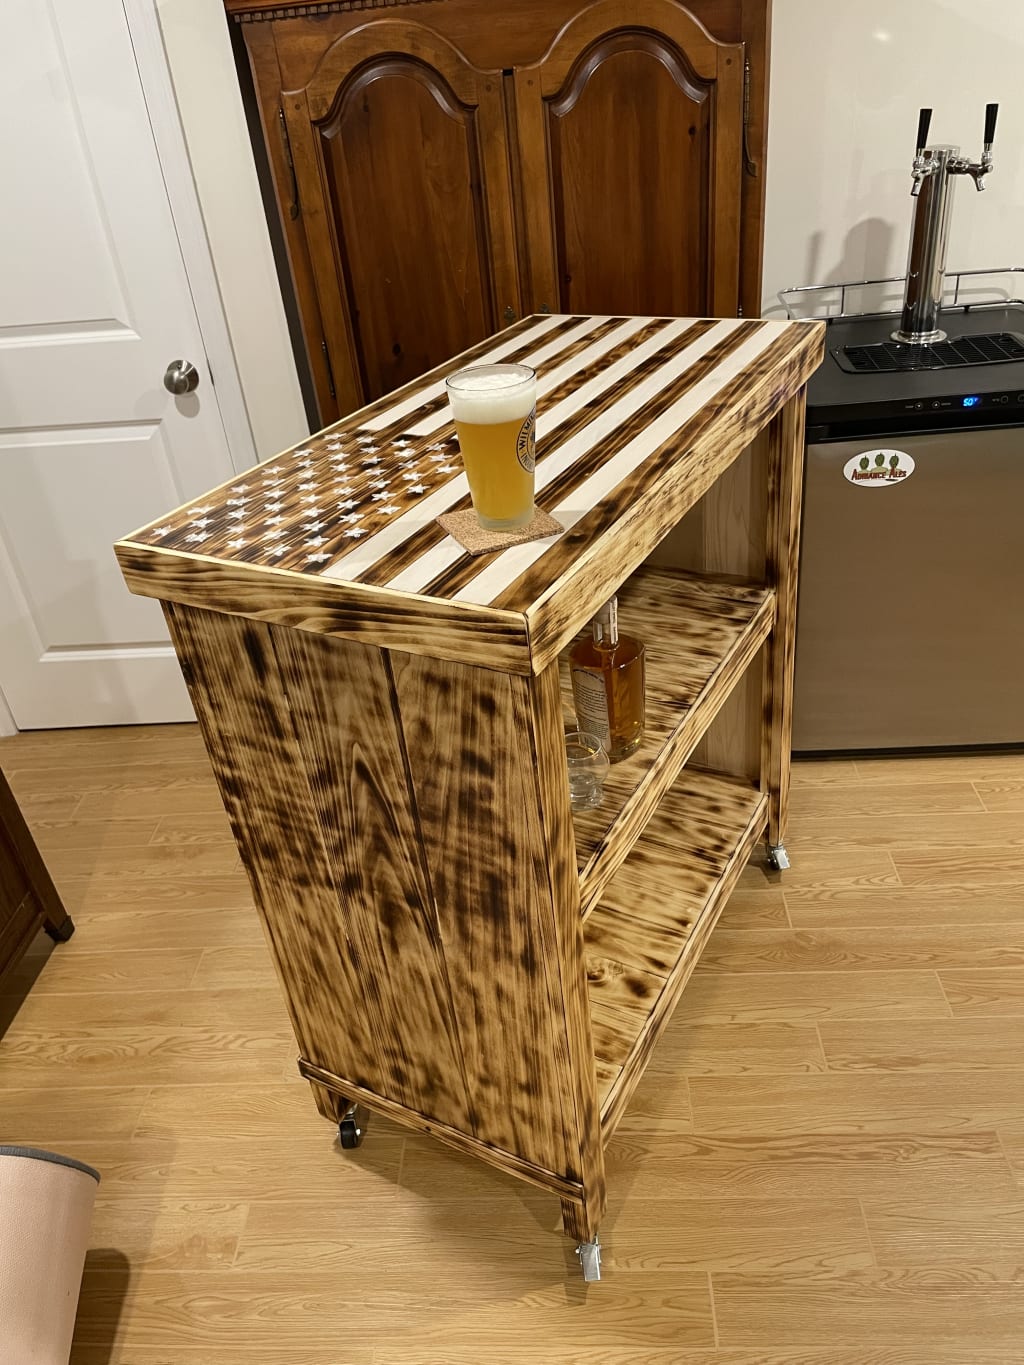
After each coat was dry, I gently sanded it down with 400 grit sandpaper until it was nice and smooth. After the final coat was dried and polished, I had to stage a little picture of how it might look in use!
What's next?
Finally, months late, I delivered it to my dad! I also brought a few mirrors that he could optionally attach to the inside to make it more bright. I also brought a bottle opener that can be attached to the frame as well. And of course, I can't deliver a bar with no booze! I also brought a bottle of bourbon to make sure the cart wasn't empty when it arrived.
Cheers!