Coffee Tables for Christmas
Am I practiced enough to give away my furniture constructions as Christmas gifts to family? Lets find out.
Planning
Even in the summer of COVID19, we sometimes risked some (very) small (mostly outdoor) gatherings of family. During one of these visits someone encountered this table at my cousin's house and snapped a picture.

When my brother, Adam, saw it his response was simply "I want one". I half-jokingly told him "I can build you one!" and the topic largely faded away. Fast forward to November, and I have ZERO good ideas for either brother of mine for Christmas. I kept returning to my not-really-even-a-promise of building a coffee table that looked like the American flag. I turned the idea over in my head a few times. Maybe I could build one. Maybe I could build two!
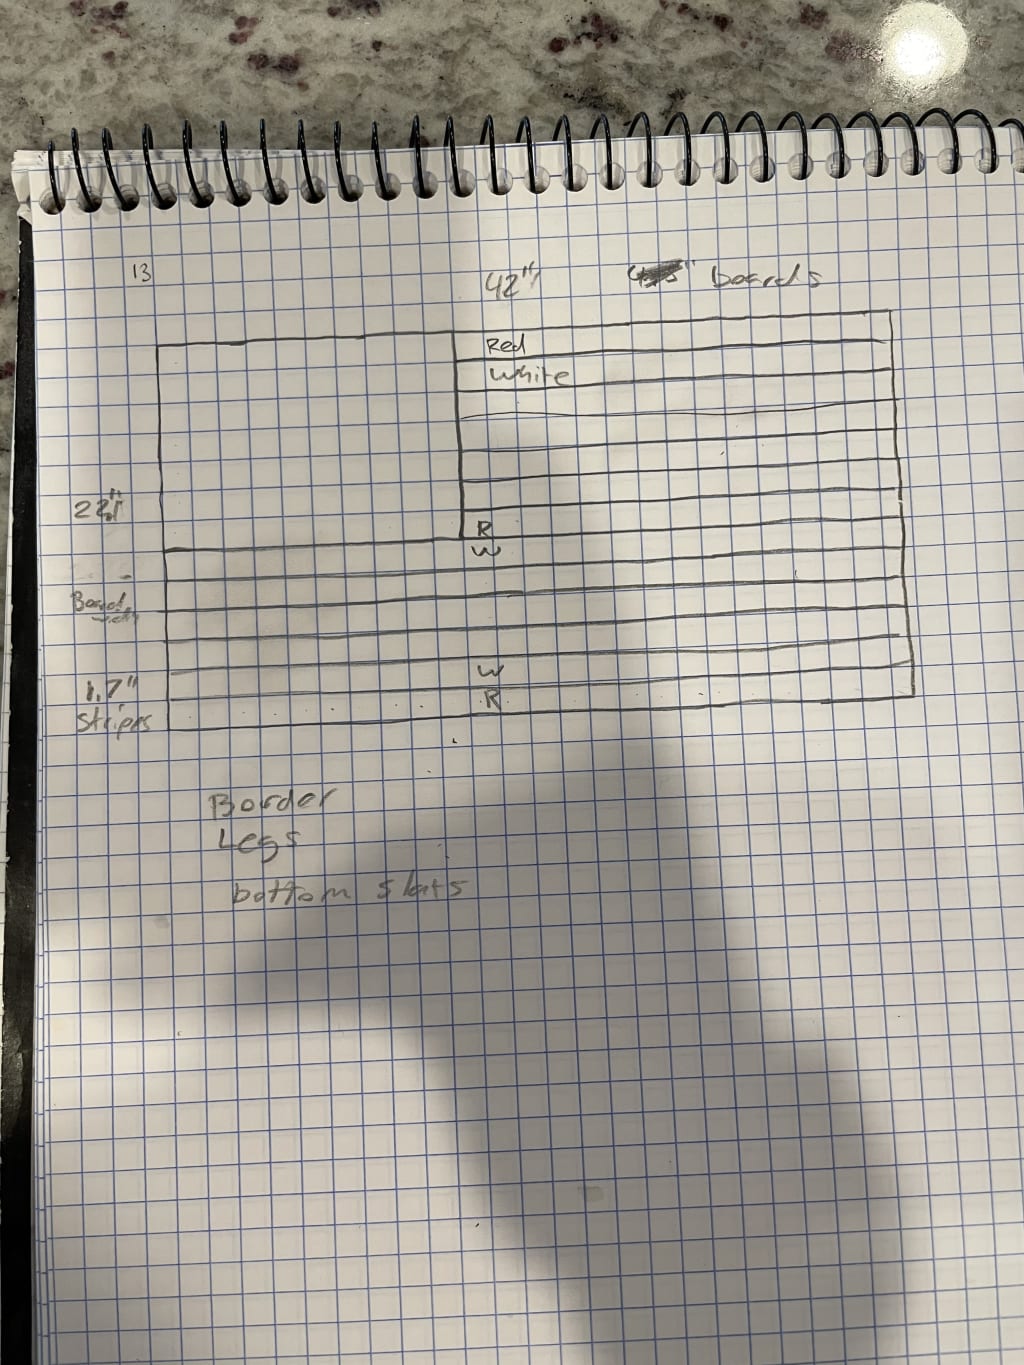
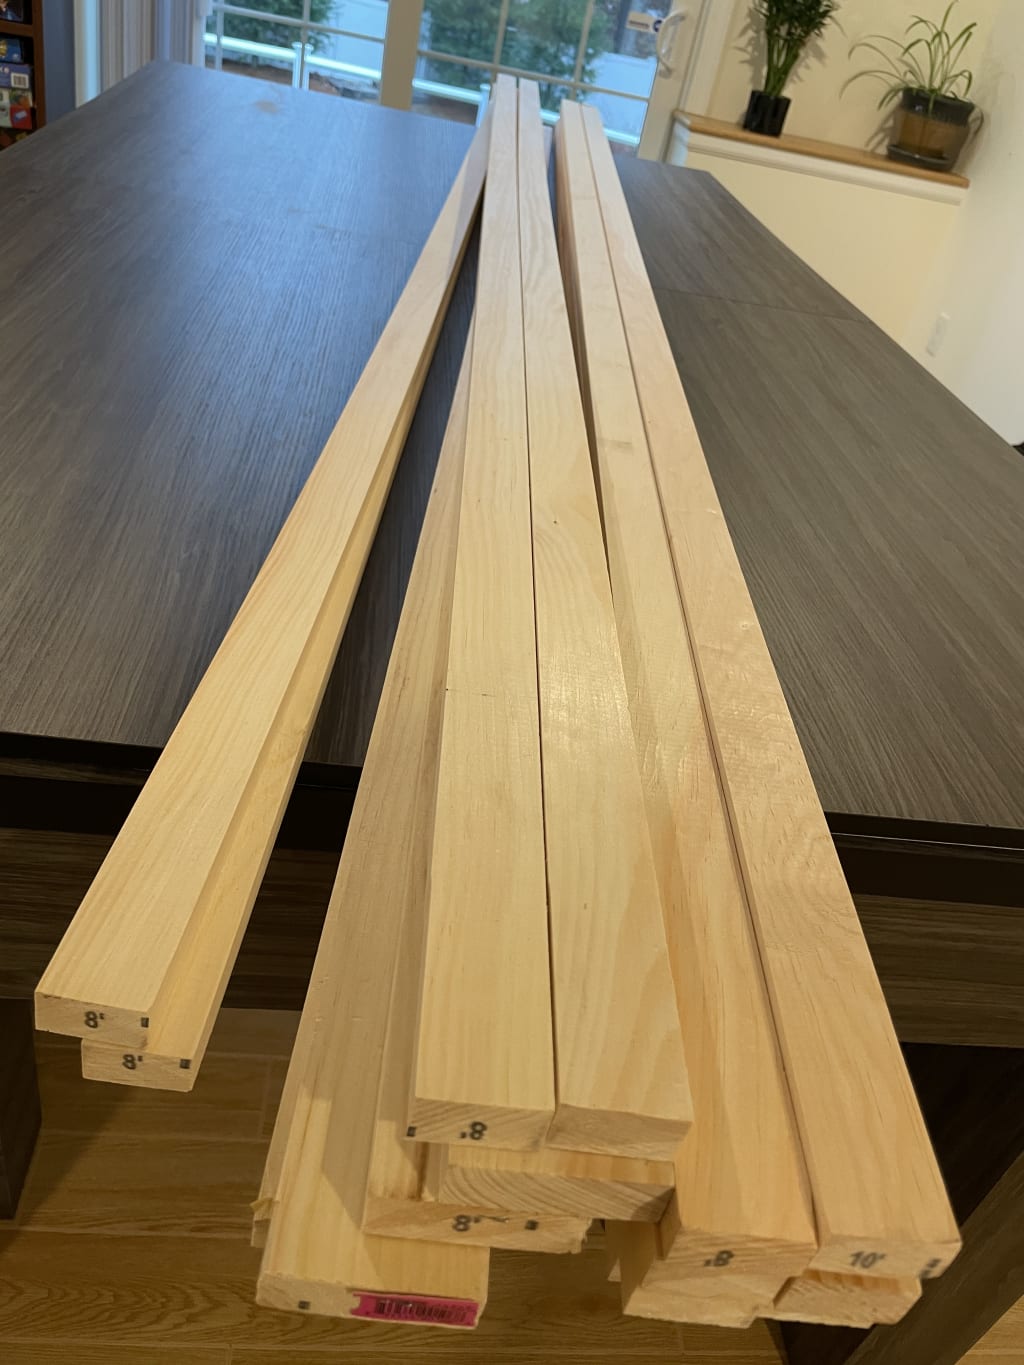
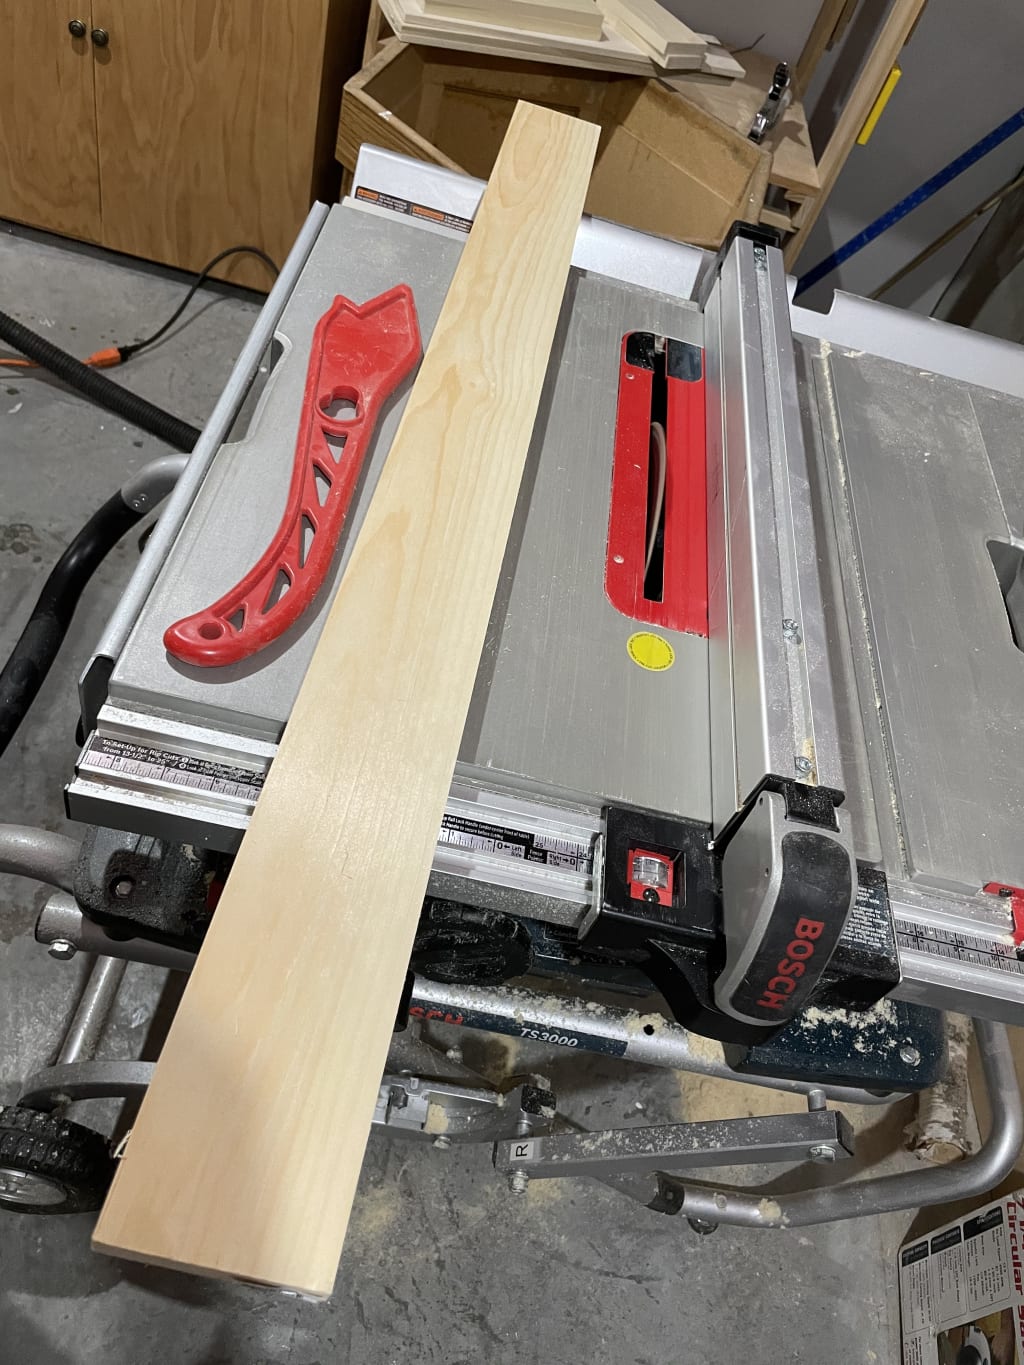
I didn't do a whole ton of planning, but instead took some measurements of various heights and sizes of things around my own living room. I then looked up the ratio of the rectangle for the American flag (1:1.9 by the way). I had already decided to use the nice pine from Lowes to build this, and the thinnest they cut is 1.5 inches wide. With that measurement I was able to derive my (approximate to the nearest 16th of an inch) table width. I am also going to stay true to the original and burn the wood for the darkness. Time to go buy some lumber.
Building
Since I am starting in the later half of November I have no time to lose if I want to get two of these done.
The Top
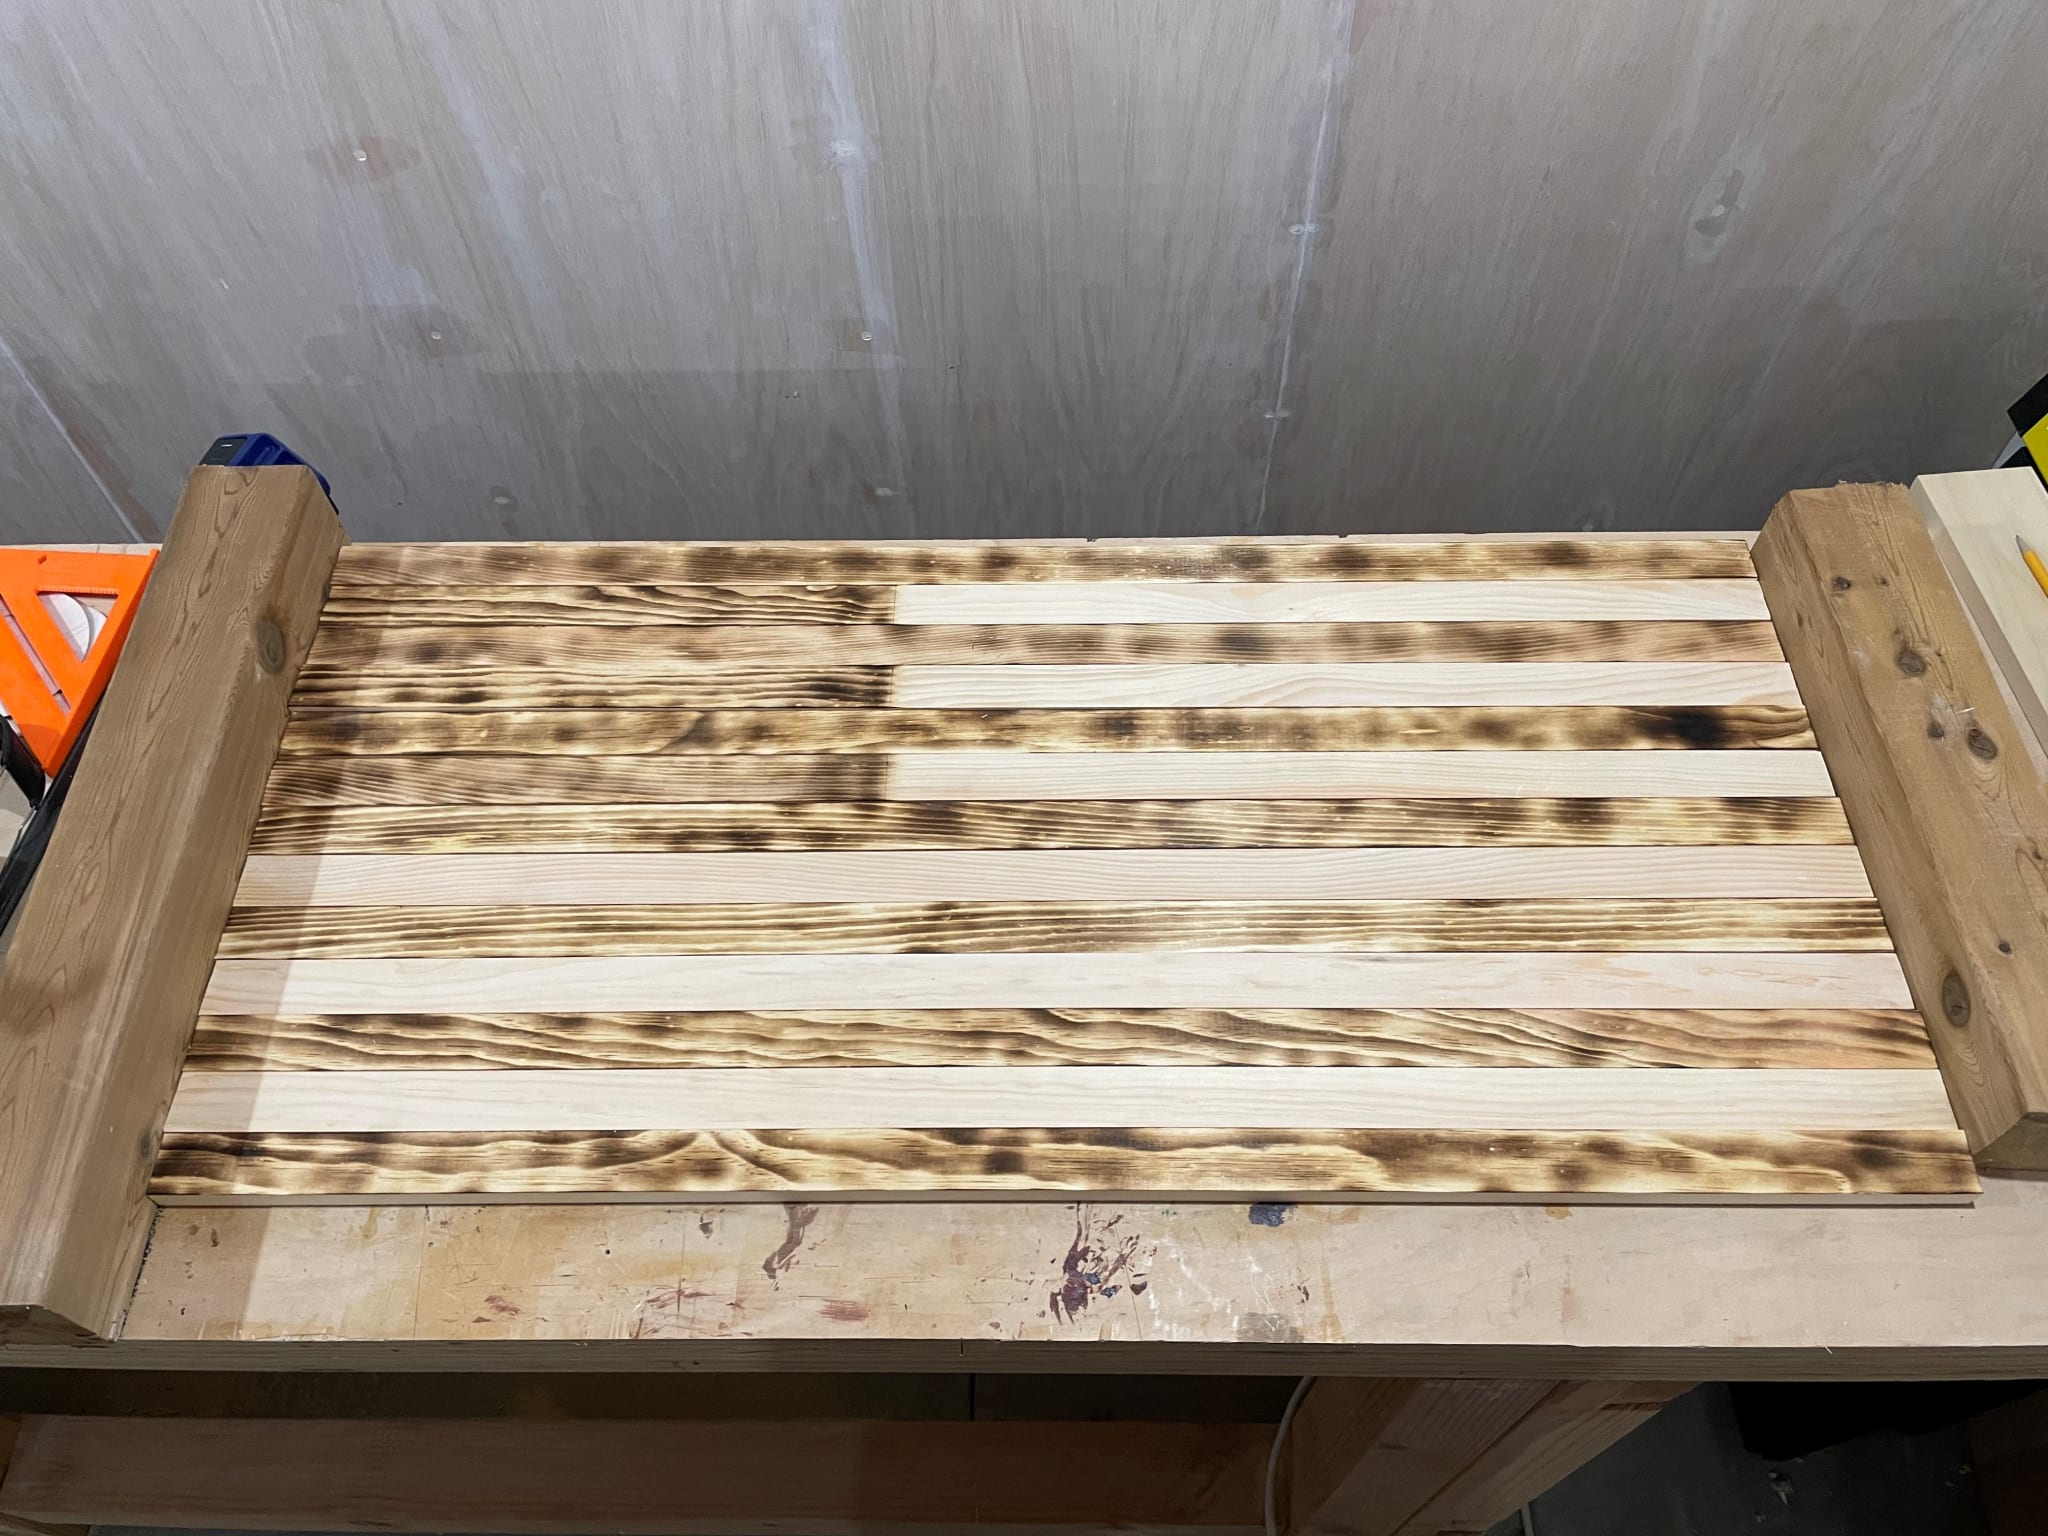
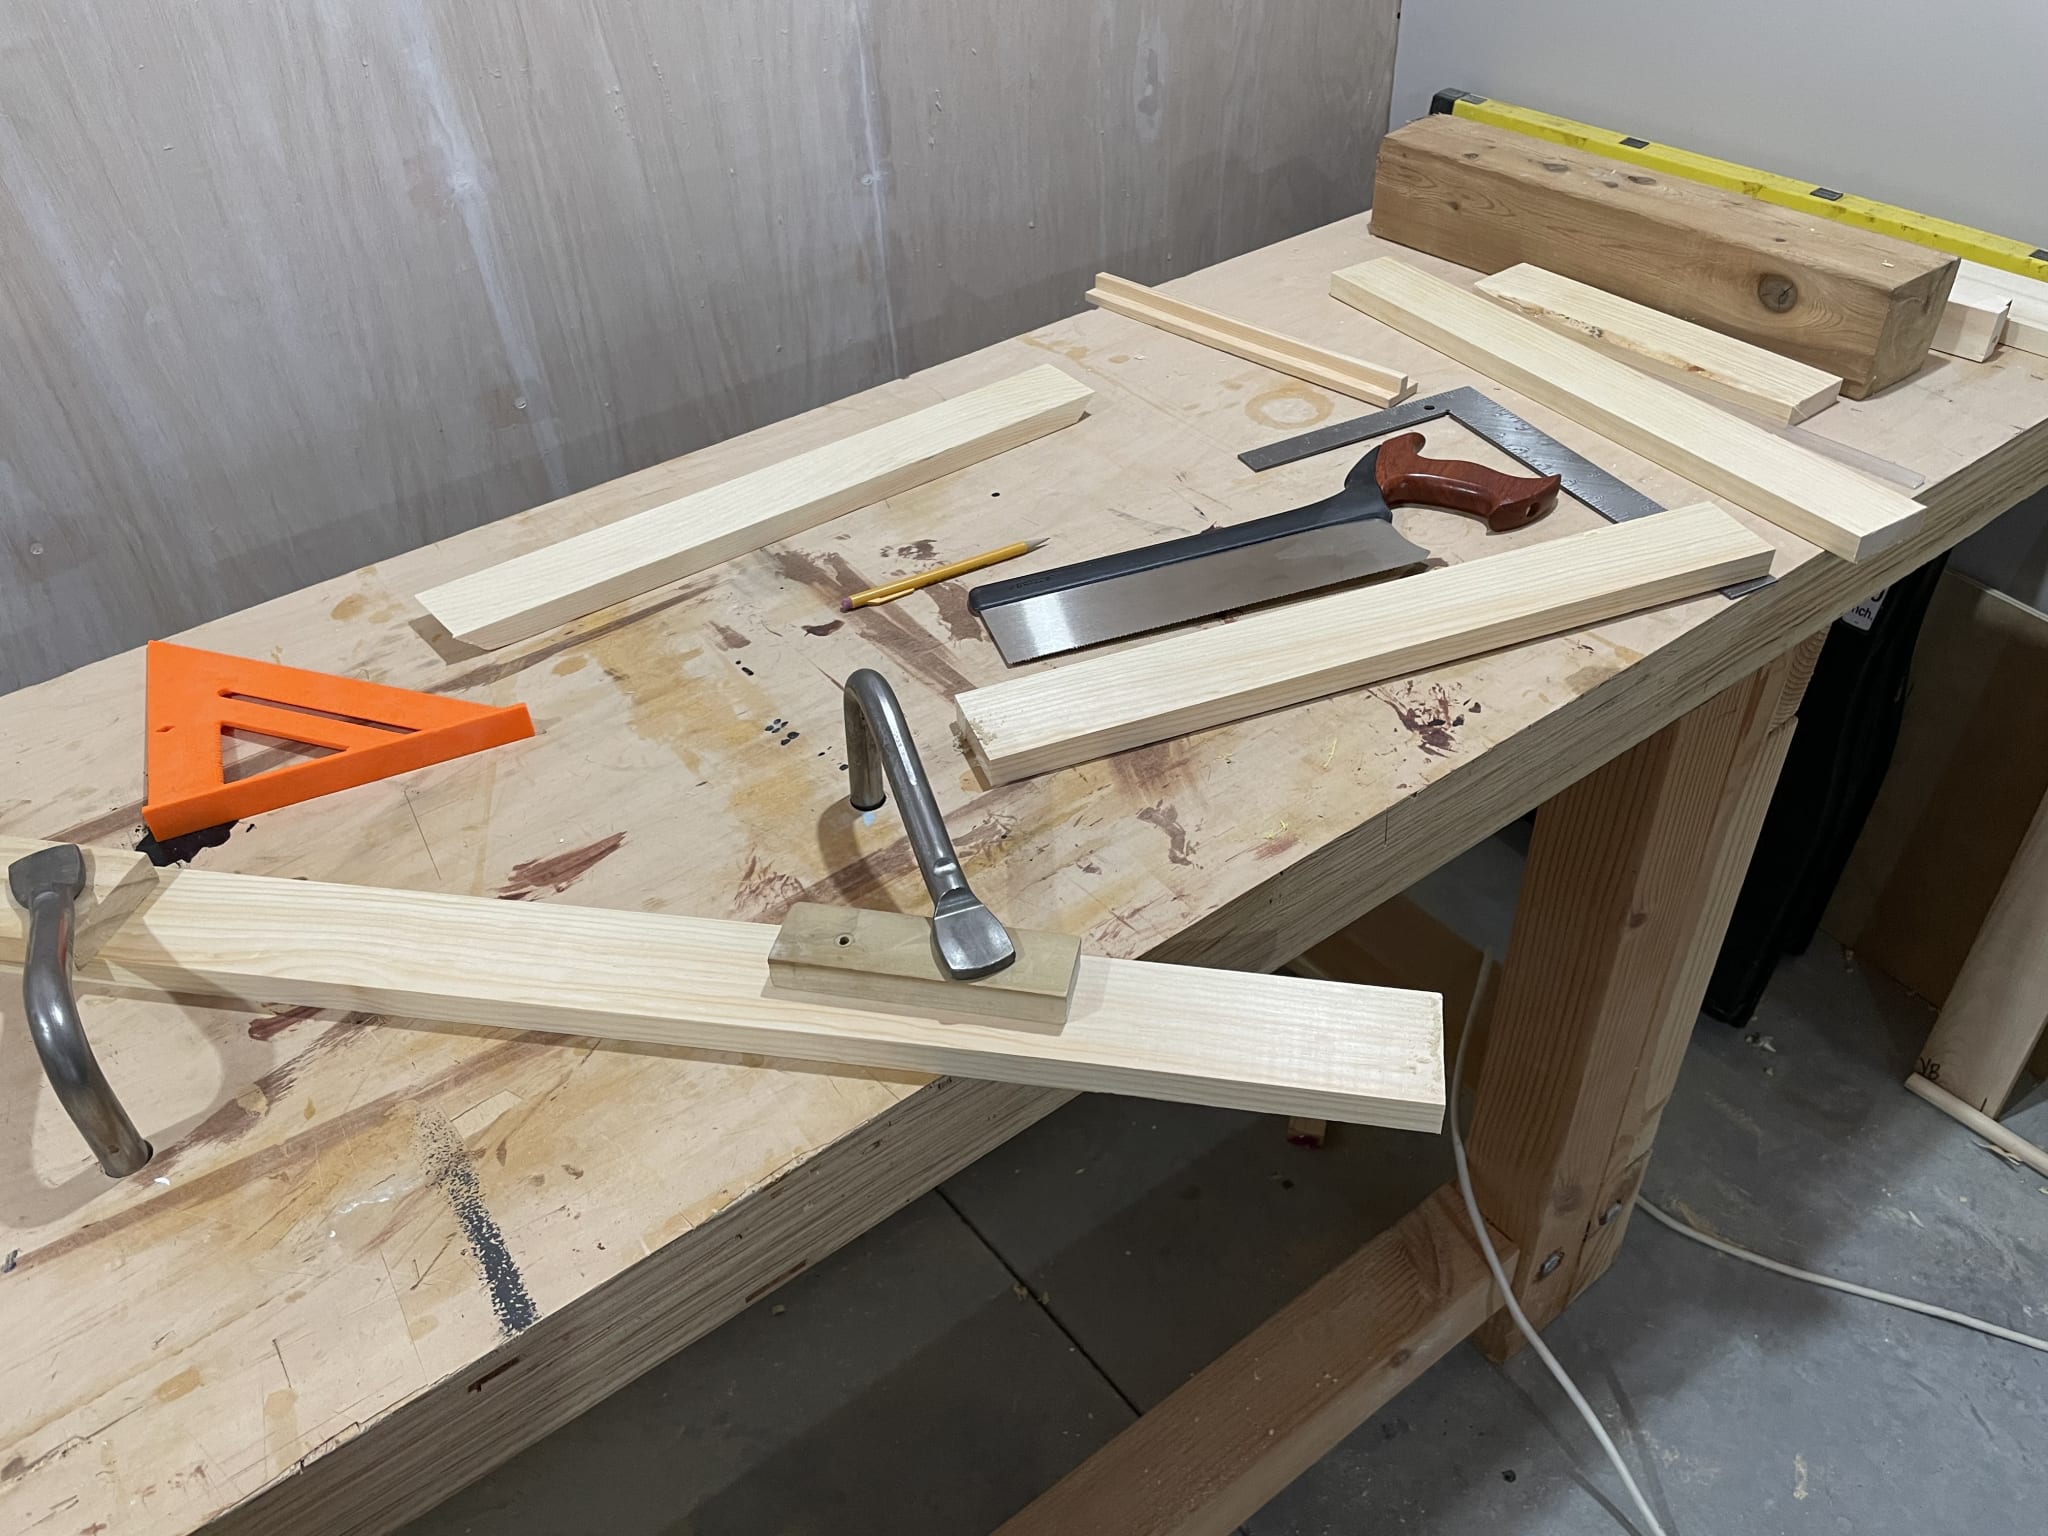
First thing I do is take a few of the 1.5 inch wide pieces and cut the 13 stripes from them. Somewhat annoyingly, I had to put the piece at a weird angle since my shop is tucked into a corner.
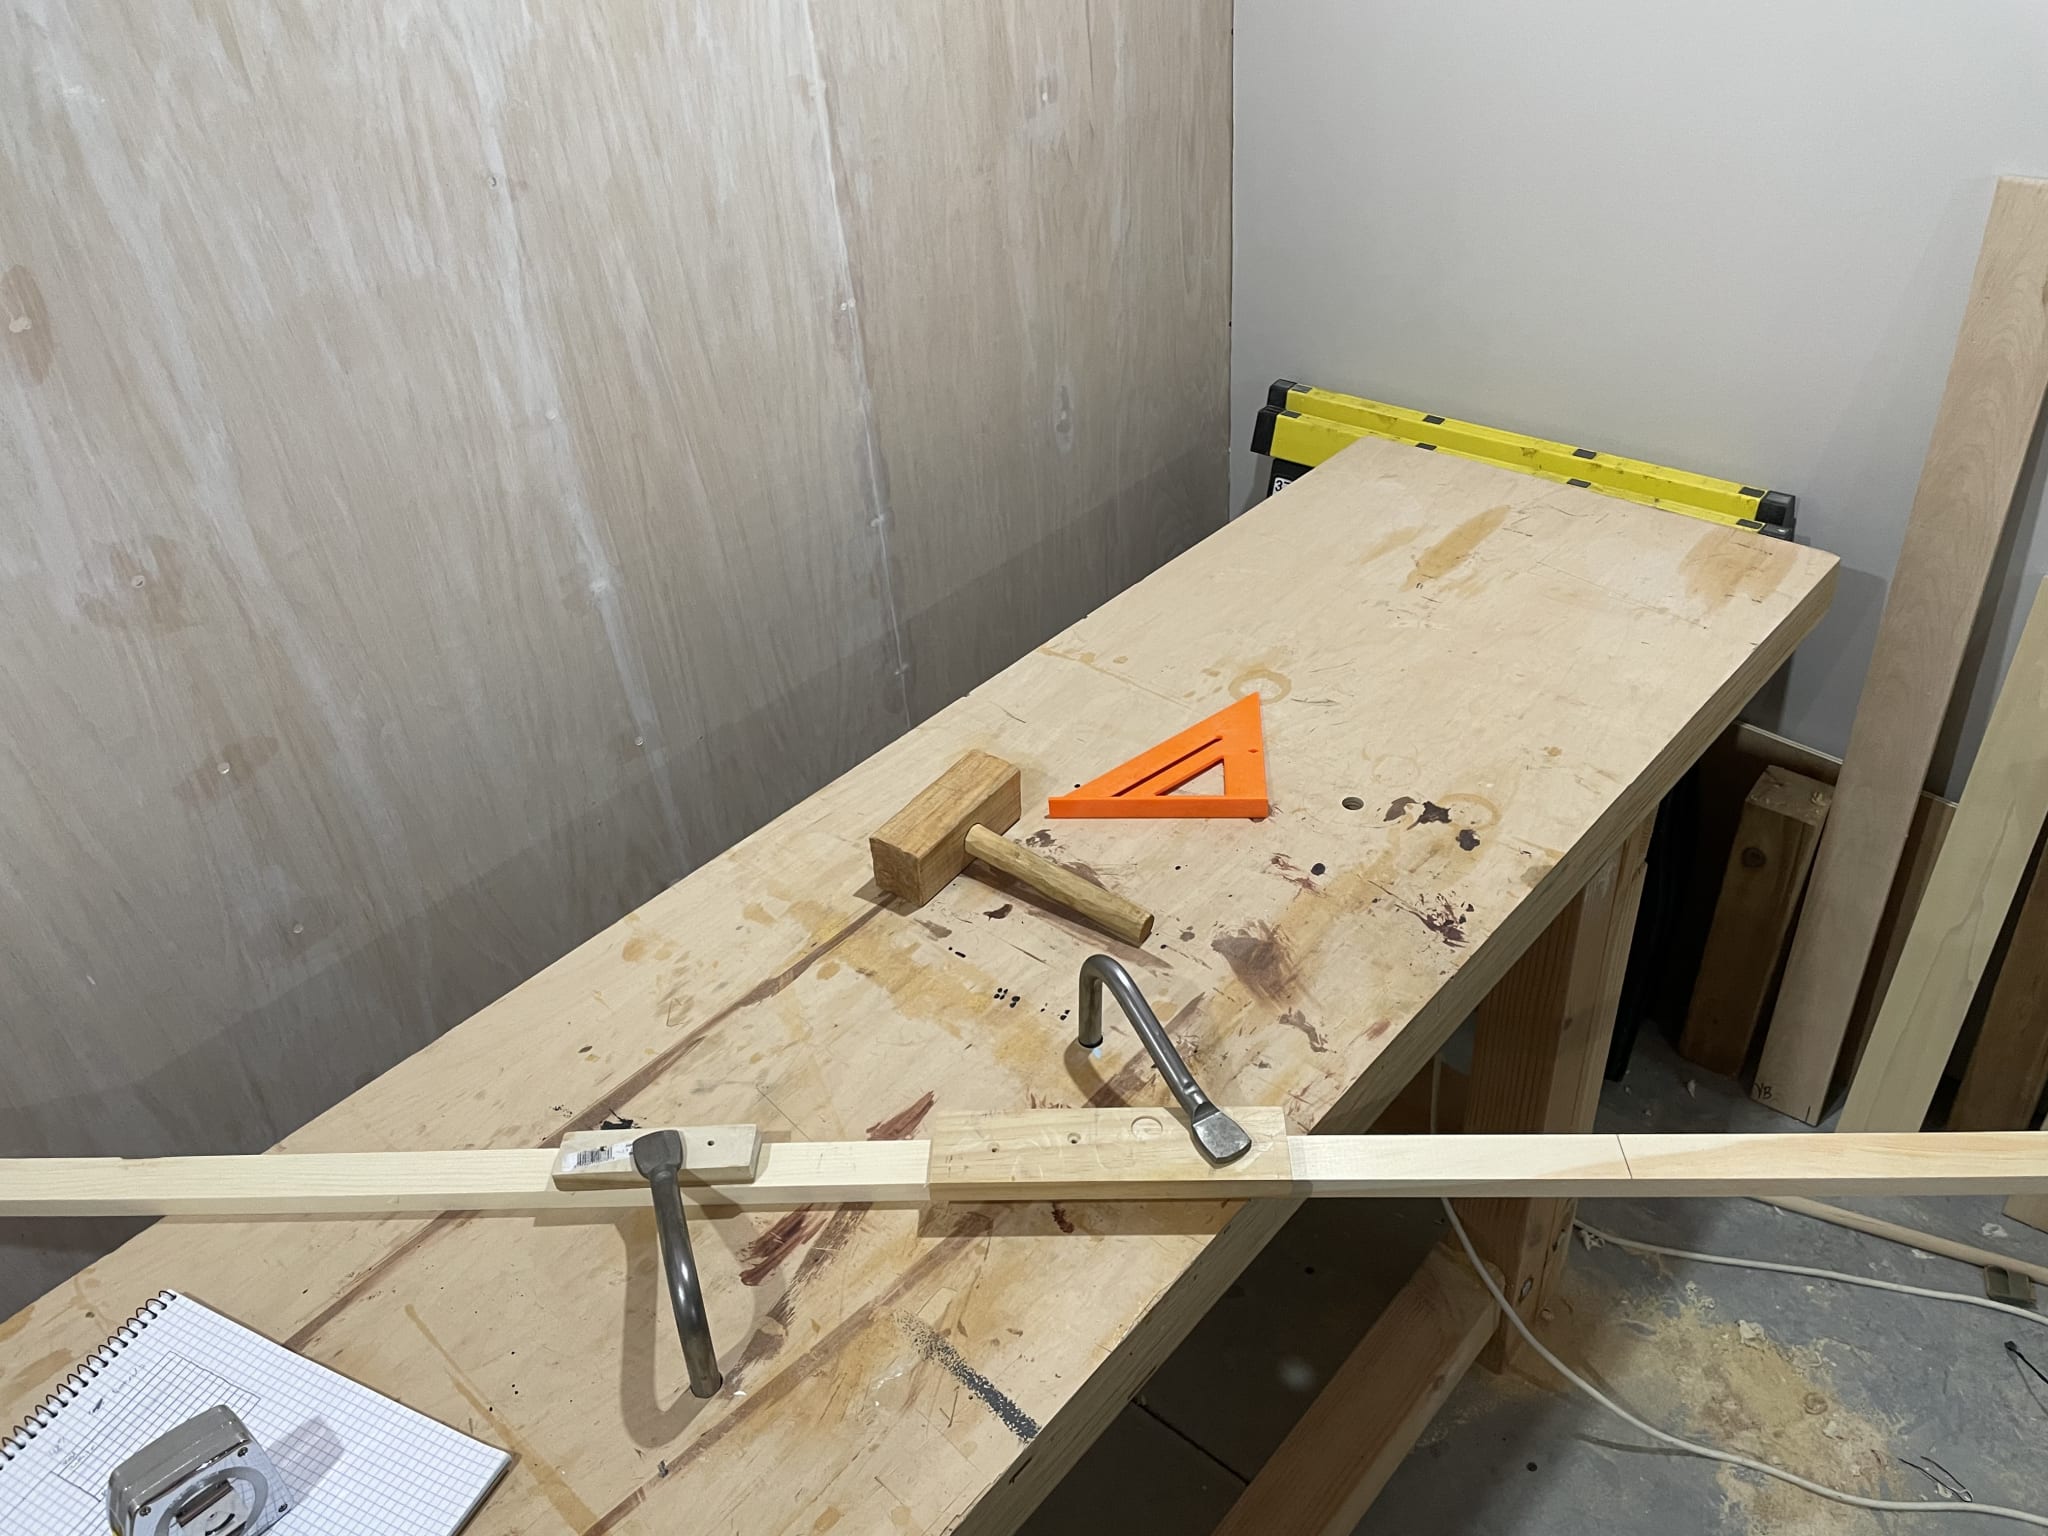
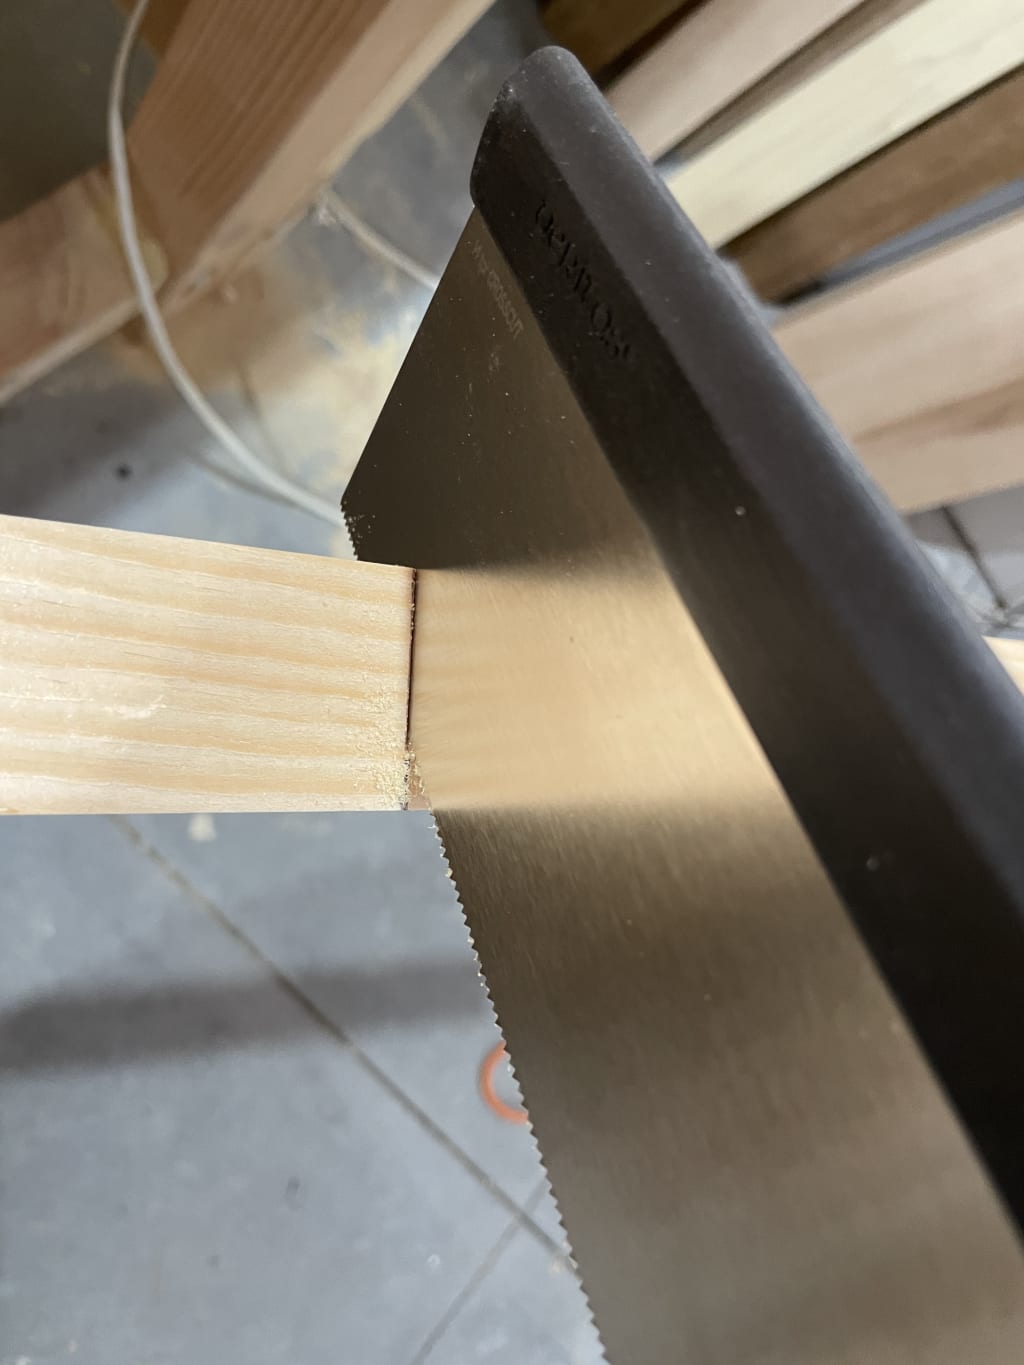
There's a simple check you can do when hand-sawing to keep straight as you cut. Look at the reflection of the wood in your saw blade. If it looks like it continues straight on, you're cutting at a good 90 degree angle, and not tipping off straight. You can still mess it up, but this is one more way to help.
Once I got the 13 stripes cut to length, I need to sand them a bit before I can burn them or stain them.
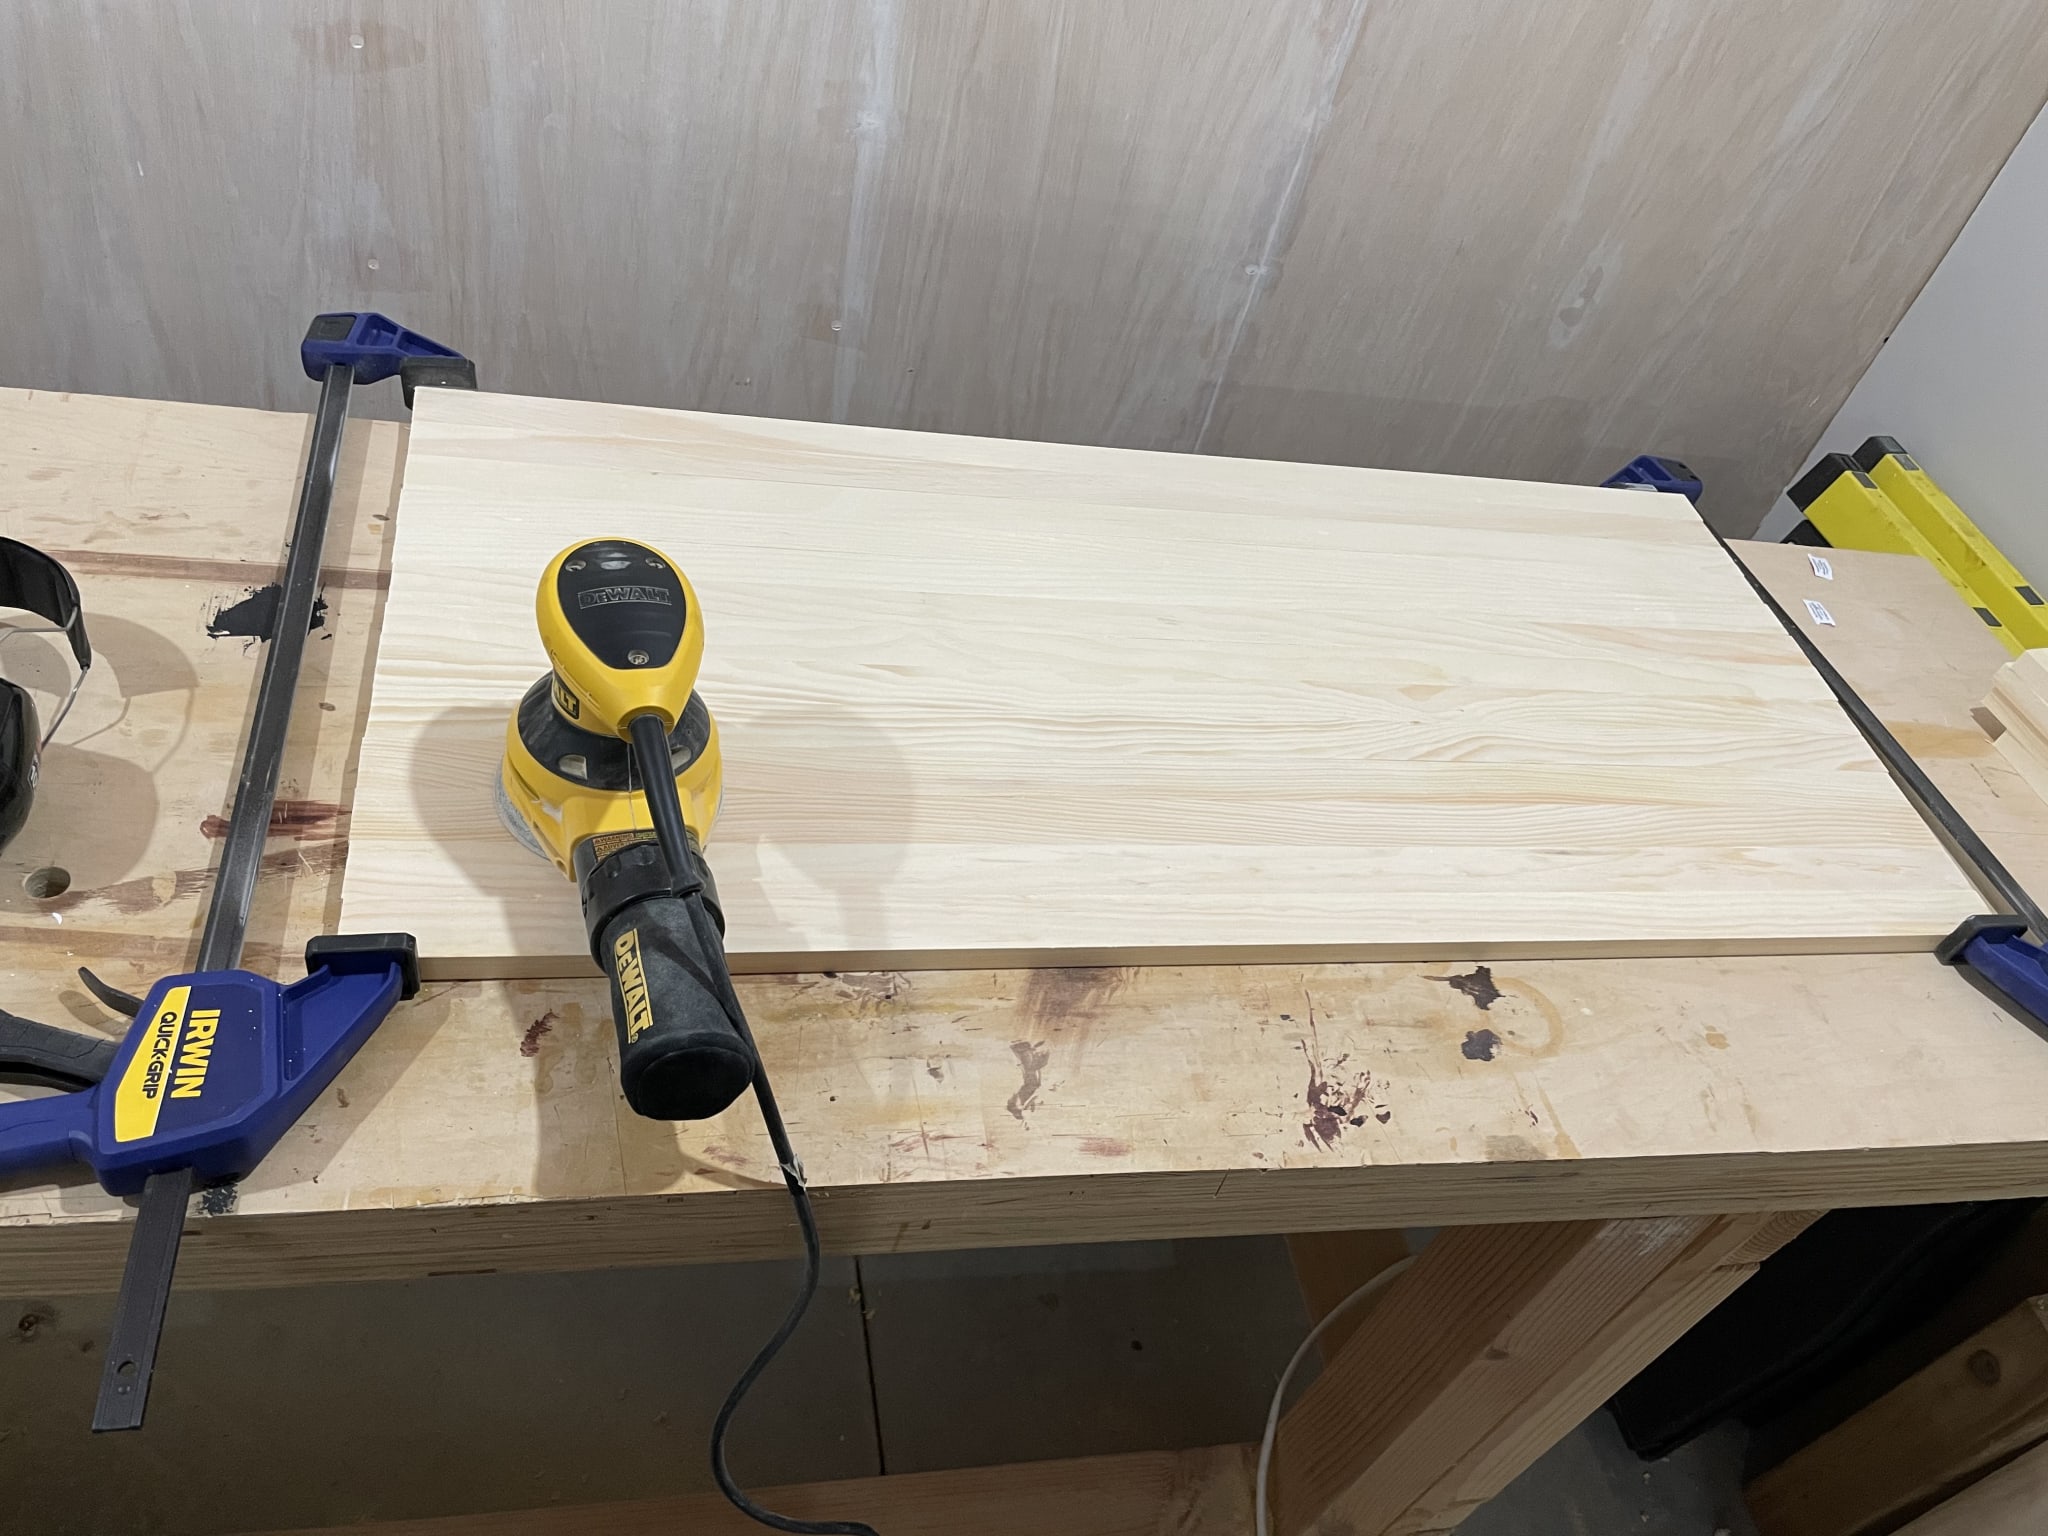
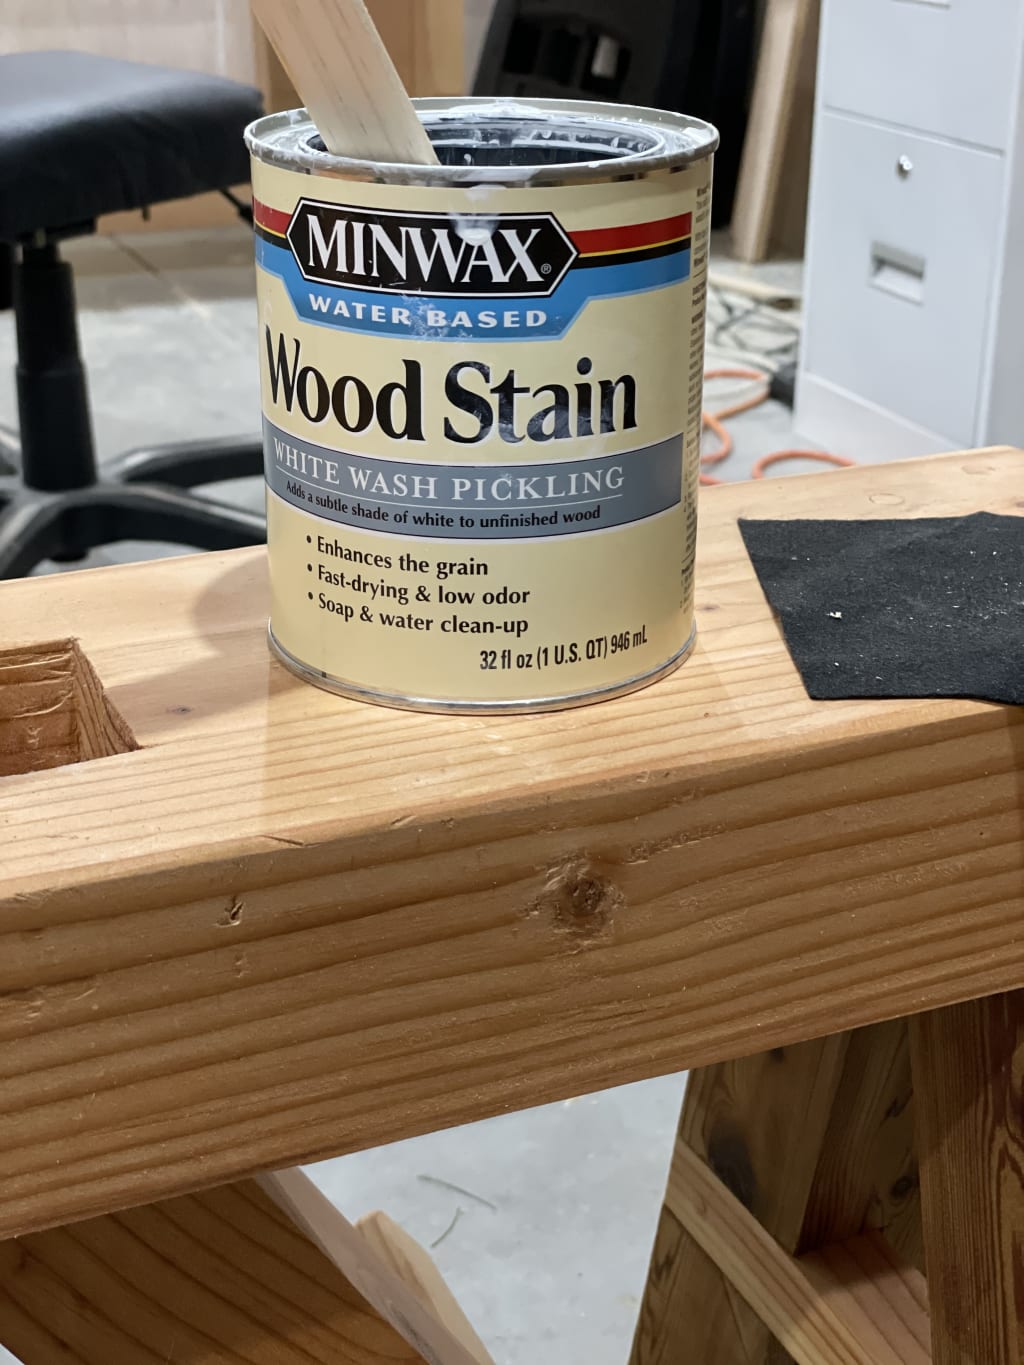
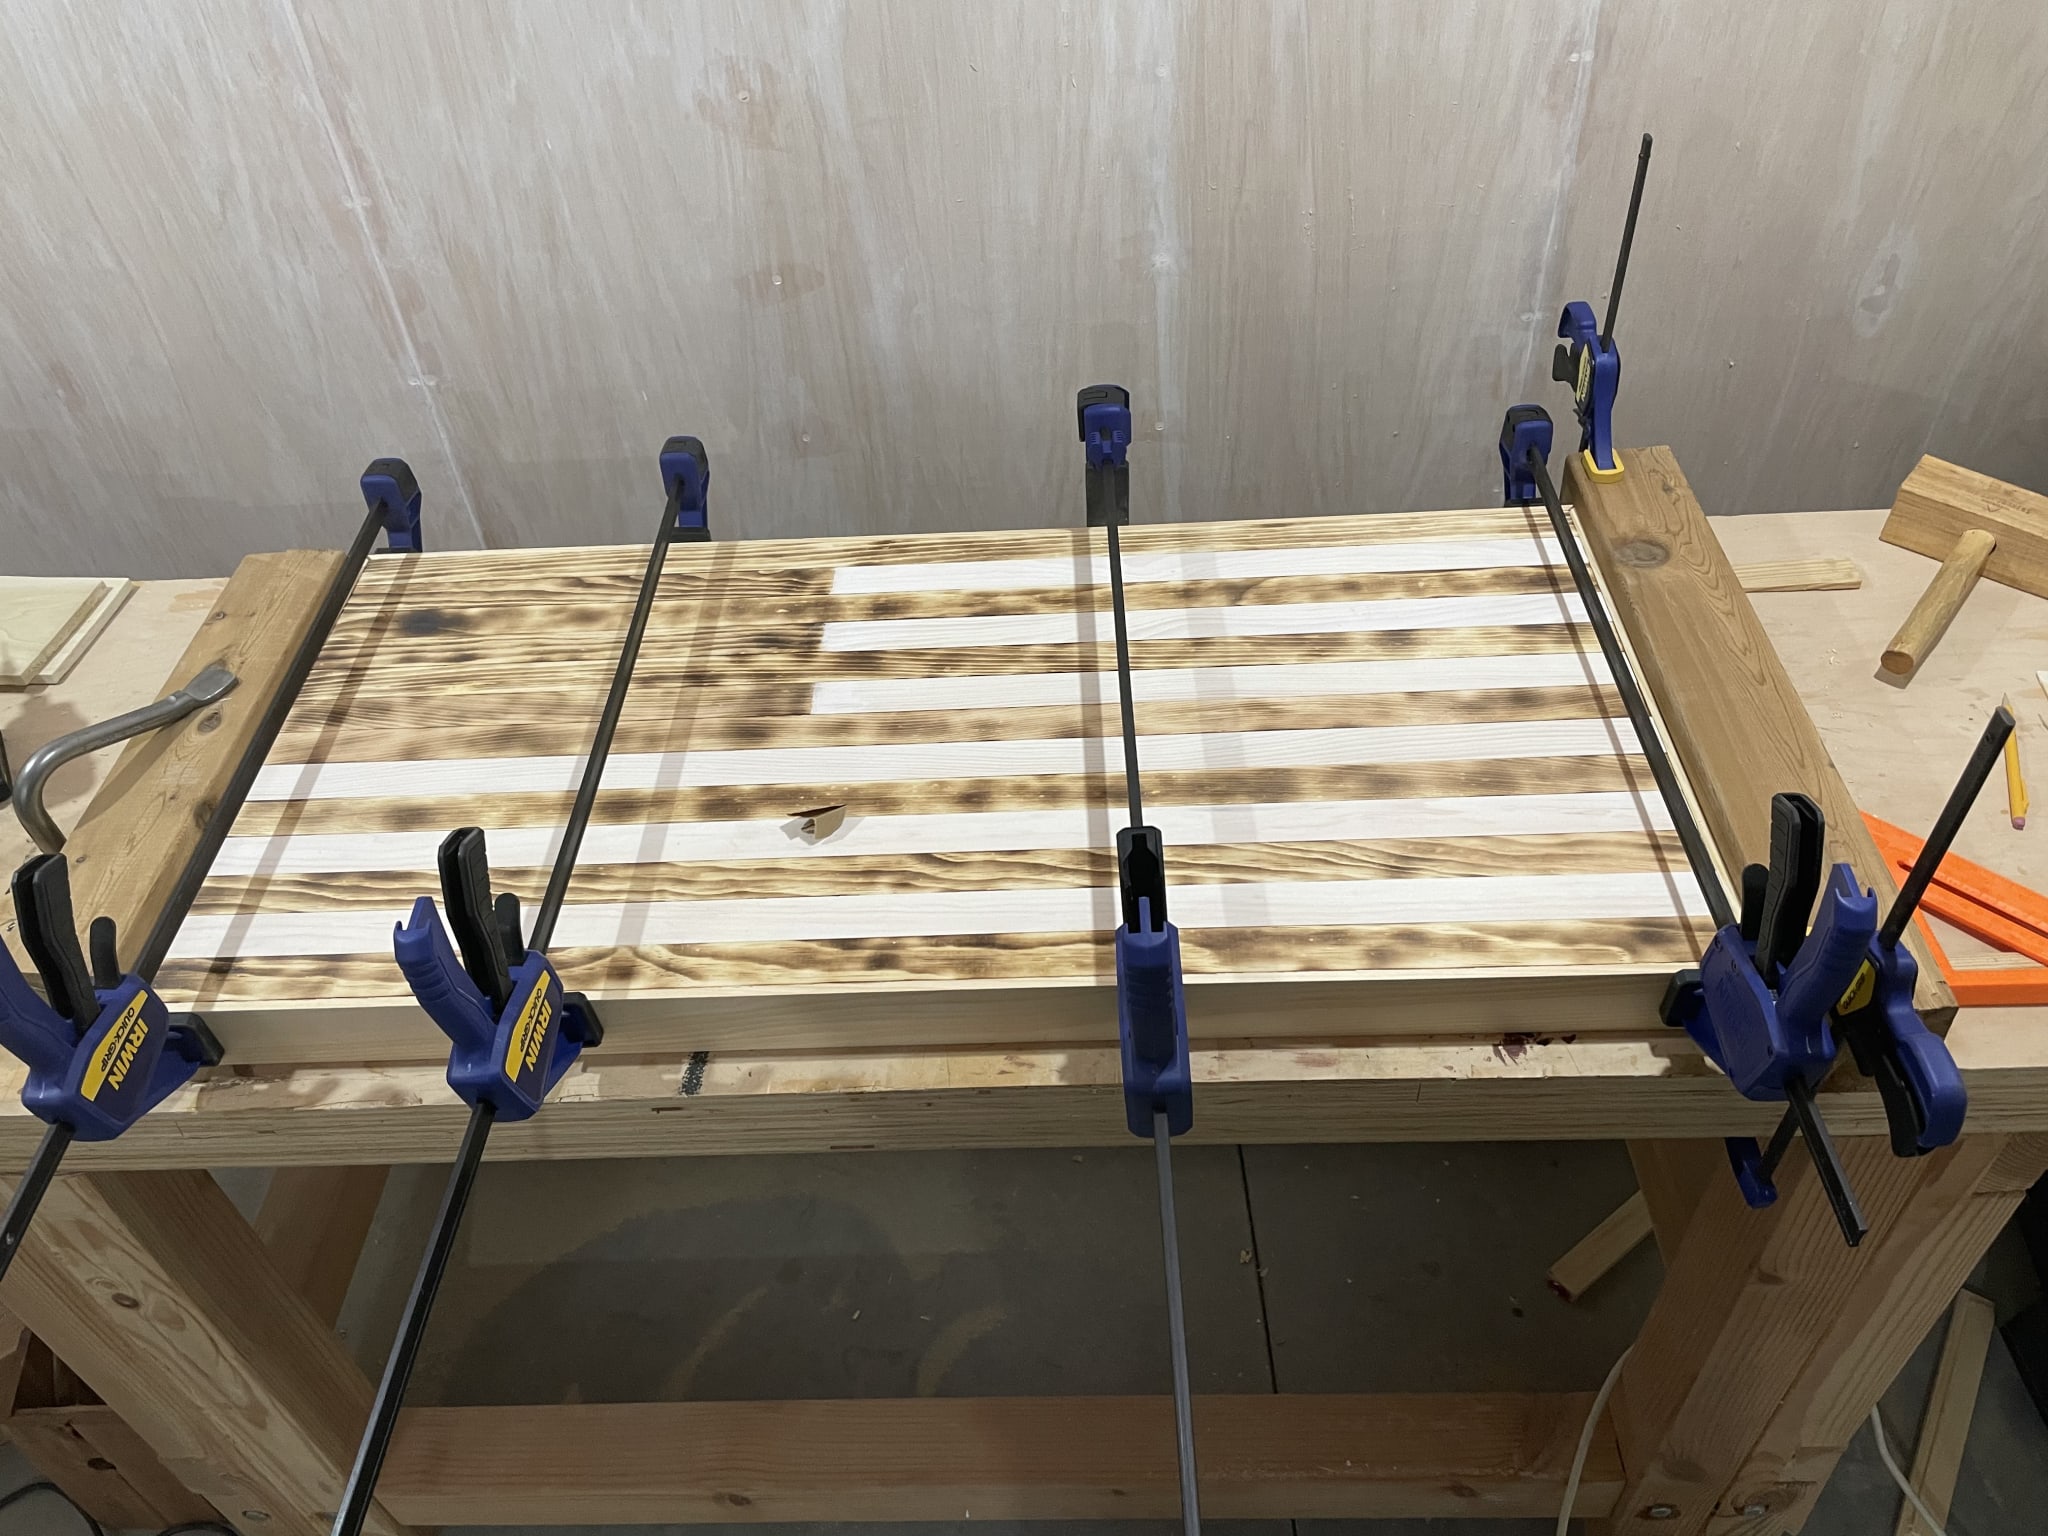
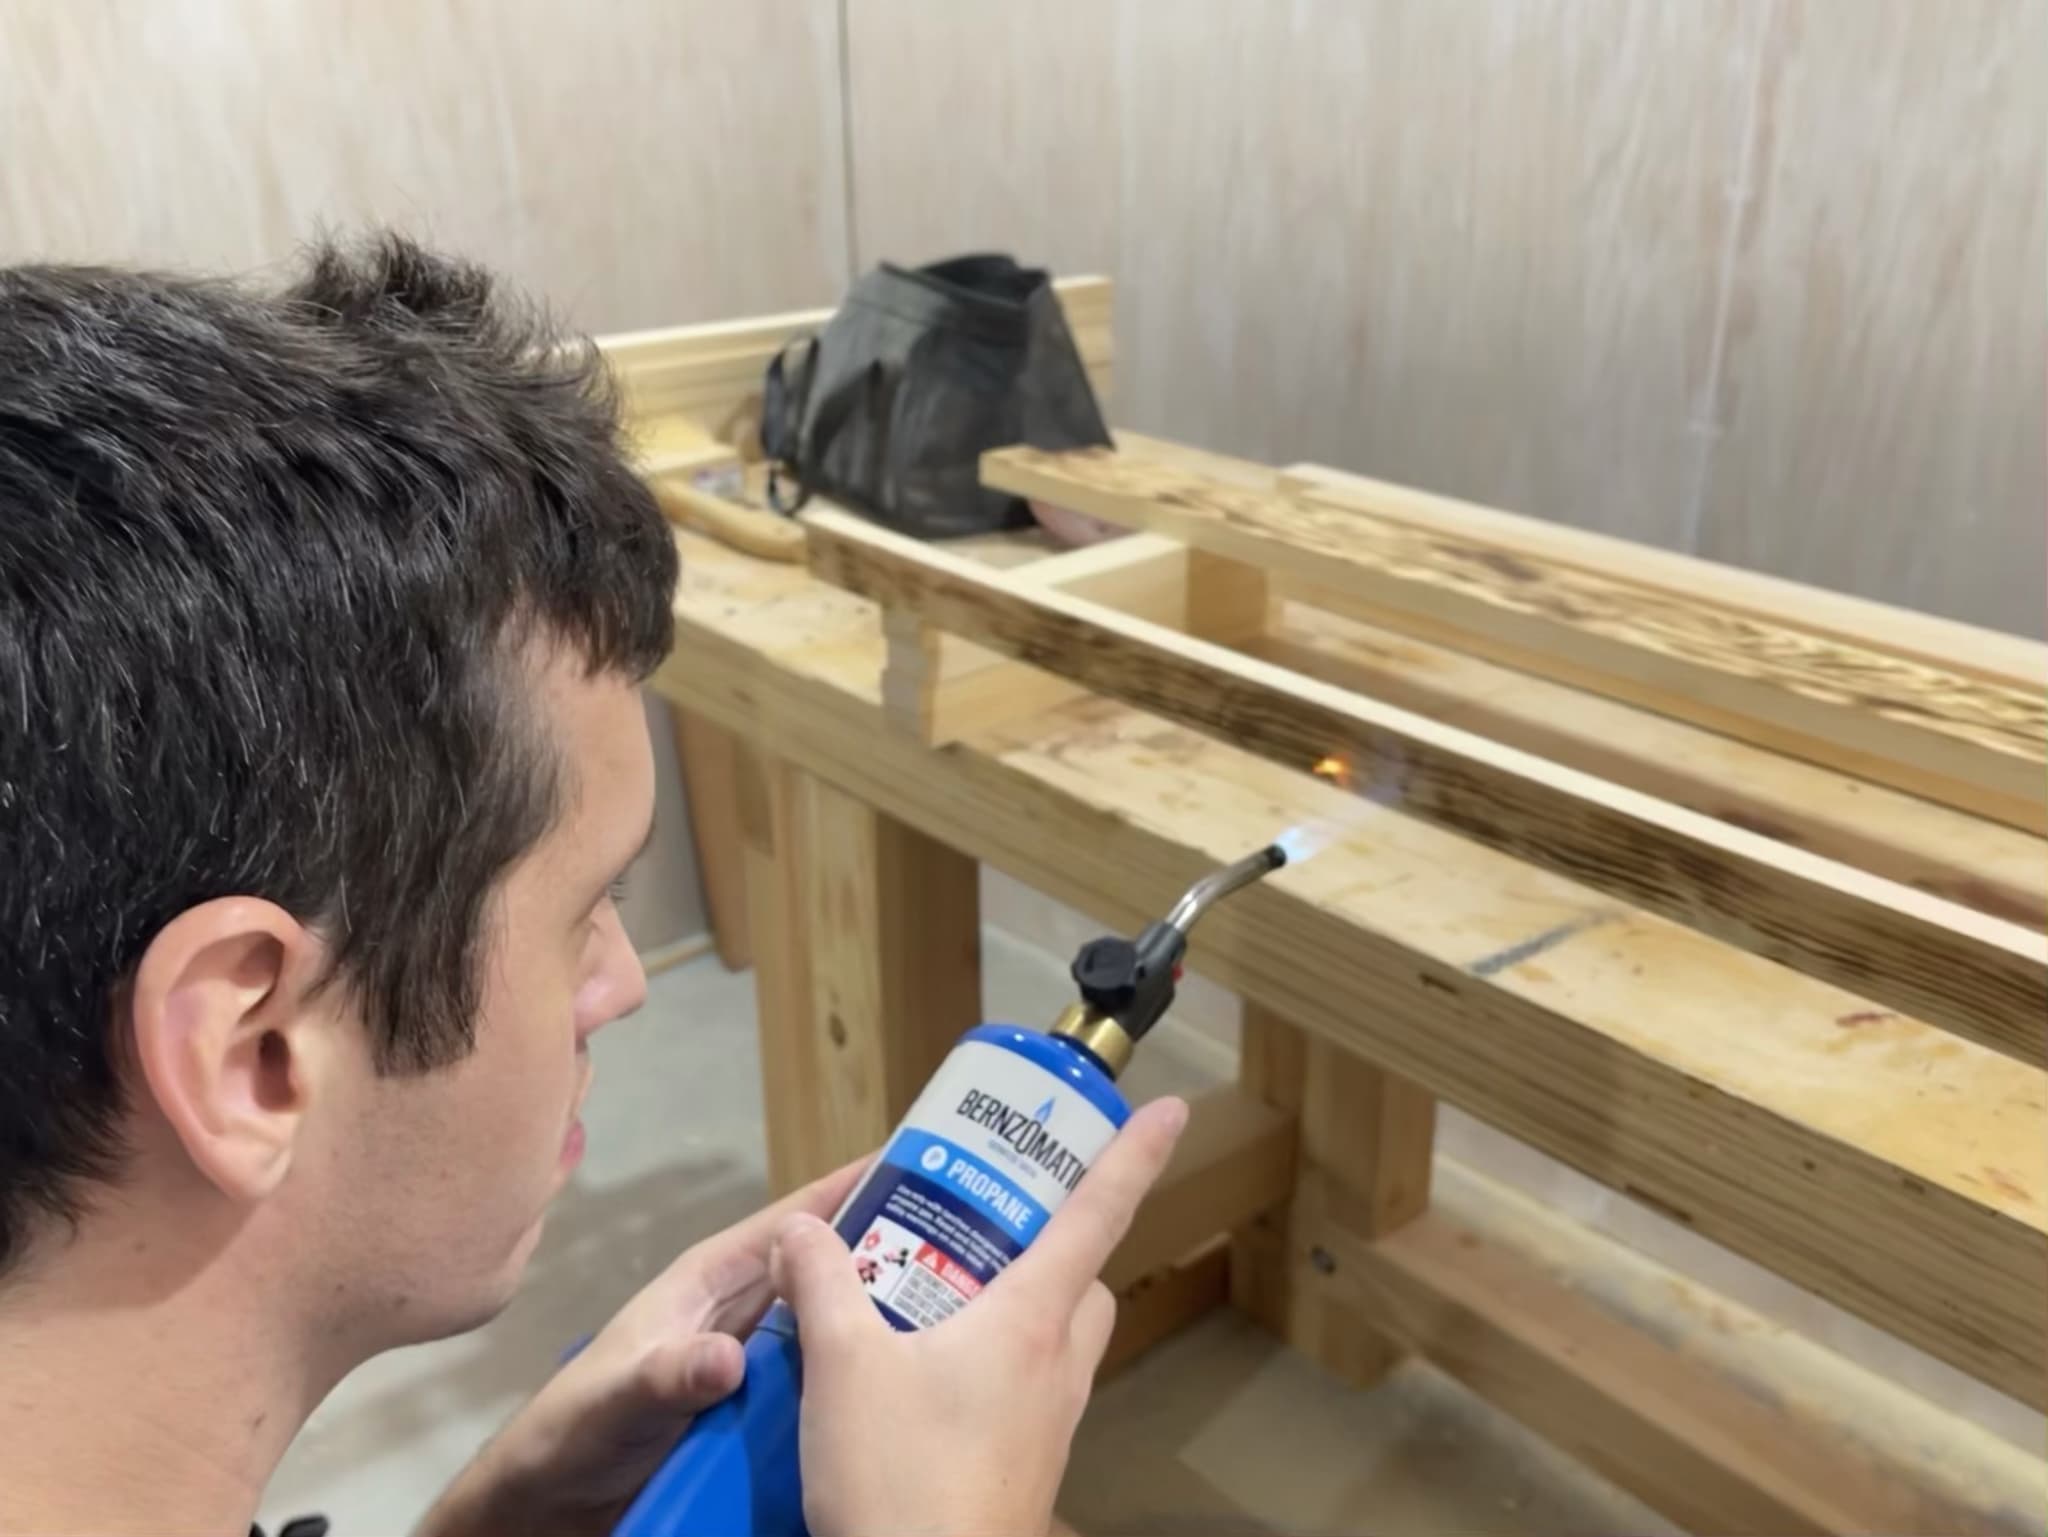
I decided I would have to burn (toast?) the red stripes and blue rectangle first. I also plan to use whitewash to make the white stripes pop out even more. I used whitewash on my oak shop walls, so I feel like I know more or less how it behaves now. Before I get burning on an actual piece, I do a test burn on a scrap. I really don't know how close I need to be with my propane torch, or how long it takes to get enough color.
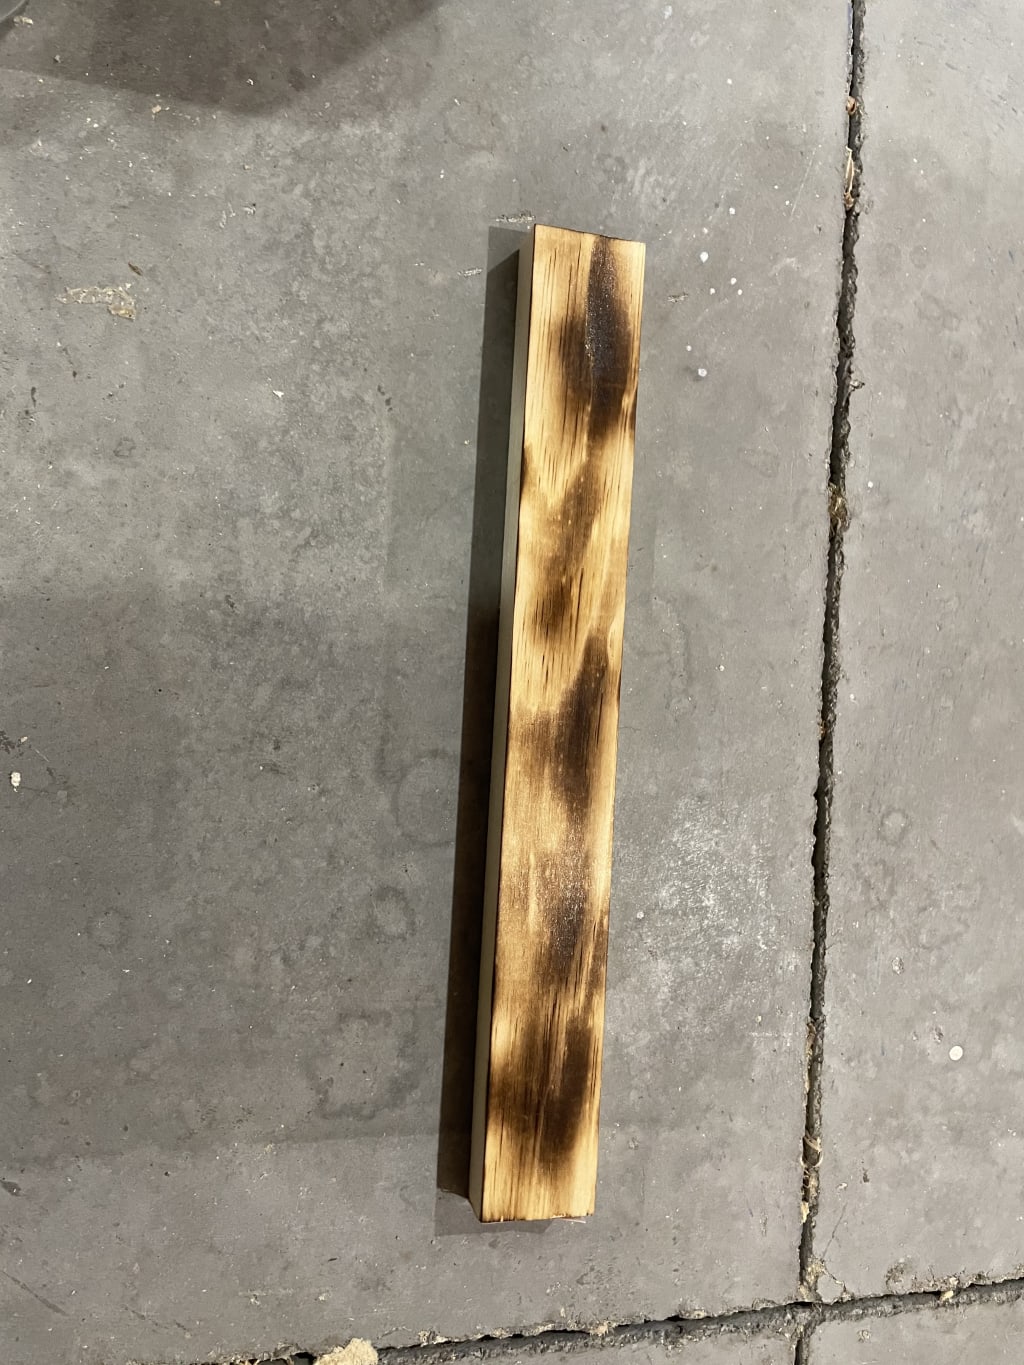
The test burn was a success, so it's time to get right into it.
After I toasted each red stripe, and the blue rectangle parts of the white stripes, I got out my whitewash and put a coat on.
Once the stain had set in and dried, I laid it all out to see if I had made any dumb mistakes yet.
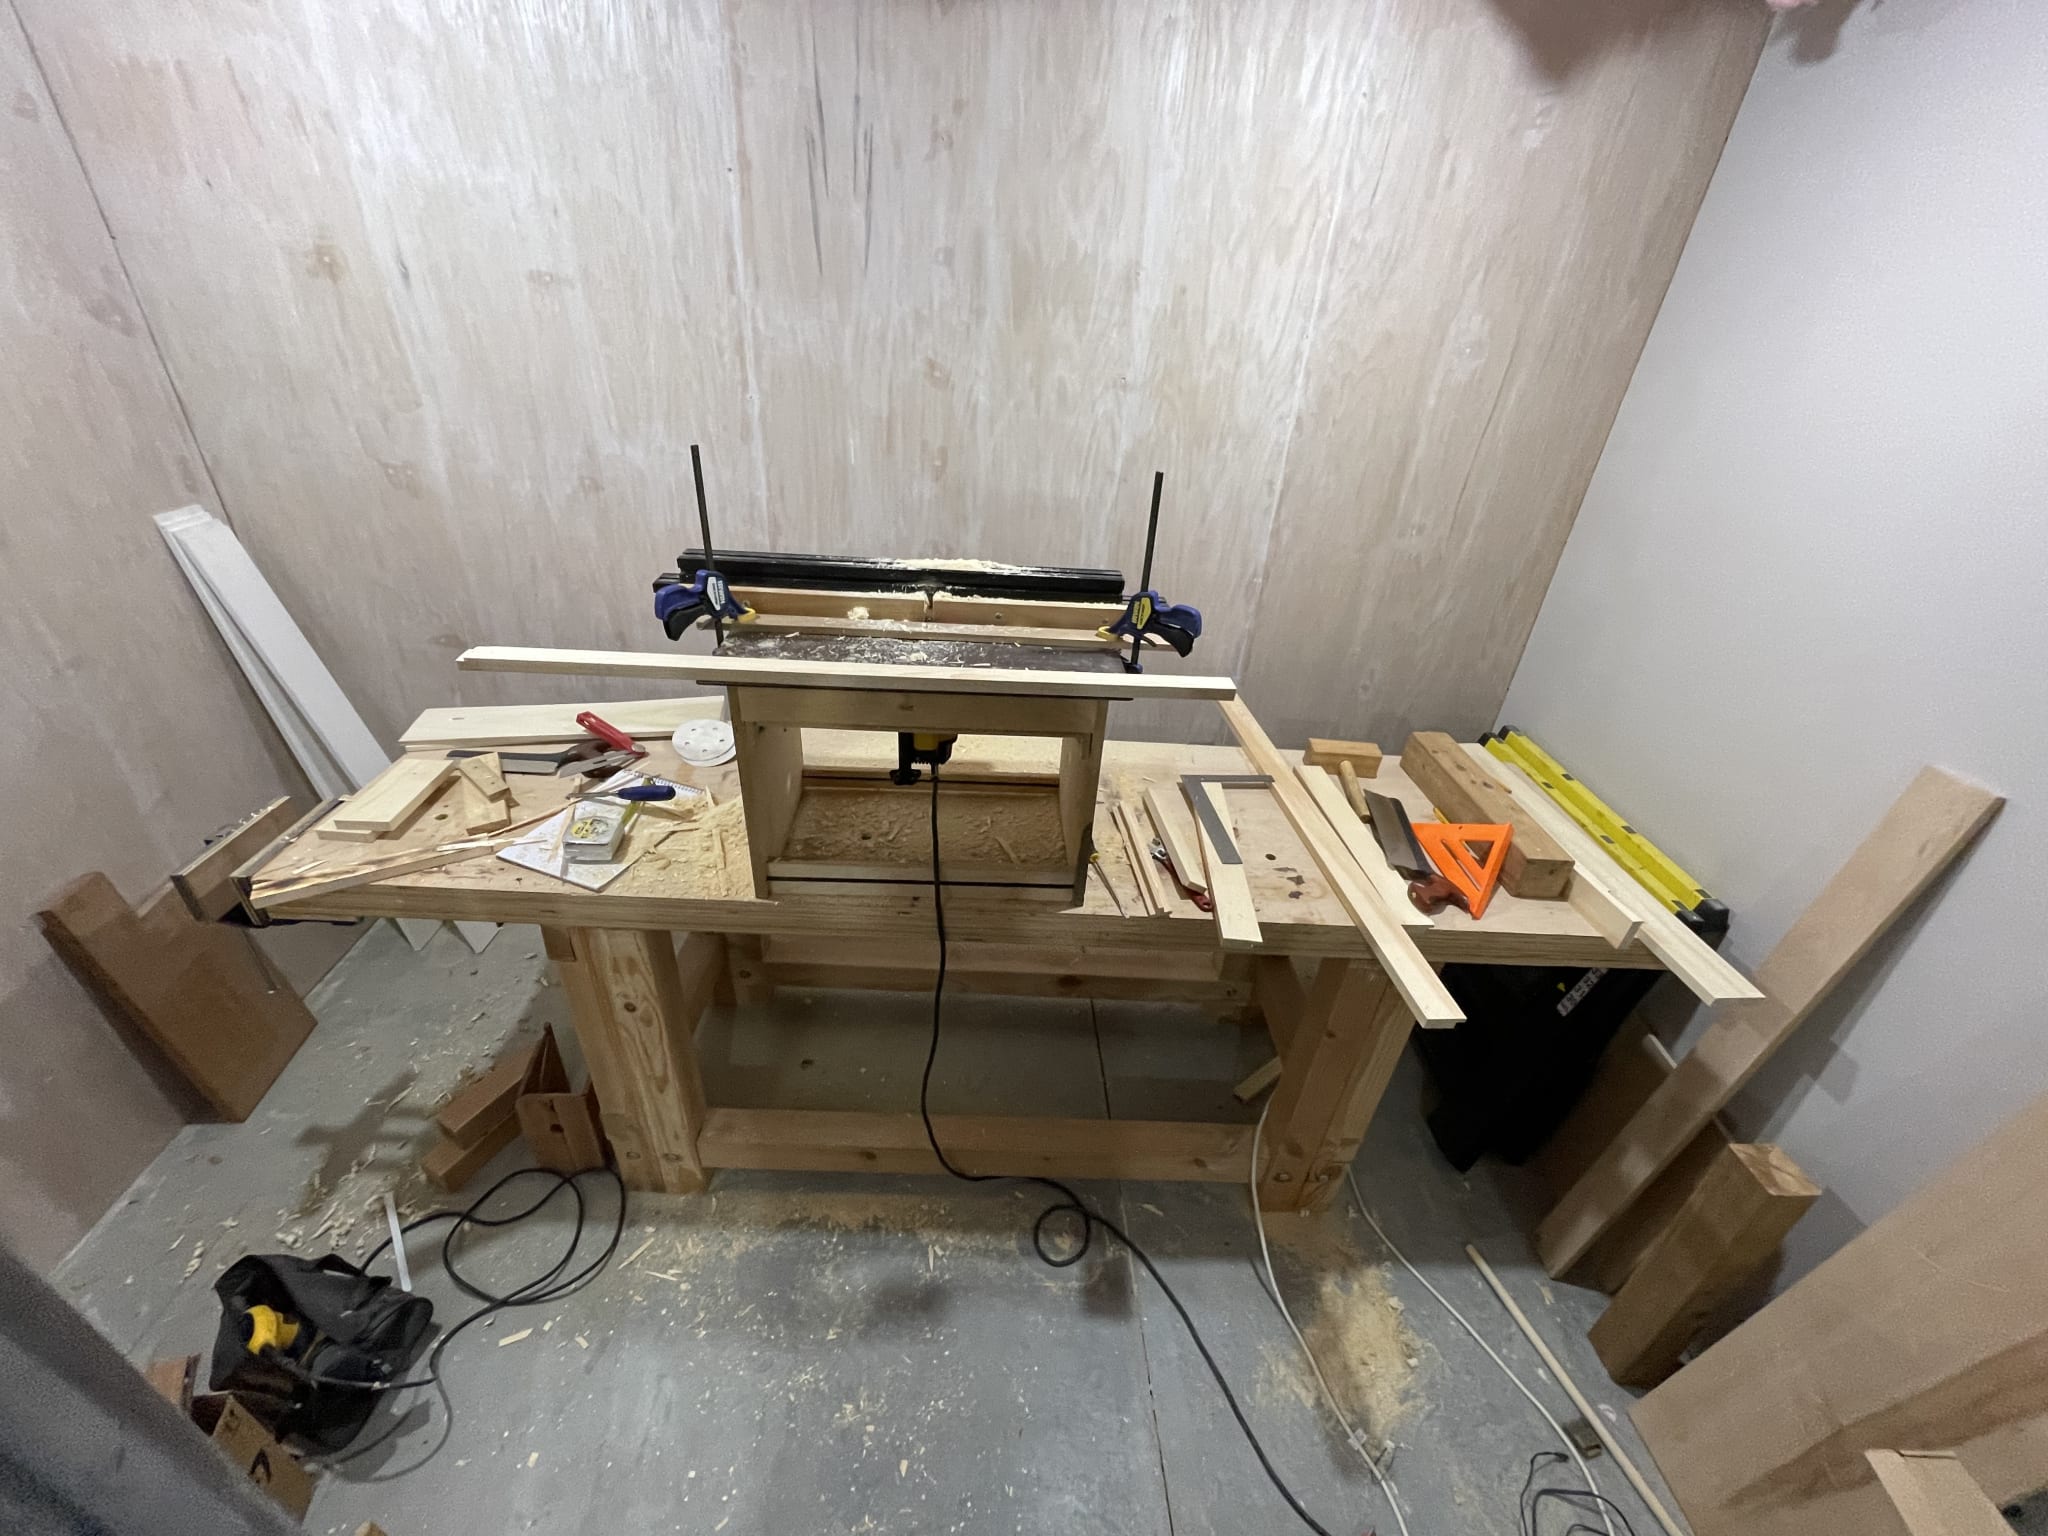
It looks good! The surface needs to be fairly strong and sturdy, so I will put four cross pieces under it, screwed to the bottom of each stripe. But before I get to that I want to remove some material from each stripe. My plan here is to have a skirt that goes around the outside of the surface, with each stripe settled down within, so that I don't show any end-grain. I decided to try out the router with a cutting bit.
The router is messy and caused some tear out, but it got the job done. I routed the stripes and the skirt pieces. Next, I will cut a 45 degree miter on each end of the skirt boards so they will fit into a nice rectangle.
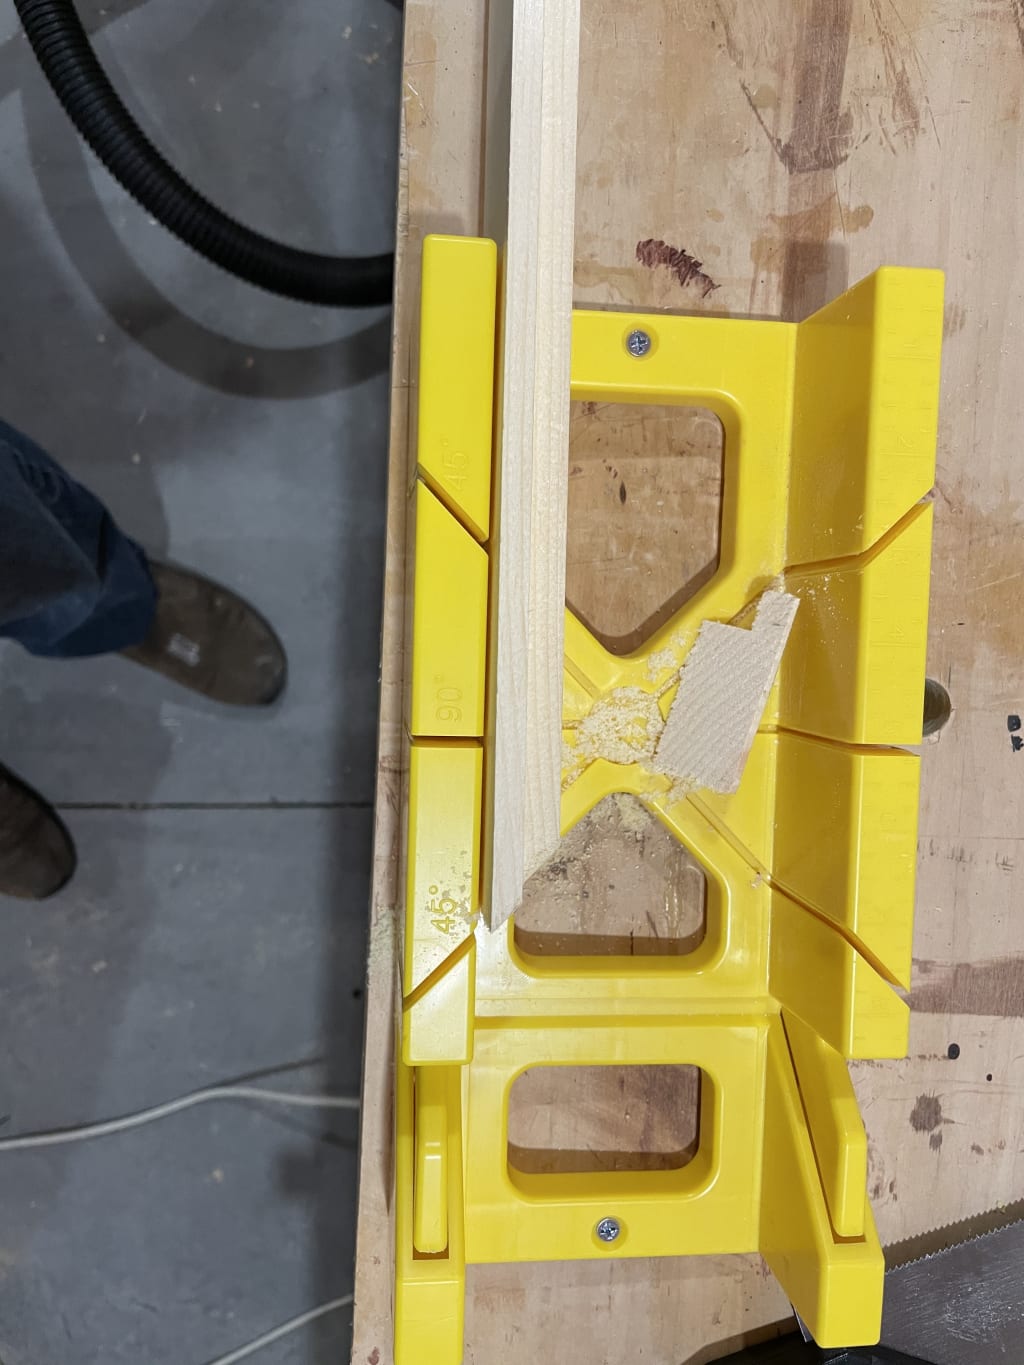
Well, what I did not notice was that I was cutting into the plastic of the guide and went way off 45 degrees on one cut. We'll just have to do a trial assembly and see how bad it is.
The trial assembly with the mitered skirt reveals something worse than an off-45 miter. I was short by almost half an inch on the shorter sides of the skirt. Argh! It's not the end of the world, I have more 2.5 inch stock. I can fix this. I cut two new mitered skirt pieces, and used the messed up ones (with some slight trimming) as the tabletop support.
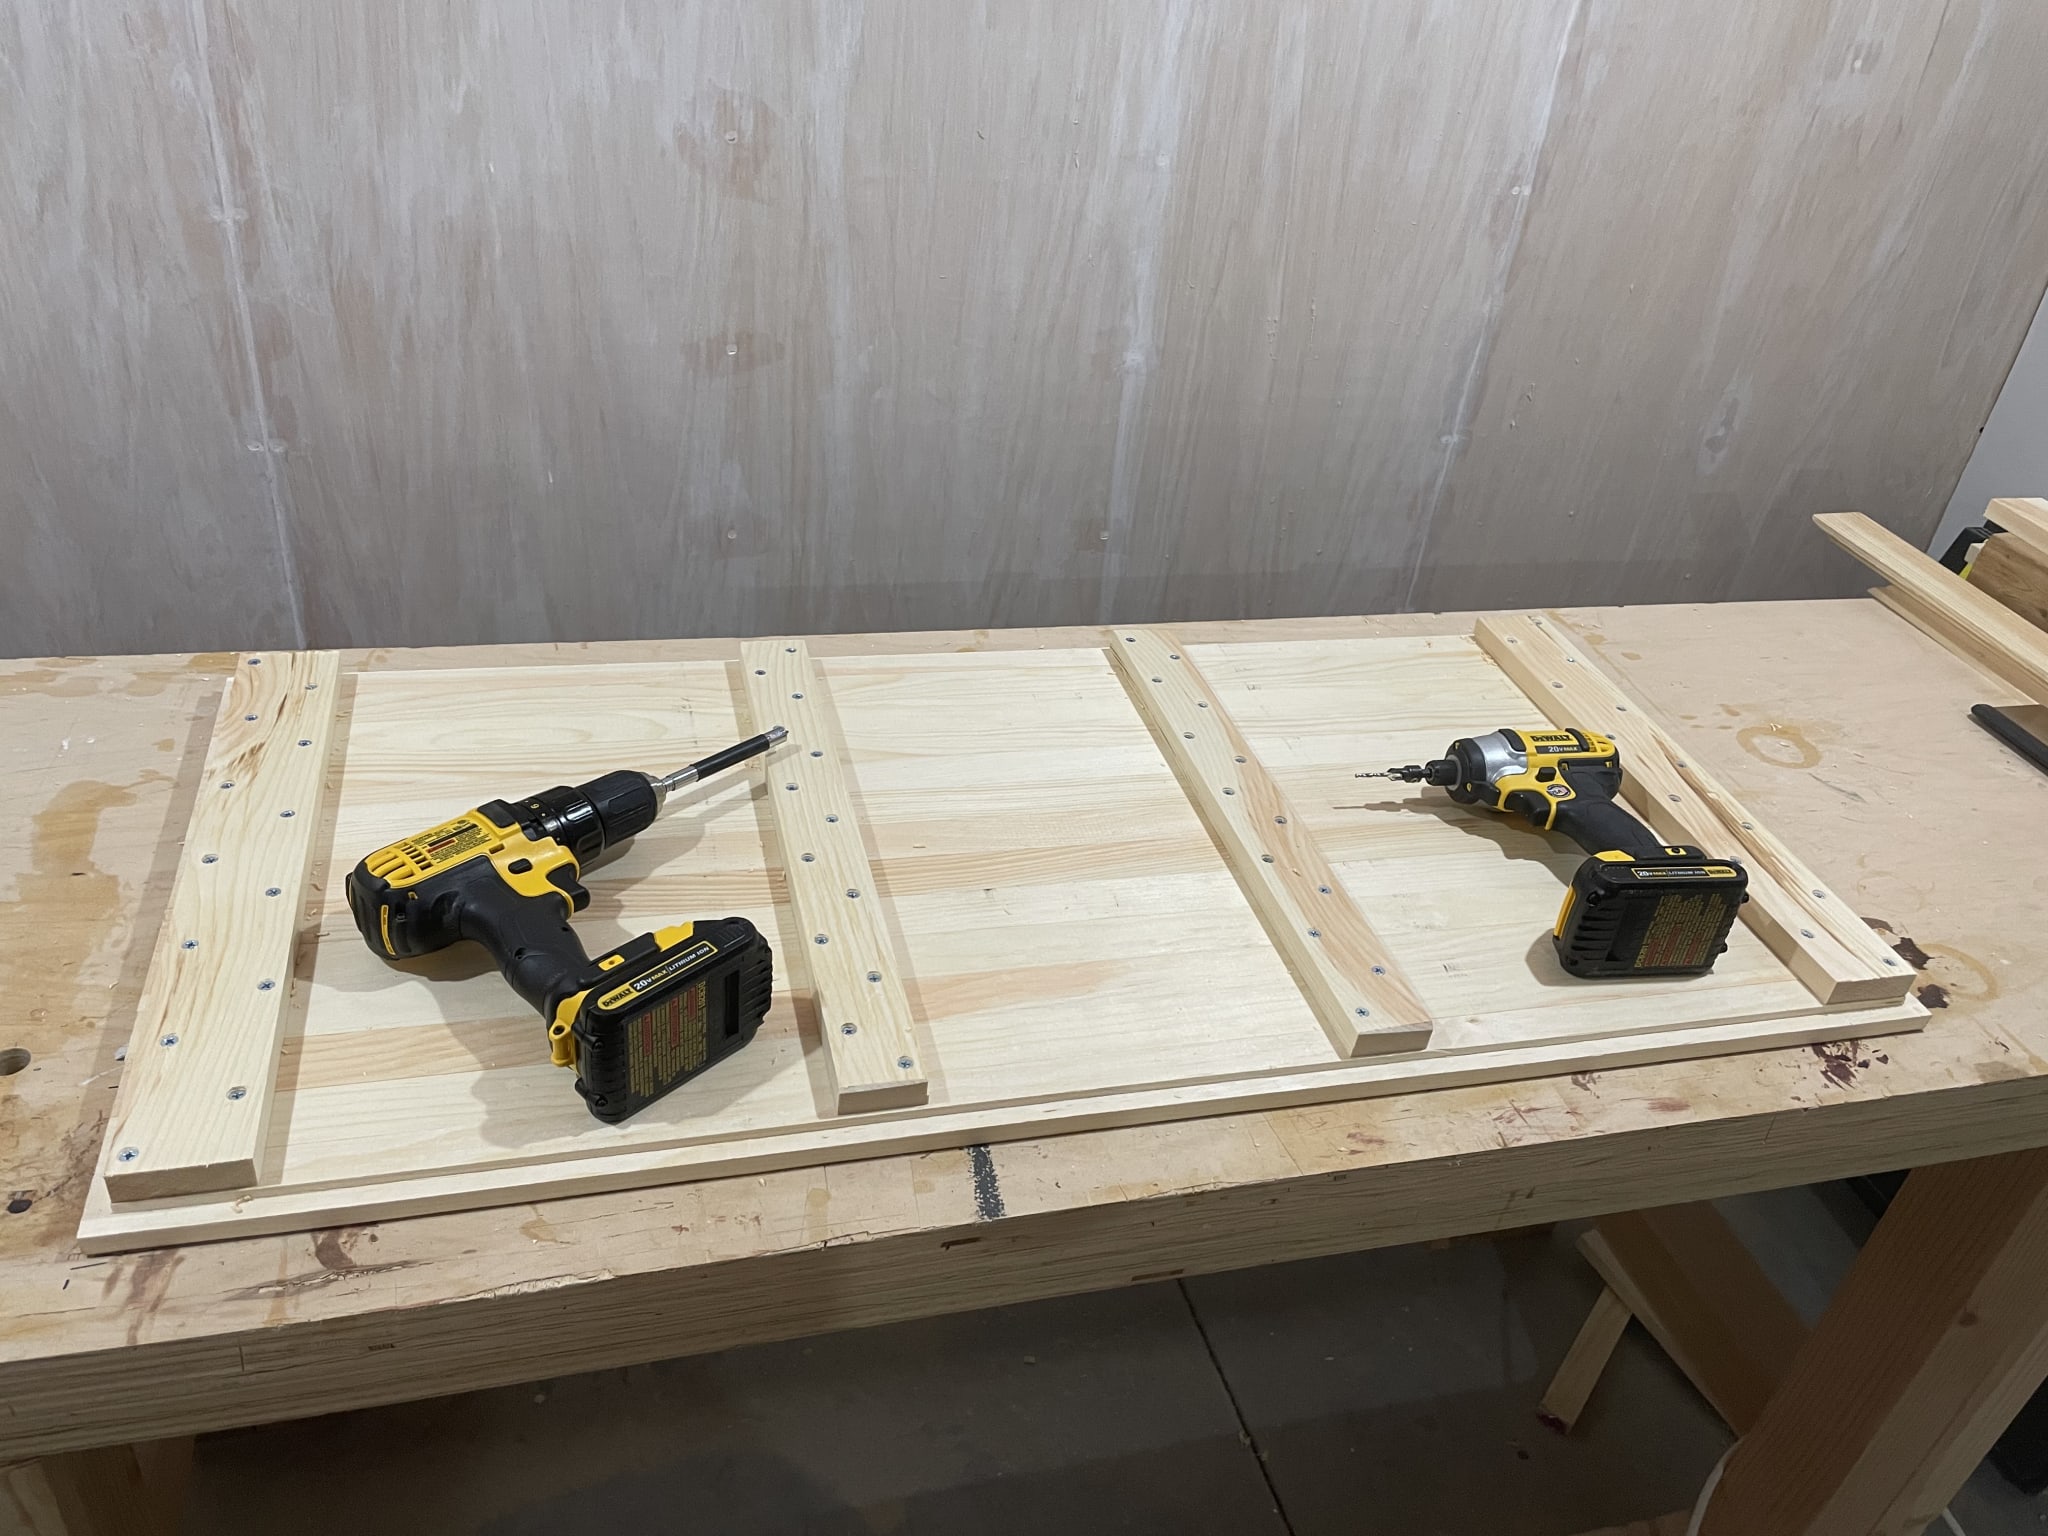
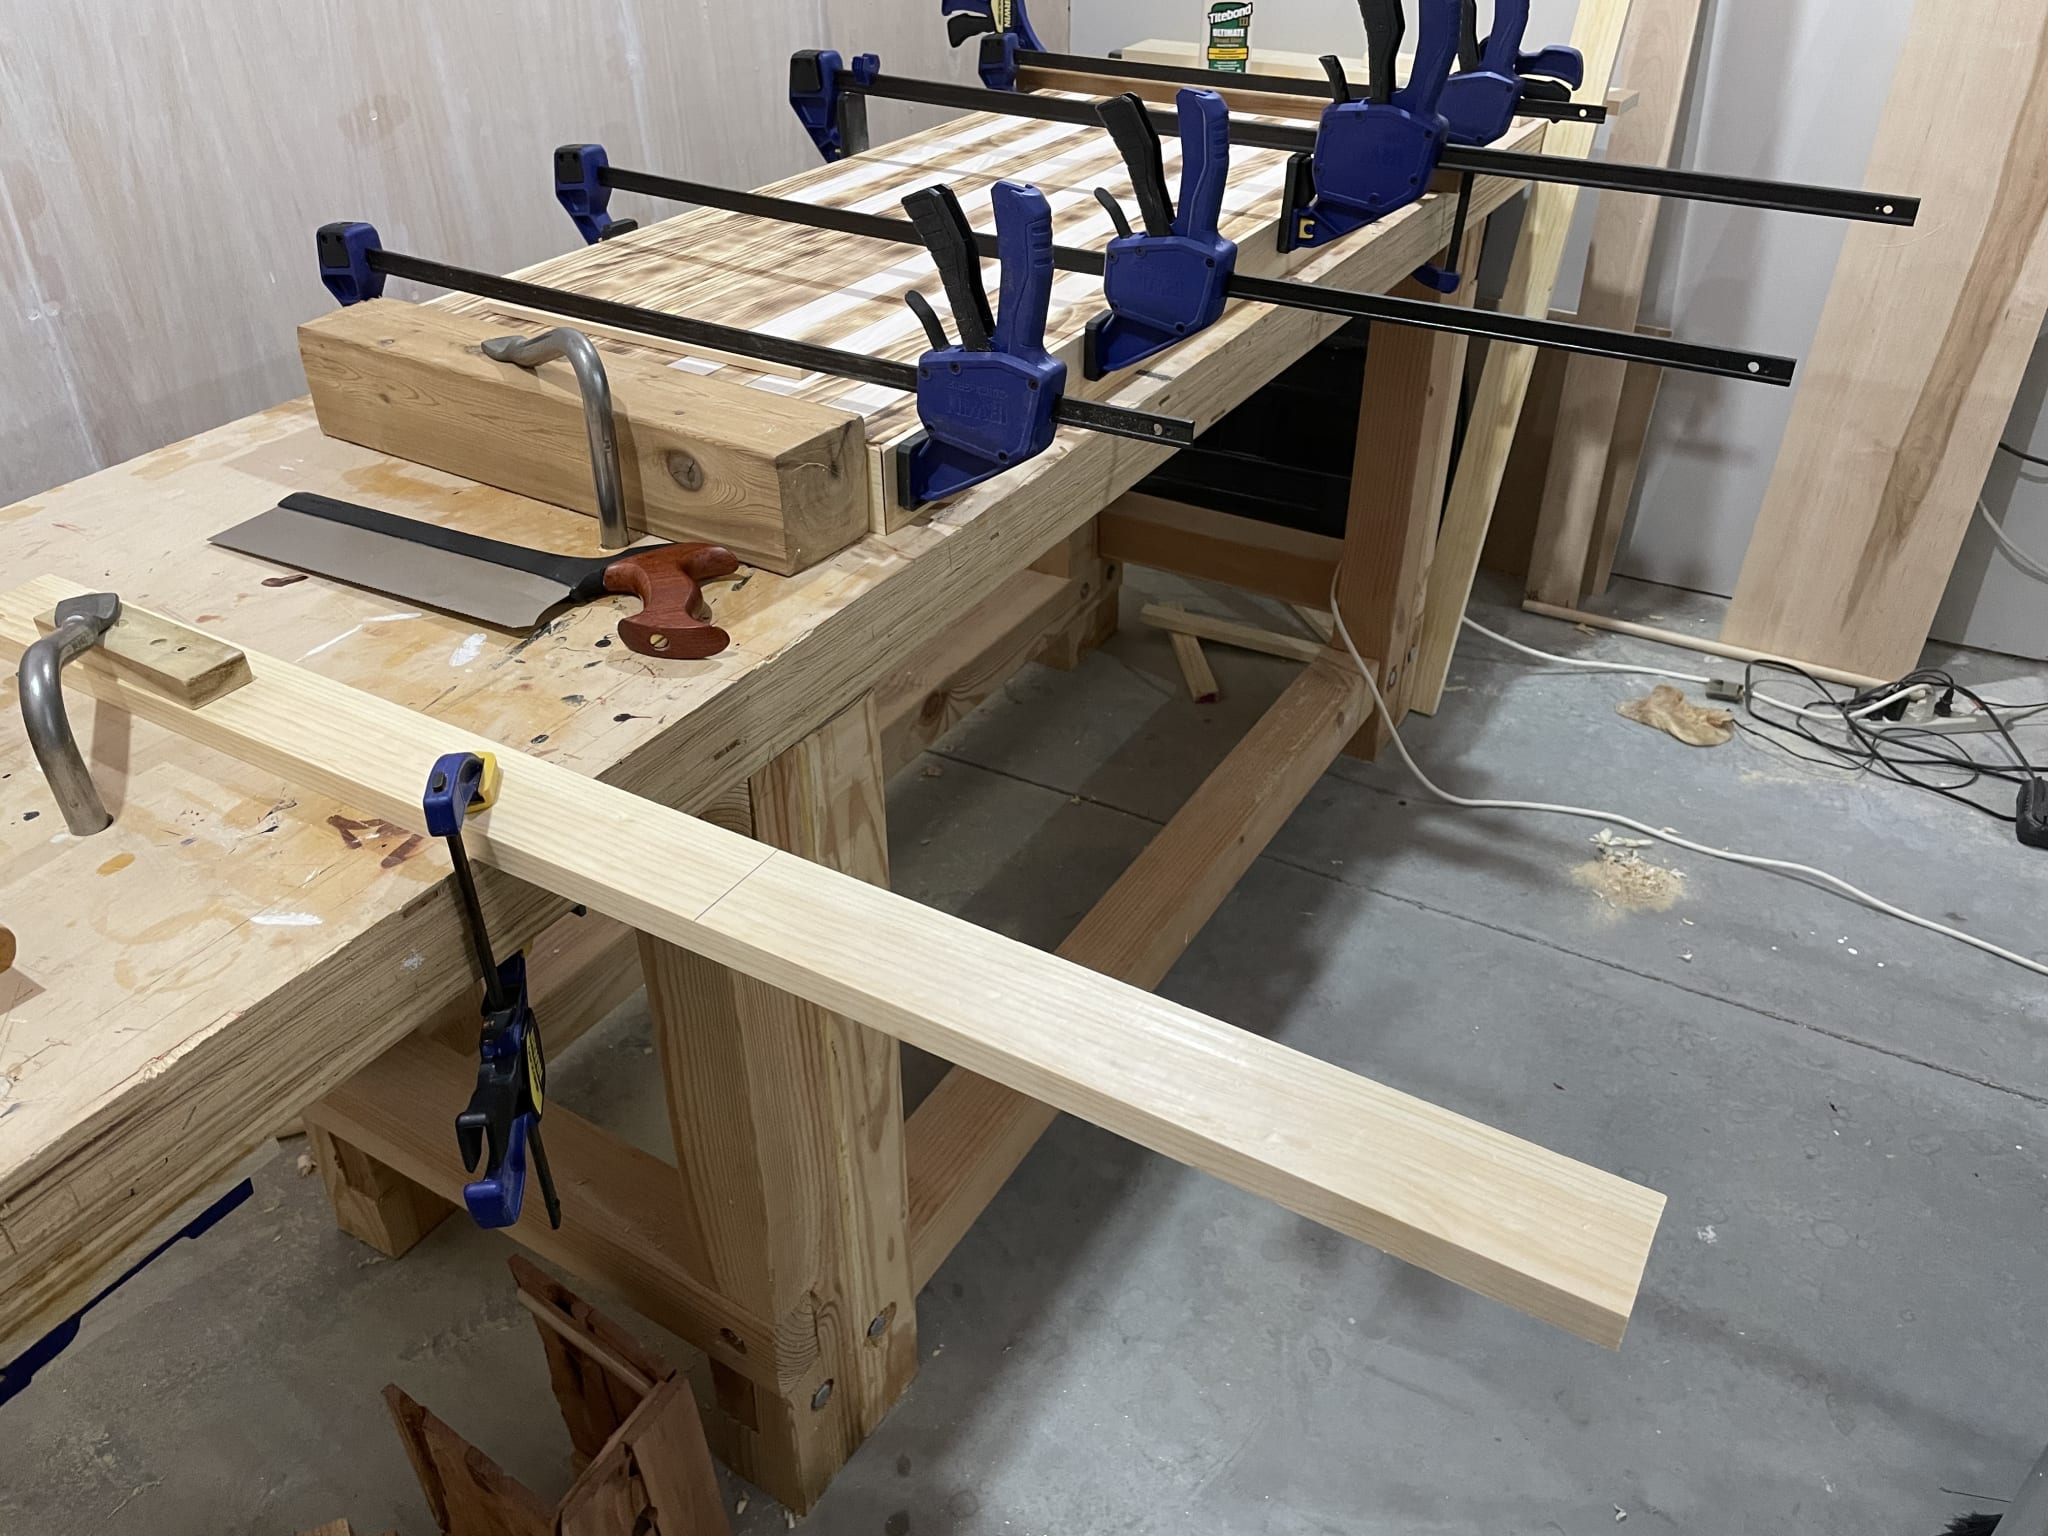
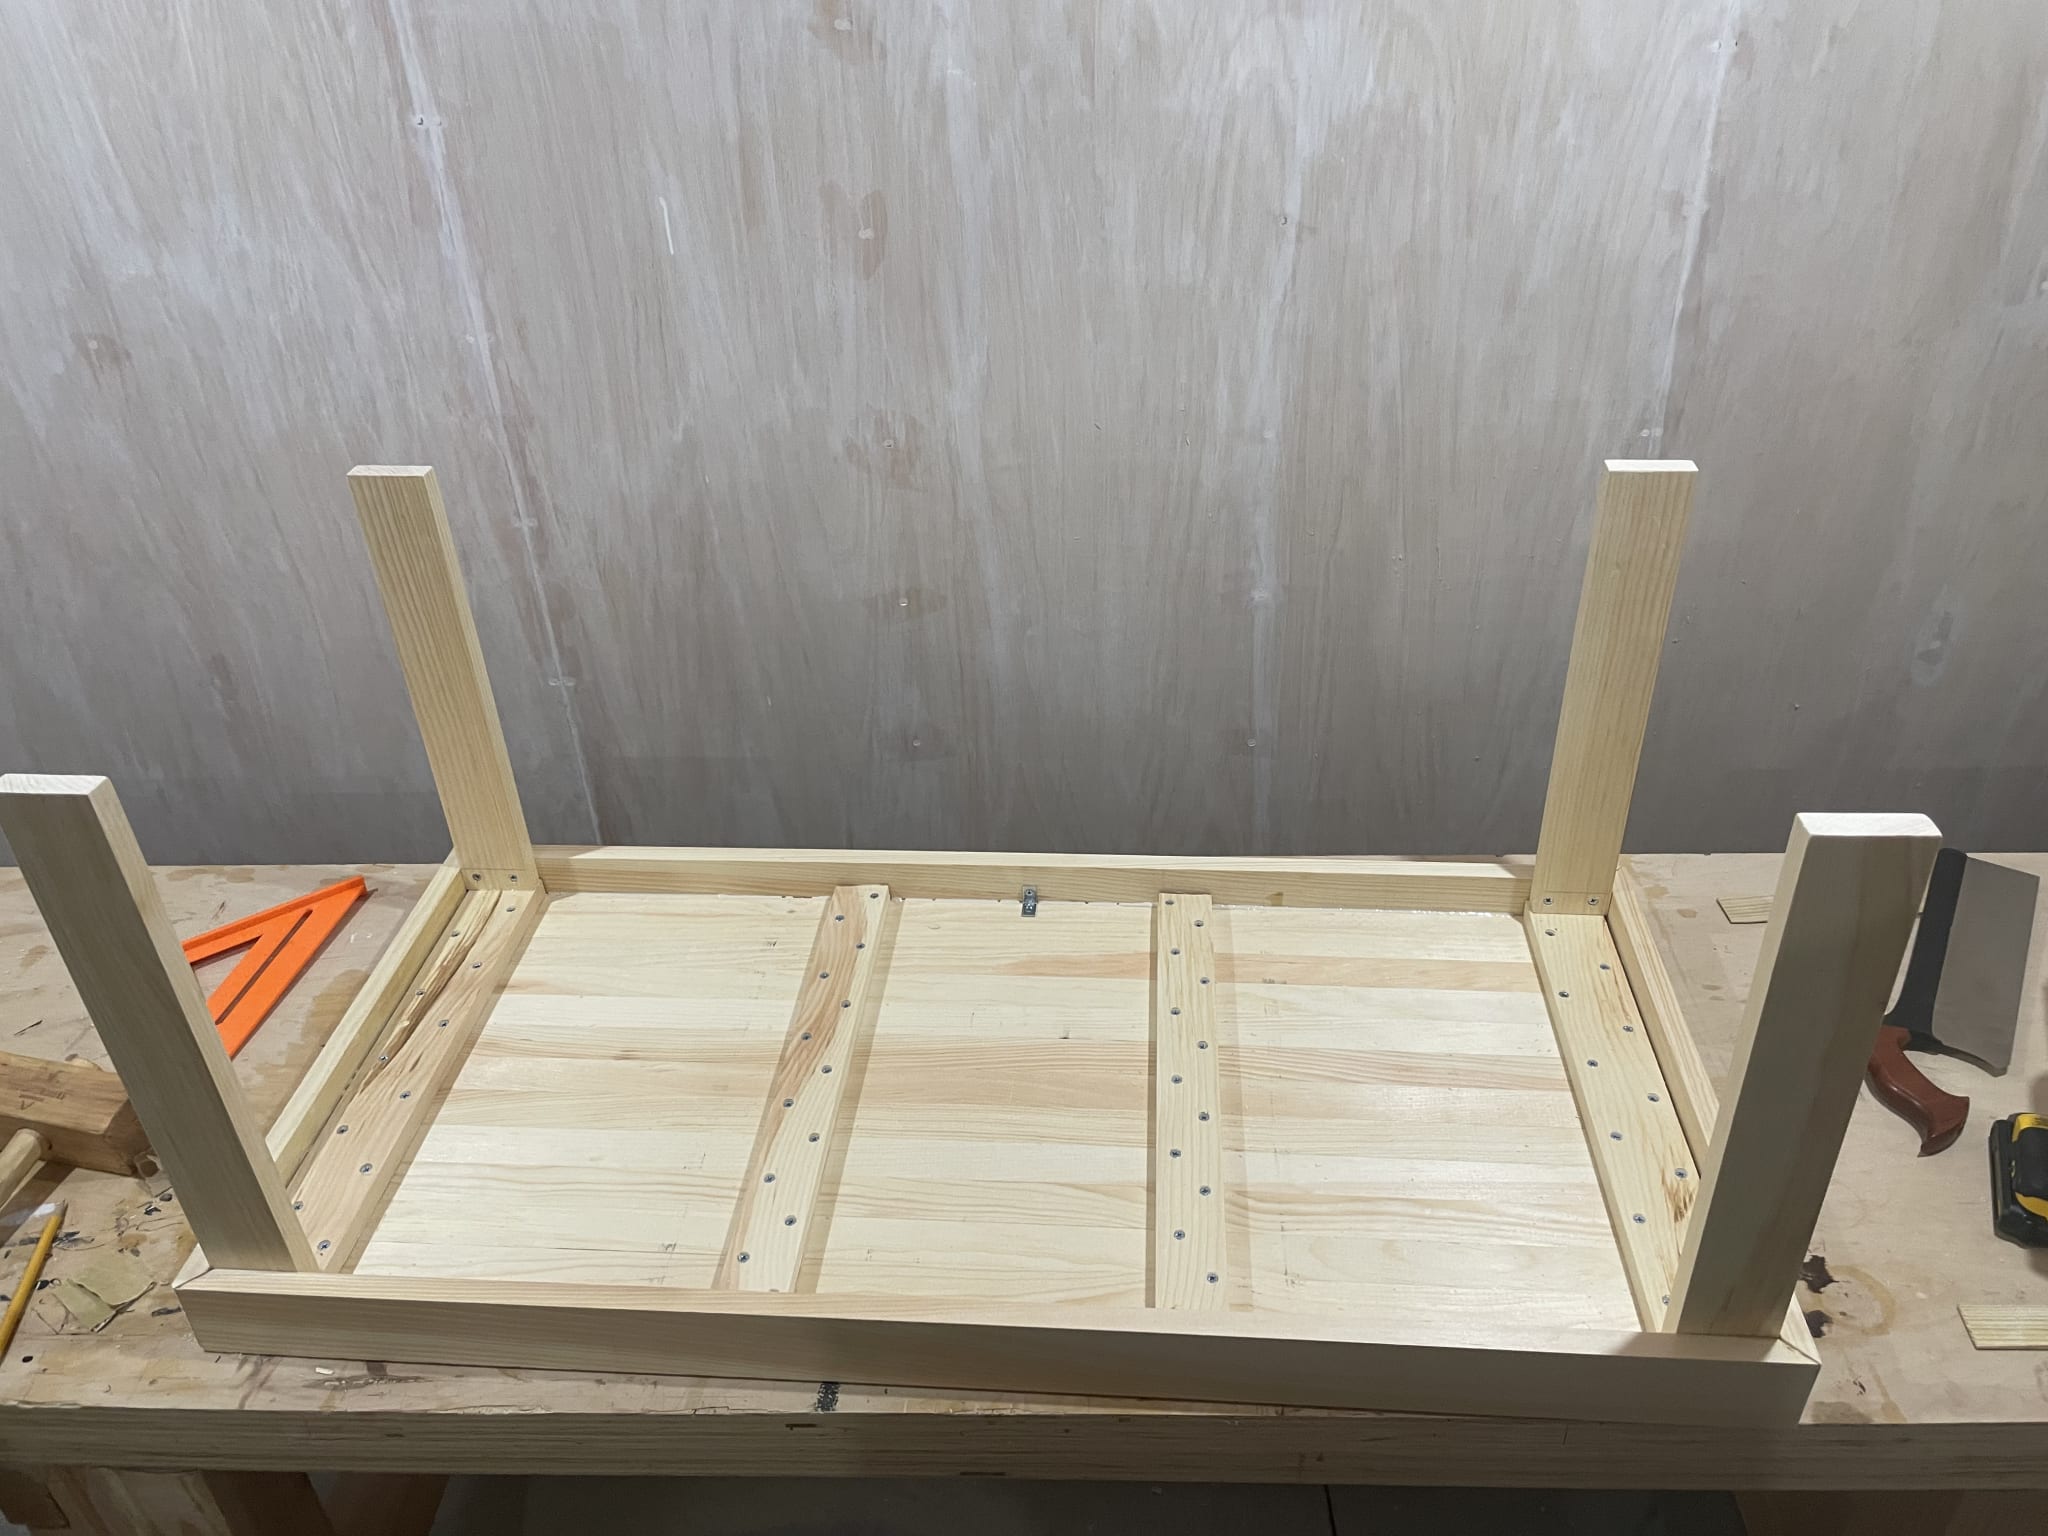
Once the cross supports were screwed in the top was one whole piece, and I can glue on the skirt.

Now that the skirt was glued and clamped, I got to cutting the legs and lower-level support long pieces.
Legs
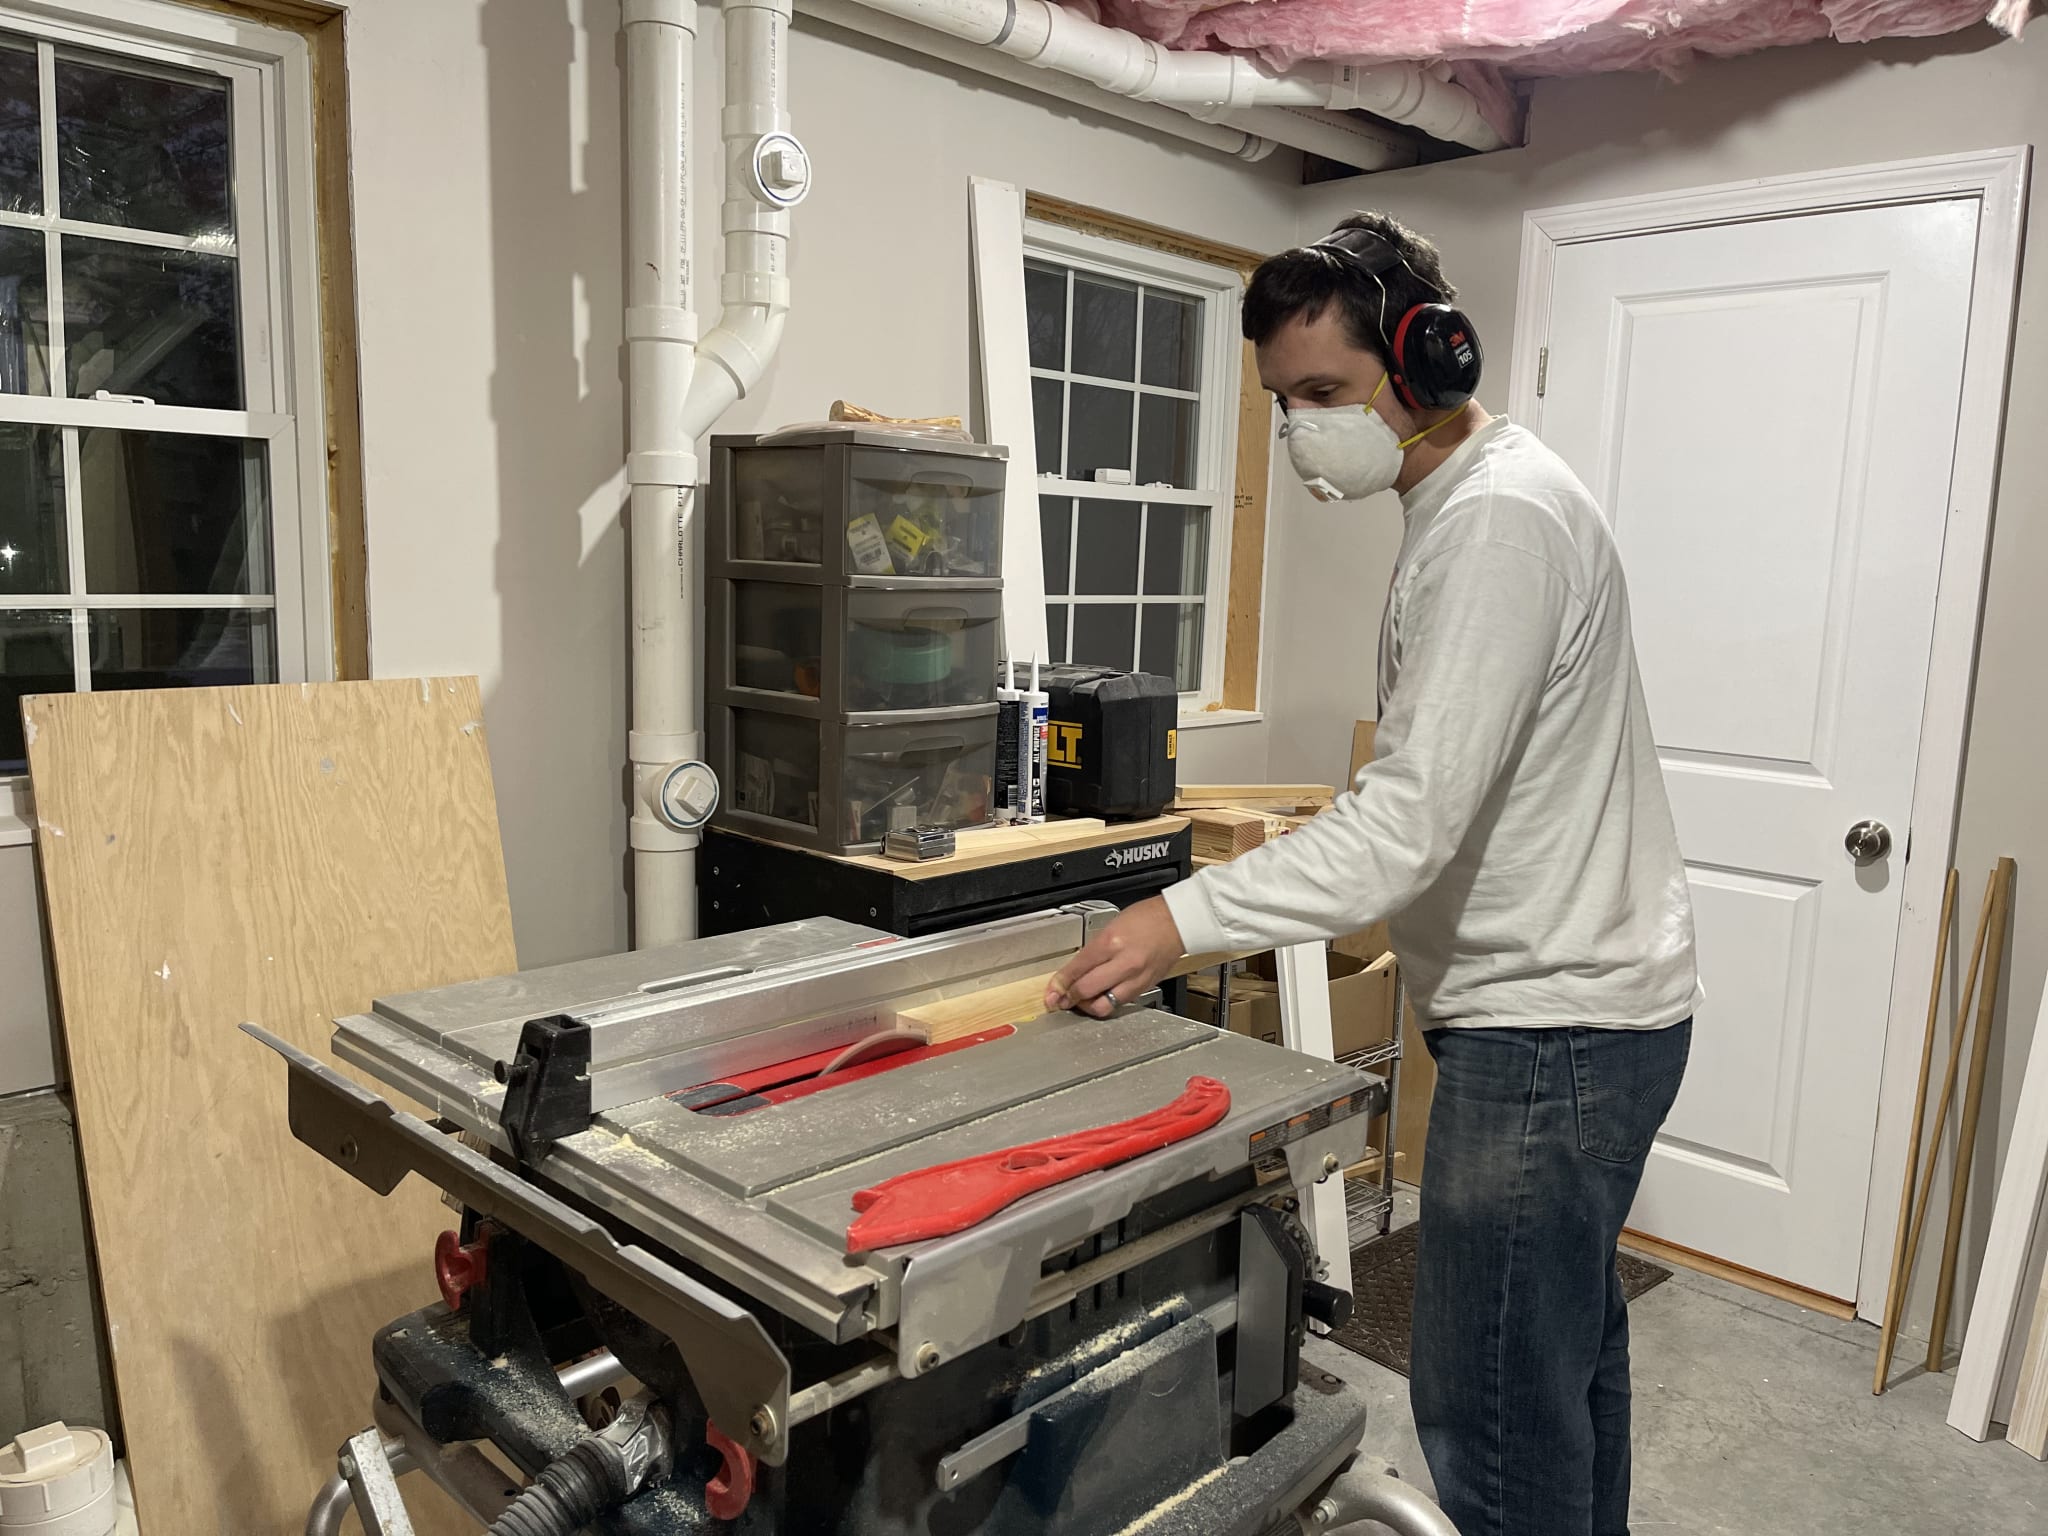
This was pretty quick, by now I was fairly decent at cutting in a straight line. Interestingly, pine can be a challenge to cut because it is so soft that the saw teeth want to dig in too deep and bind. You have to have only light downward pressure or you'll get stuck in the kerf. Once I had four leg pieces cut and the glue was dried, I flipped the table top over.
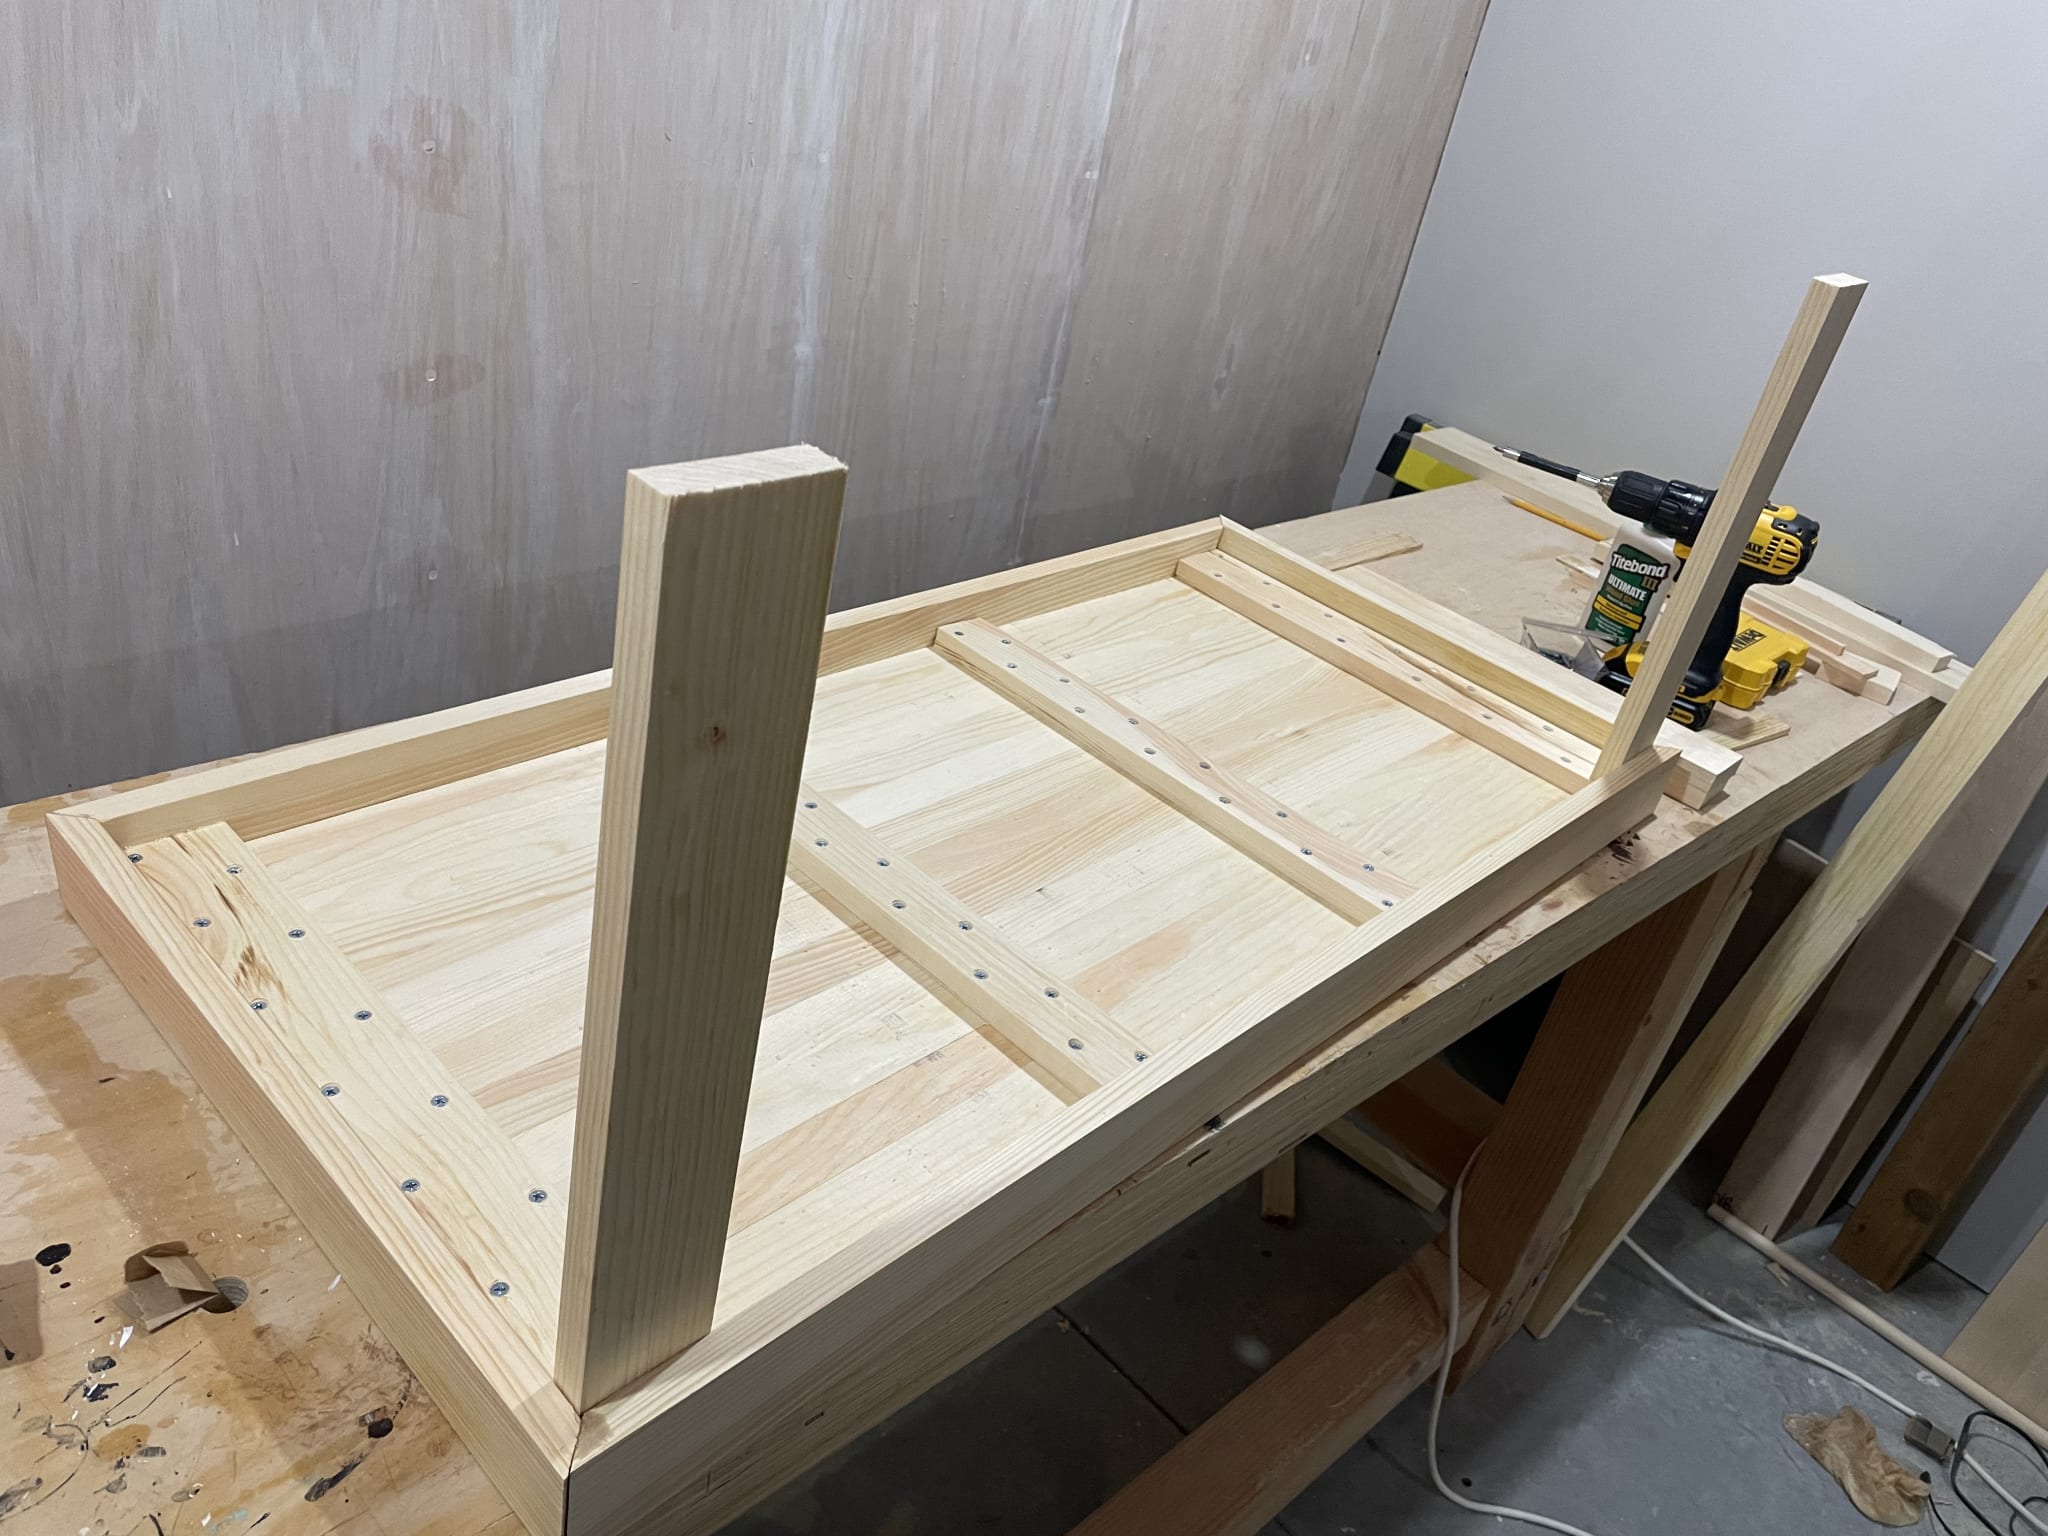
After a quick second-opinion consultation with Natallia, it was clear that the legs would need to be double thickness. This means cutting four more leg pieces and gluing them together. However, this has an added bonus of making the bottom level support pieces more fun to attach. I will use my table saw to dado cut and remove the material for the halflap joint from both the legs and the lower level support pieces.
The Lower Level
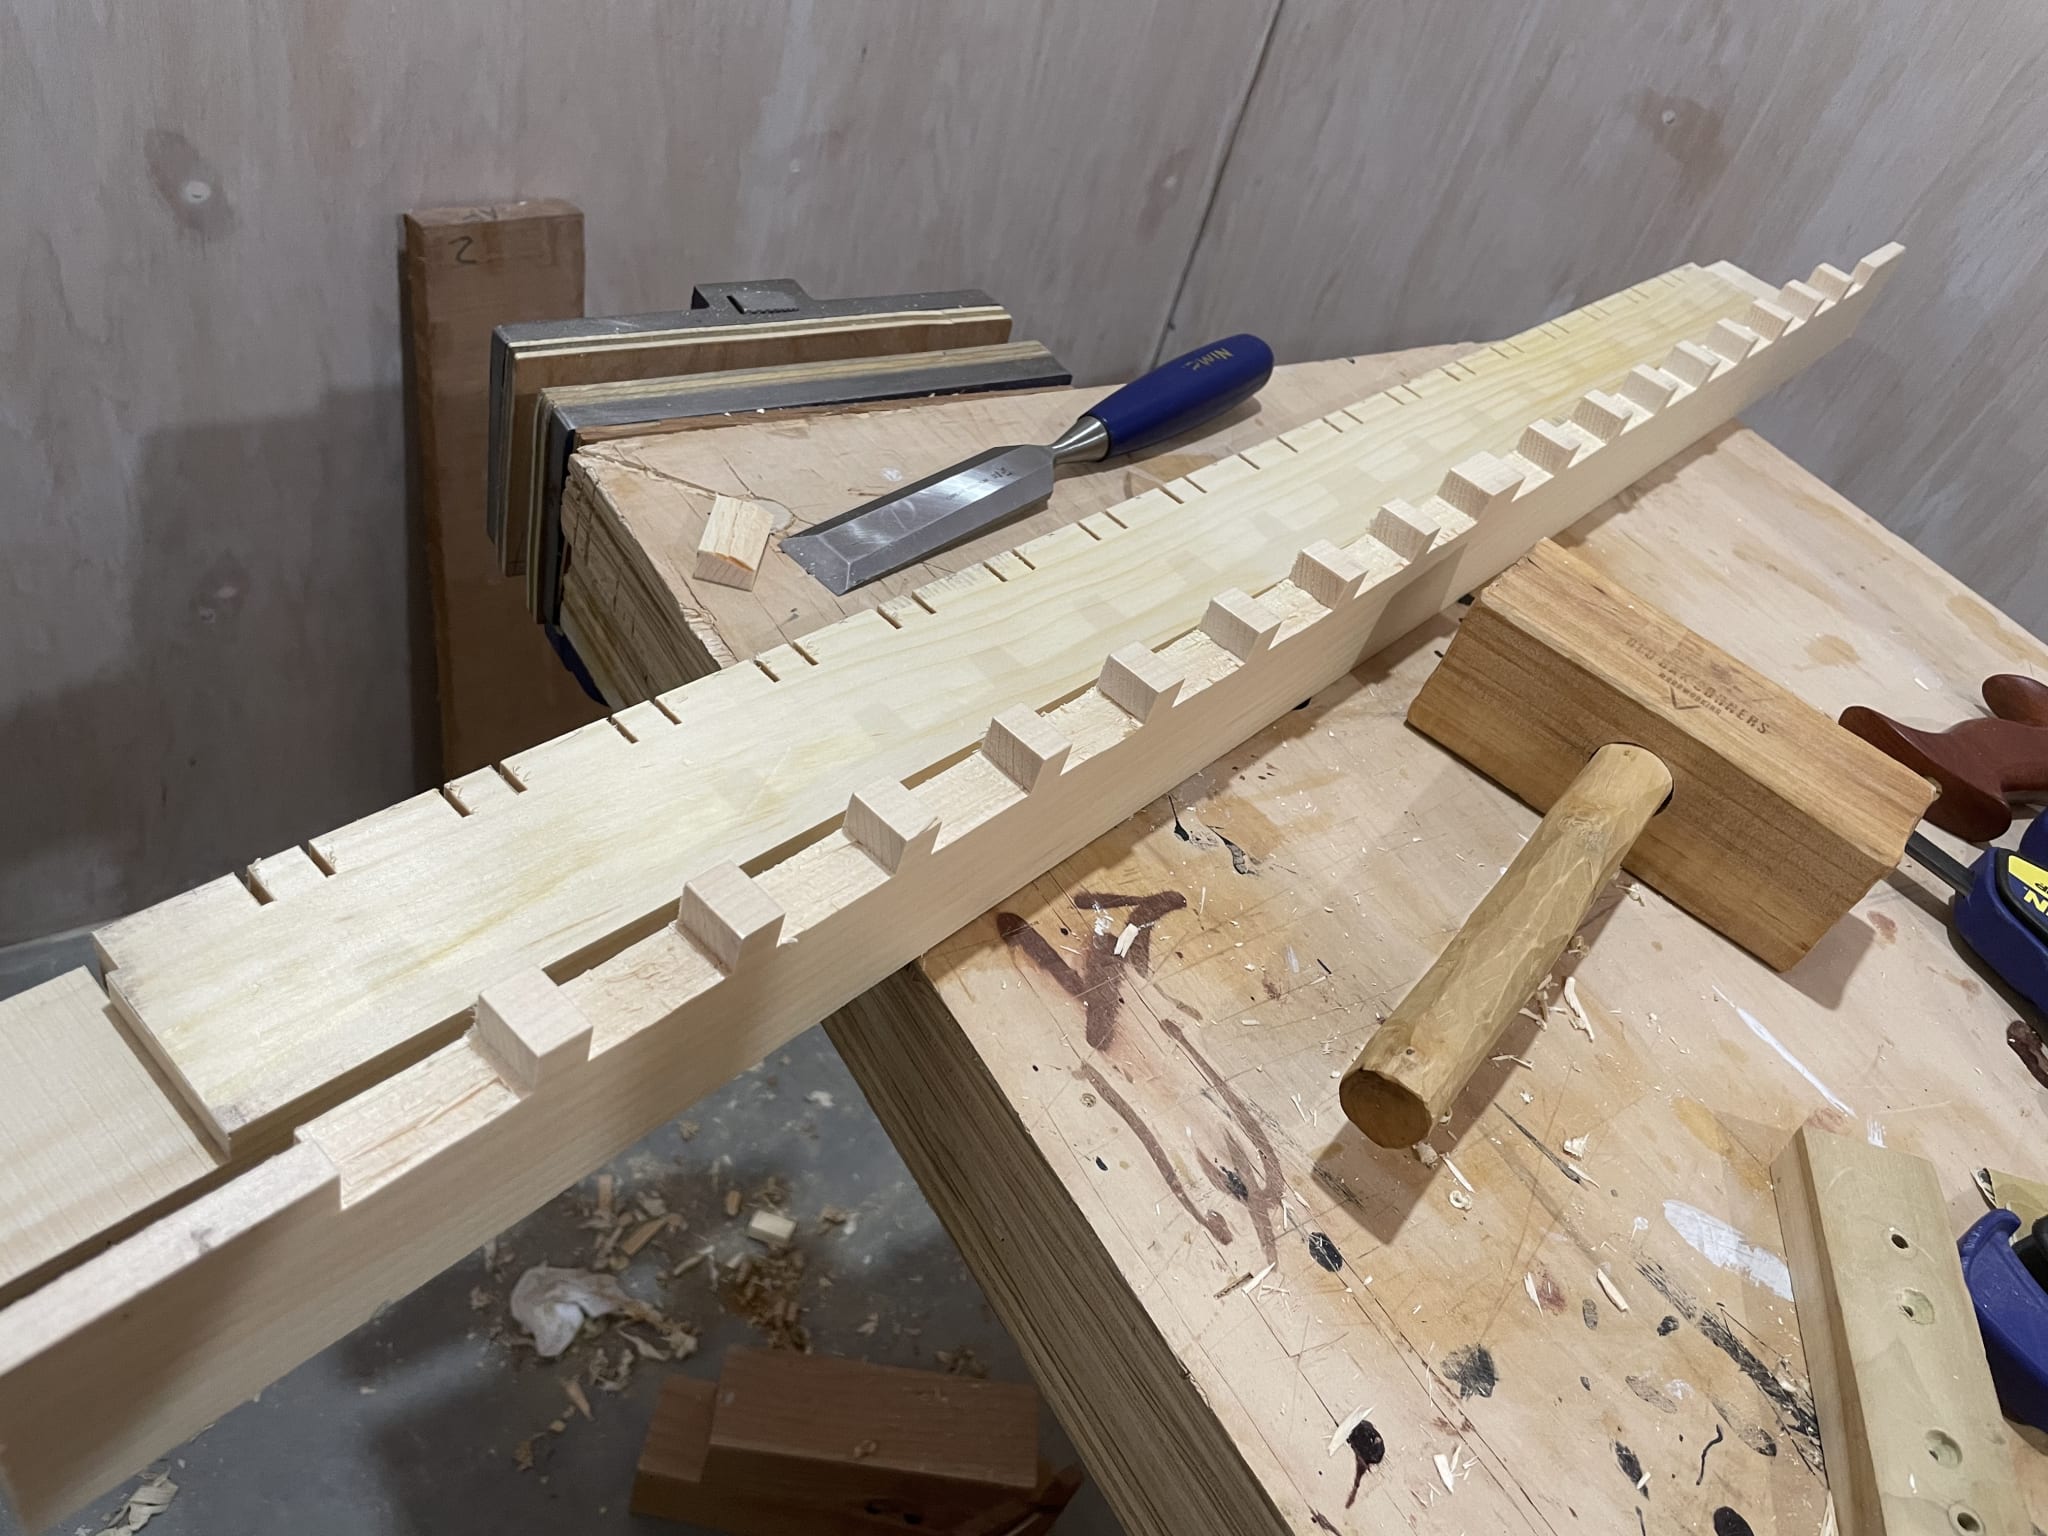
Next step was yet another trial assembly to make sure everything would fit okay before I continued.
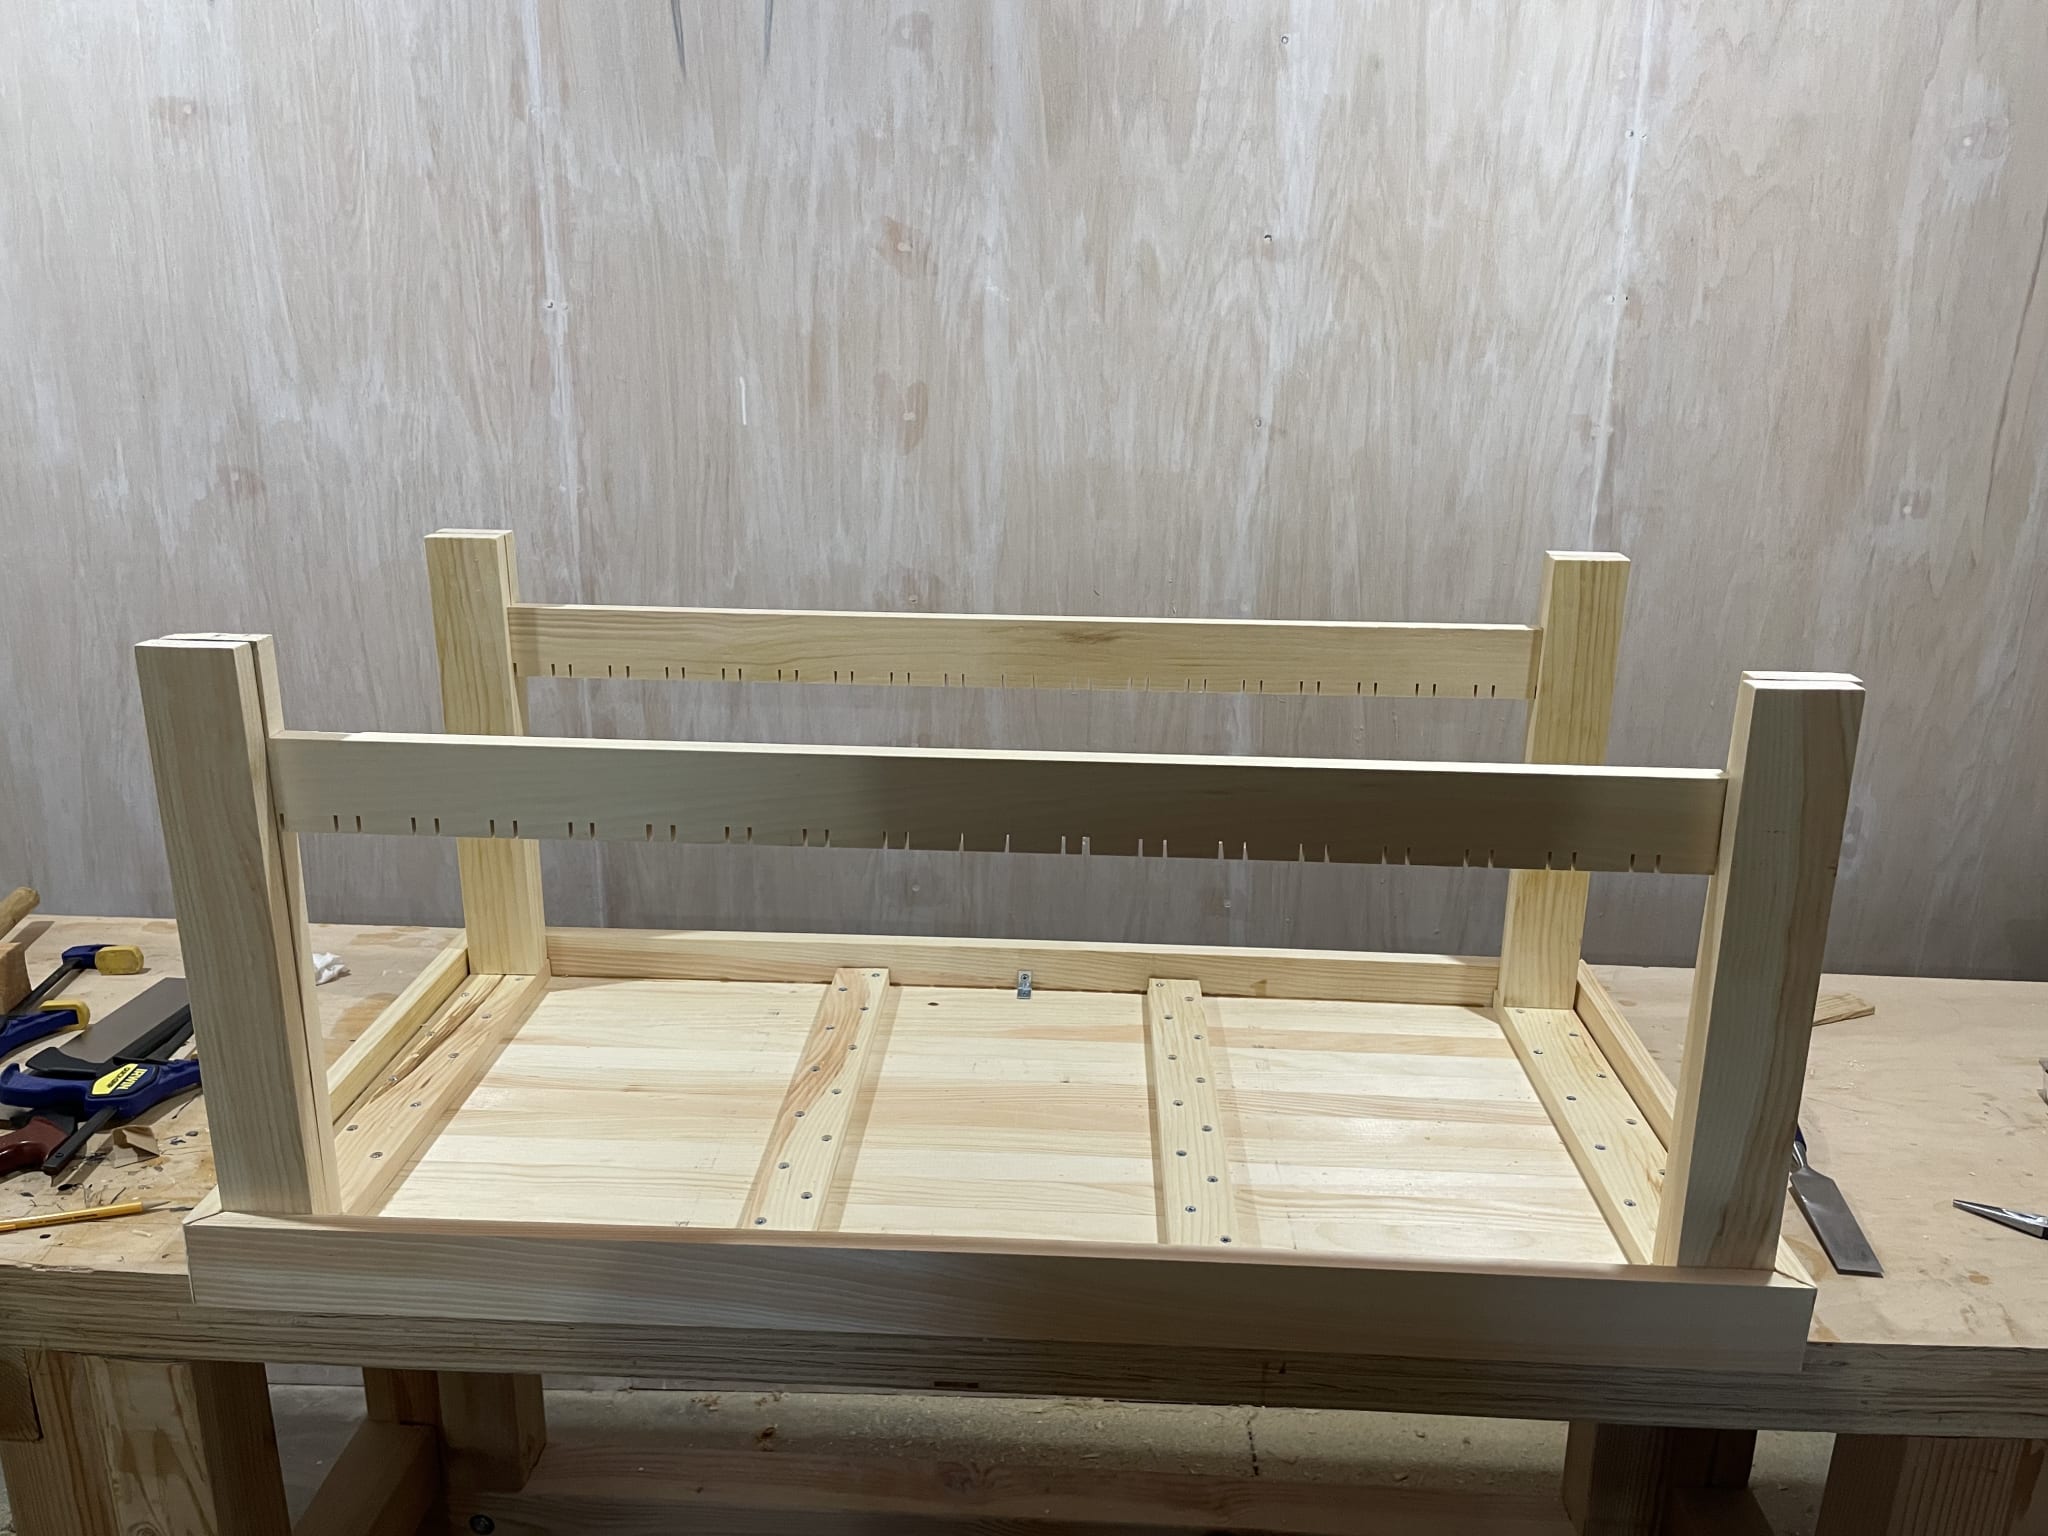
I used my table saw to cut something like 40 cuts in each support for the 18 lower level strips to sit on. I decided to let the lower level surface sit above the support boards by about 1/4 inch to give it some more interest to look at. After I cut the supports, I used a chisel to pop out the excess.
Now it was time to glue it all together. Unfortunately I don't quite have enough clamps to do both legs at once.
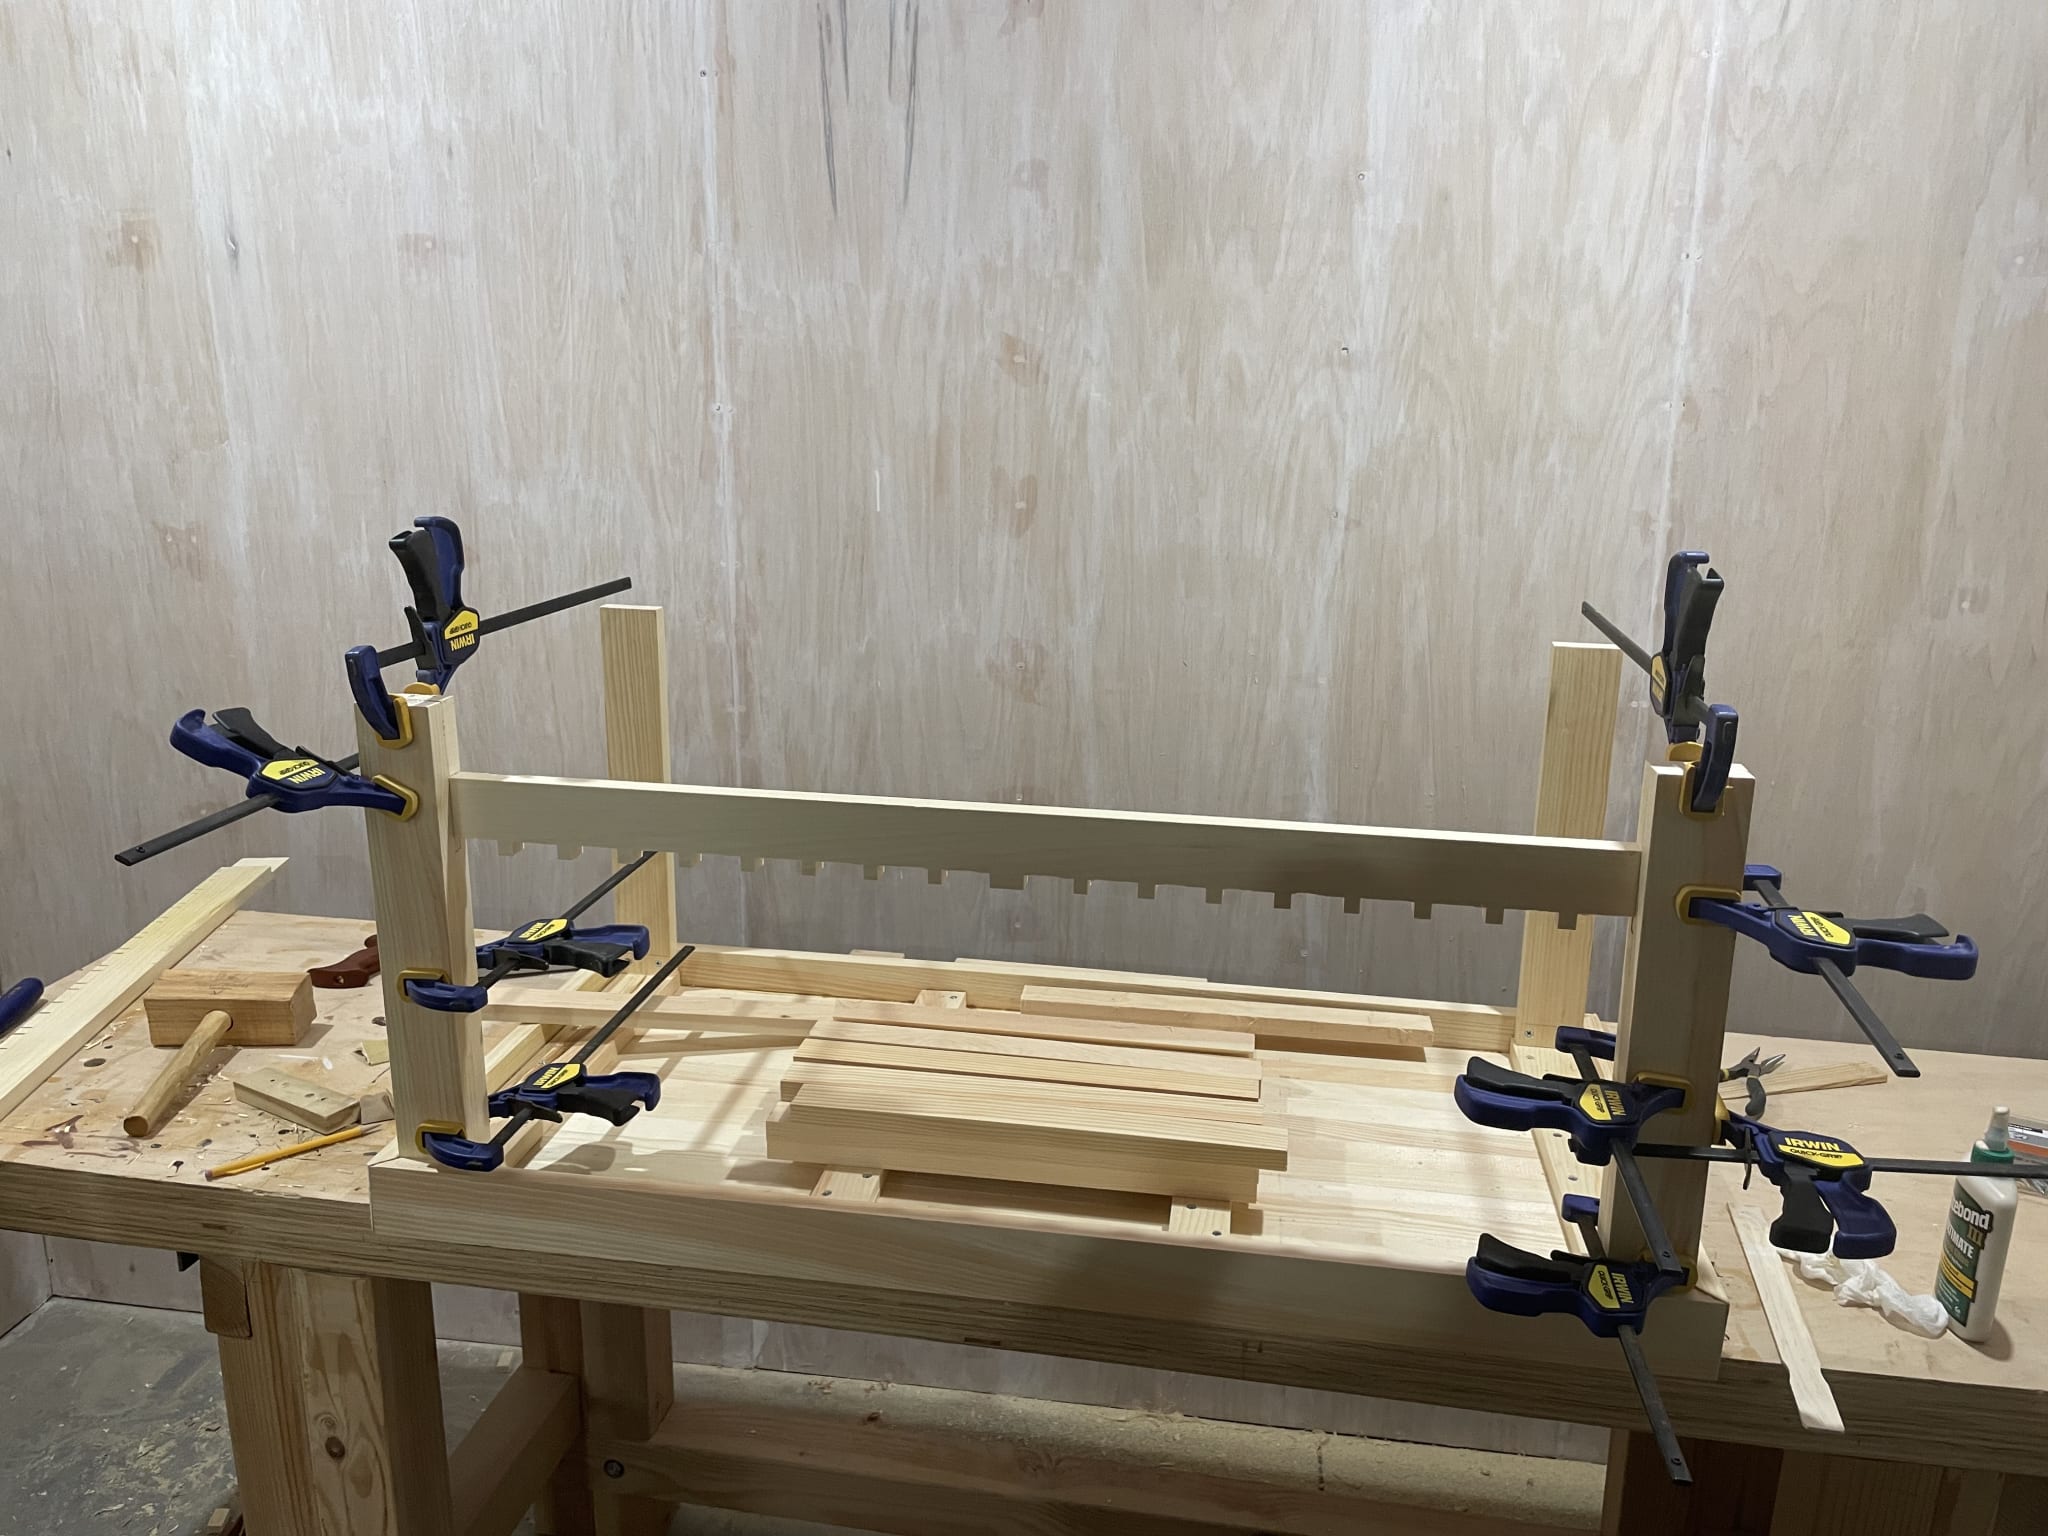
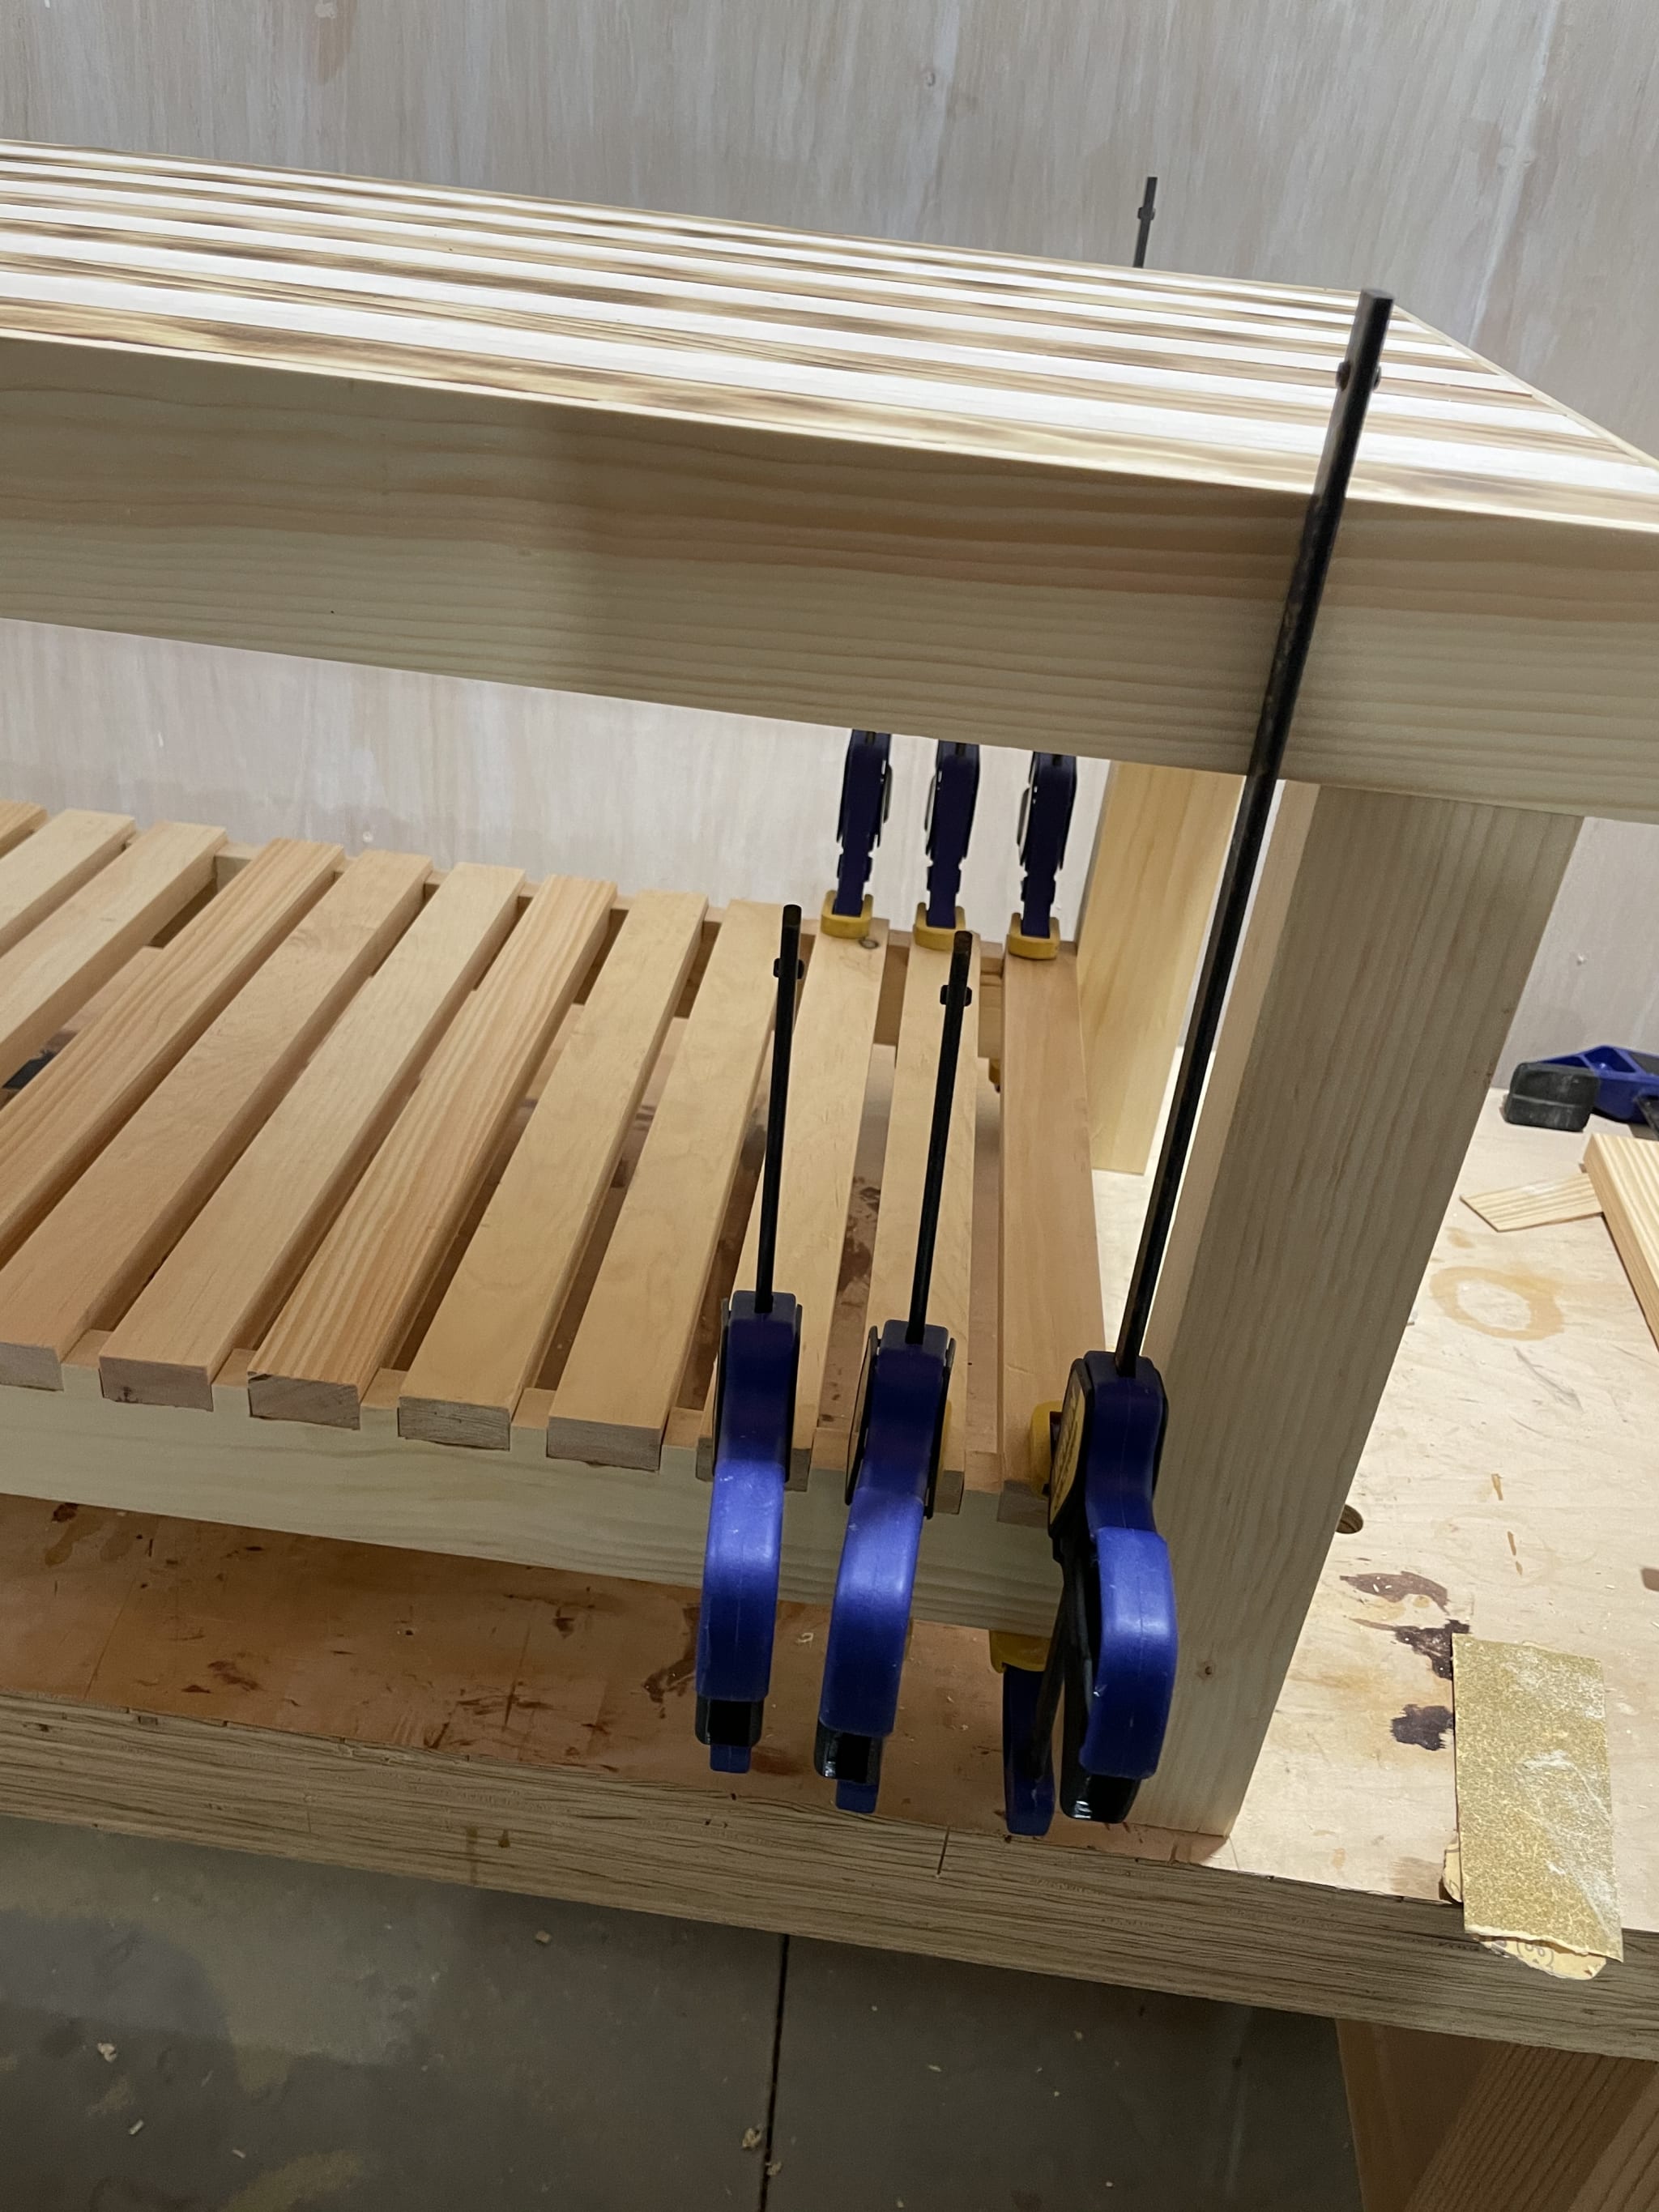
After both supports and legs are fully glued and set I started gluing in the final parts of the lower level.
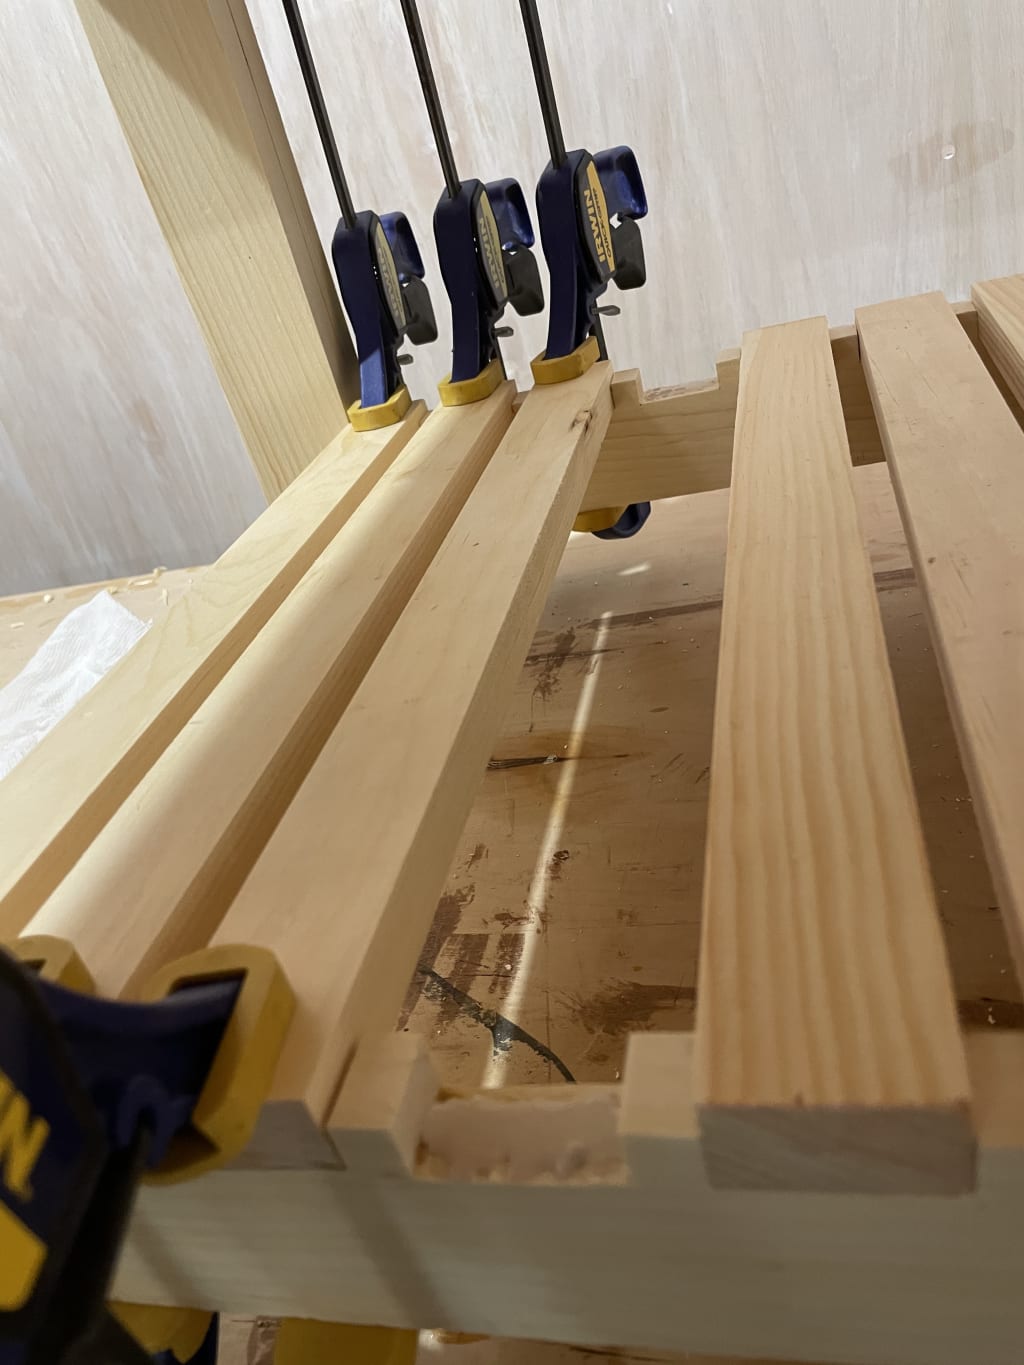
I only have enough clamps to glue five strips at a time, but we got there eventually.
After the glue was finally set for all the strips on the lower level It was time to move on to the finishing touches. Toasting, stars, sanding, and clear coating.
Finishing
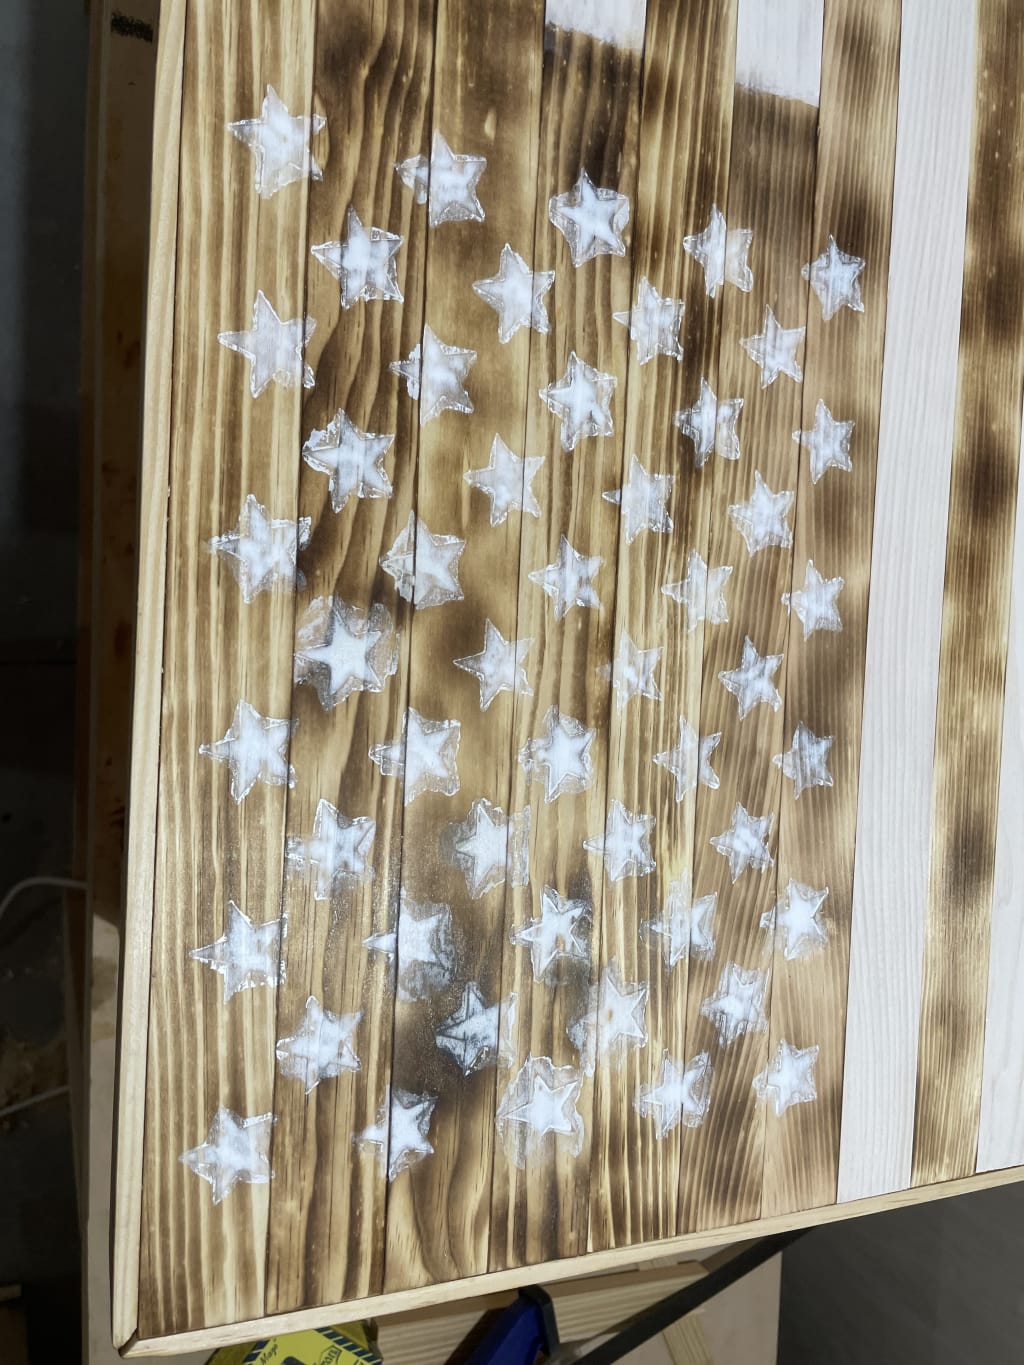
I painted the stars on by using a plastic template Natallia found online, and using more whitewash.
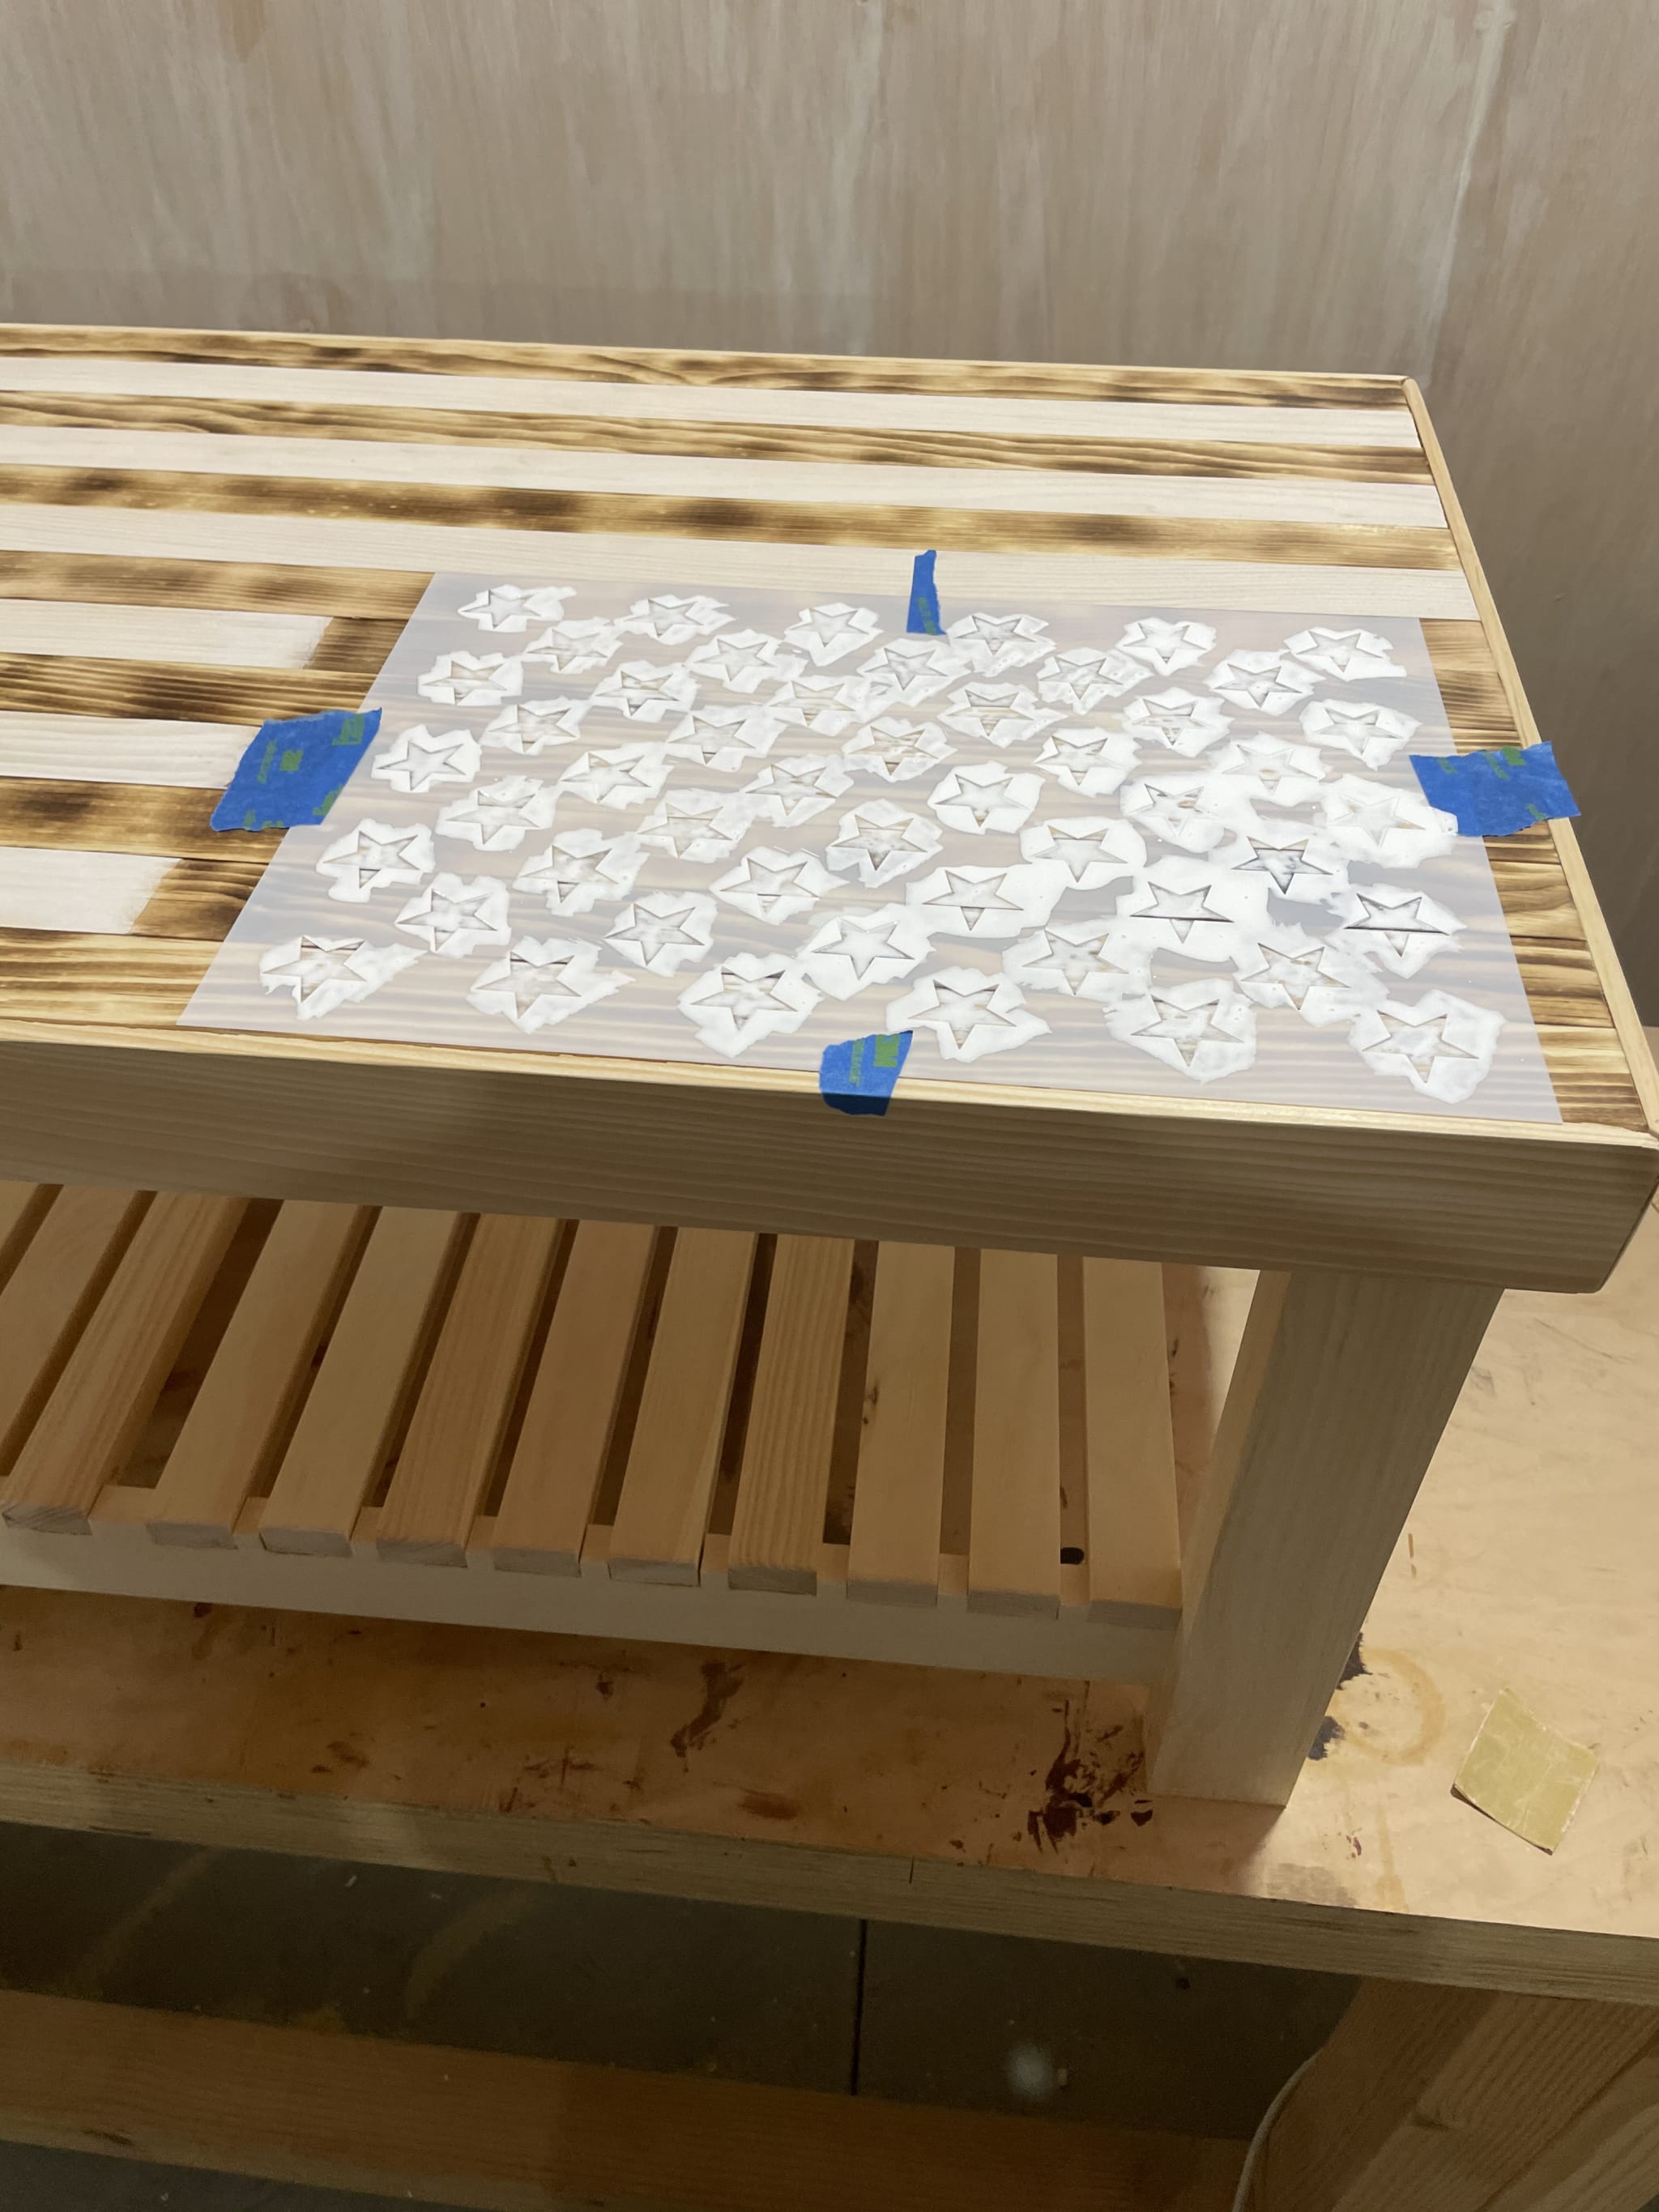
What I didn't realize at the time was that the whitewash spread outwards under the template and left bloby spots around most of the stars.
I tried using card scrapers and a variety of sand paper to remove as much as I could. This stuff was on there pretty good. I took the hit and moved on. Sand it nice and smooth, making sure to round the corners just a little. I have a lot of toasting to do. Time to open the windows, I'm going to make some smoke.
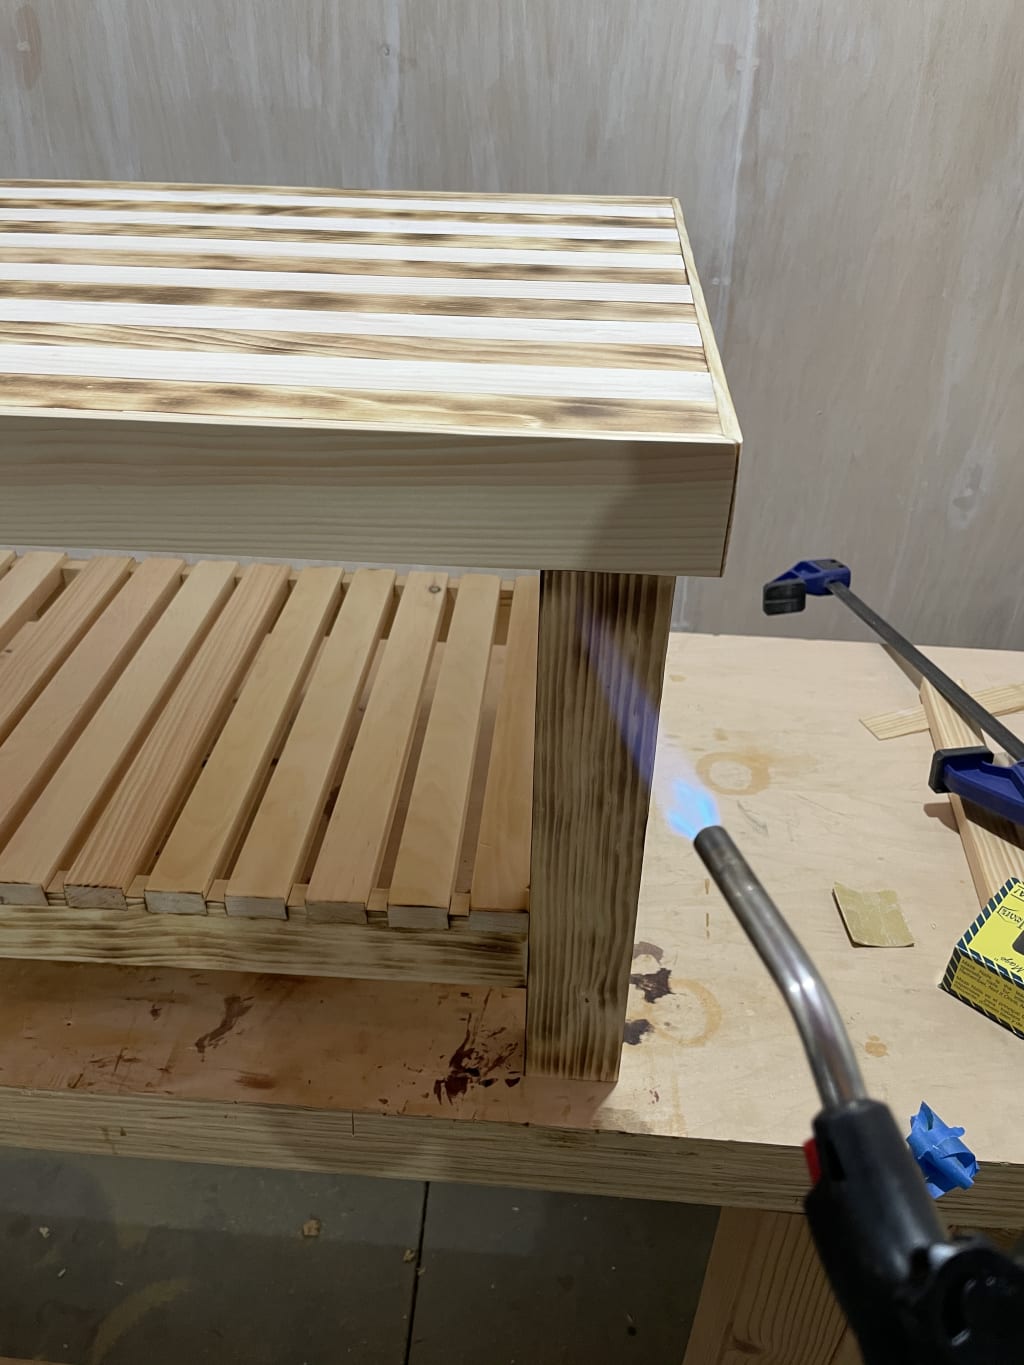
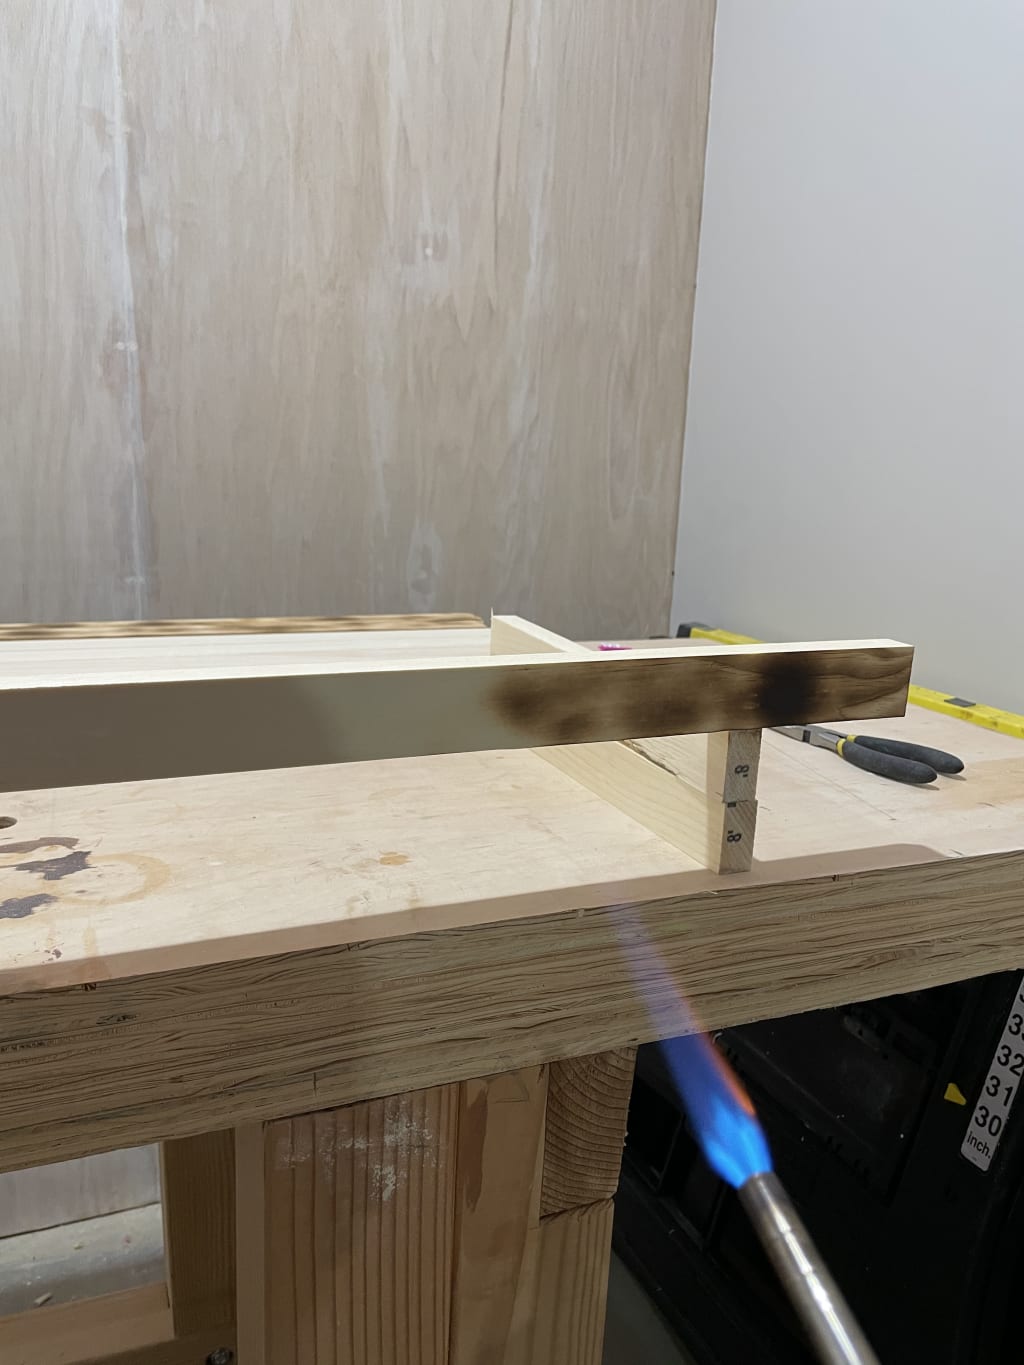
My little propane tank does not do well if you tilt it so I had to get creative to get everything nicely toasted.

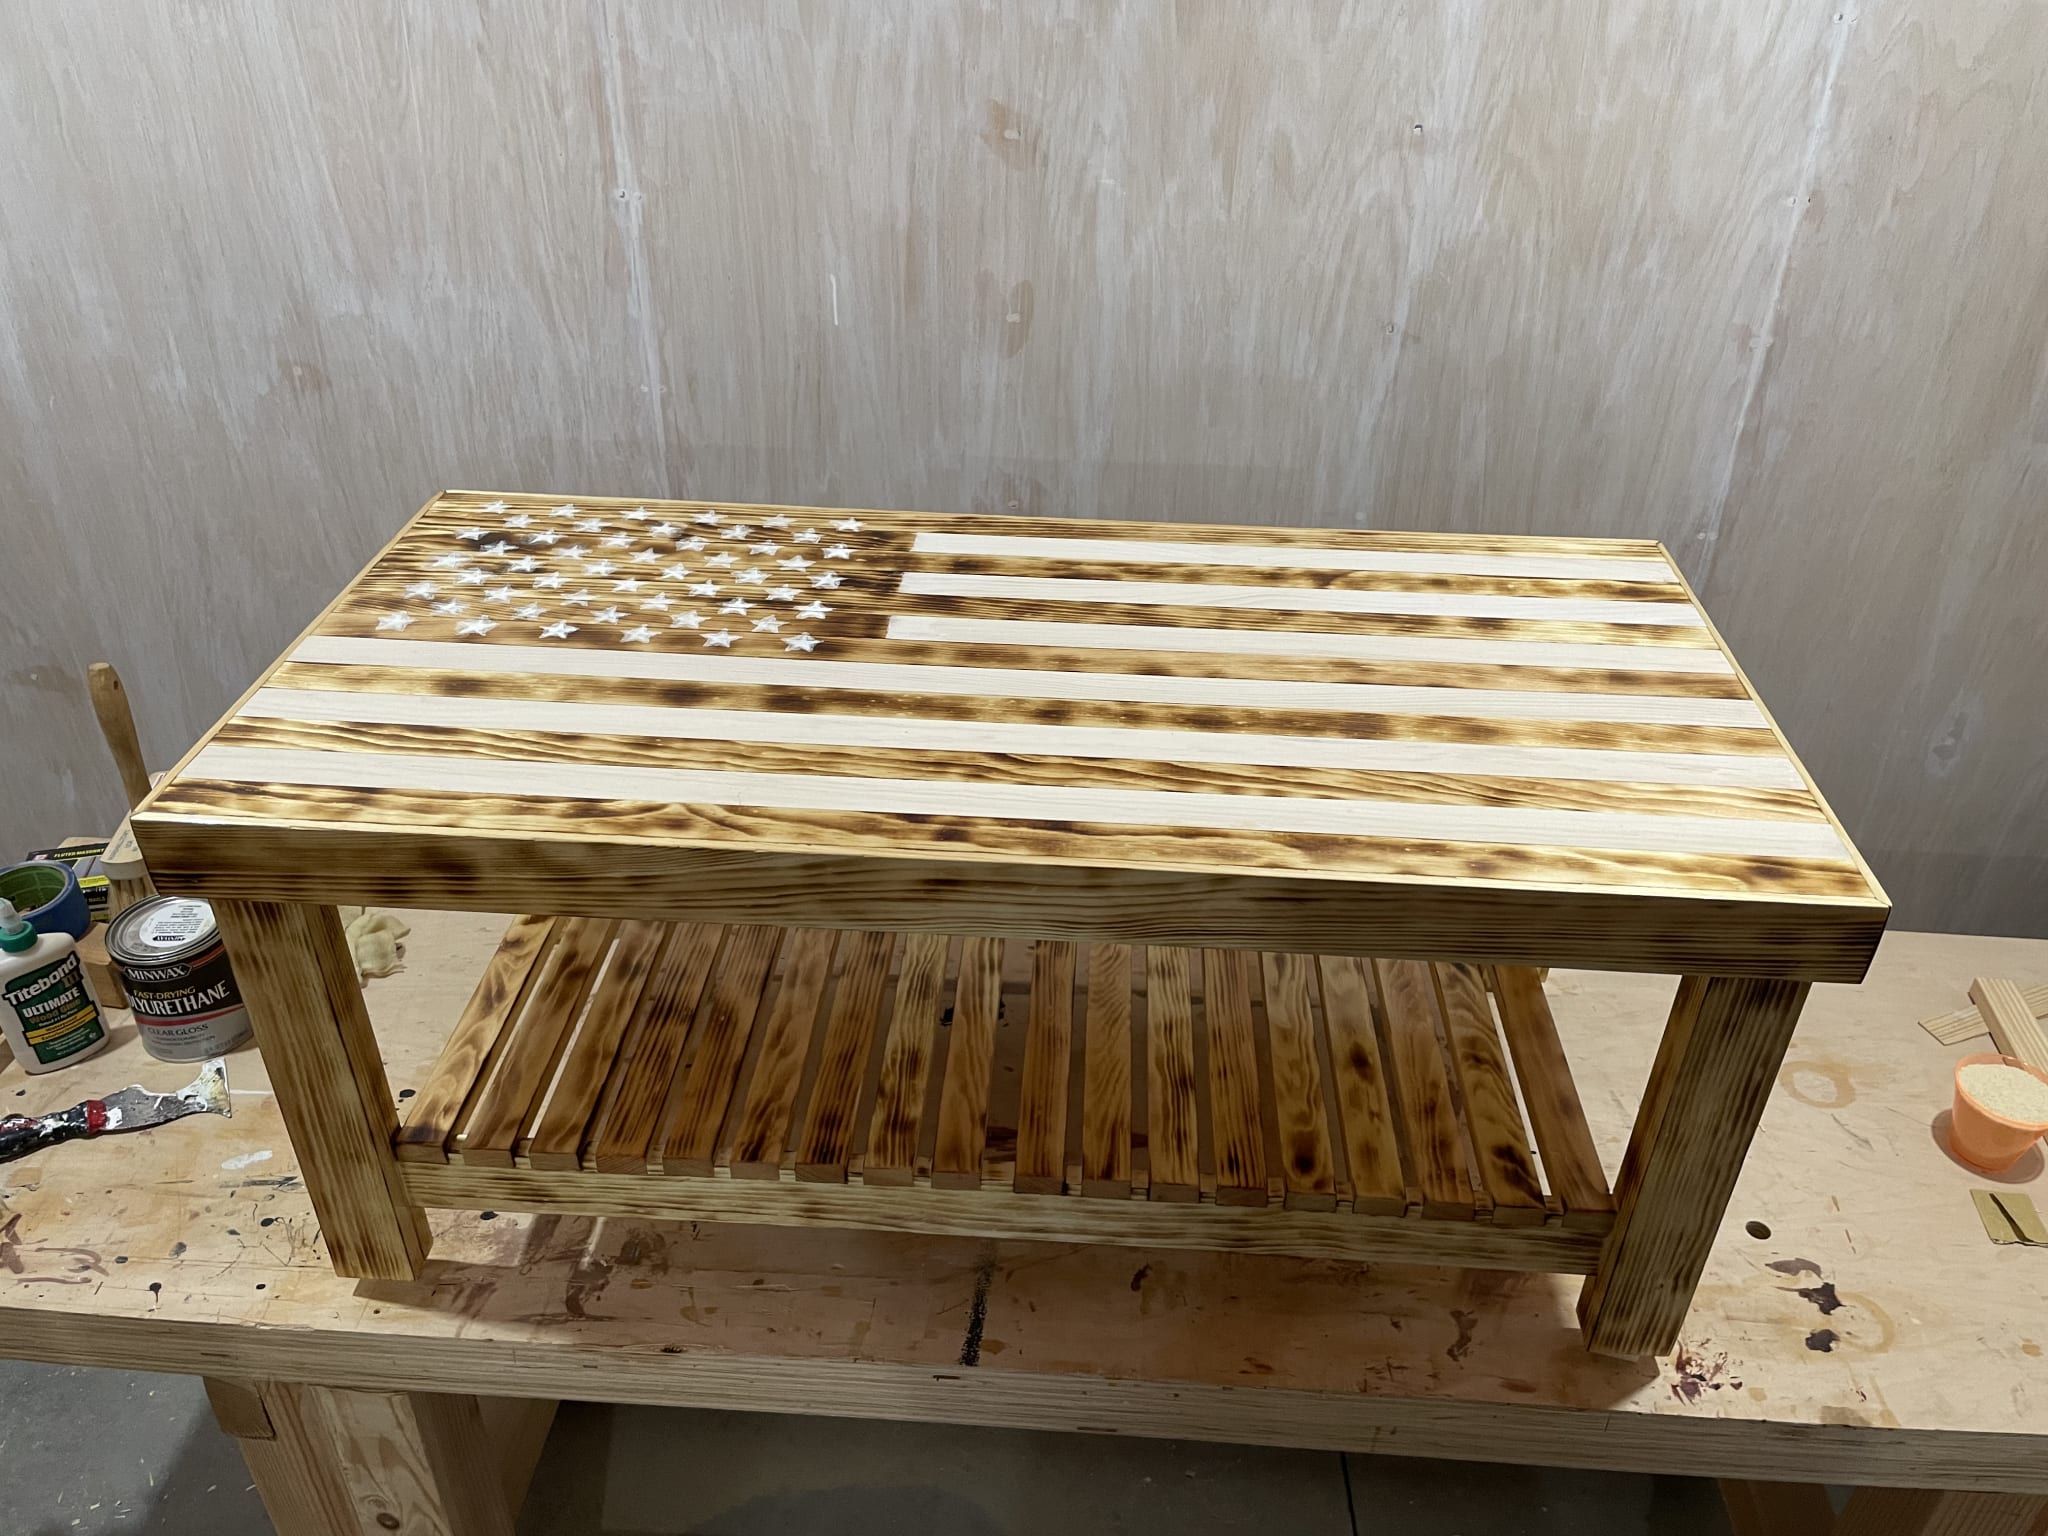
Finally we are on to the last steps. Then three coats of polyurethane, with a light sanding between coats.
Ok so that's one done and we are now on to December 9th. I need to keep moving to make a second one.
The Second One
I learned a few things from building the first table that I wanted to take into account with the next one. First, I didn't like how the router caused some tearout when removing material for the skirt to connect to the table surface. I decided to use the table saw for all of the material removal. Second, there was an awkwardly wide gap in the middle of the bottom shelf due to spacing. I decided to move the outer slats in by 1/8th of an inch to try to shrink it down.
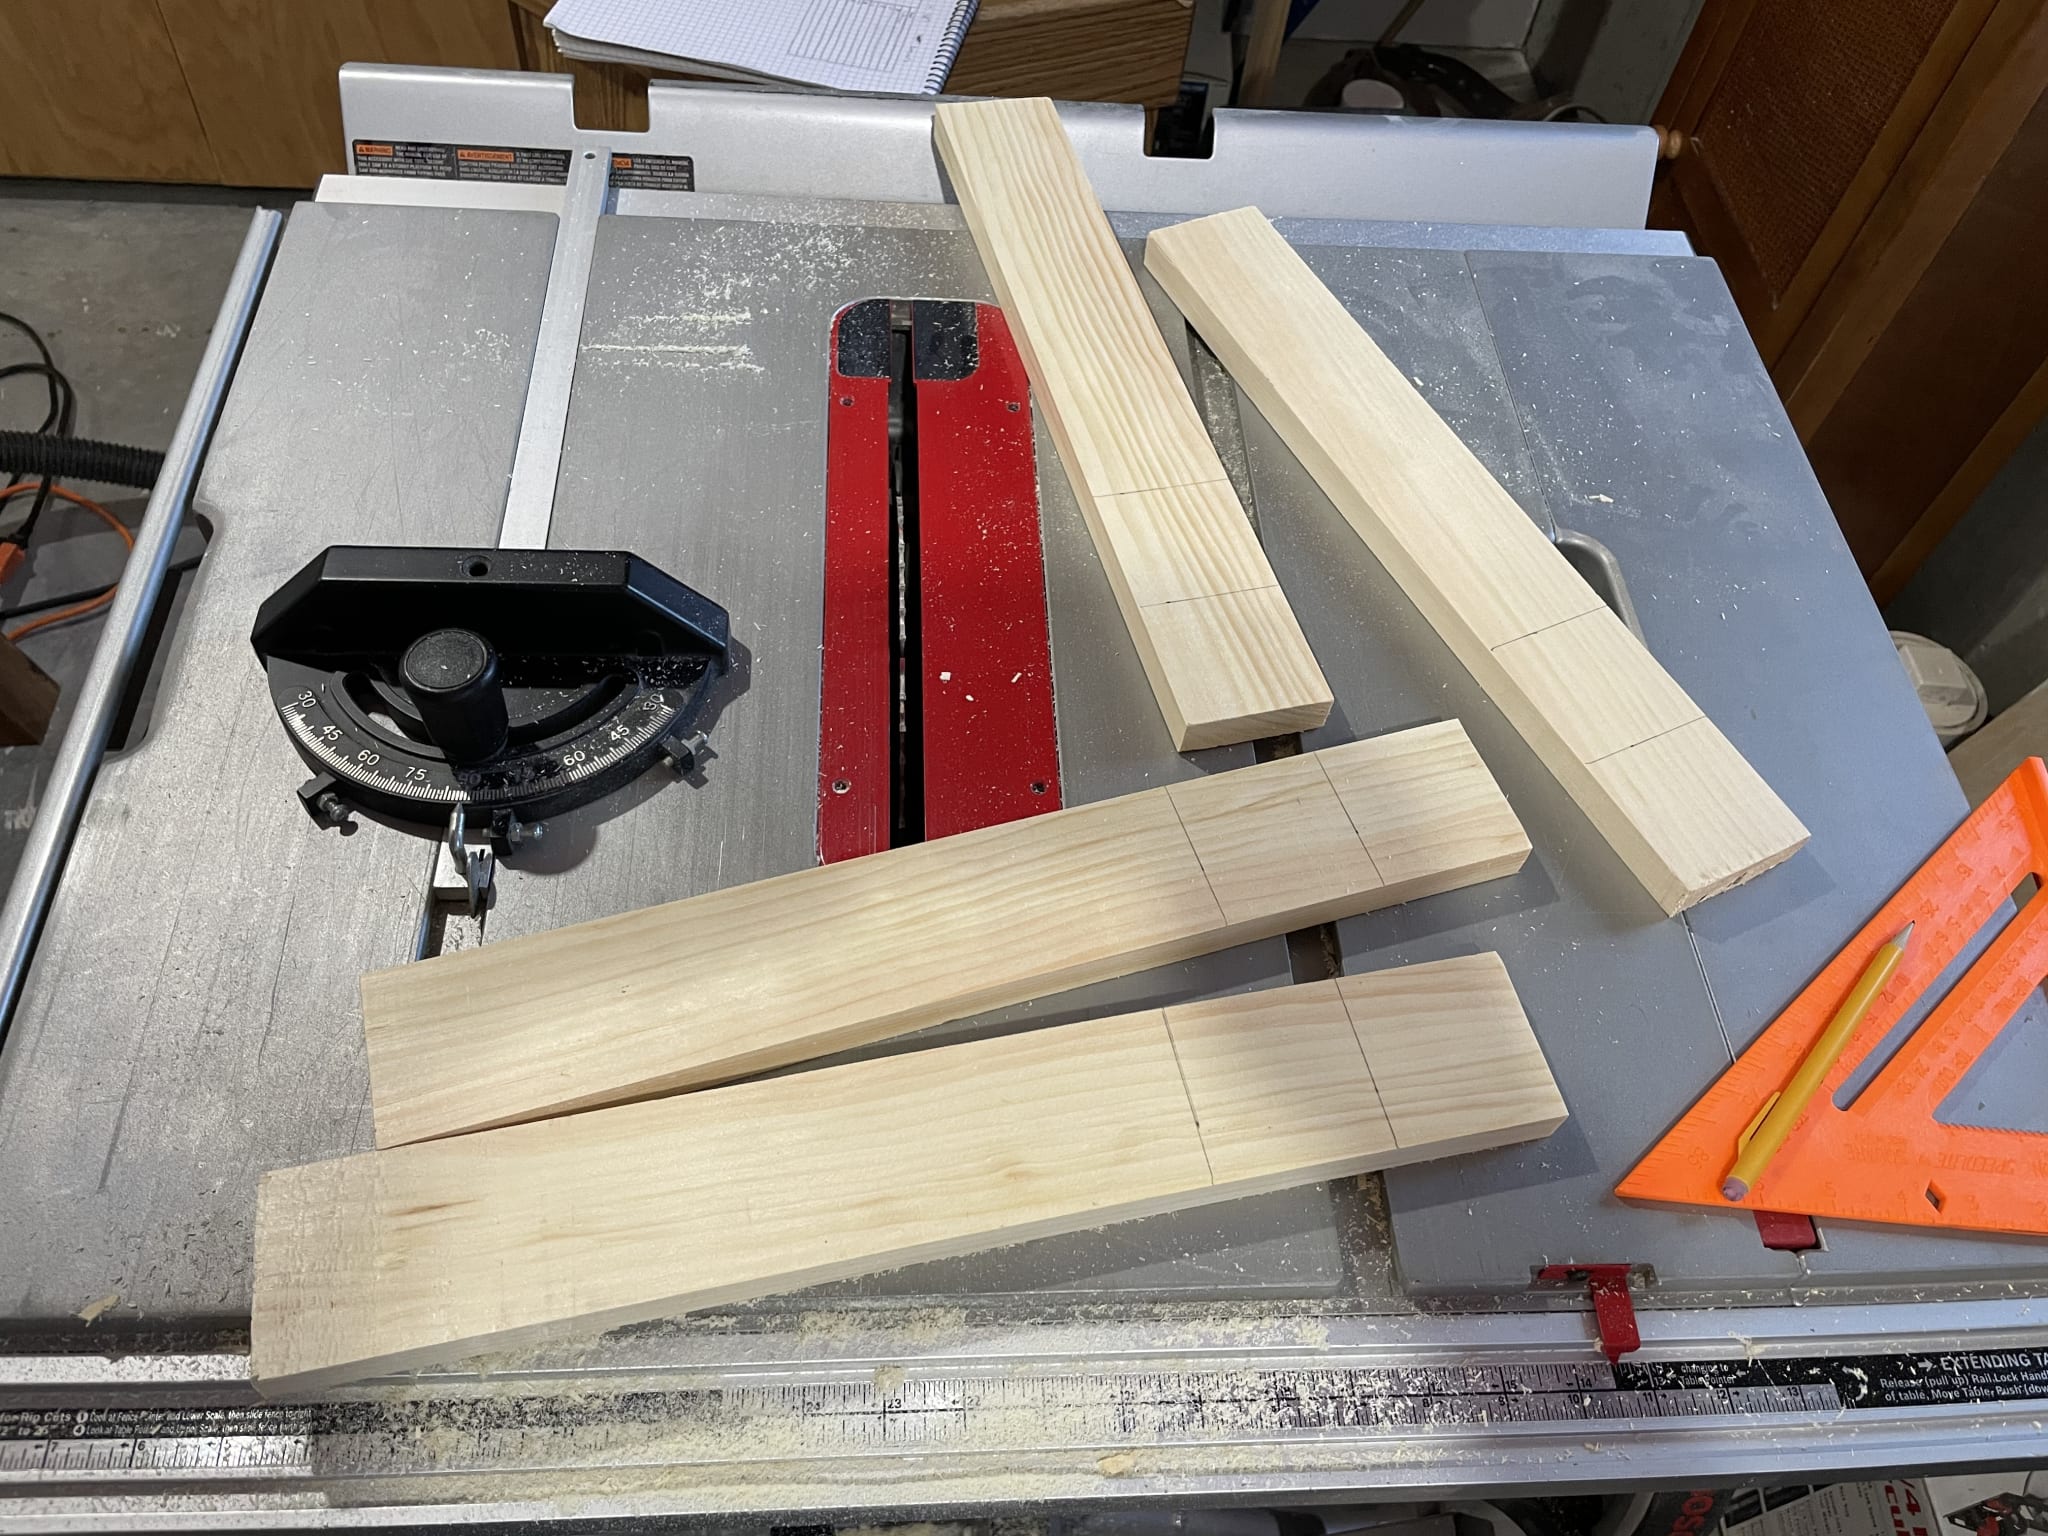
When I went back to Lowes to get more lumber they were all out of the 1.5 inch wide boards! Not to be deterred I grabbed some of the 4 inch stock. All I have to do now is rip it down to size with my table saw. I'd be able to get two boards from one, with a little sliver left over.
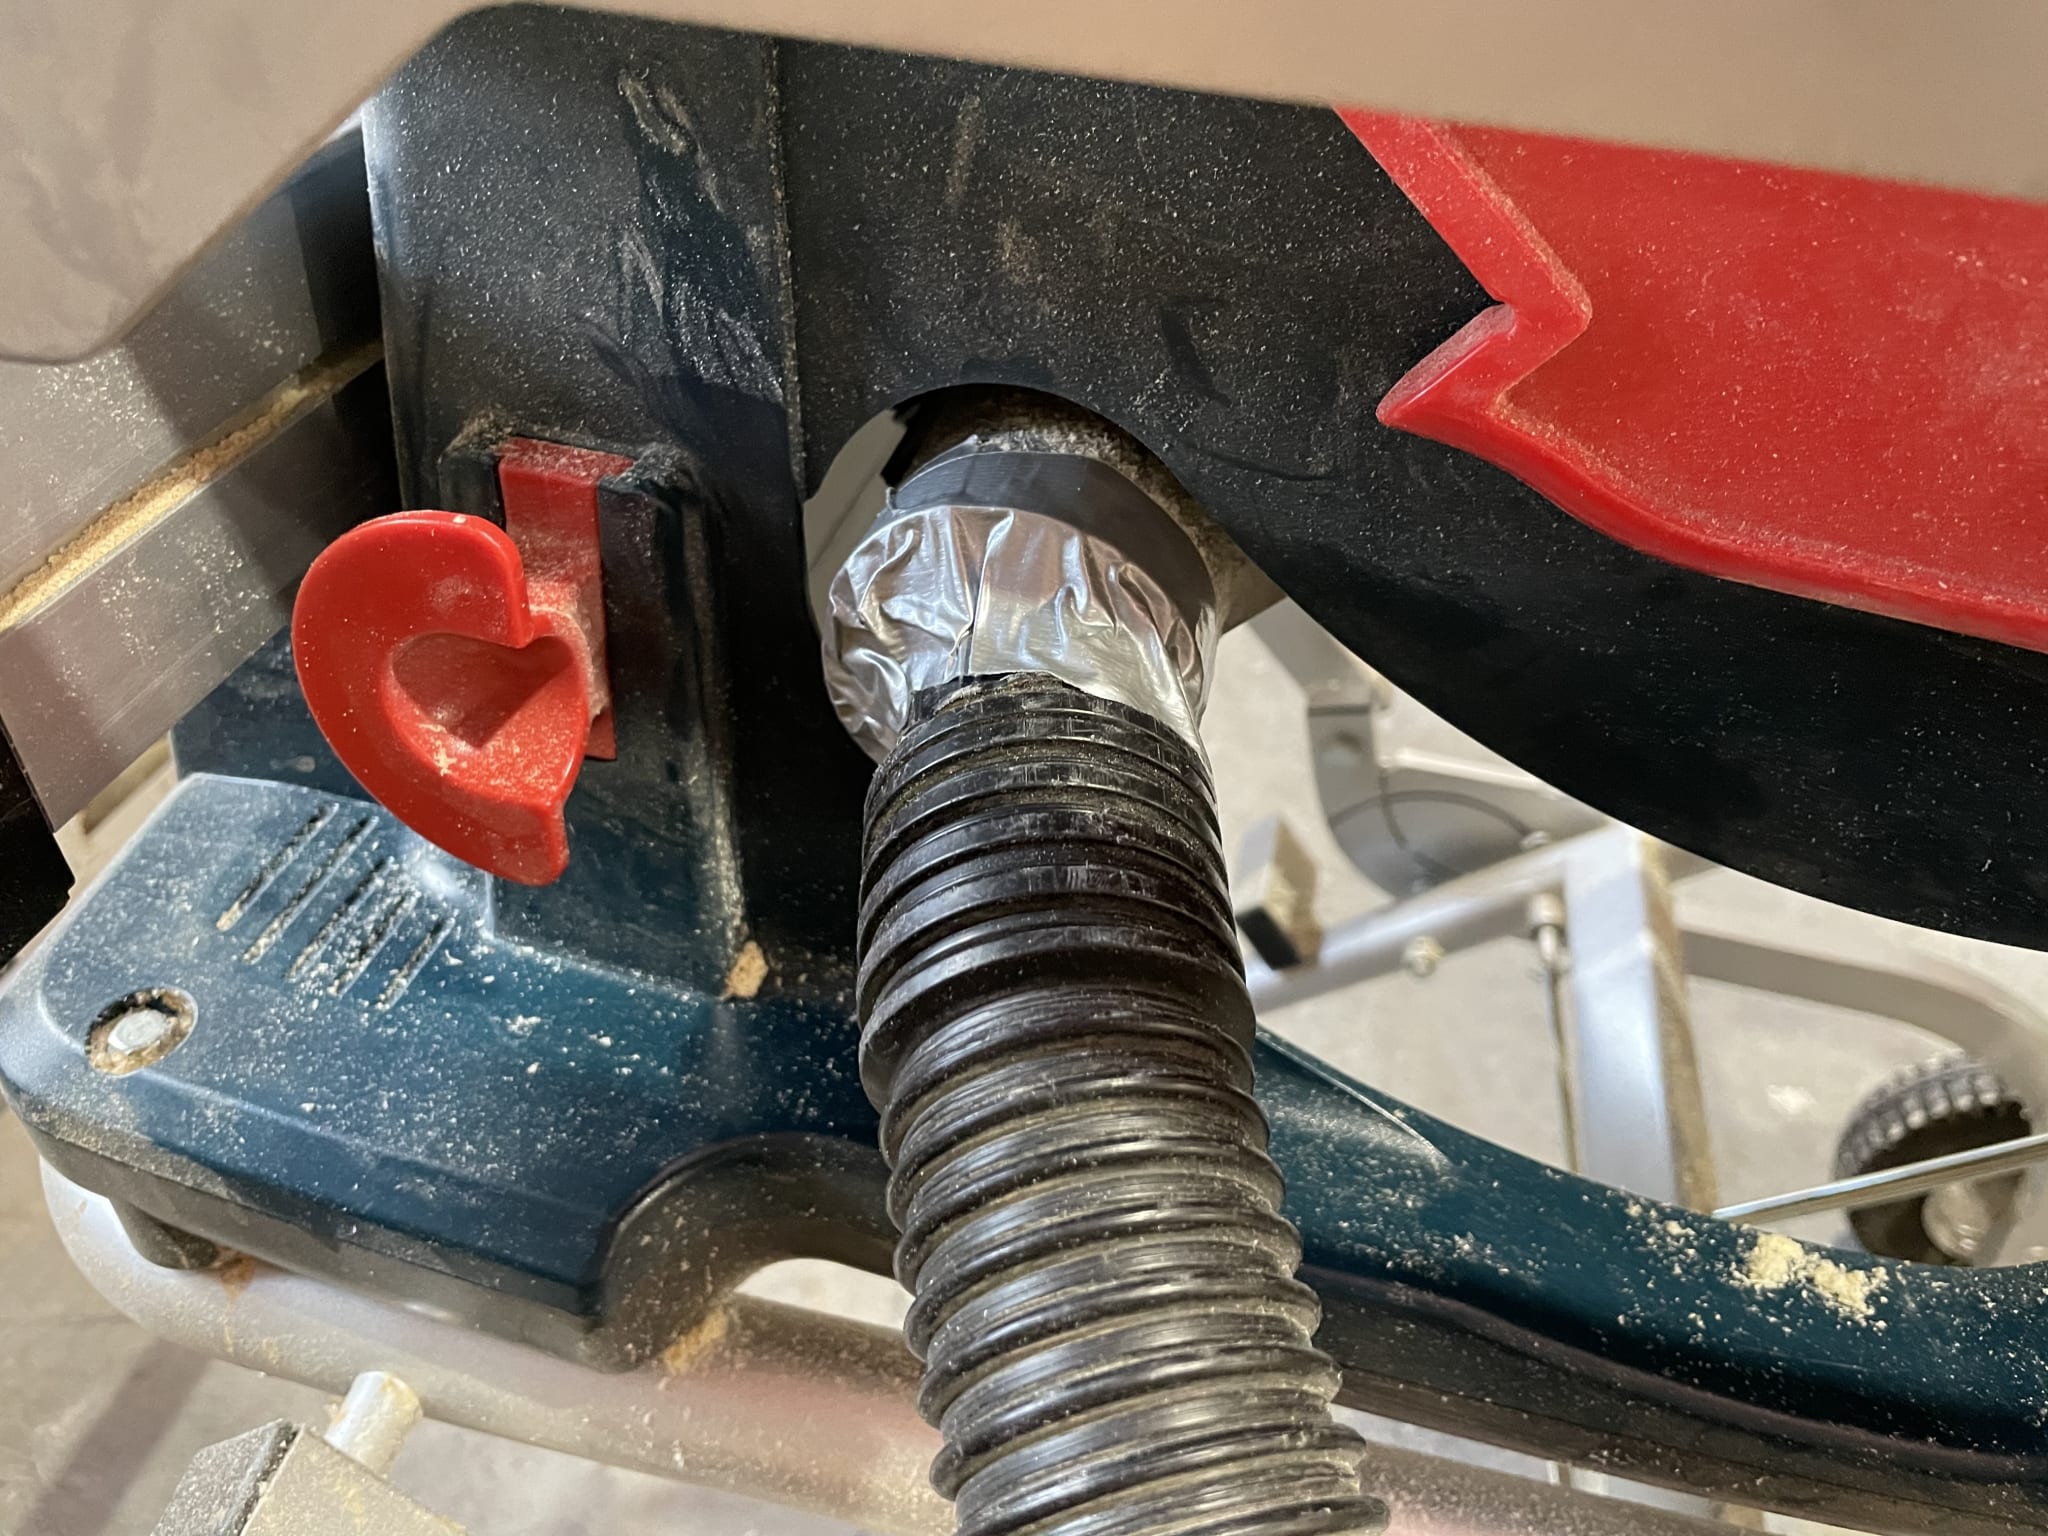
Who needs adapters? Duct tape to the rescue to help pull wood dust out of my saw and into my vacuum.
As a side note, I really wish I could buy a new dust mask. Since COVID started, these things are impossible to find. Anyway, since I had just built one table I knew exactly what I would need to build another so I cut all the boards ahead of time.
Well, almost. I somehow ended up with three support pieces for under the table surface instead of four. Fortunately I keep a lot of scraps from other projects and found a piece of red oak that would get the job done.
Now that things were coming together, lots more toasting of wood followed. After this next picture was taken I actually put on my respirator. I figured breathing in even the little smoke that this produced wouldn't be precisely good for my lungs.
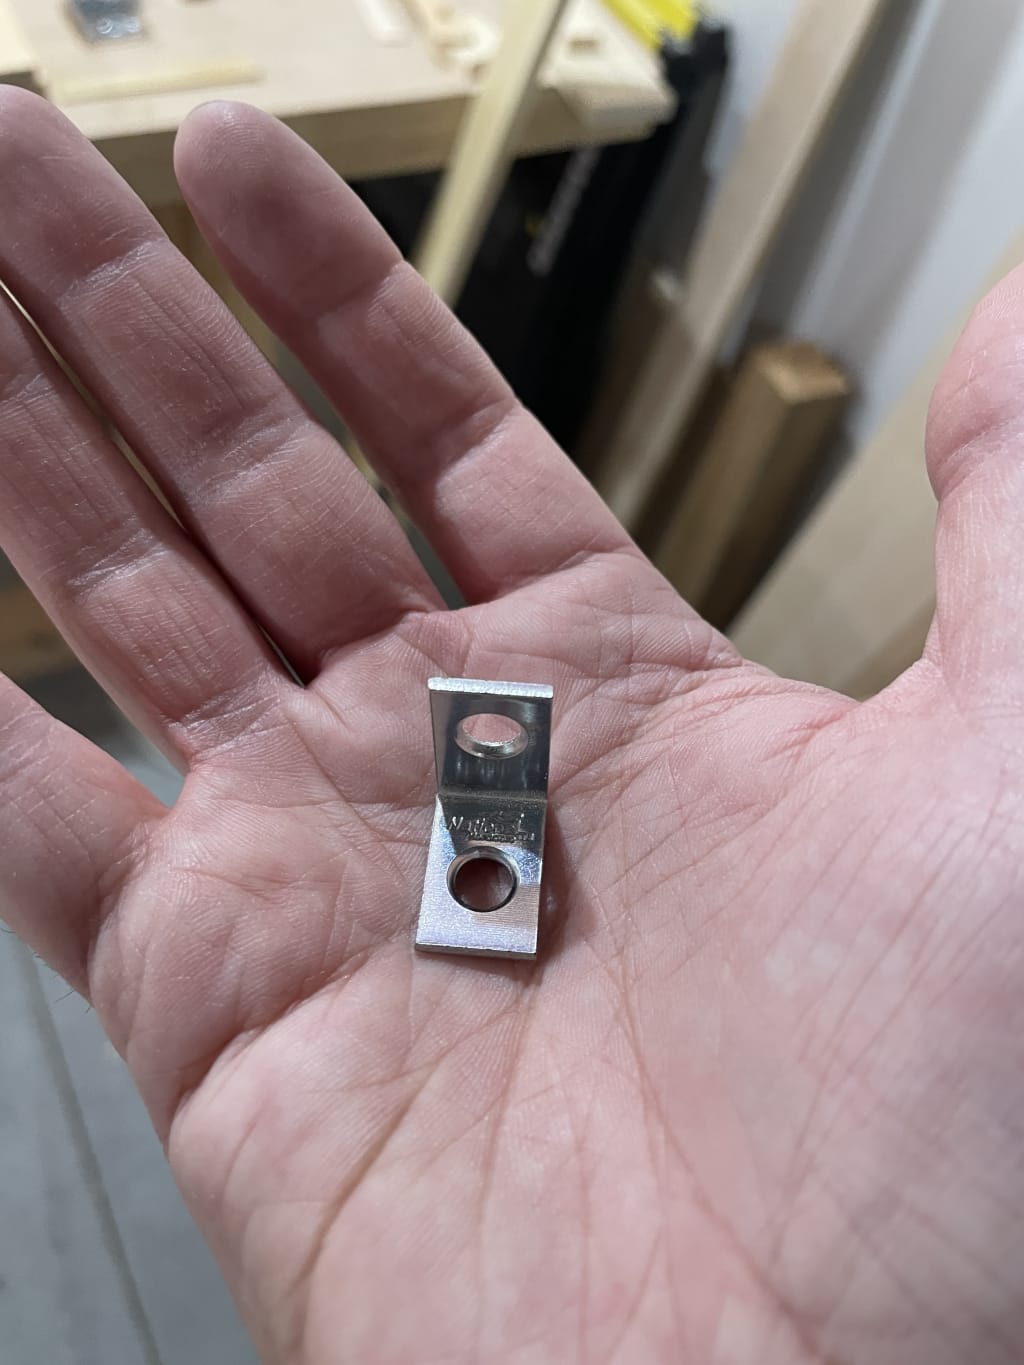
I also added a few corner brackets to really make sure the skirt and table top would be one piece. This table would be lifted by the skirt and I do not want anything to come apart. The glue and everything should hold, these were just extra insurance.
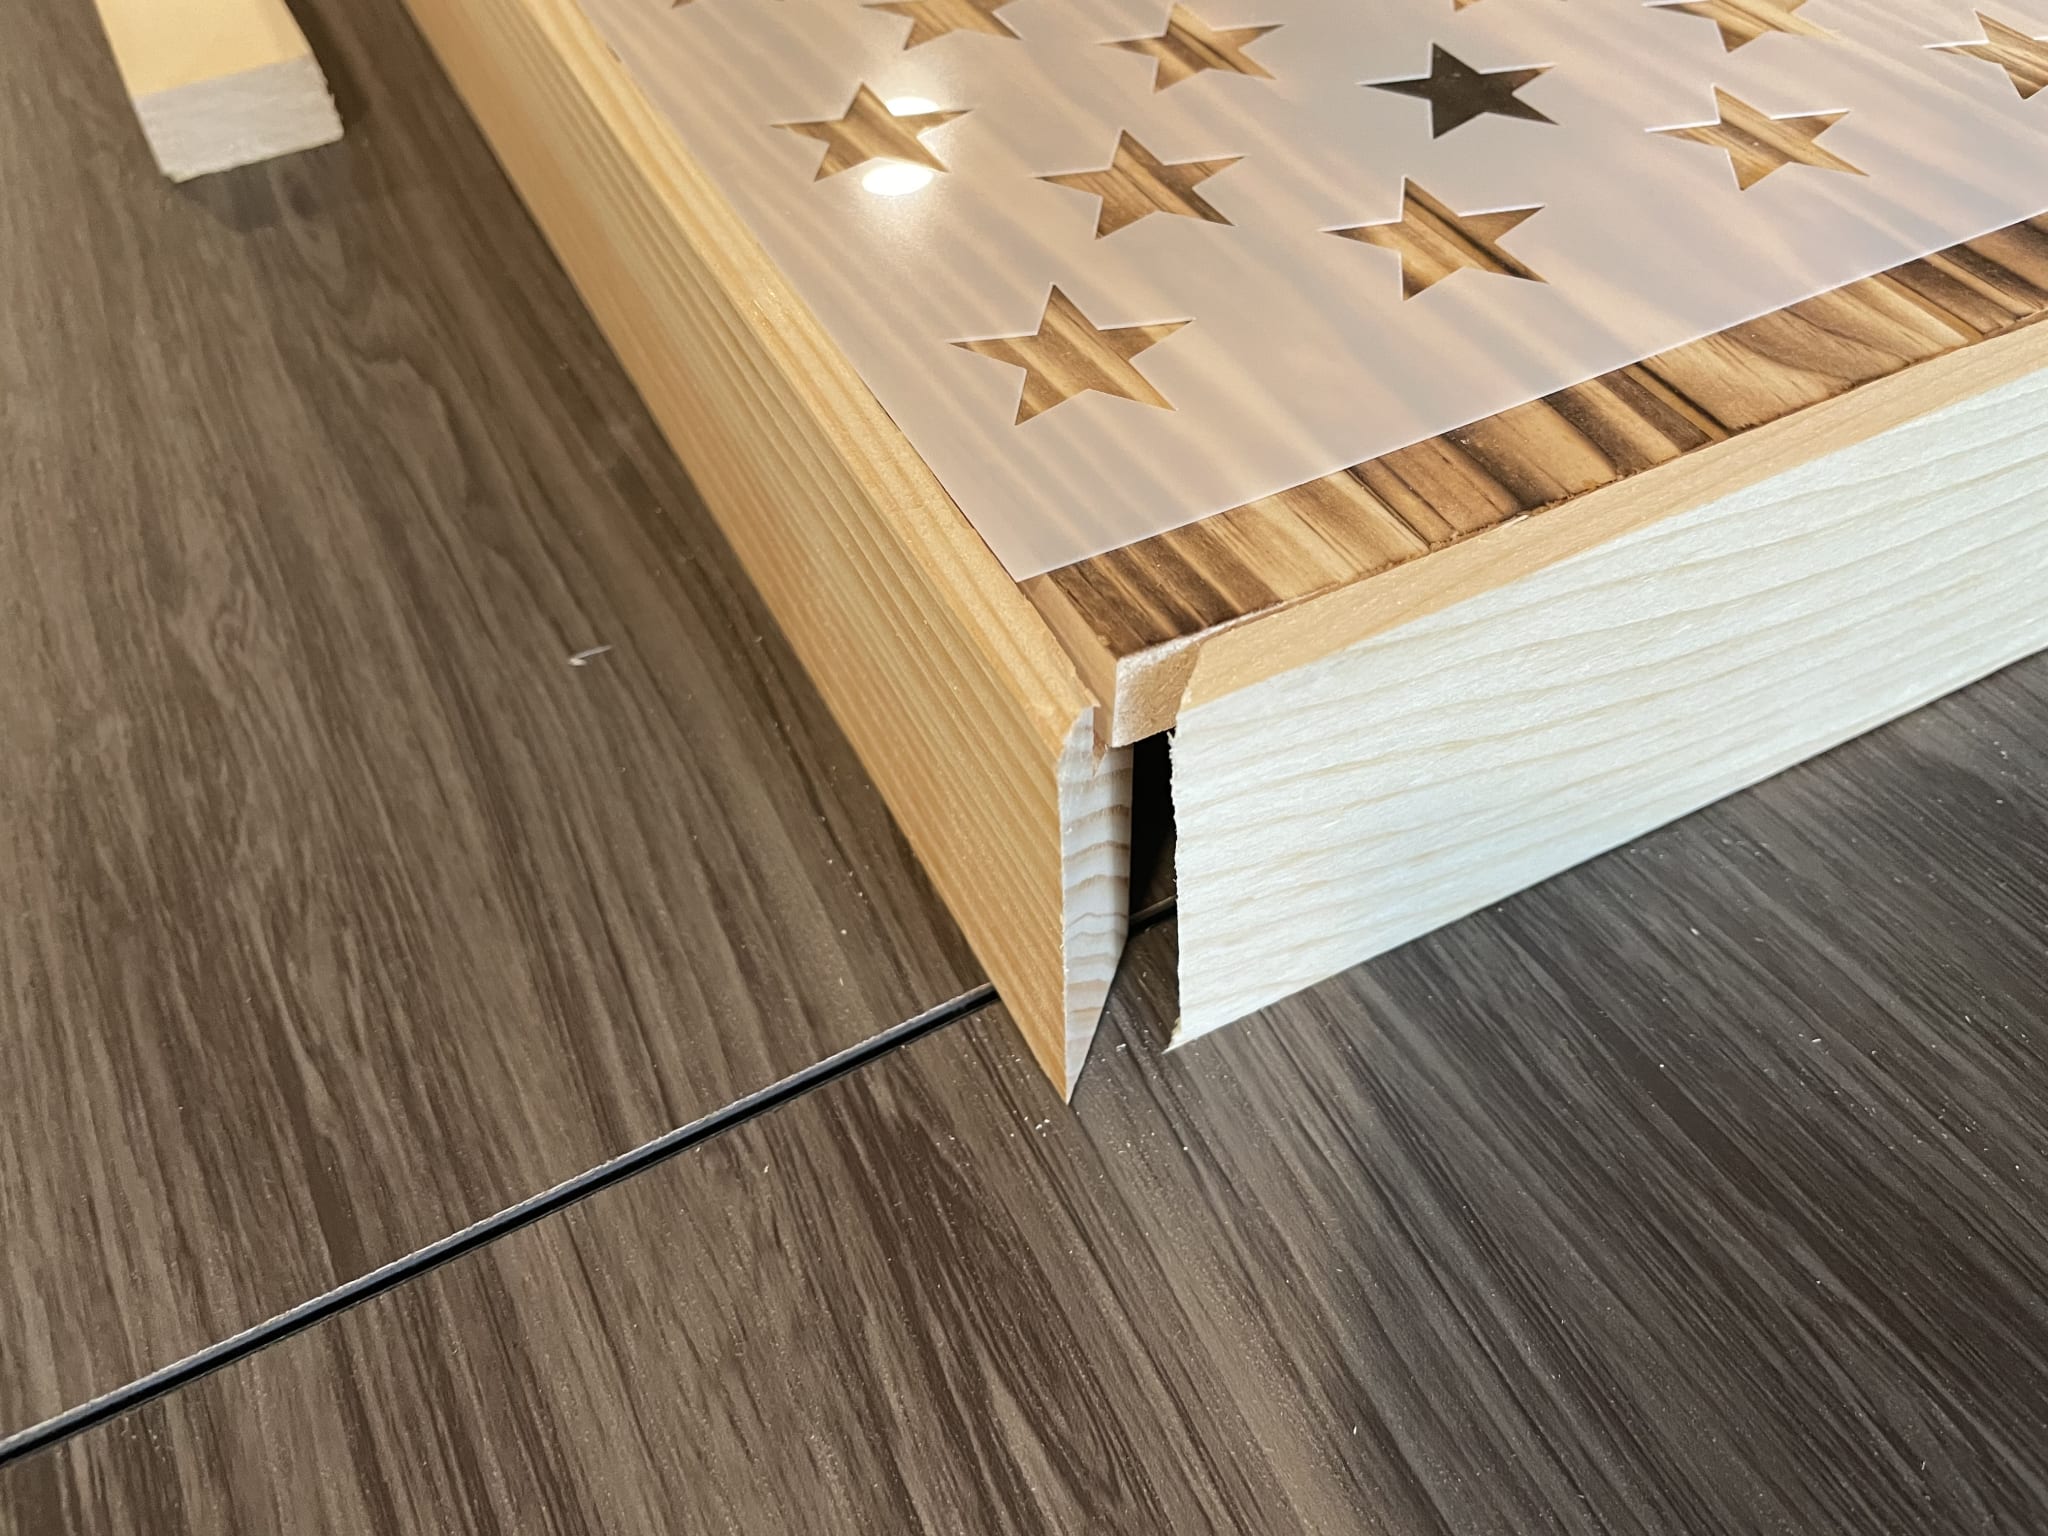
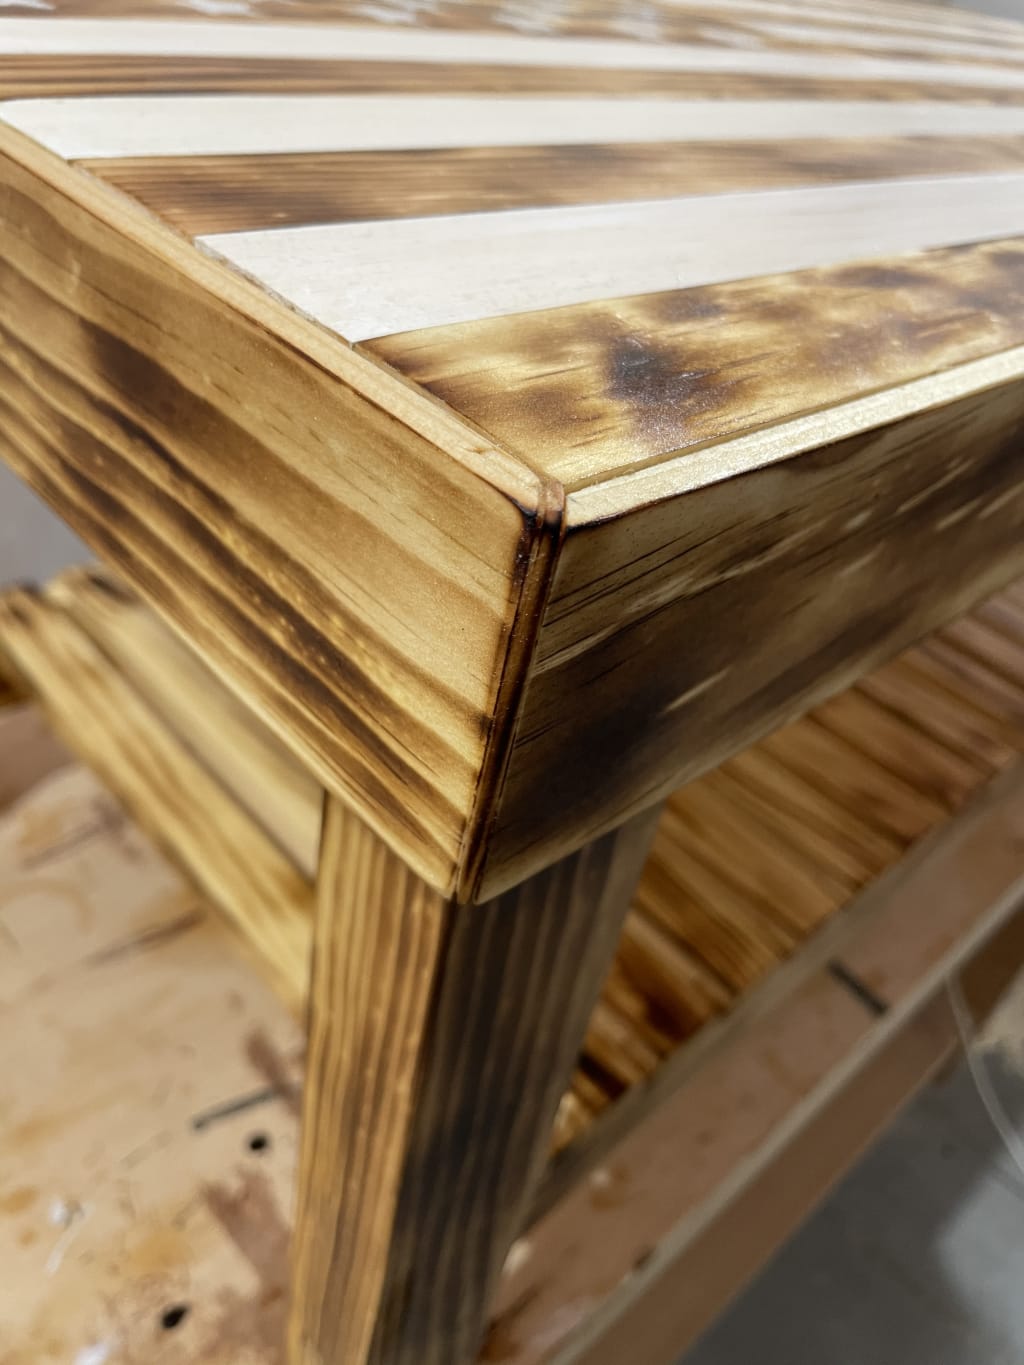
As I was working on this table I noticed a different mitered corner problem than the last table. This time, due to small variations in the boards for the surface of the table, there was a notable gap in one of the corners. I cut a thin piece of pine from one of the numerous scraps I had left, and glued it in place. I ended up liking how it looked quite a lot. It probably would have been an interesting feature to do this on all the corners. Next time I guess.
Three coats of polyurethane, even in a vented area, can really be unpleasant. I wear my respirator and even then I can still smell it. Between each coat of poly, I gently sanded everything smooth with a high grit paper.

The Final Product
I was able to get both tables done in time for the second table to sit and cure for a few days before christmas. This was very important, because it would be rather unpleasant to drive three hours with a strong smell of polyurethane as the second table off-gassed the volatiles.
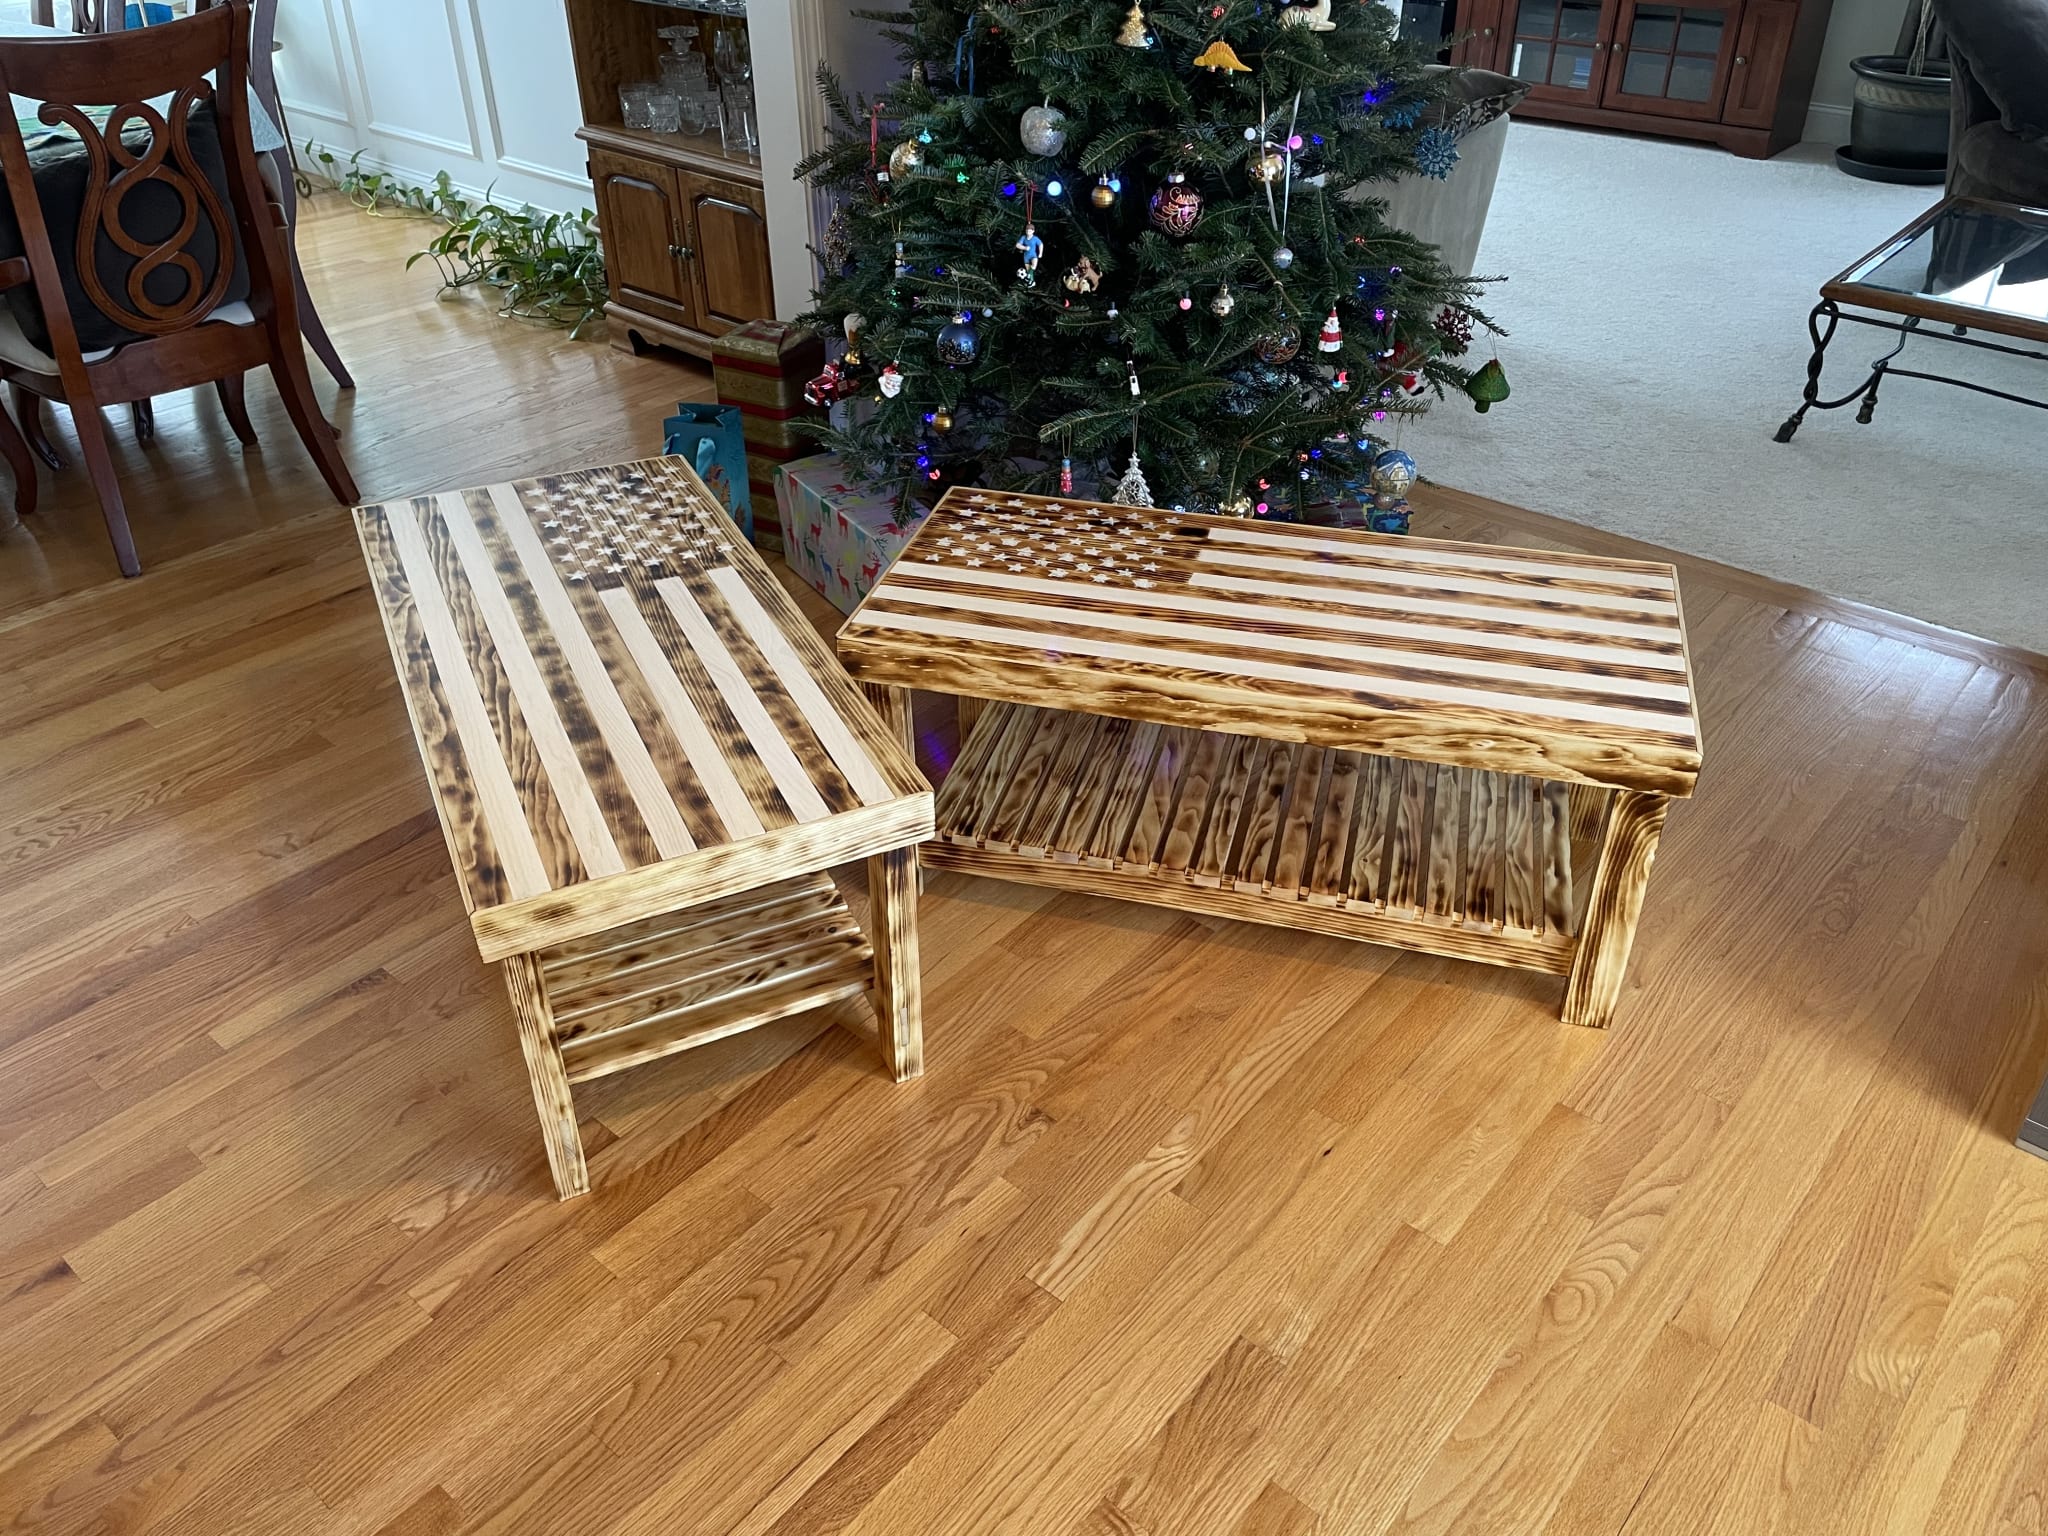
I think they came out really well! I put a little "Merry Christmas" message under the table top of each, and they are good to go.
Mistakes
If you've read some of my other posts you know I don't shy away from mistakes. If I want to learn and improve I need to stare unflinchingly at failures and understand how and why they happened. In the spirit of that, let's take a look at some of them.
The notable ones
- Miters. Oh man, 45 degree angle cuts are a pain. I managed to make every single one of them almost right, but not quite there. In most cases I was able to hide the poor cuts with some sanding, but in the one case, as I mentioned above, I turned a mistake into a feature!
- Star bleed. The stars bled under the template and got fuzzy and blurry looking. I tried to carefully dab the whitewash on for the next table to avoid that, but it still happened. I think if I use even less next time, and do two coats, it would work out better.
- Poor fit on the lower level. On the first table I cut the spaces for the lower level slats a little too big so there was a tiny gap when I glued them in place. On the second table they were just a tiny bit too small and I had to adjust a few of them. I also managed to break a few of the spacers off and had to glue them back on. Also, I managed to cut a few of the slats about 1/32 of an inch too short, and amazingly you can tell since they don't fit flush with the support.
That's all for now
See you all next year!