A Laptop Desk
The story
My mother-in-law, Galina, had recently arrived and she would be staying with us for a few months. I learned that she has quite a few students that she worked with as a tutor over video lessons, and would like a desk to work from. Fortunately, I had a decent amount of leftover poplar bits in my shop from an earlier project, and a nice flat surface that I reclaimed from an old TV cabinet that I converted to a simple TV stand. Remember when TVs were small enough to fit inside cabinets?
The plan
I started with the surface that I had reclaimed and measured and built from. It is going to be a fairly straightforward build after I take care of the the top portion. I decided to make it just a table top, more or less. One surface, four legs, and some reinforcement. Nothing too crazy since I wanted to be able to build this fast and give her some desk space to use. Let's get to it.
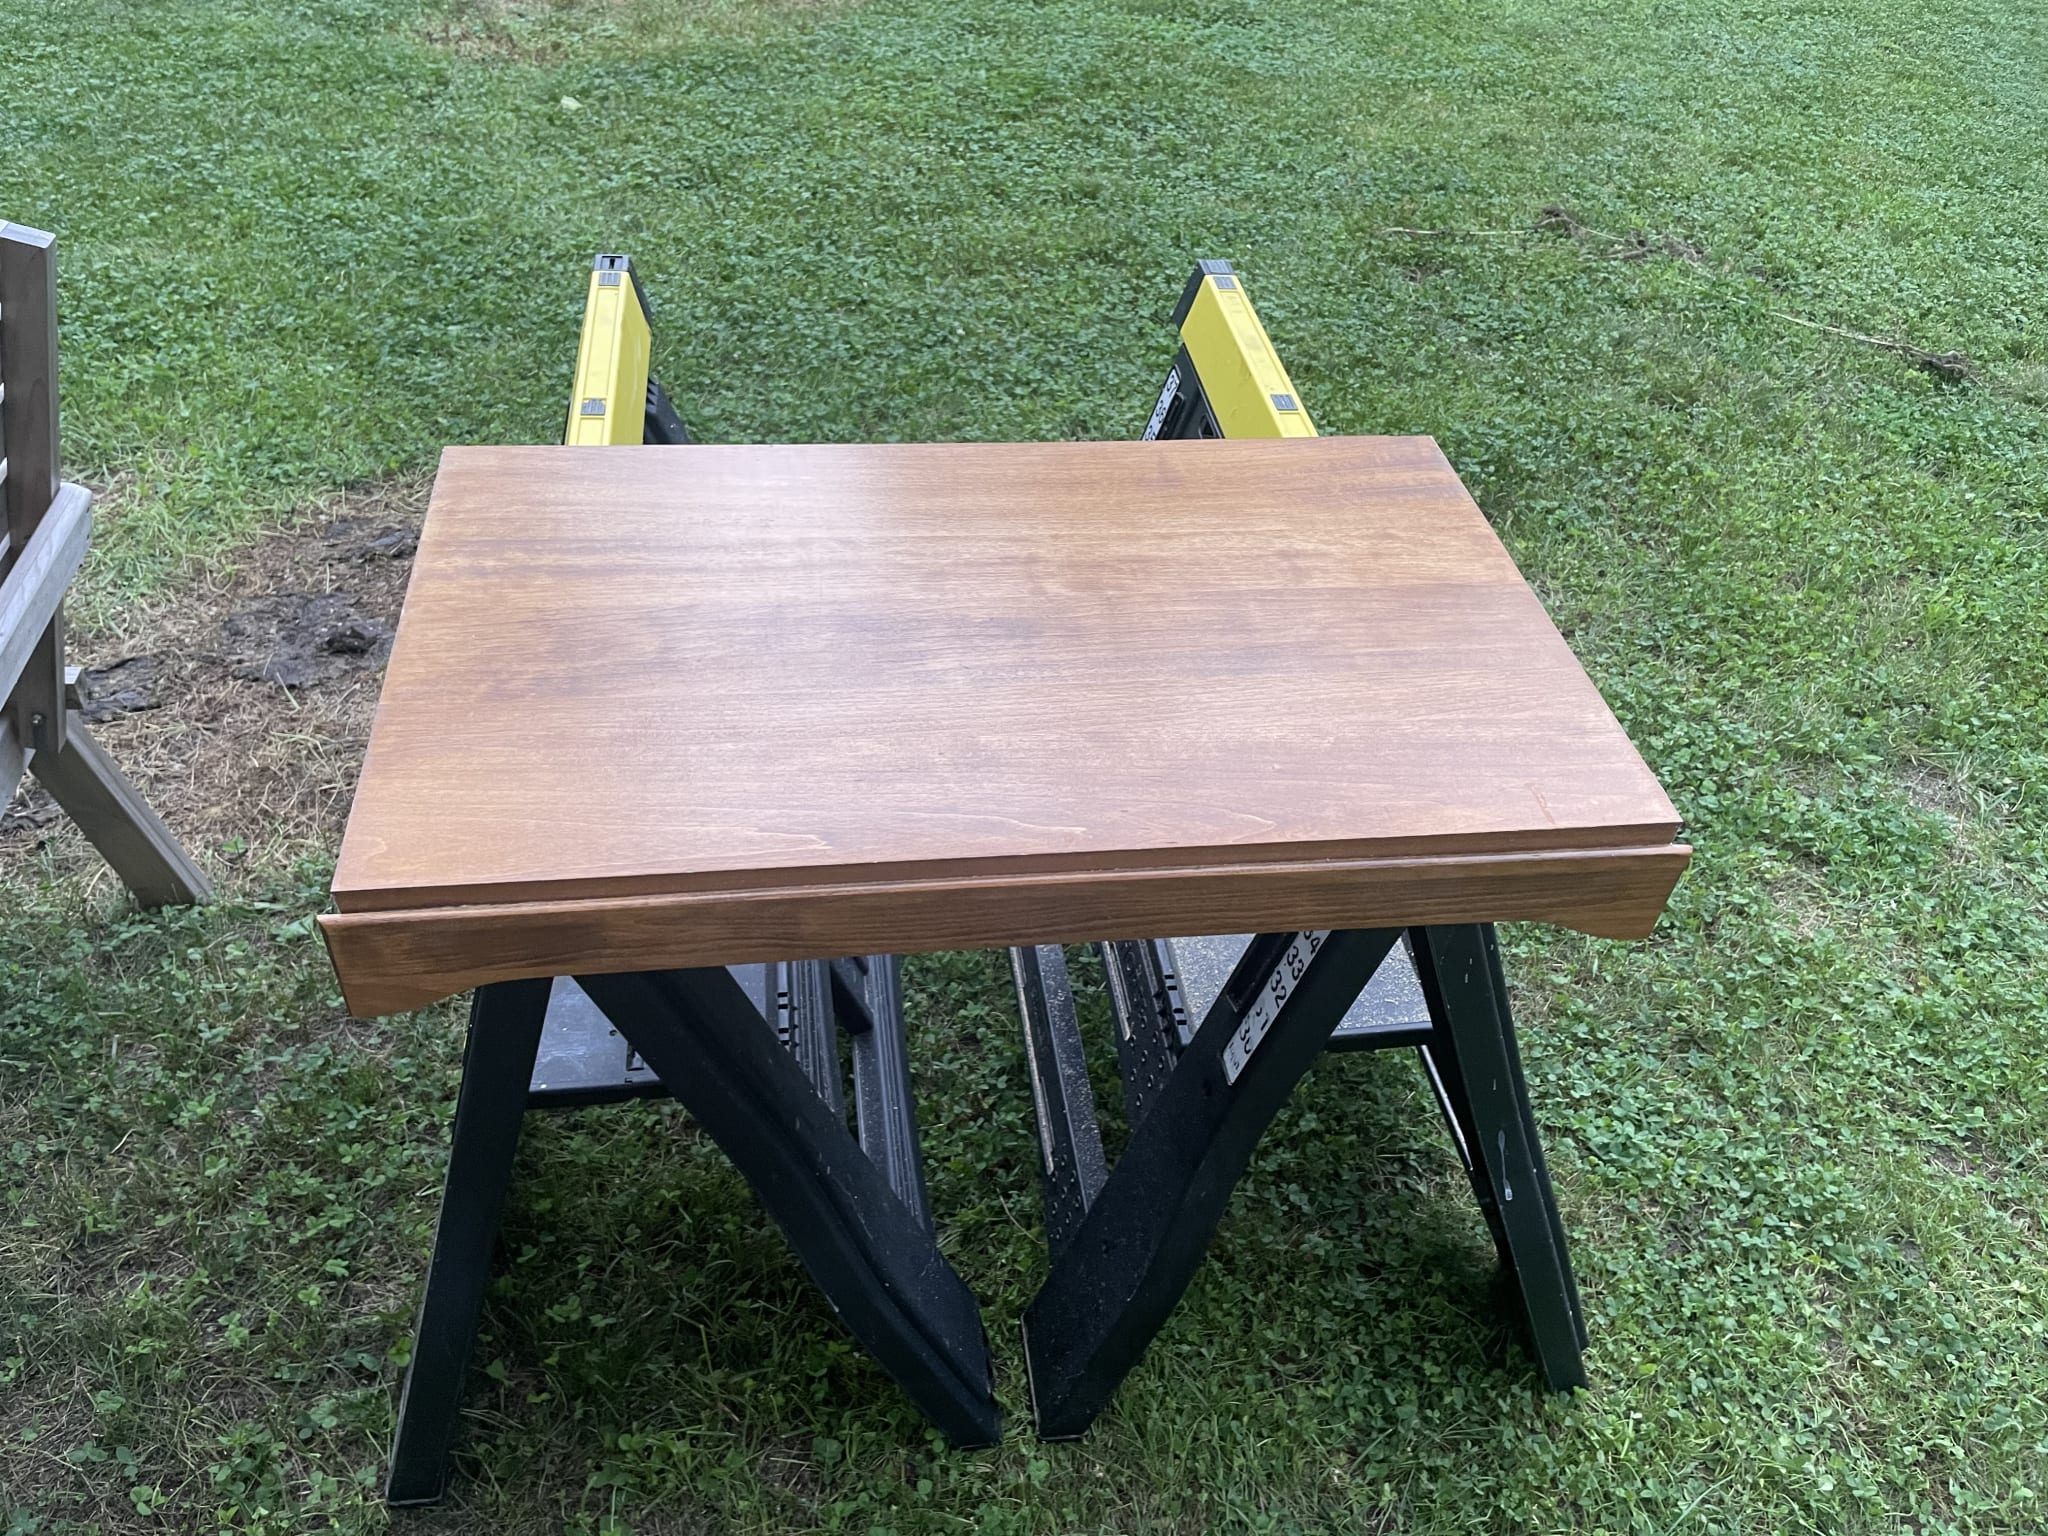
Before I can start building, I need to remove the old surface treatment from the top.
The build
Building top down
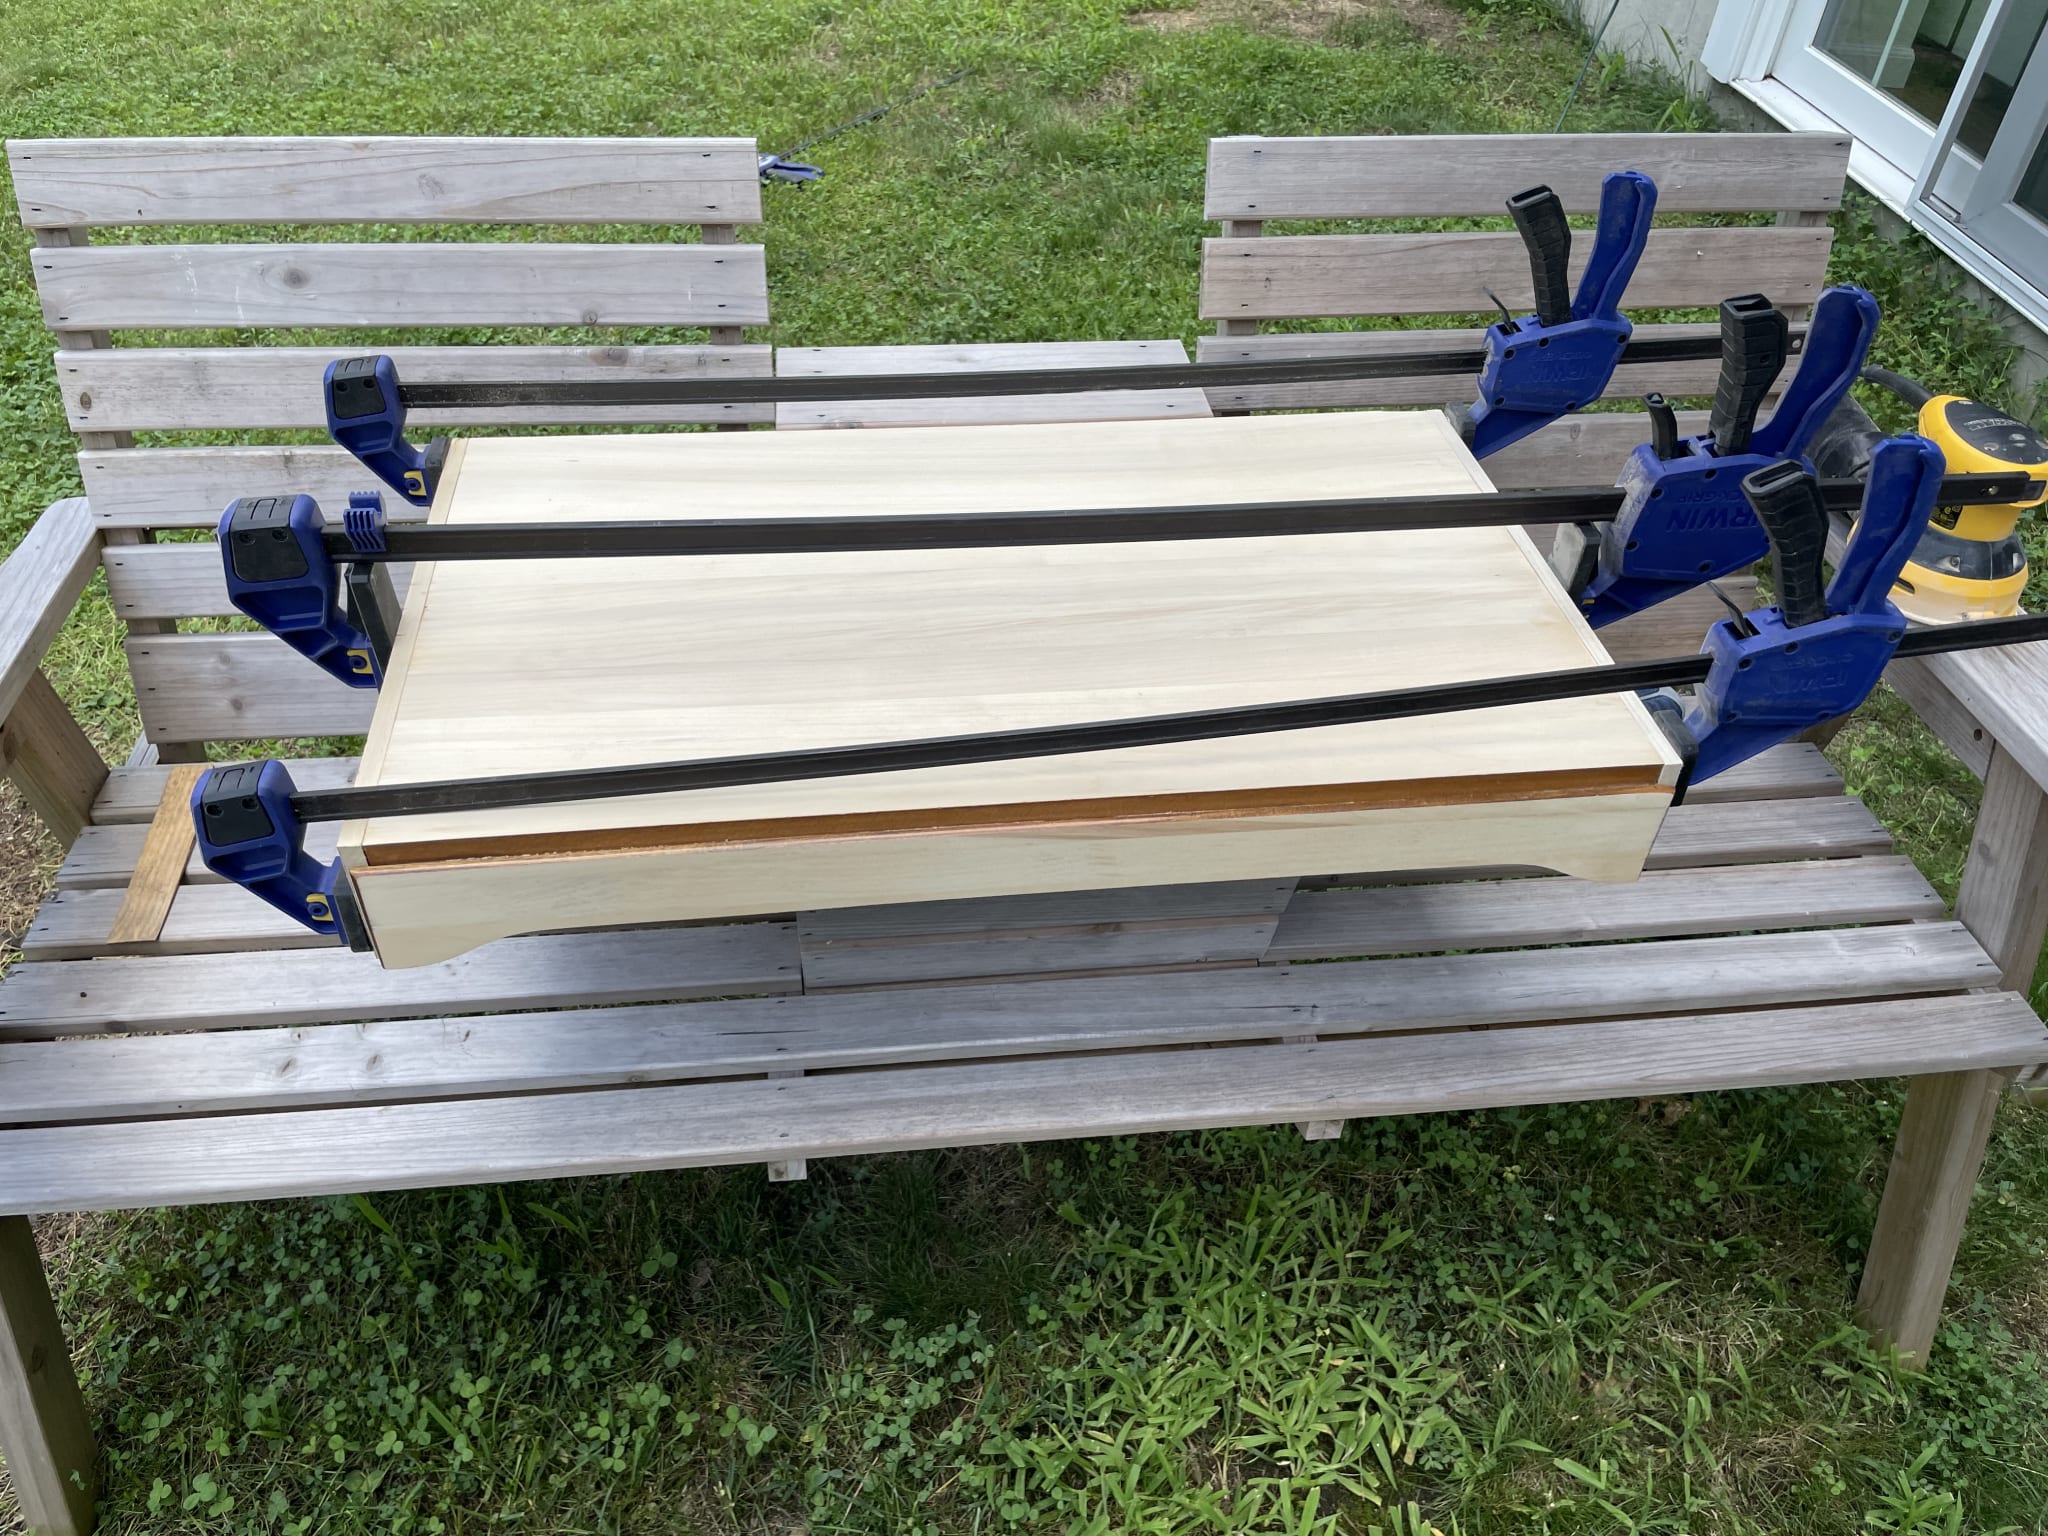
The original reclaimed cabinet top had a front moulding that I left in place since I liked how it looked. All I needed to do was plane off the clear coat and stained layer of the original surface, and add a side skirt to get the top ready to work.
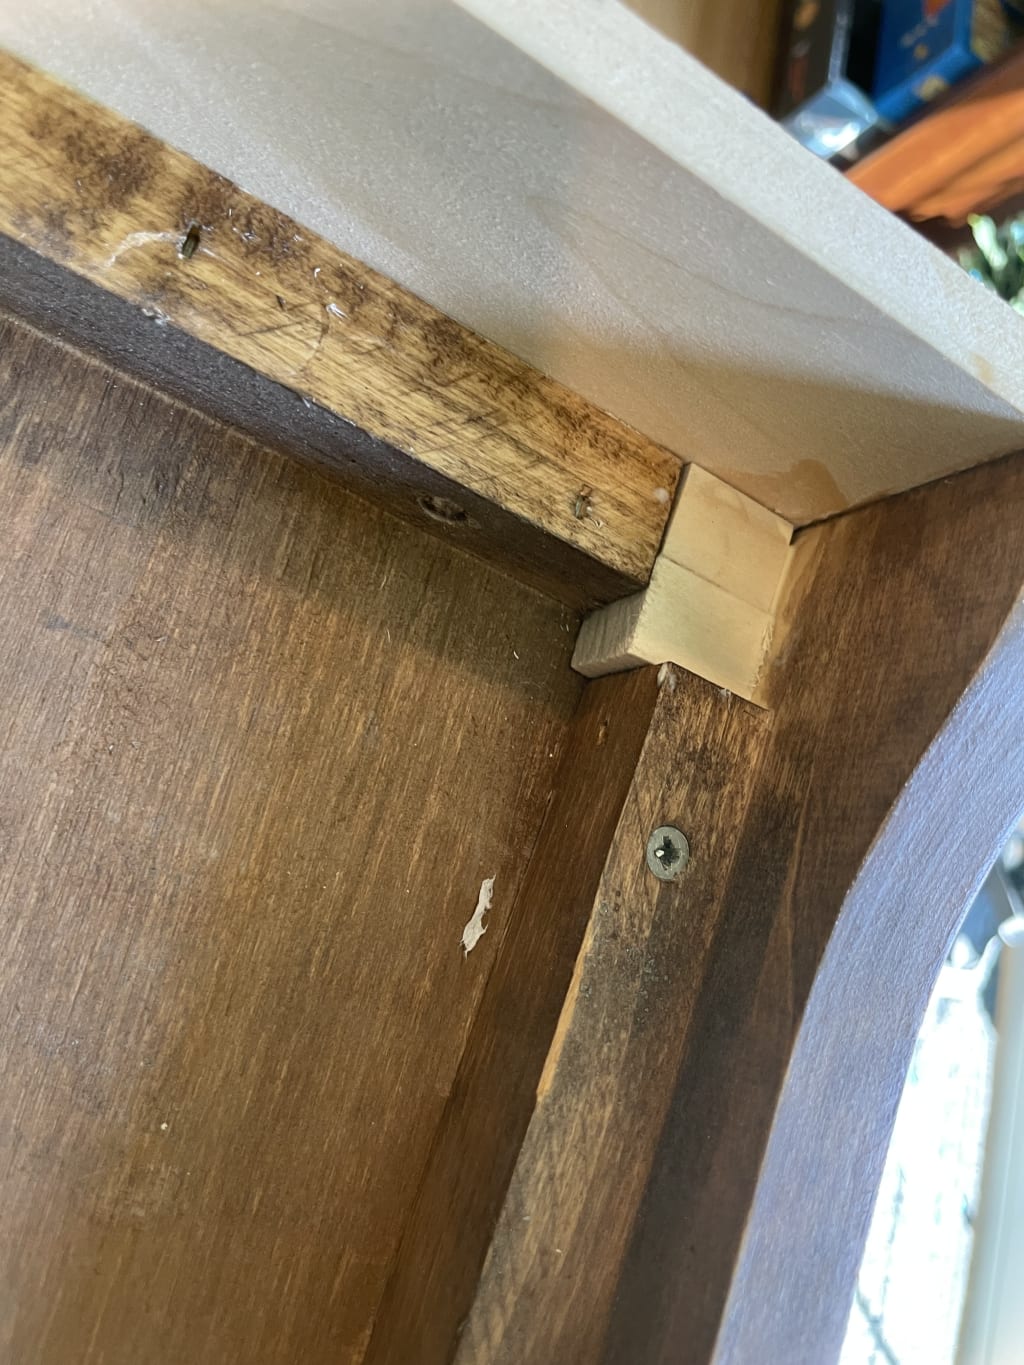
There were a few existing reinforcements in the reclaimed top that I needed to deal with so I could butt the legs directly to the surface. I want to make sure any load gets directed from the top straight on down through the legs, and I had to fill a few corner gaps to do that.
I decided that the side skirts I added along with the front piece were not enough for it to look and feel nice, so I went and added a back piece as well to bring it all together. This will have a bonus effect of making the overall structure stronger.
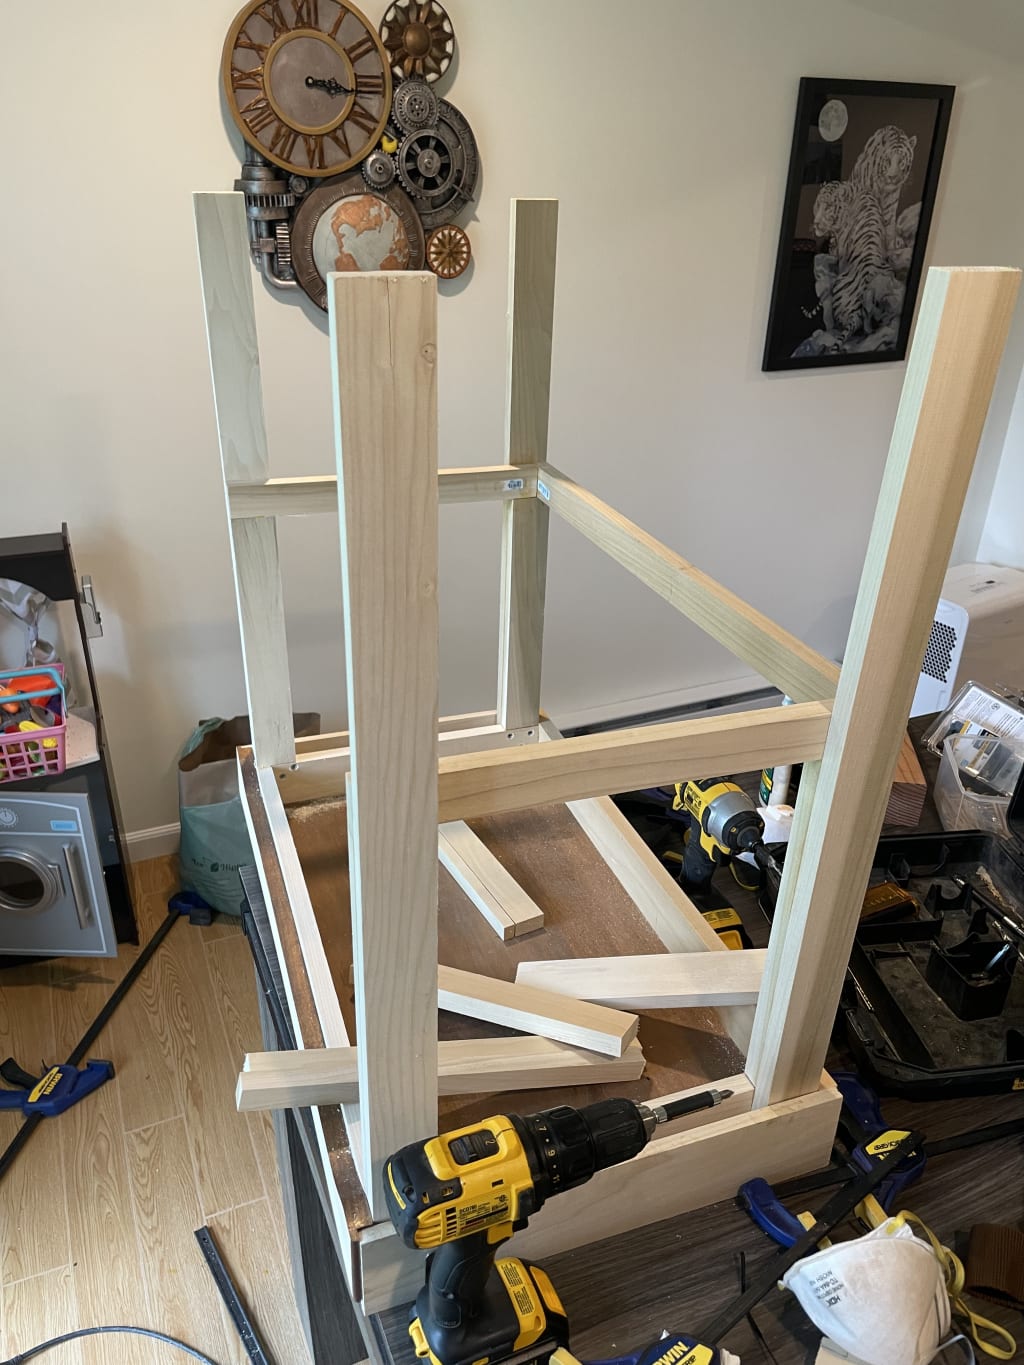
At this point the top portion is down and I can move down to building the legs. Or, since I am building this upside-down, I suppose I really am working up.
Assembling the legs
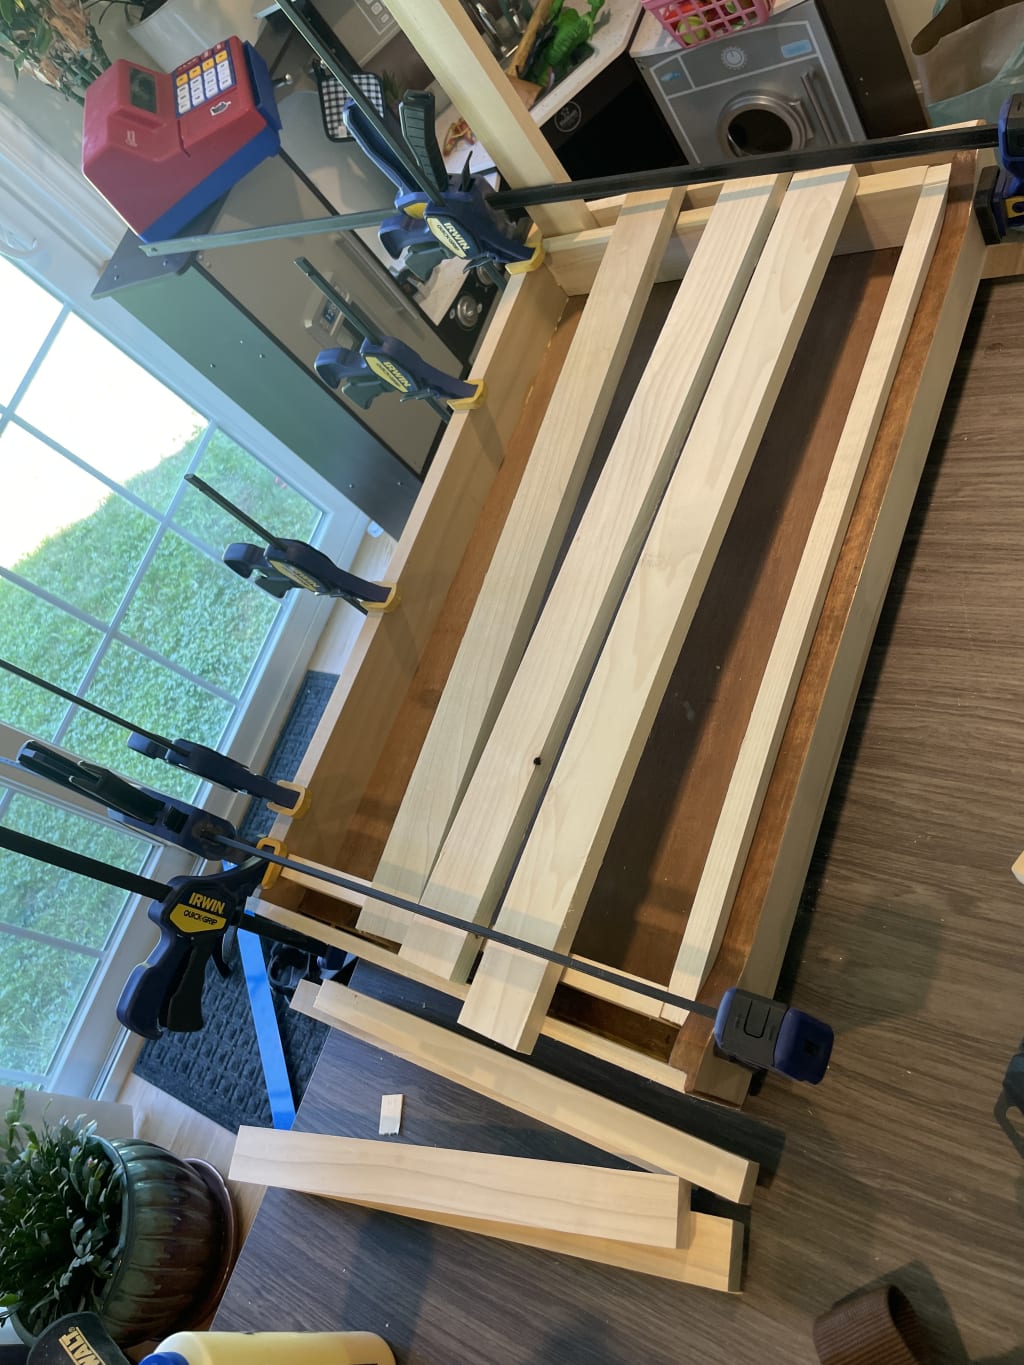
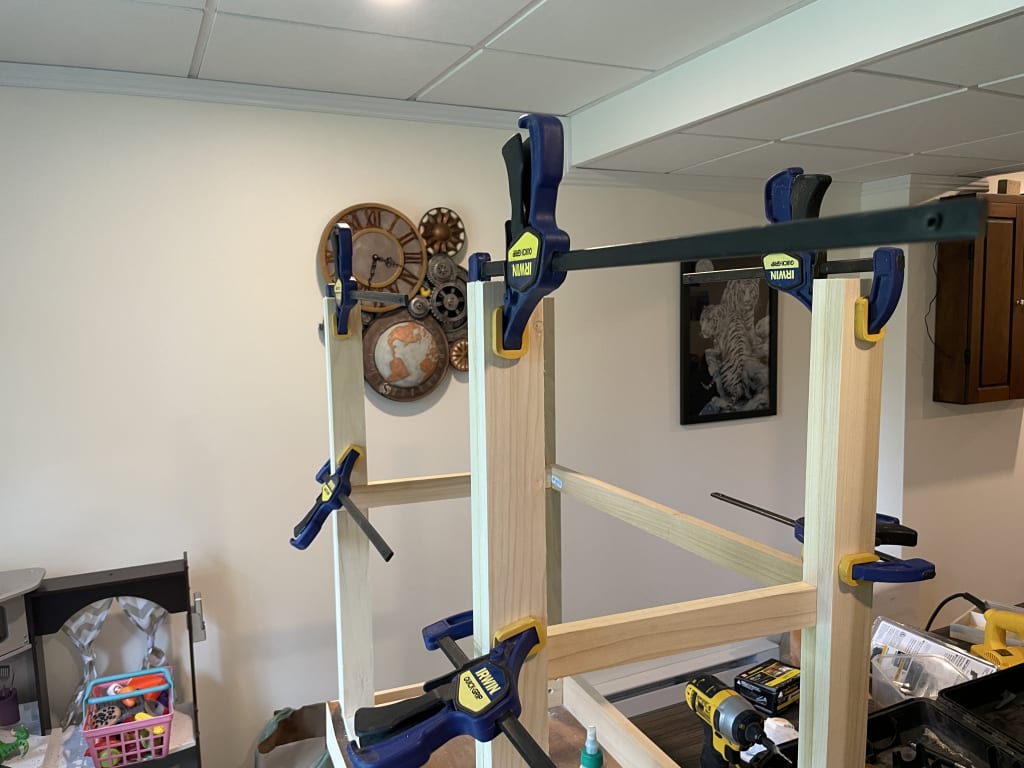
Again, I chose simplicity in design to boost speed of the build. The outside of the legs would be a single long piece glued to a few other segments to make a whole leg assembly. I put the legs in, glued and screwed them, then added the horizontal cross pieces for stability.
Finally, to complete the look of the thicker legs, I glued on bottom portions of matching wood to give the legs a more robust look and feel.
I was done we three of the four when I found a problem. I did not have enough poplar for the very last leg. I had a piece that was long enough, but not wide enough. In the interest of time, I grabbed a piece of pine that was pretty close in color to the not-quite-large-enough poplar, and glued them together. My hope is that with proper placement and use of stains, I will be able to hide the seam.
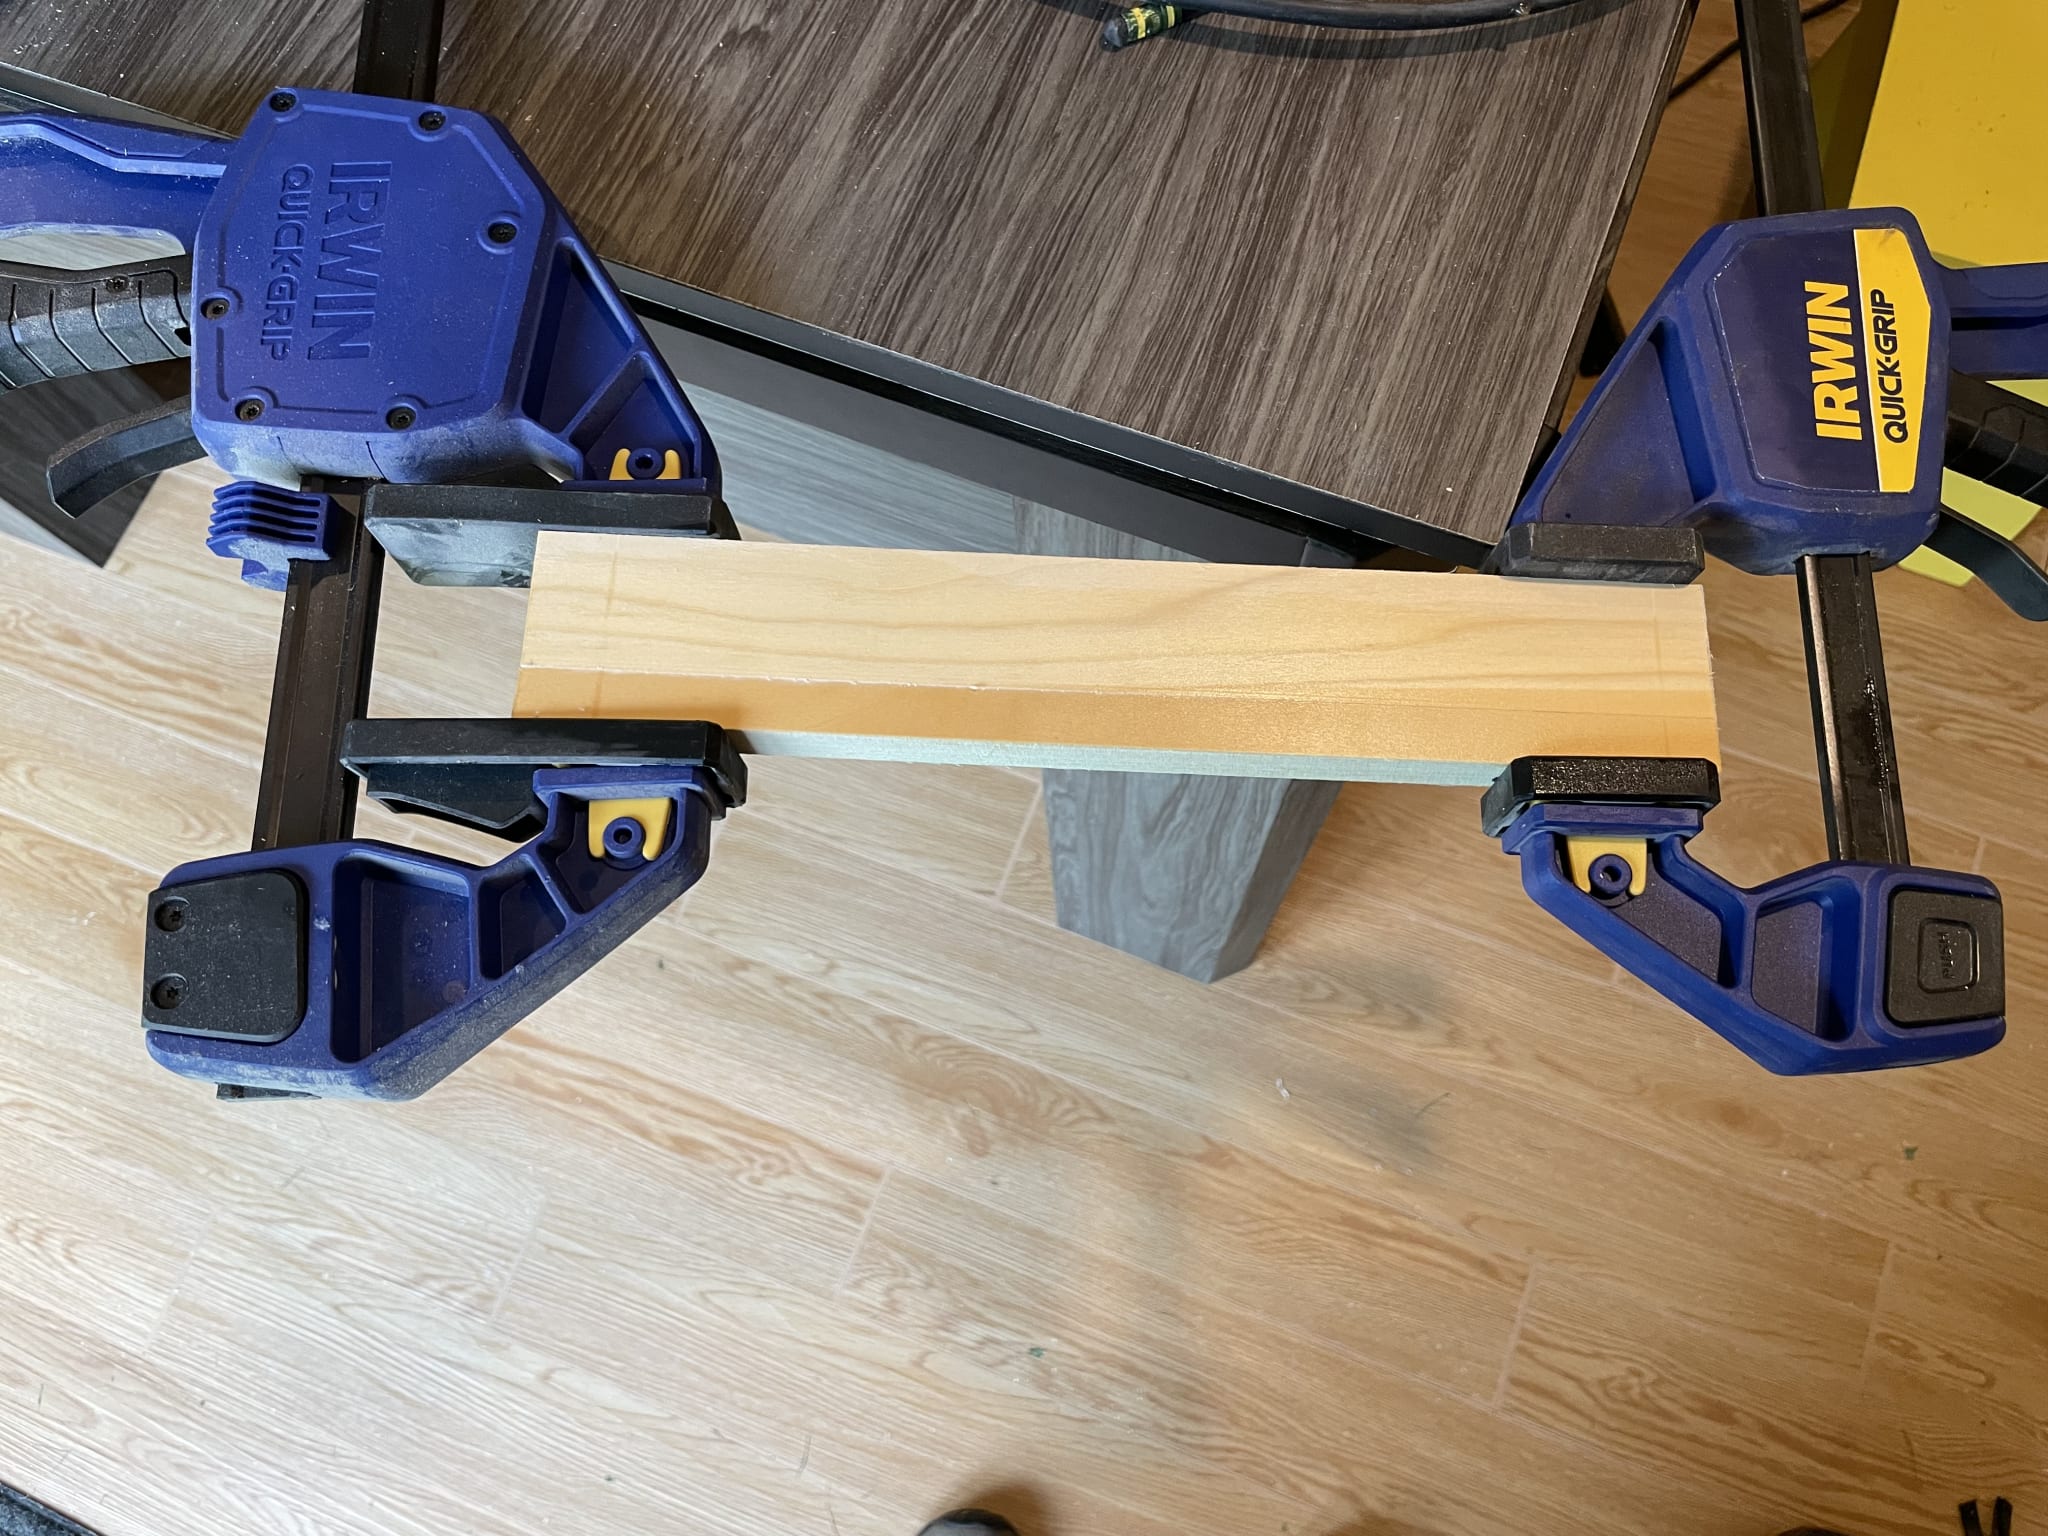
It worked, now on to sanding and finishing.
Finishing
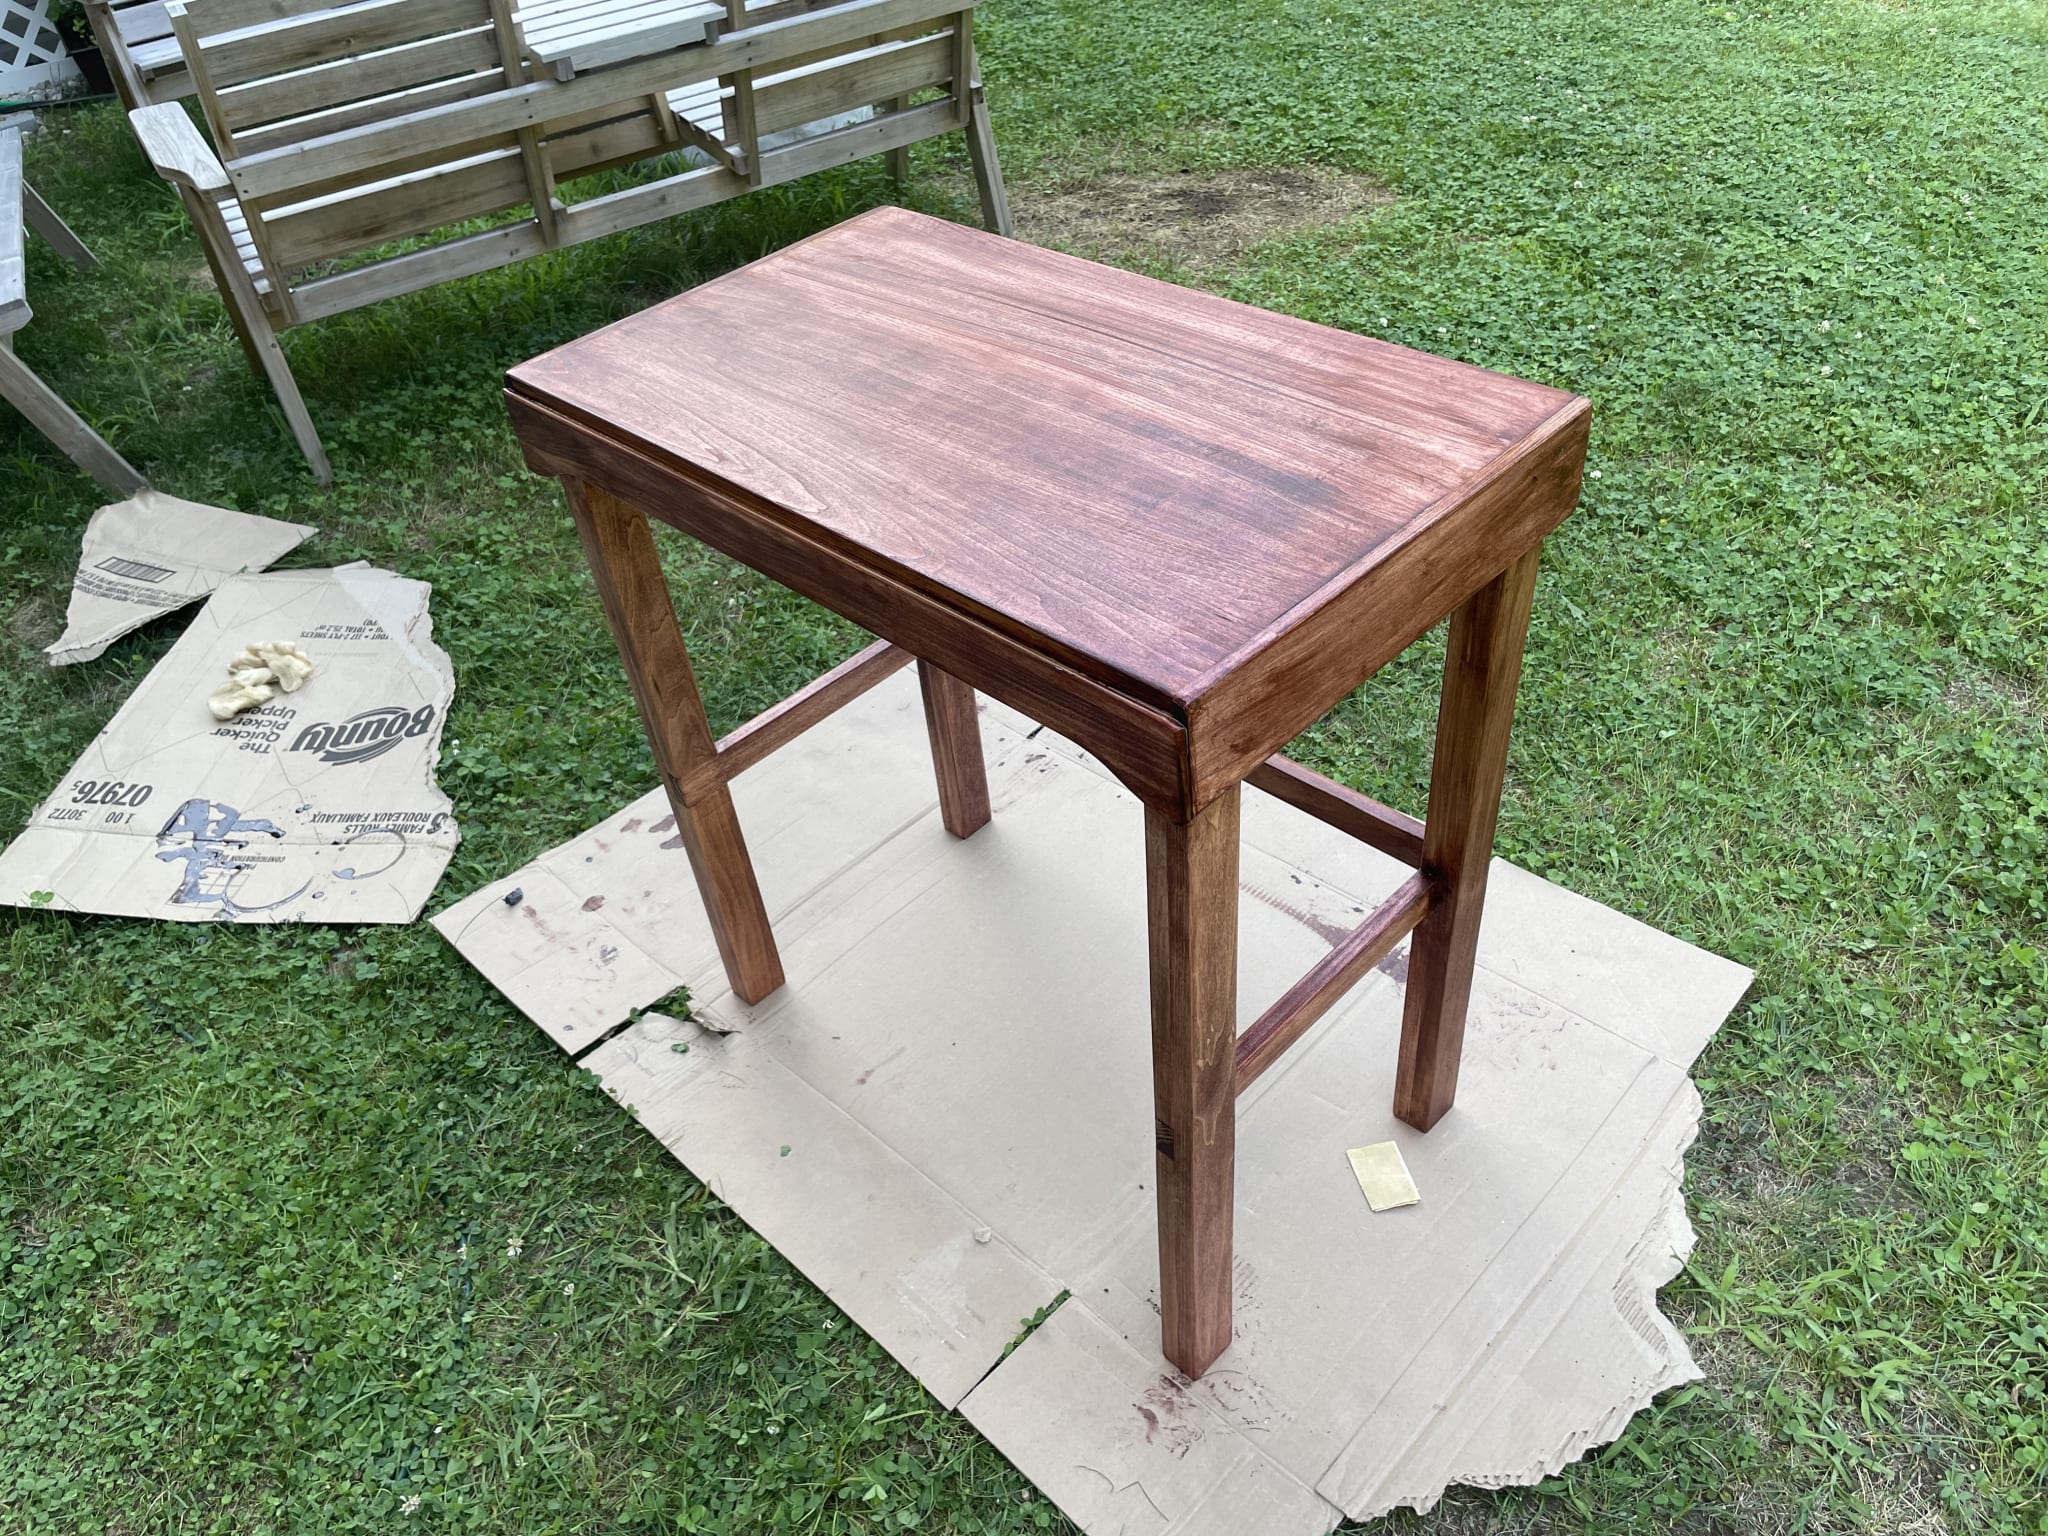
First off, I sanded all the surfaces down with 120 and then 220 grit sand paper until they were nice and smooth. You'll notice in the image below I left some of the original finish. I was hoping this would look good because I did not want to take the time to remove it.
I consulted Galina on what color stain she liked best, and ended up going with an older can of red mahogany. It was a polyurethane-stain combo that I didn't love working with, but it was the only way I found that color. One coat went on easily enough.
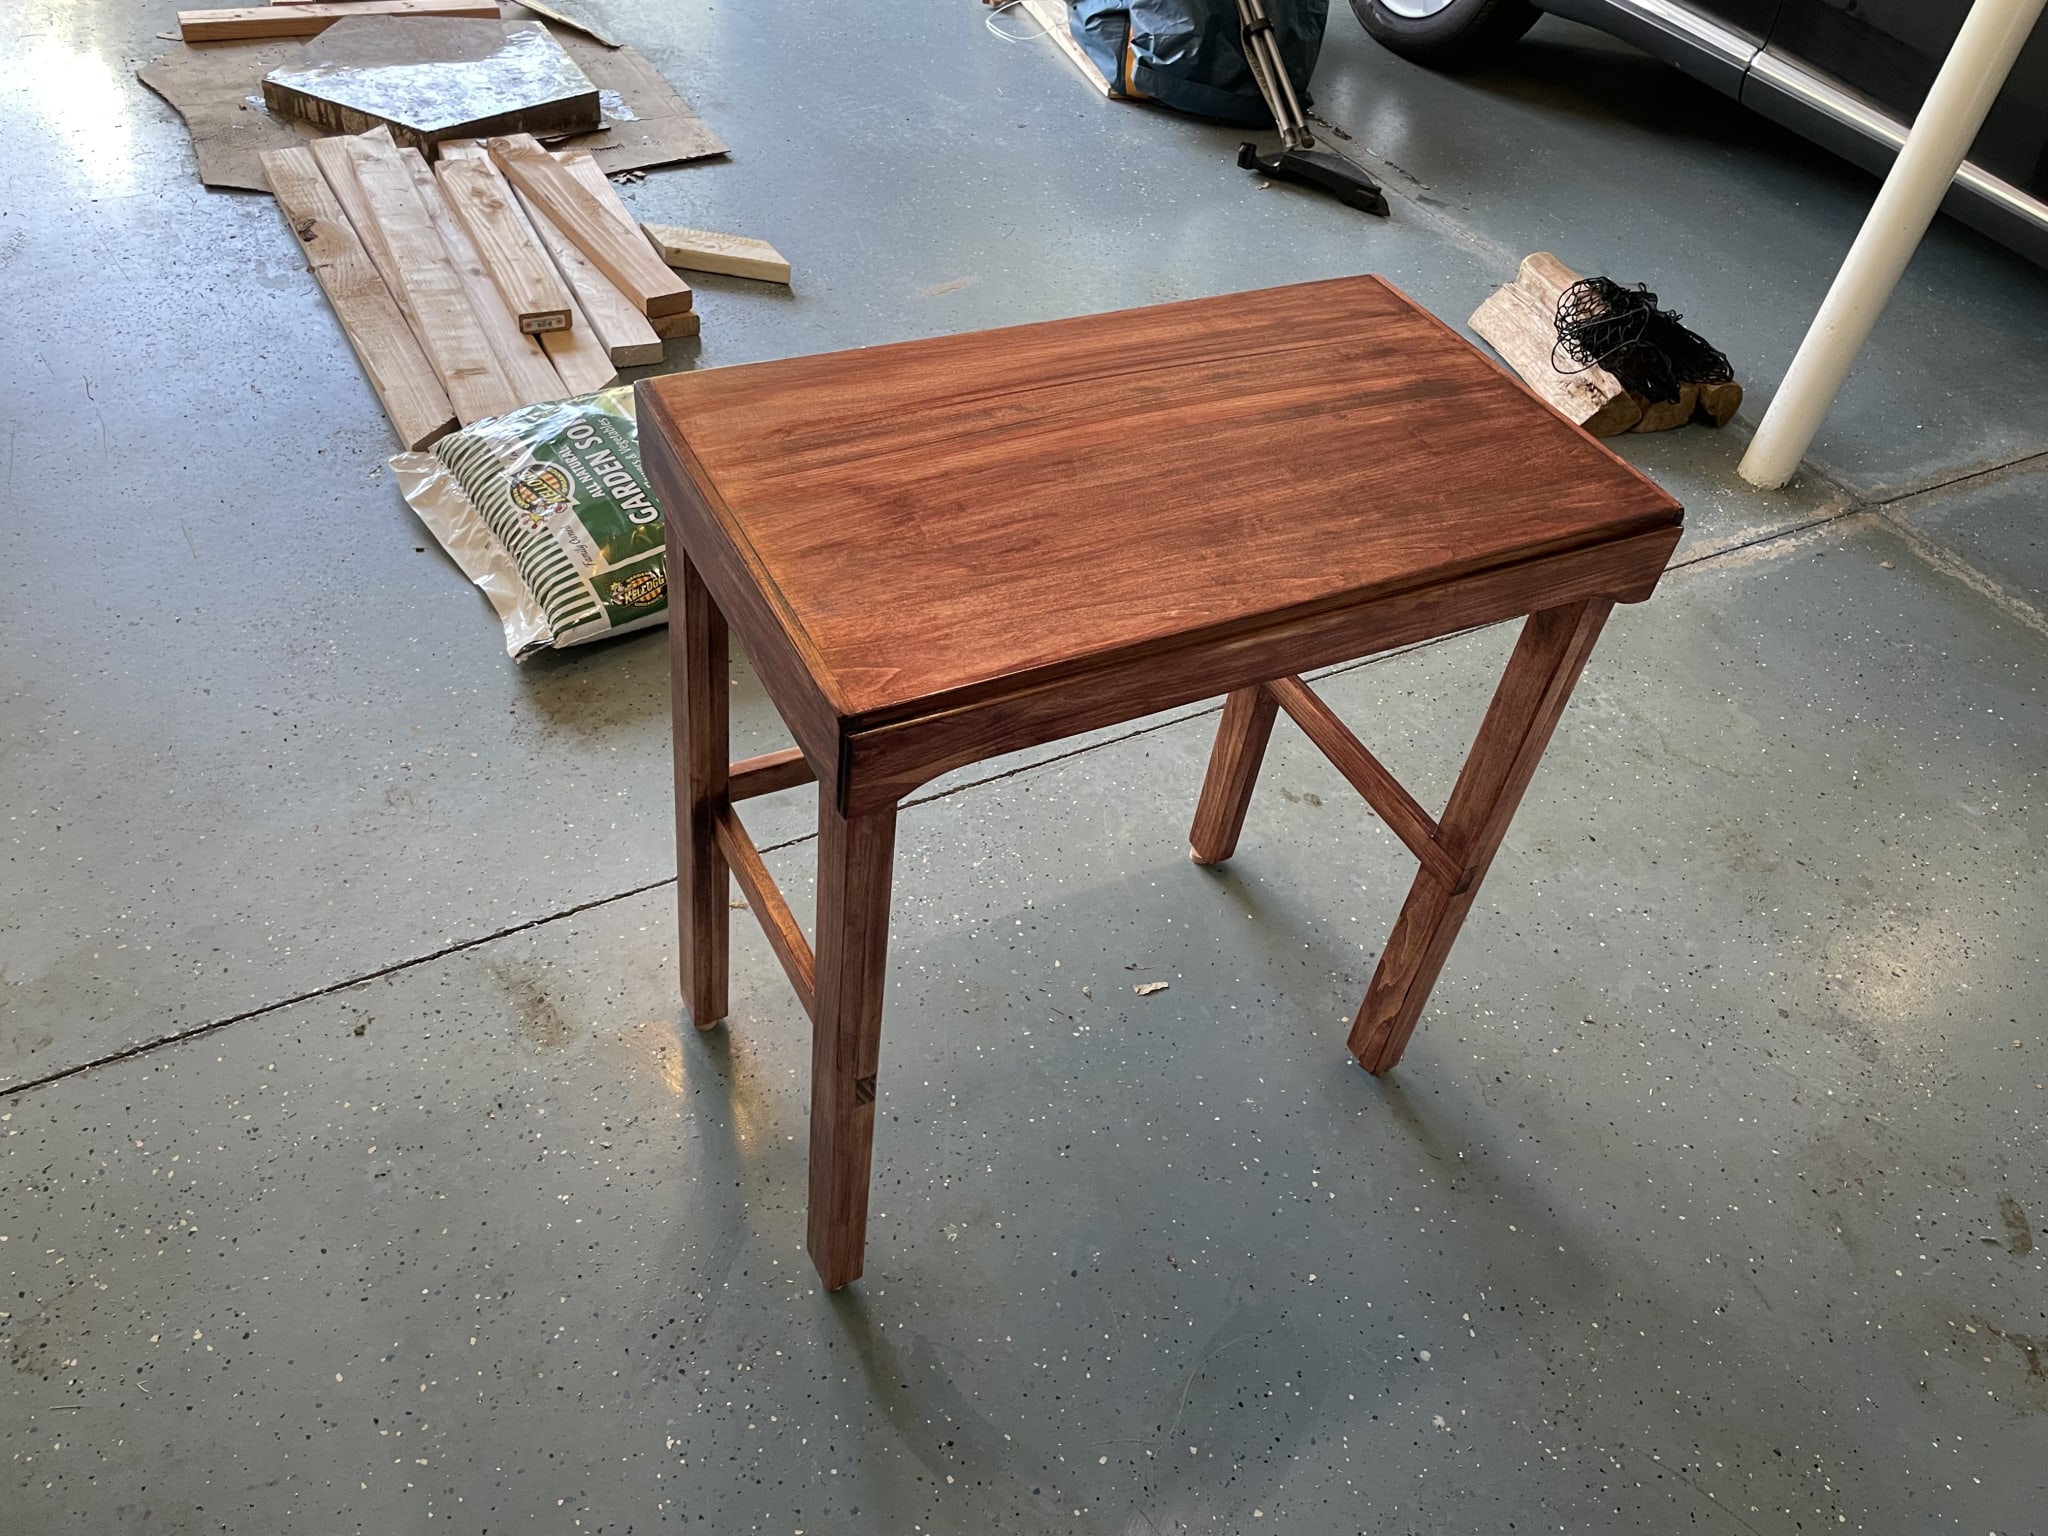
After the stain finished drying and setting, I added two more light coats of polyurethane.
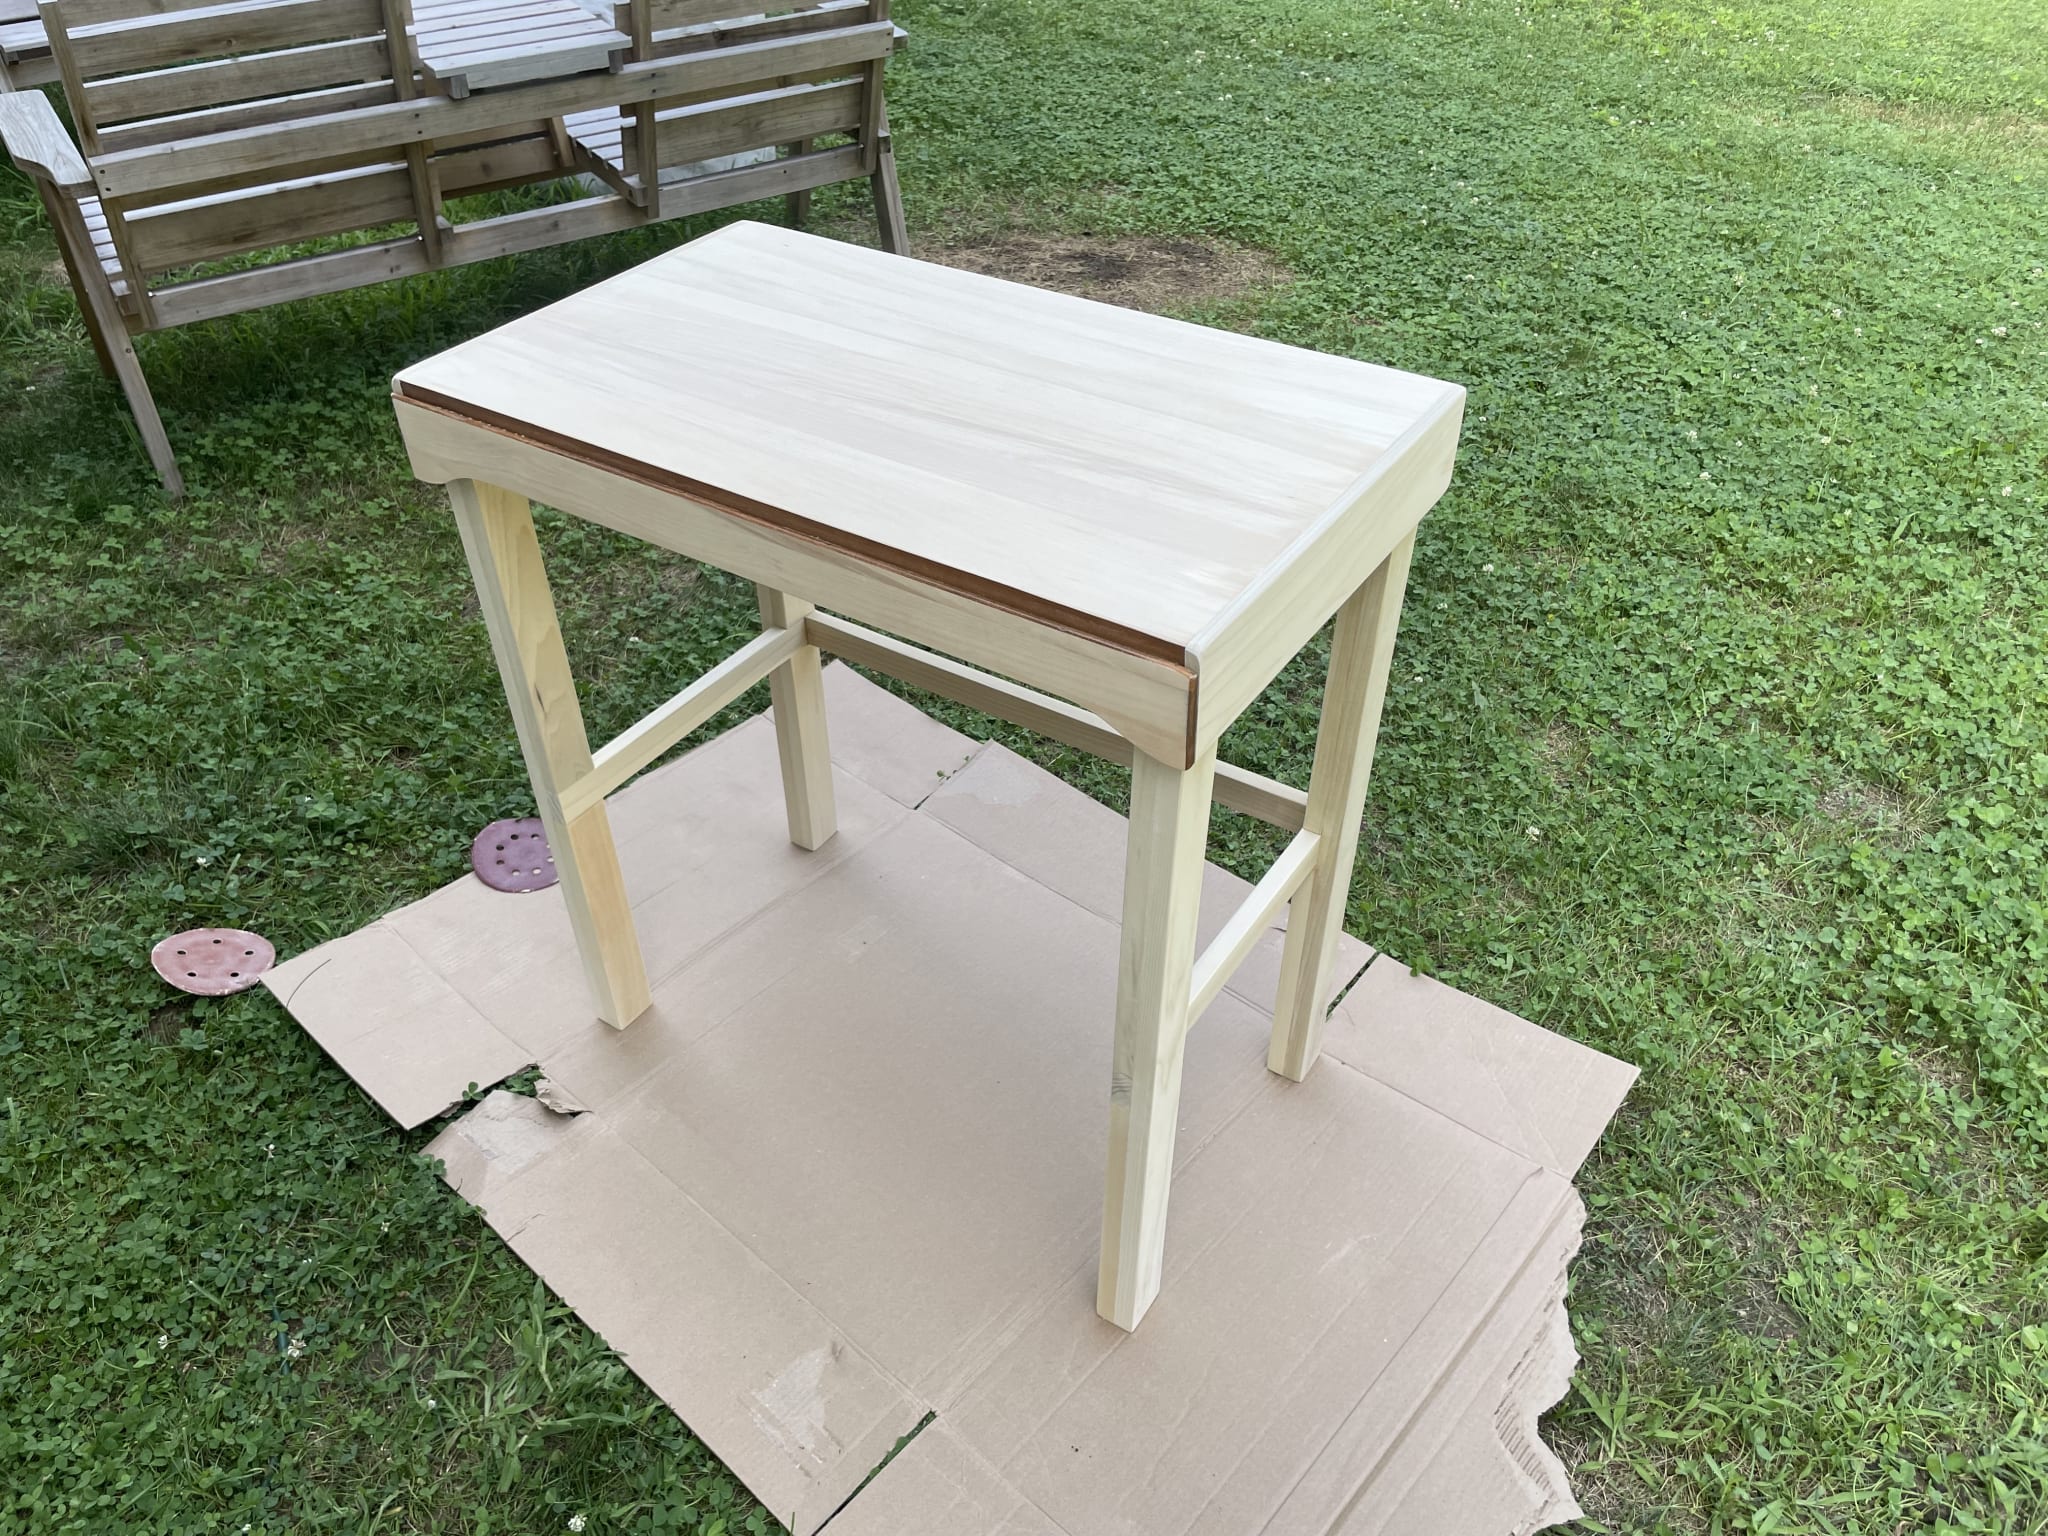
In summary
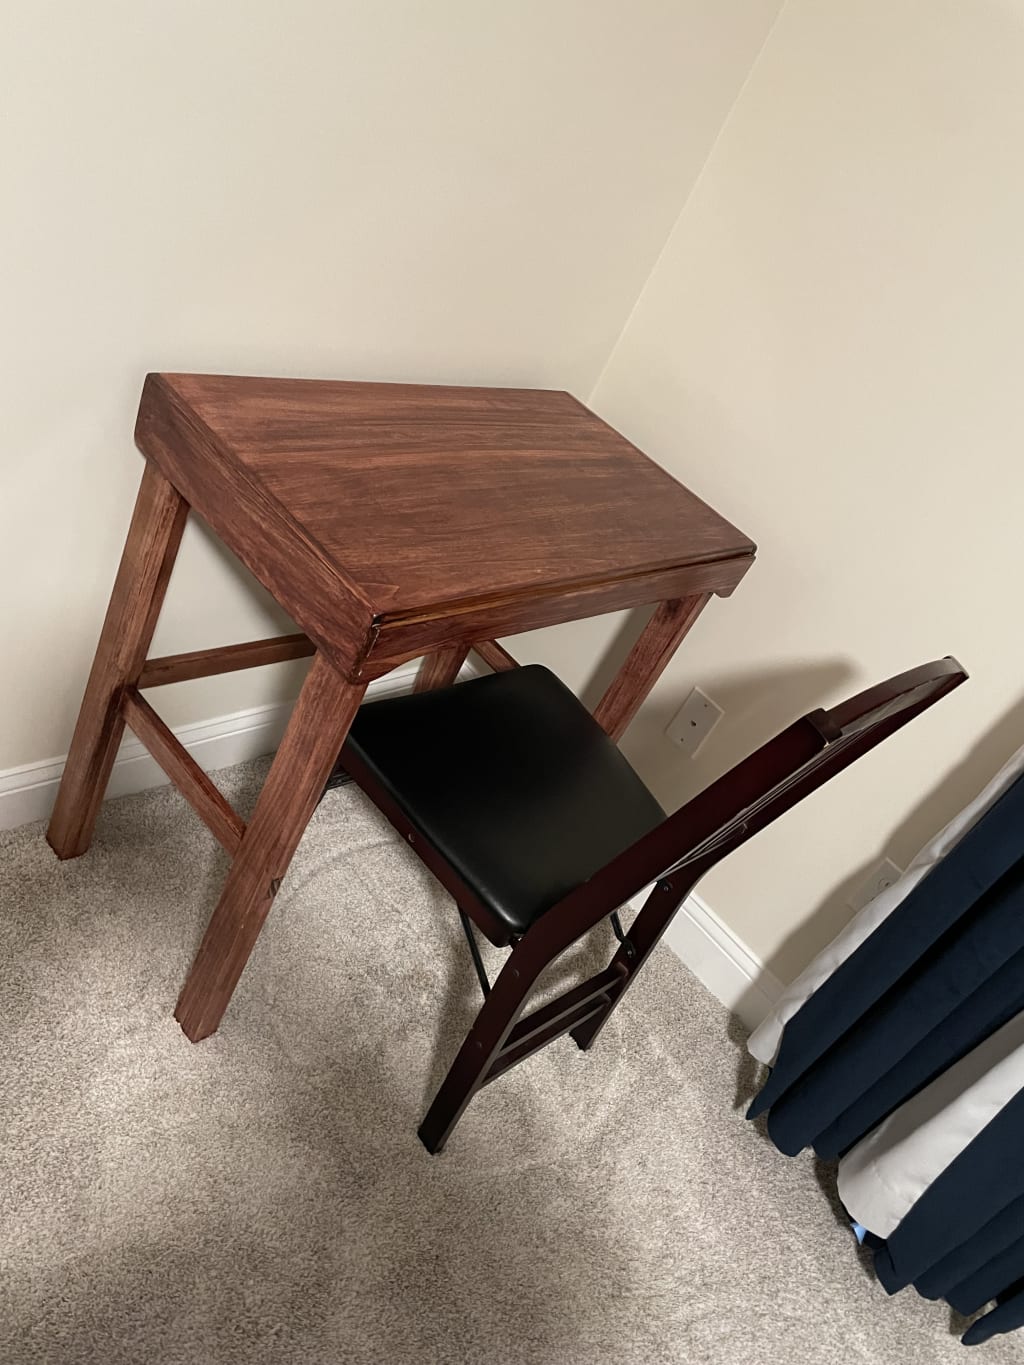
The desk came out pretty great! It was quick and it met the needs of being a simple laptop desk. Below we can talk about some mistakes.
Mistakes were made
We pretty much always make mistakes. Let's analyze a few here.
Stain streaks
The stain was old and was not extremely well mixed and streaked quite a bit when applying. It is hard to notice unless you know what you're looking for, but still it happened and it annoys me.
Ran out of wood
I somehow failed to check that I had enough poplar to finish this project and needed to improvise to keep it on my self-imposed deadline. Annoying, but it ended up working out ok.
The end
That's all for now, see you in the next post!