Lots of books, not enough shelf
I initially built a small bookshelf for Alex when he was even smaller, but he quickly has outgrown it and needs more space to store his ever-growing collection of books. His room has a little corner area between the door and the closet. It's right by the entry to the room and is hard to make good use of, but I think I can squeeze a shelf in there. After bouncing some ideas around with Natallia, I decided on a three-level corner shelf. Not a particularly straight-forward build, but also not terrible. Let's get started
The design
I had some physical constraints that helped me determine how large the shelf would be: there was a light switch I couldn't block, and the corner was only so large. Oh, and the books! Some of Alex's books were quite tall and I wanted to be able to accommodate most of them.
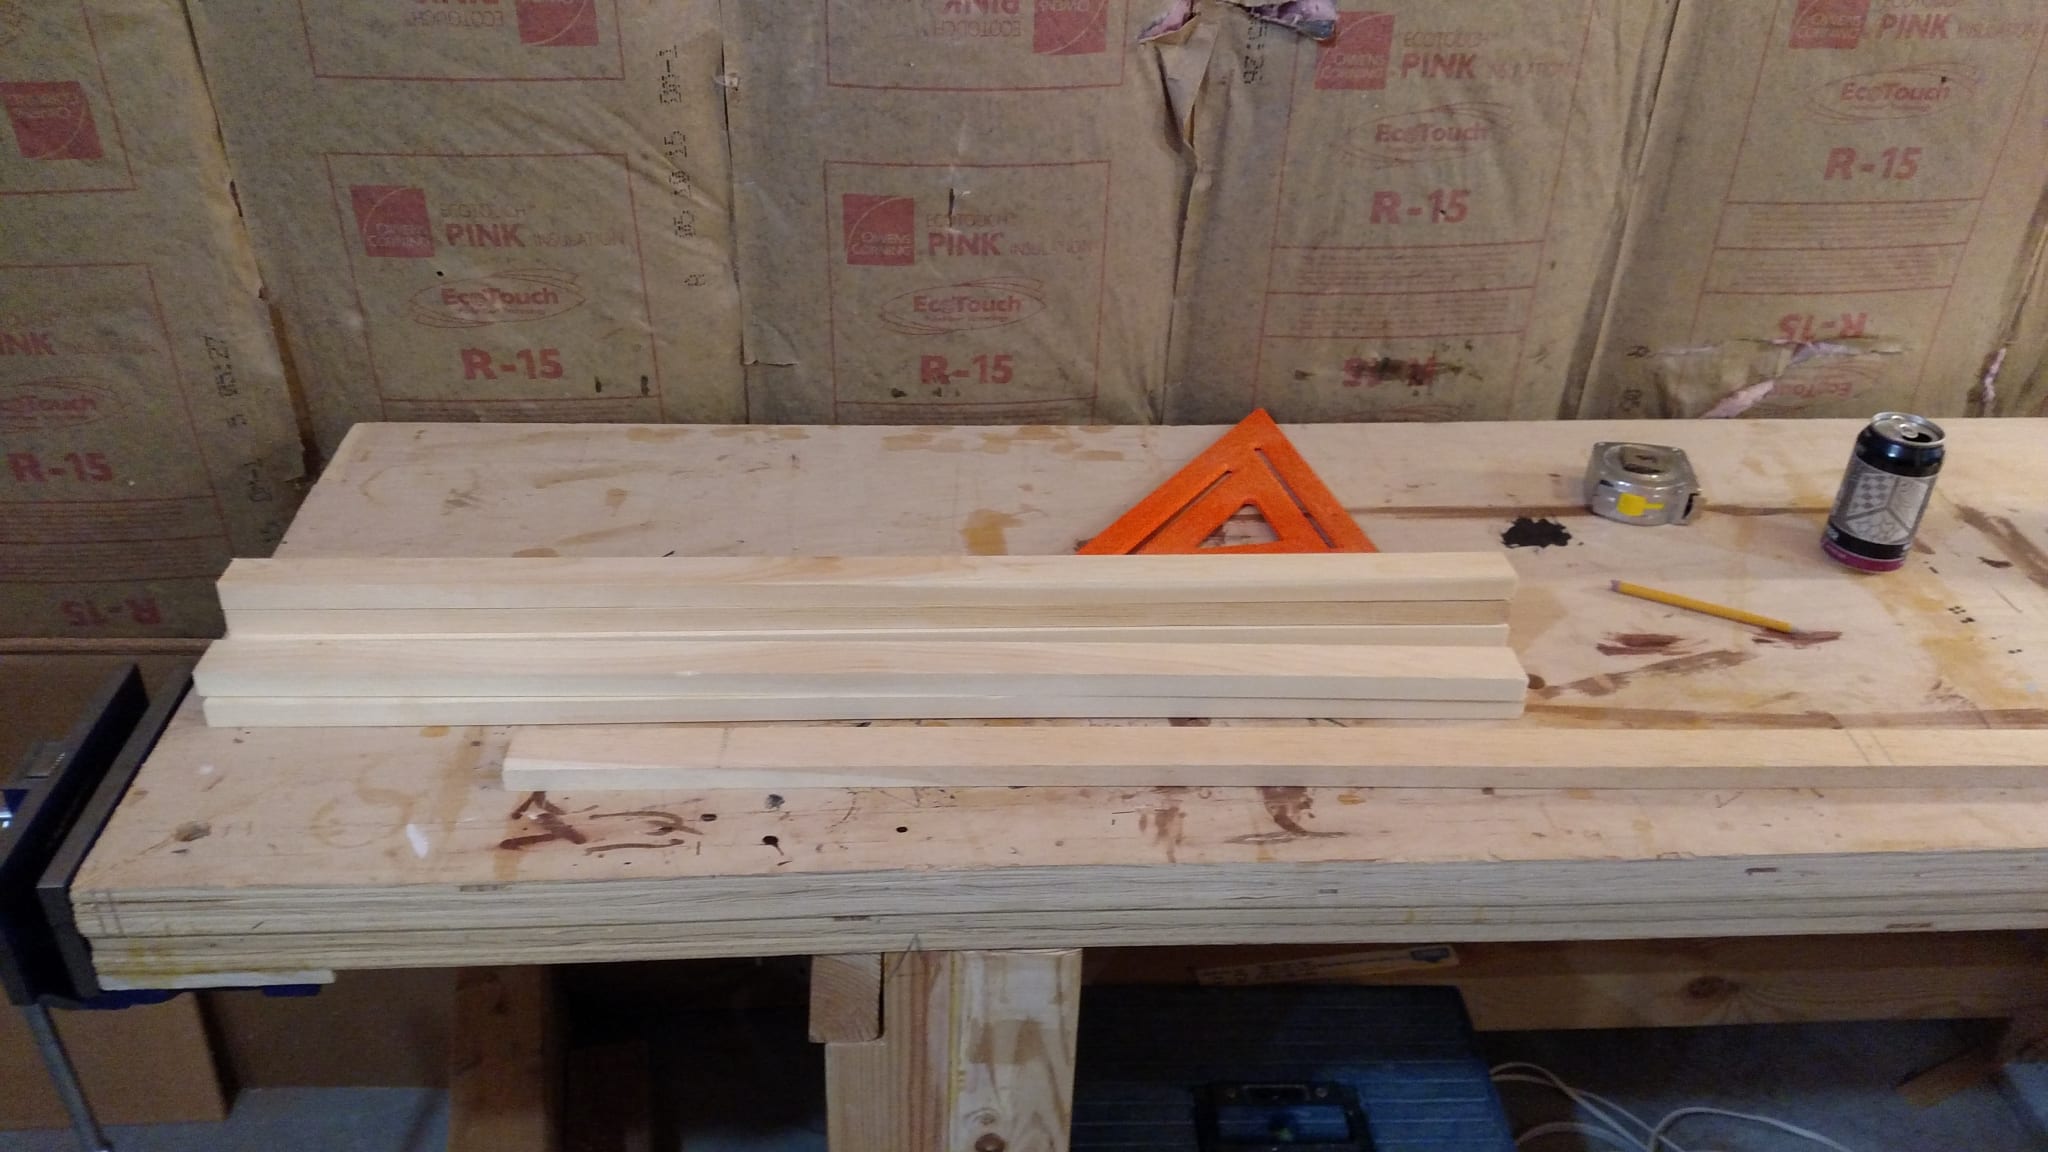
For the materials I decided to go simple and cheap. White pine legs, some poplar I had and plywood I already had around for the case sides (it was 3/4 inch red oak). I also ended up going with 1/2 inch birch plywood for the shelves and top, with 1/4 inch backing.
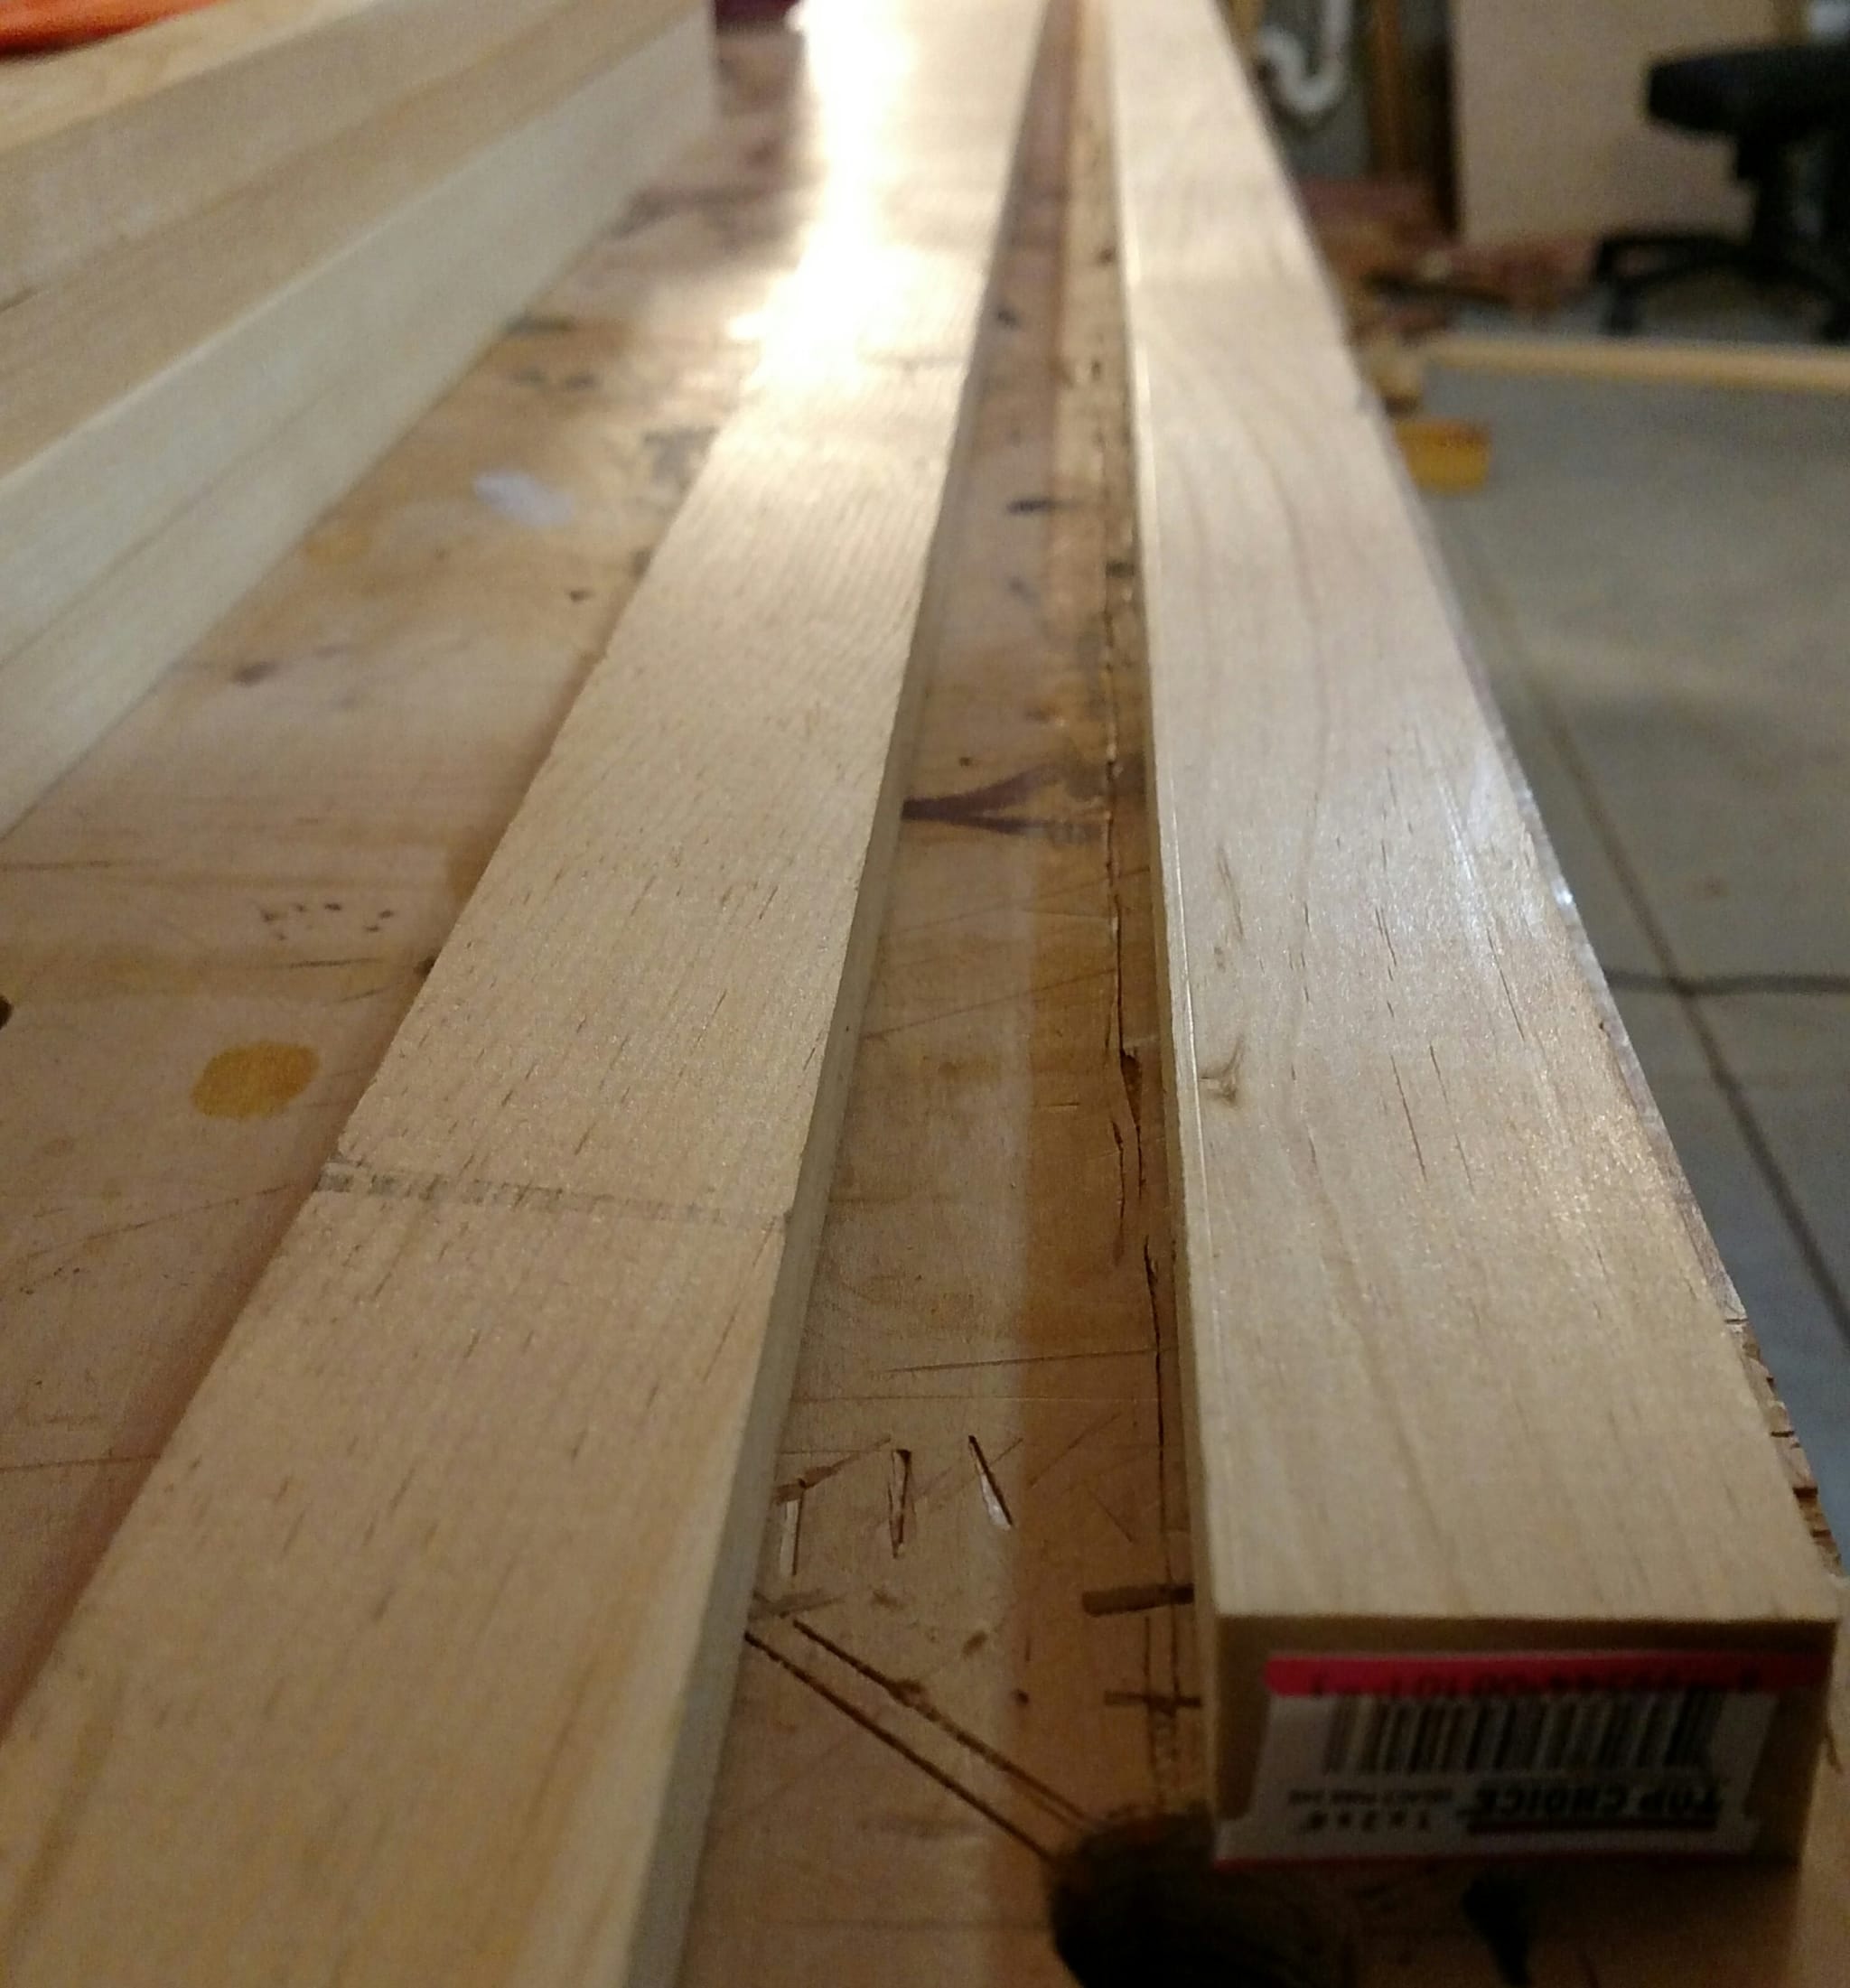
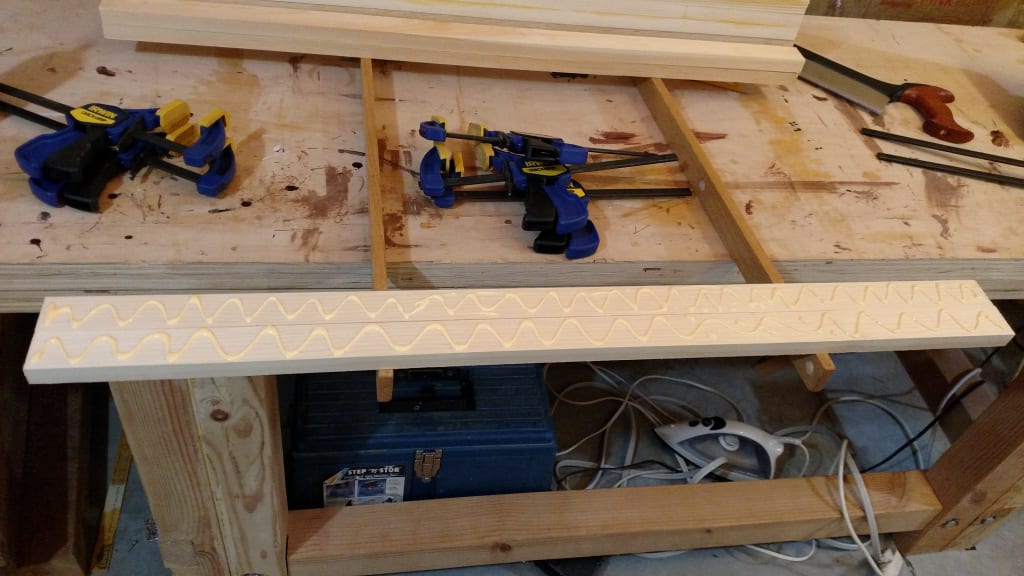
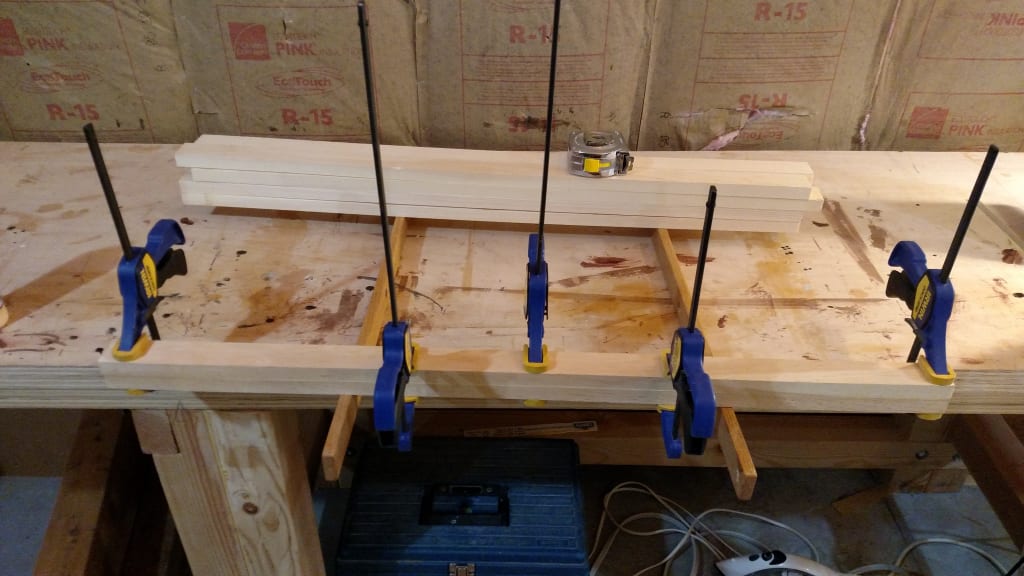
I wanted thick legs, though so I laminated two pieces of the pine together to make a square shaped leg.
The build
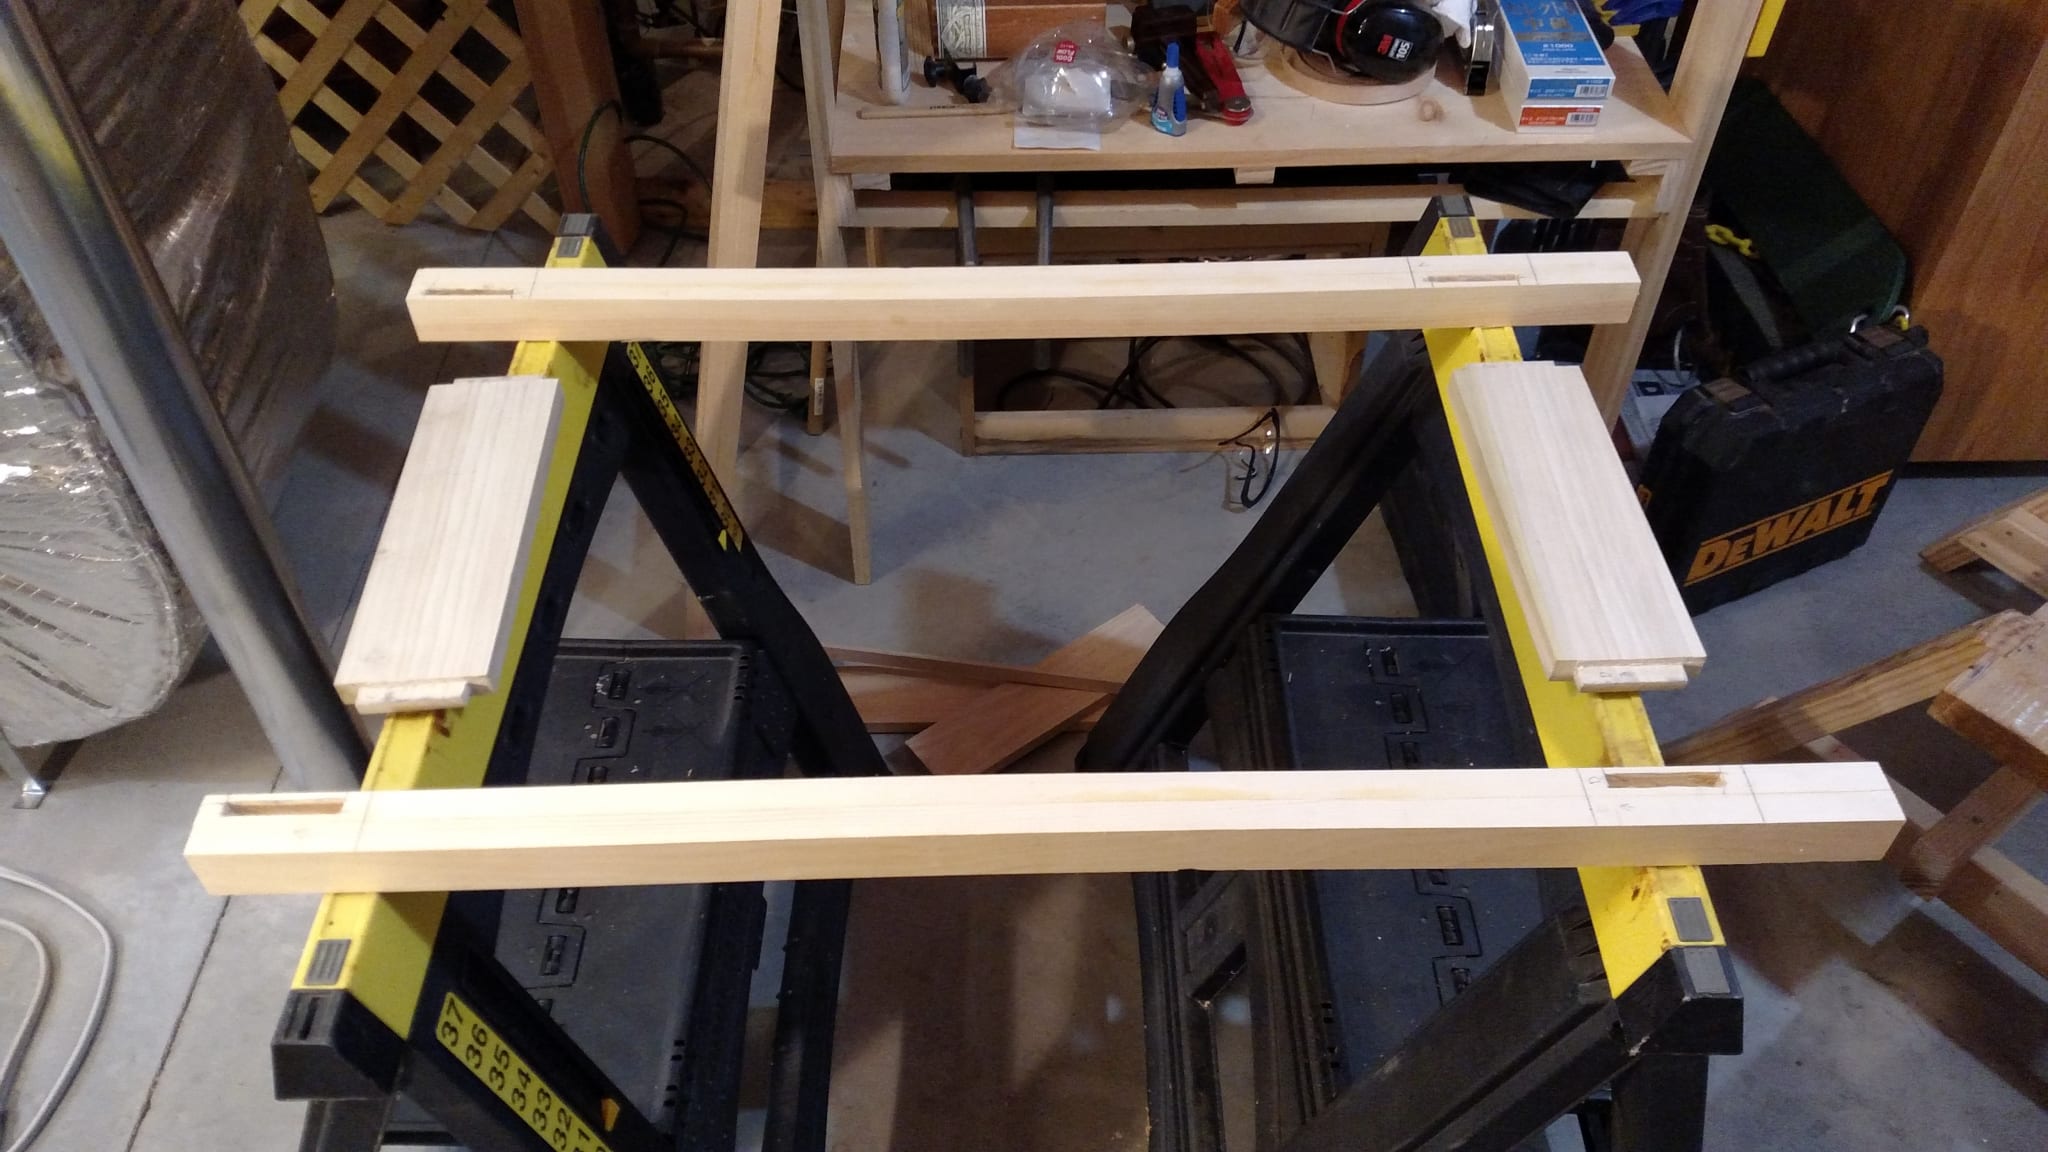
I started with the case sides which I decided to make as a frame, with the plywood screwed onto from the inside to hide the screws. I started with a mortise and tenon for the frame.
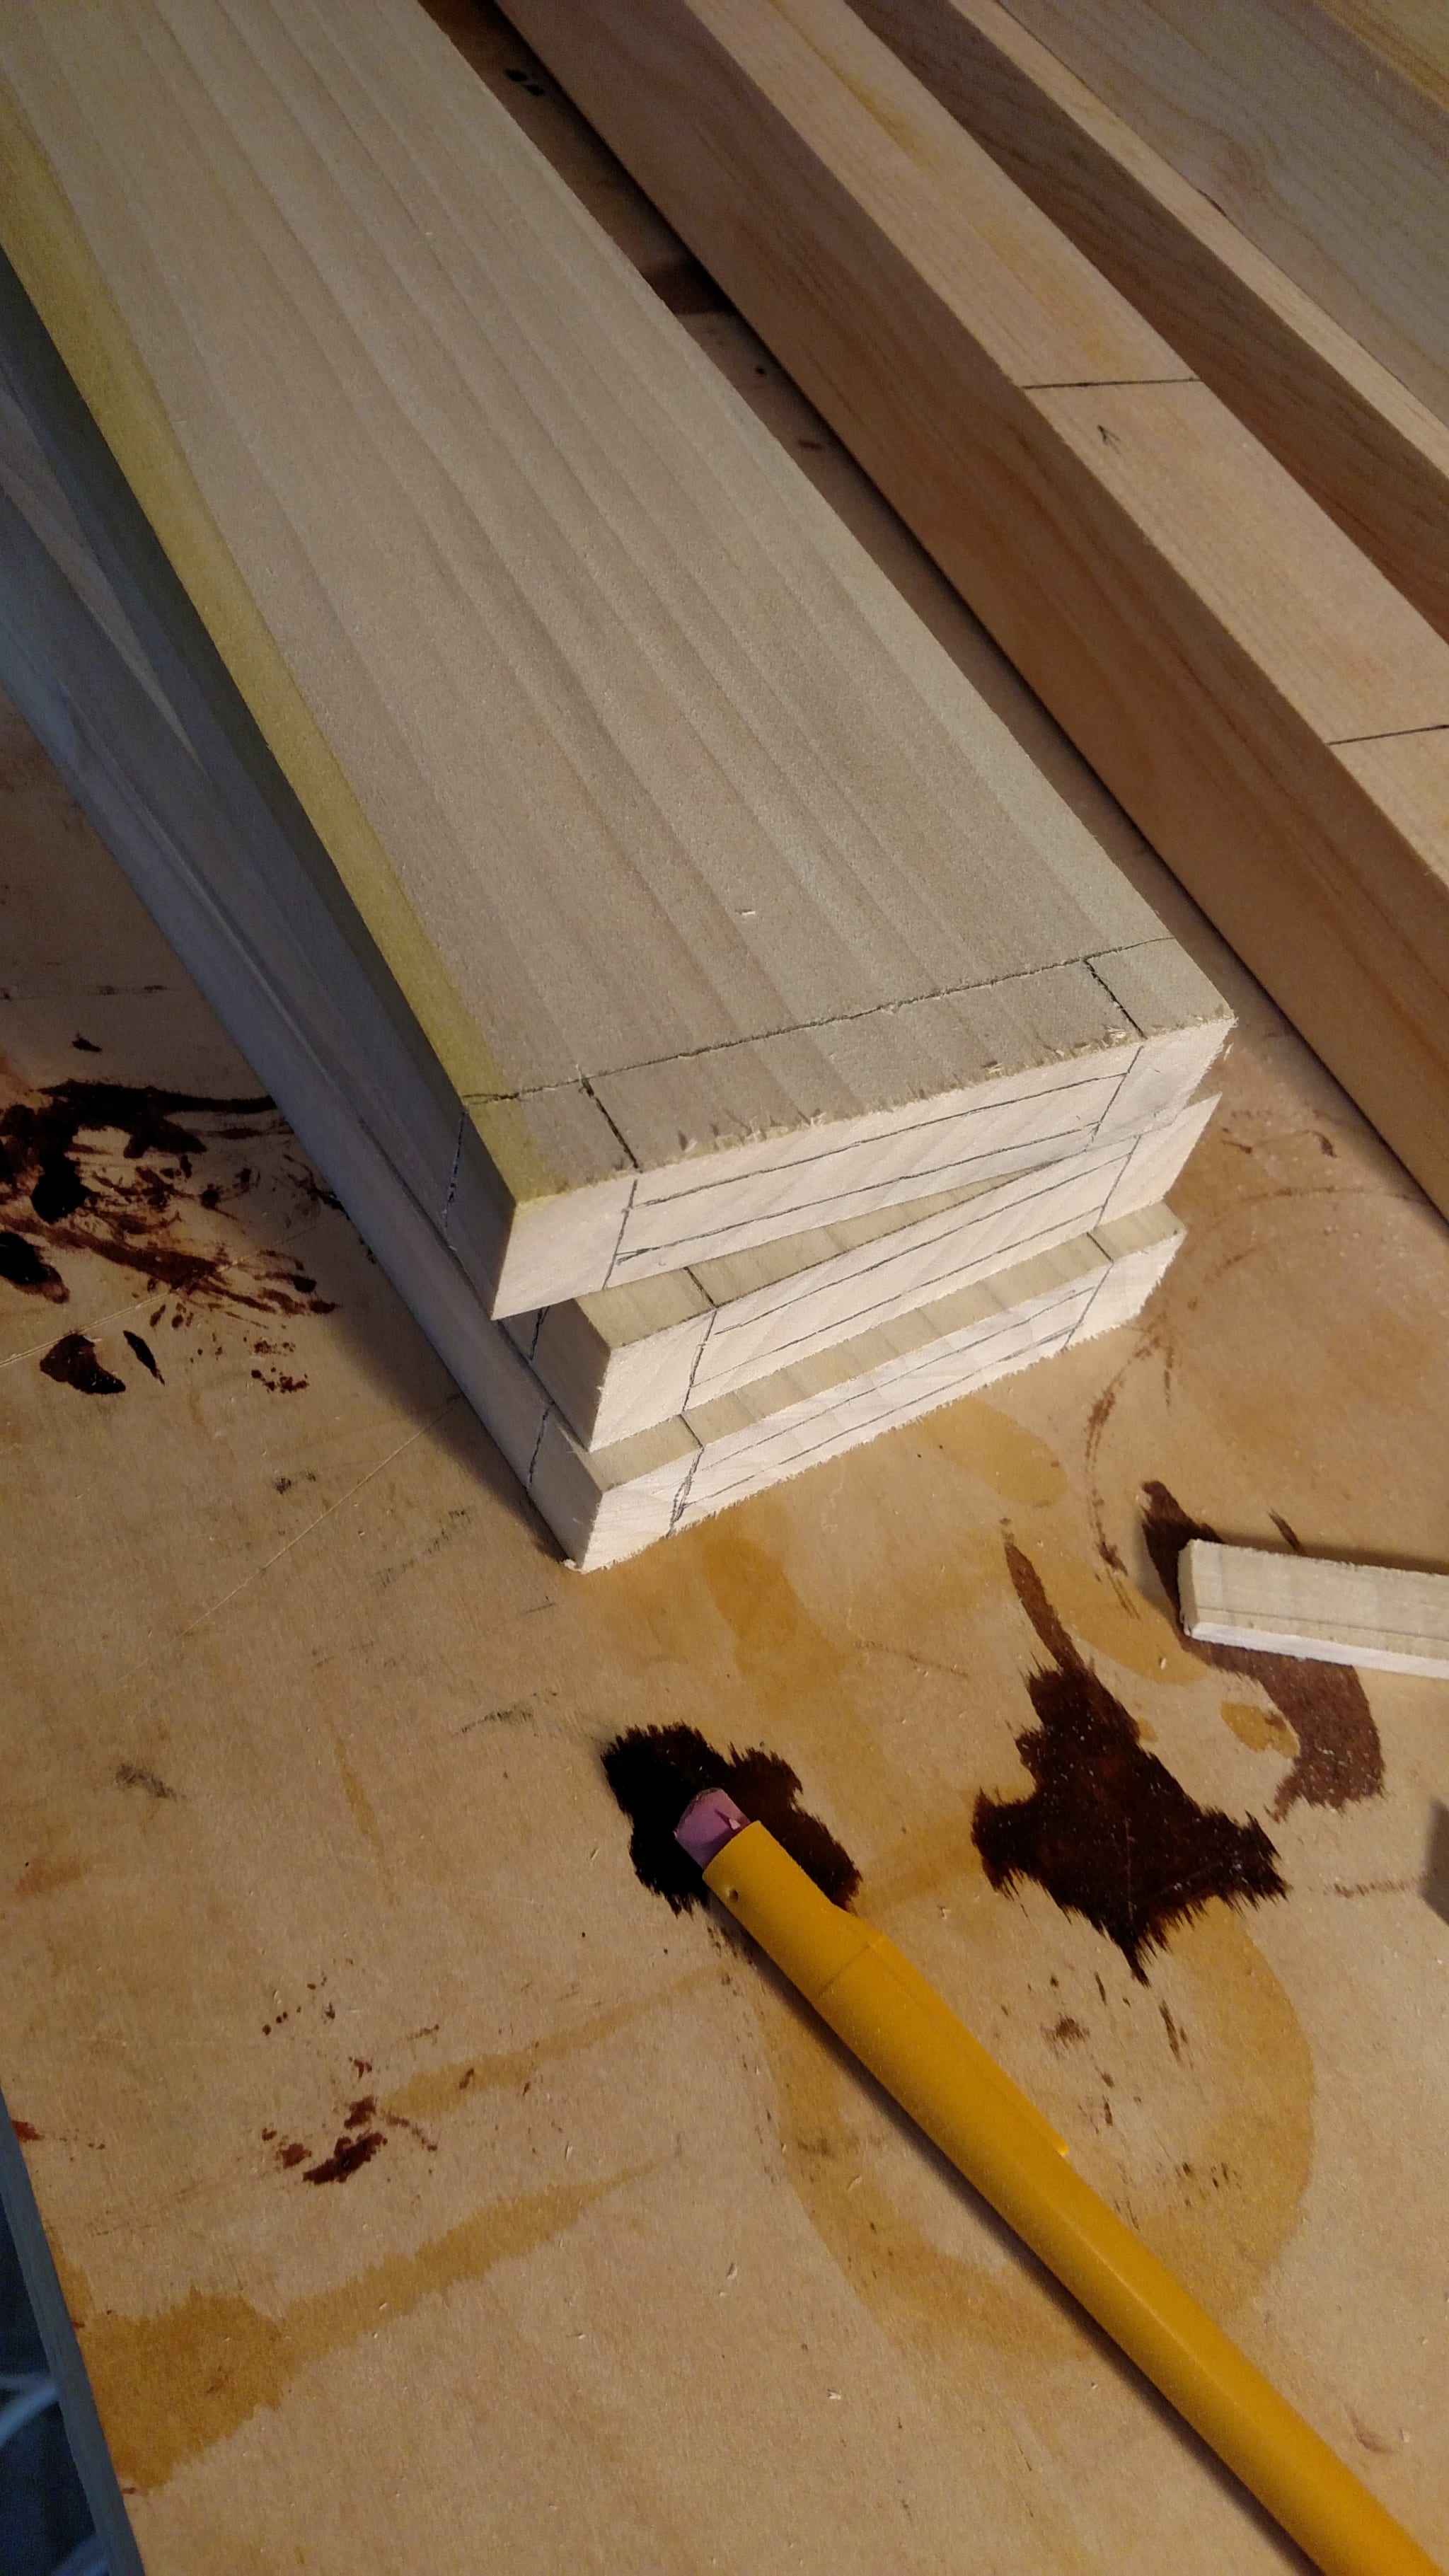
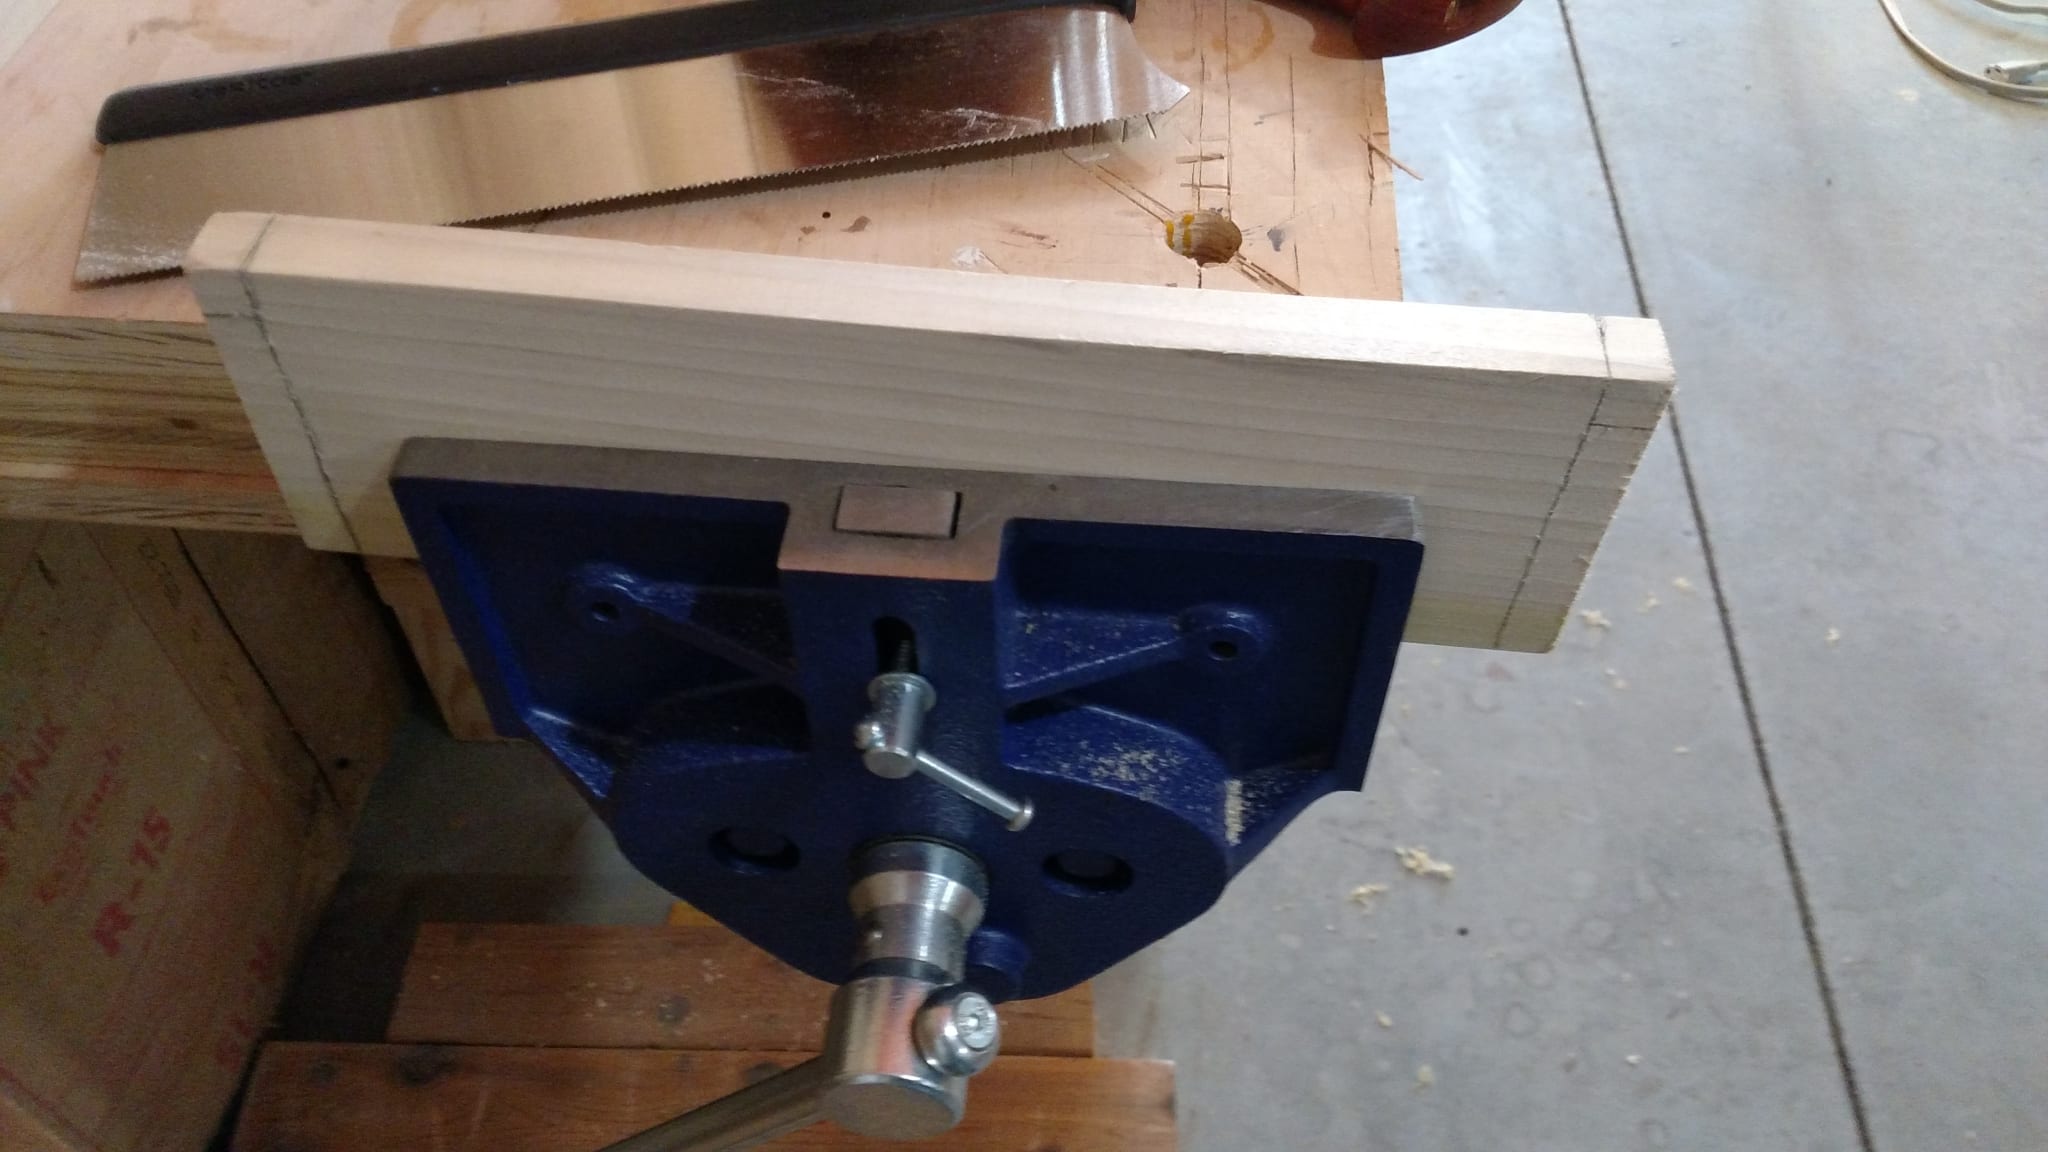
Once I had all the tenons marked up and ready to go I sawed the first one.
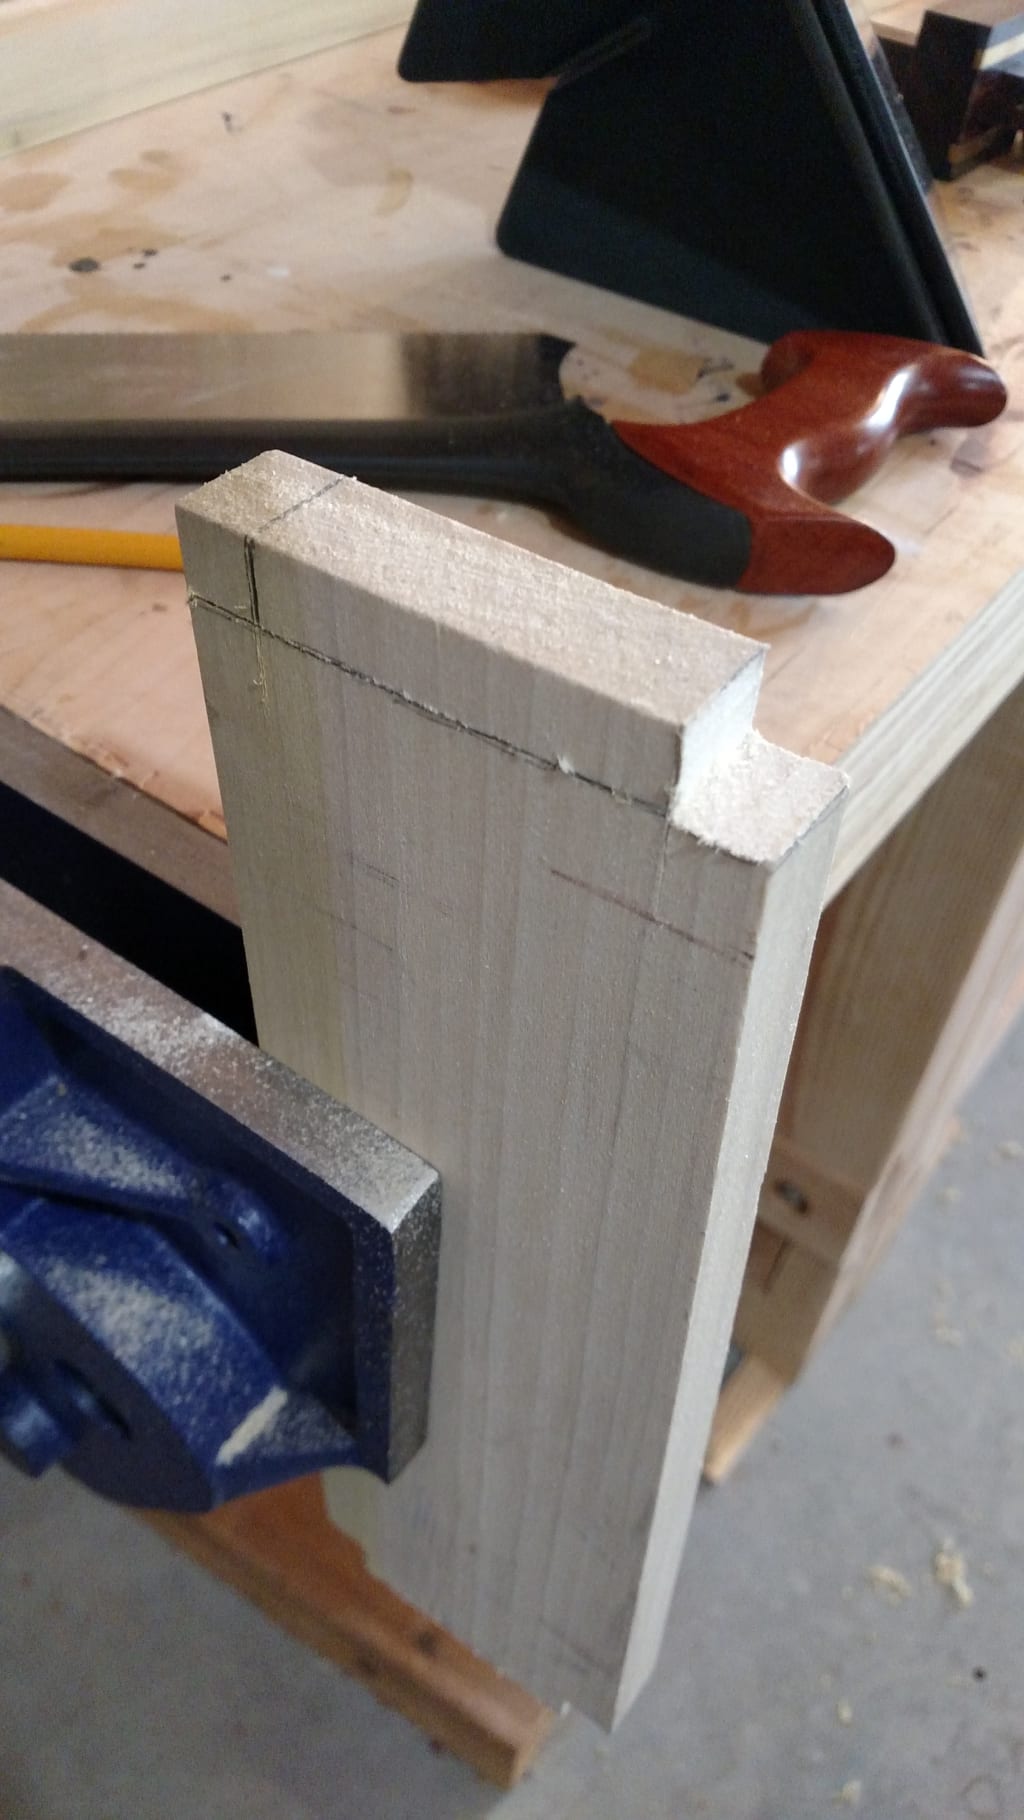
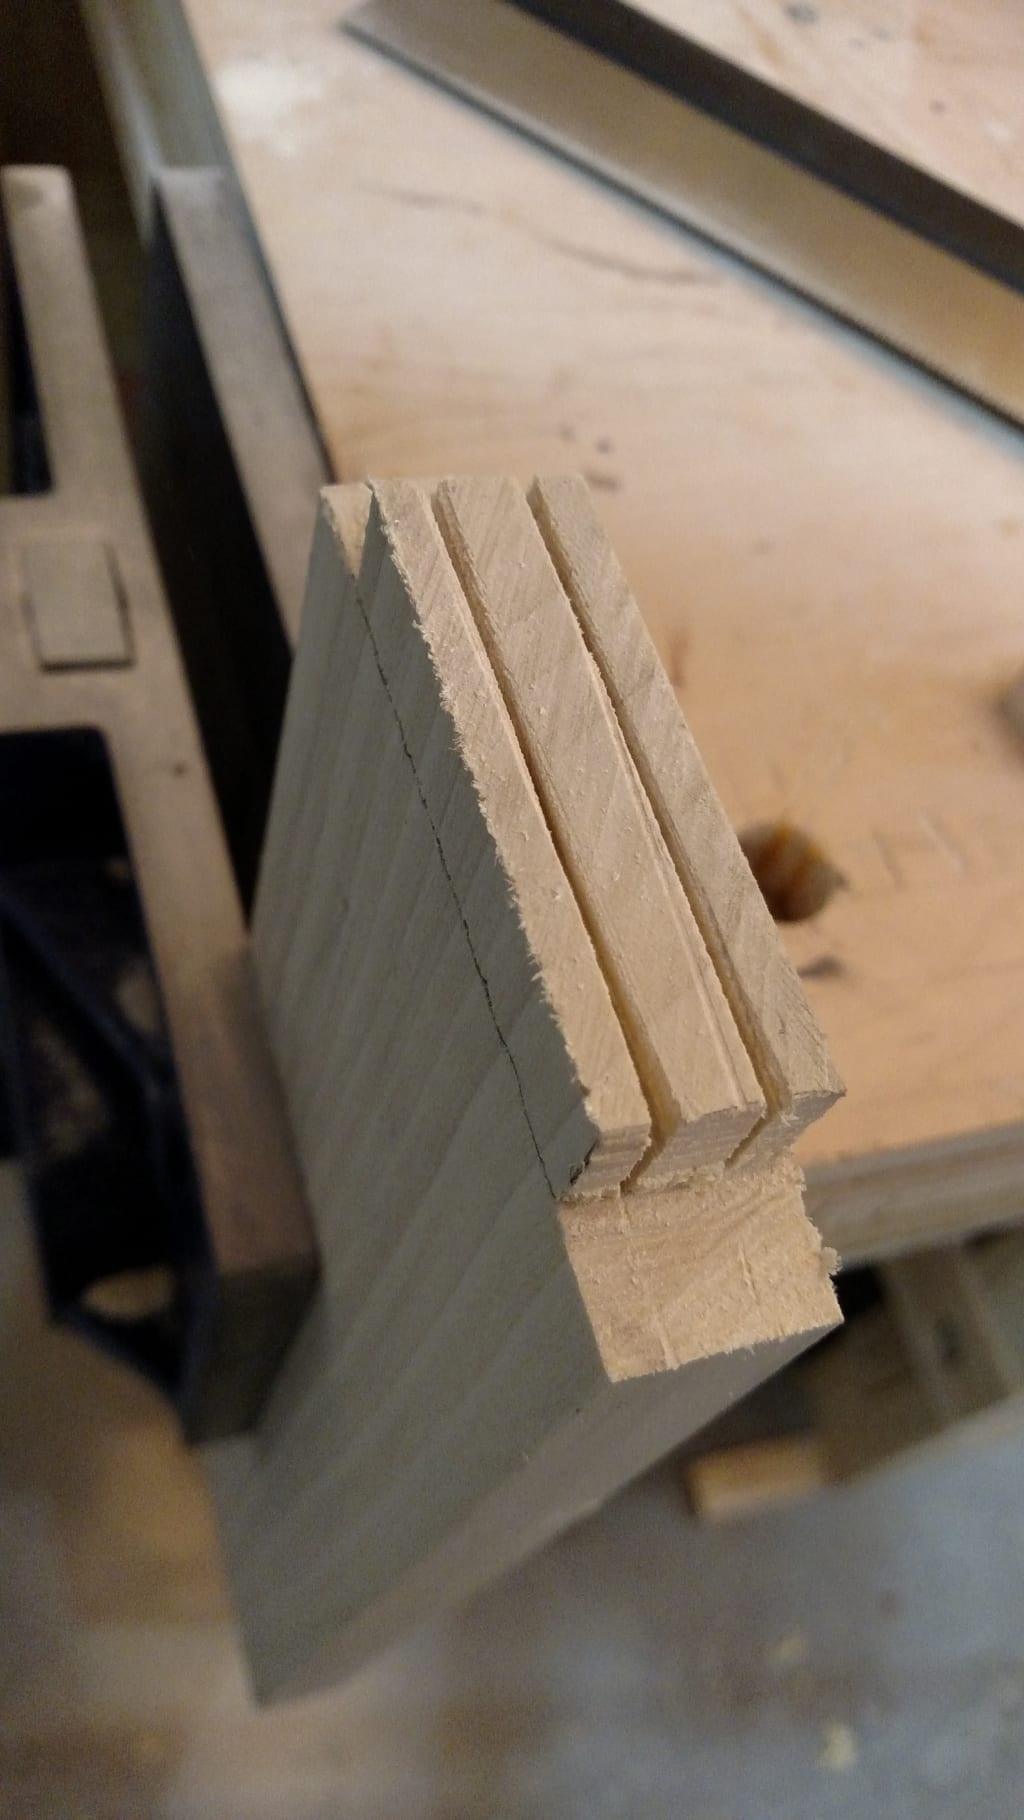
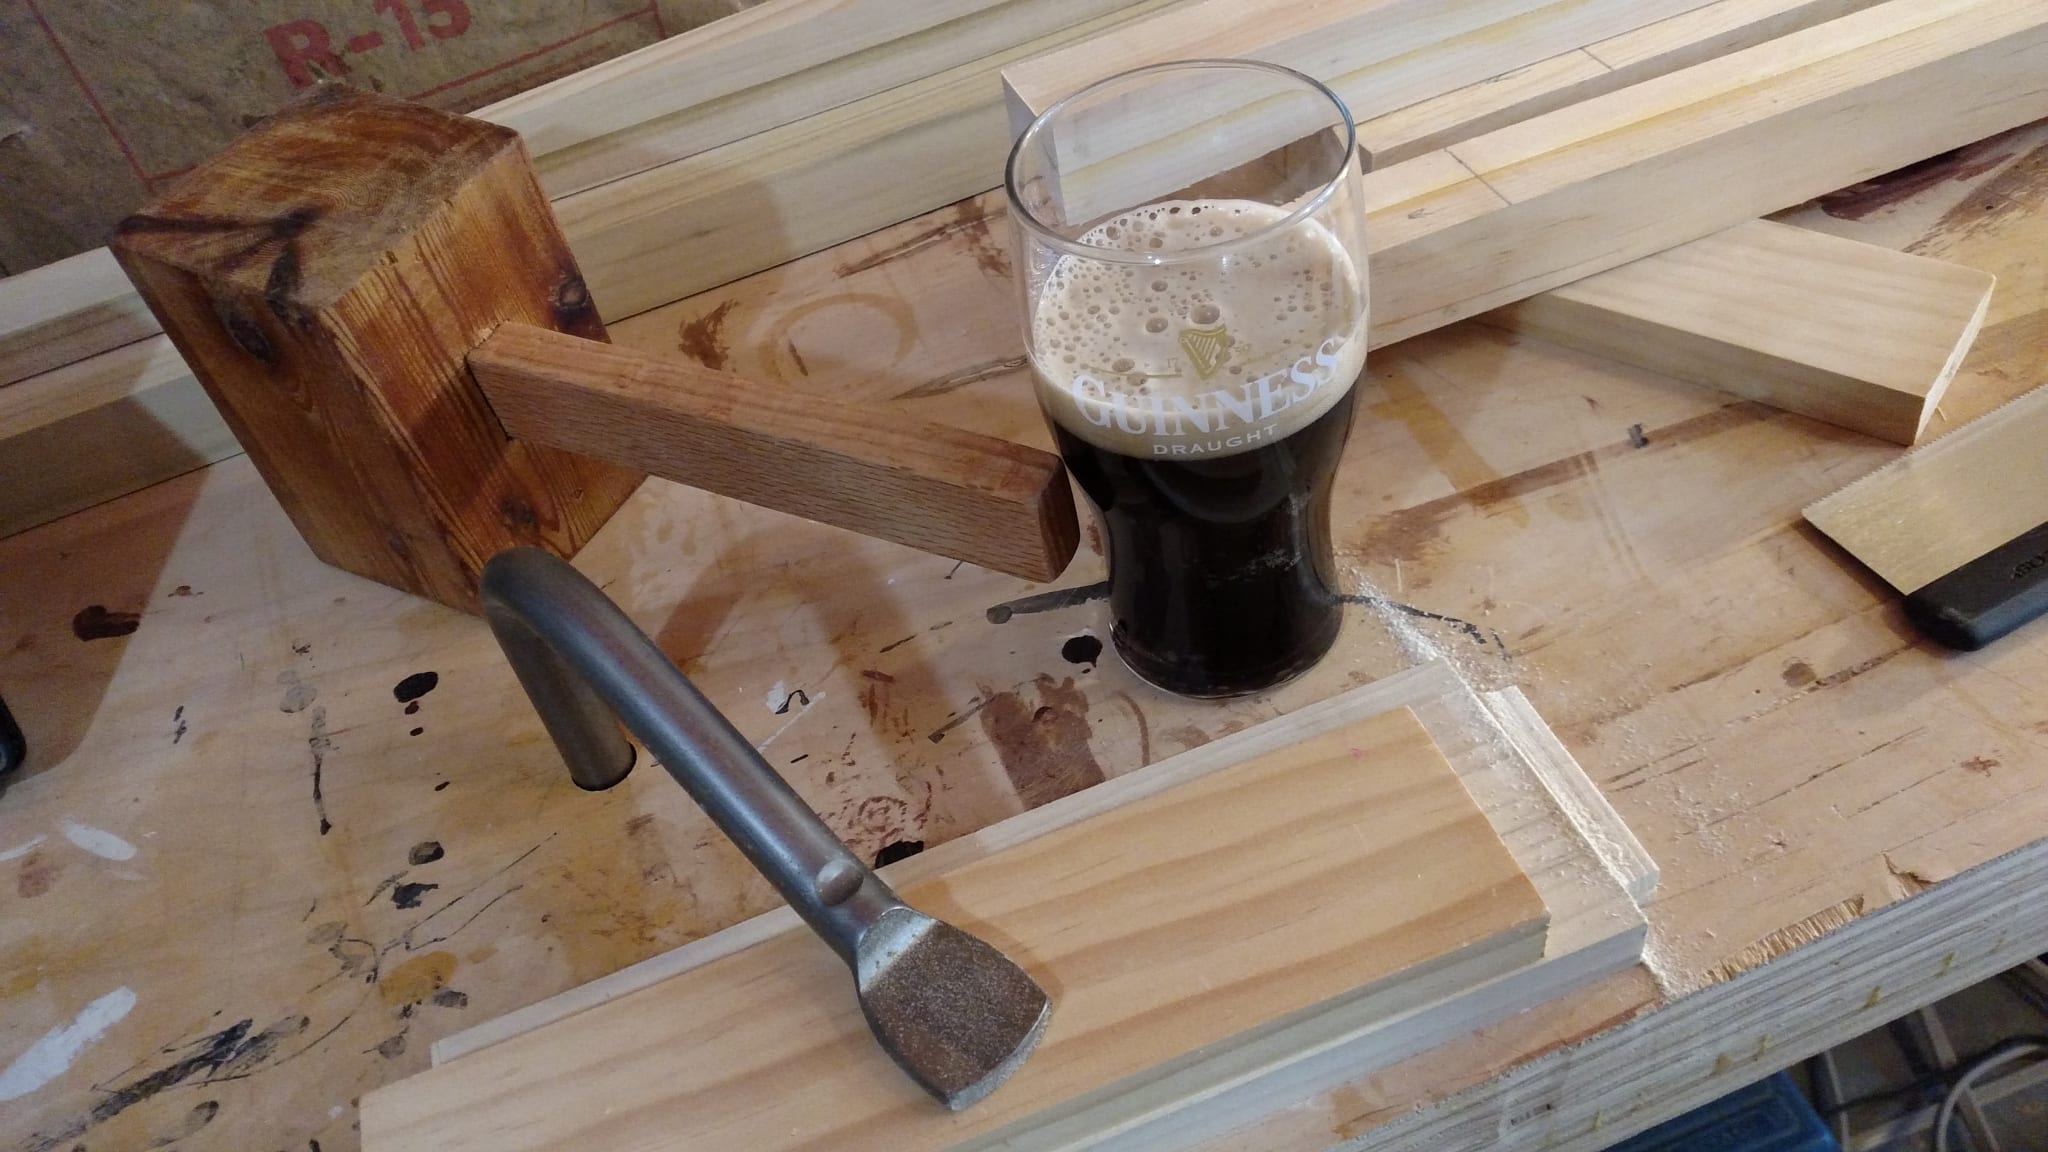
Good news! I got the first one done and it looks good. The Guinness is helping too. Now I just have to do three more.
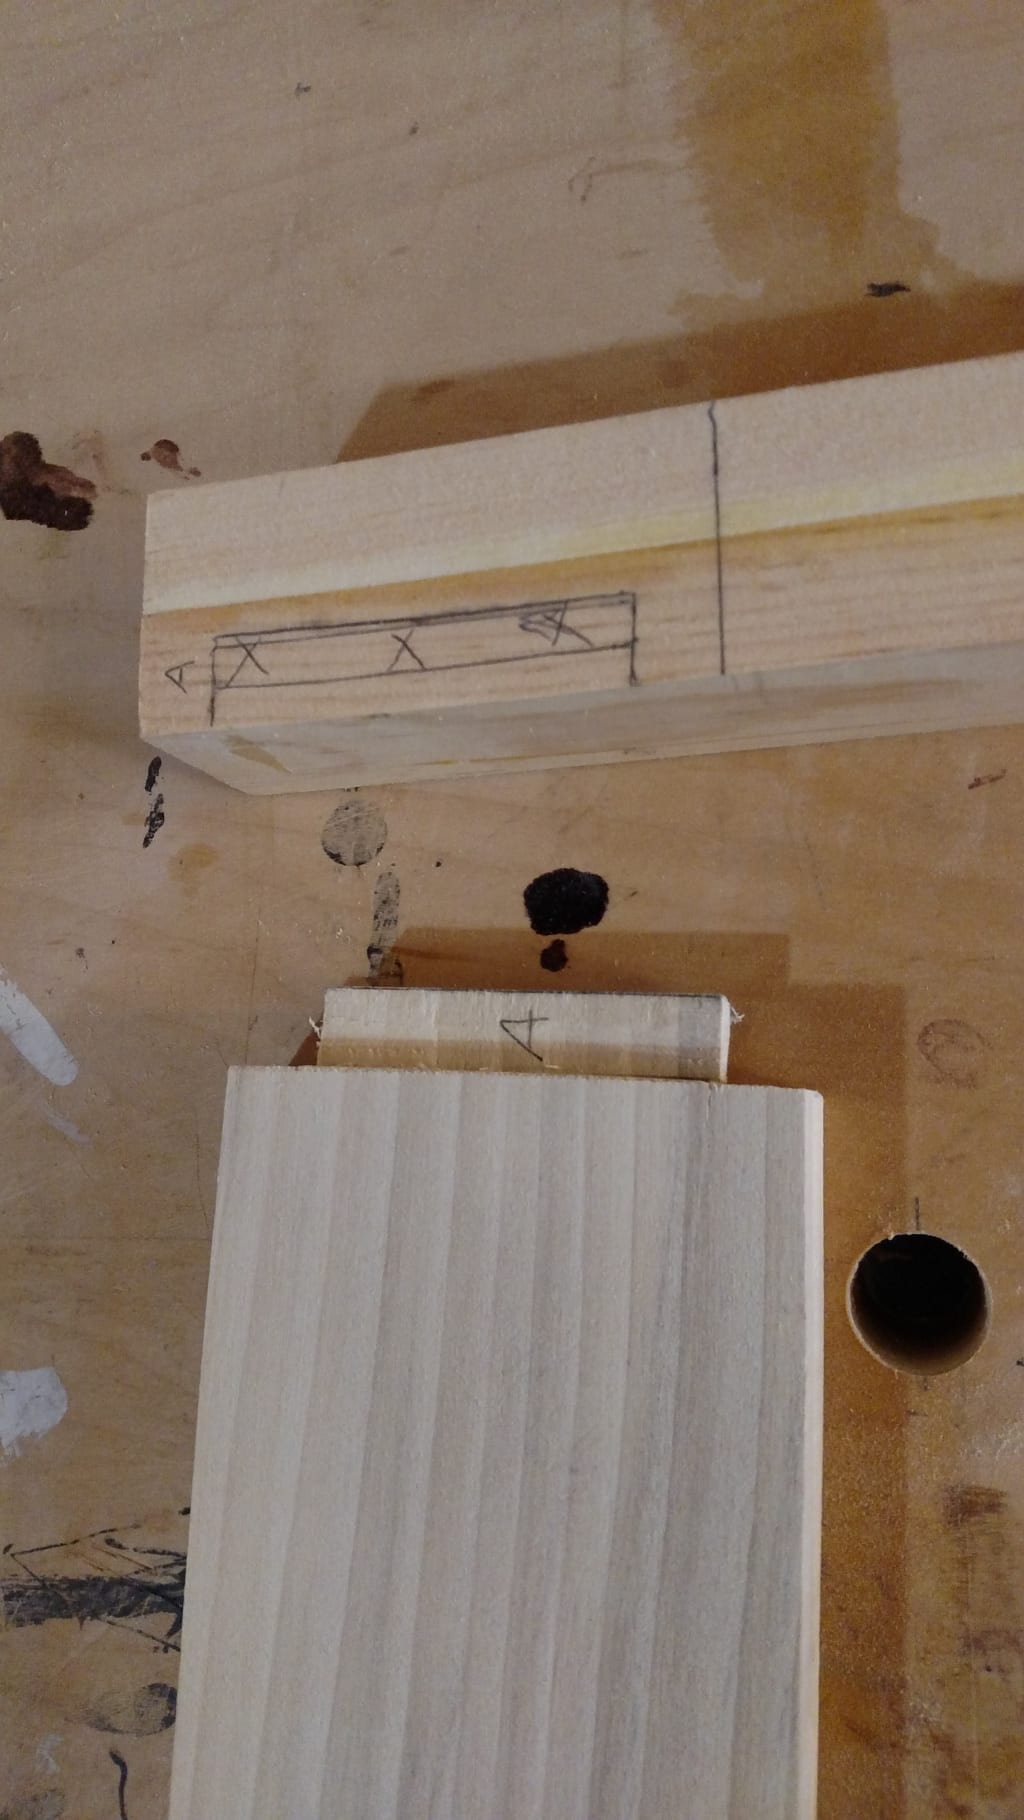
Now that all the tenons are ready I need to chop out the mortises. This calls for some marking via the tried and true overlay method. Put my tenon where I expect it to end up and trace the shape. Then I will take my forstner bit and drill out as much excess as I can before I clean it up with a chisel.
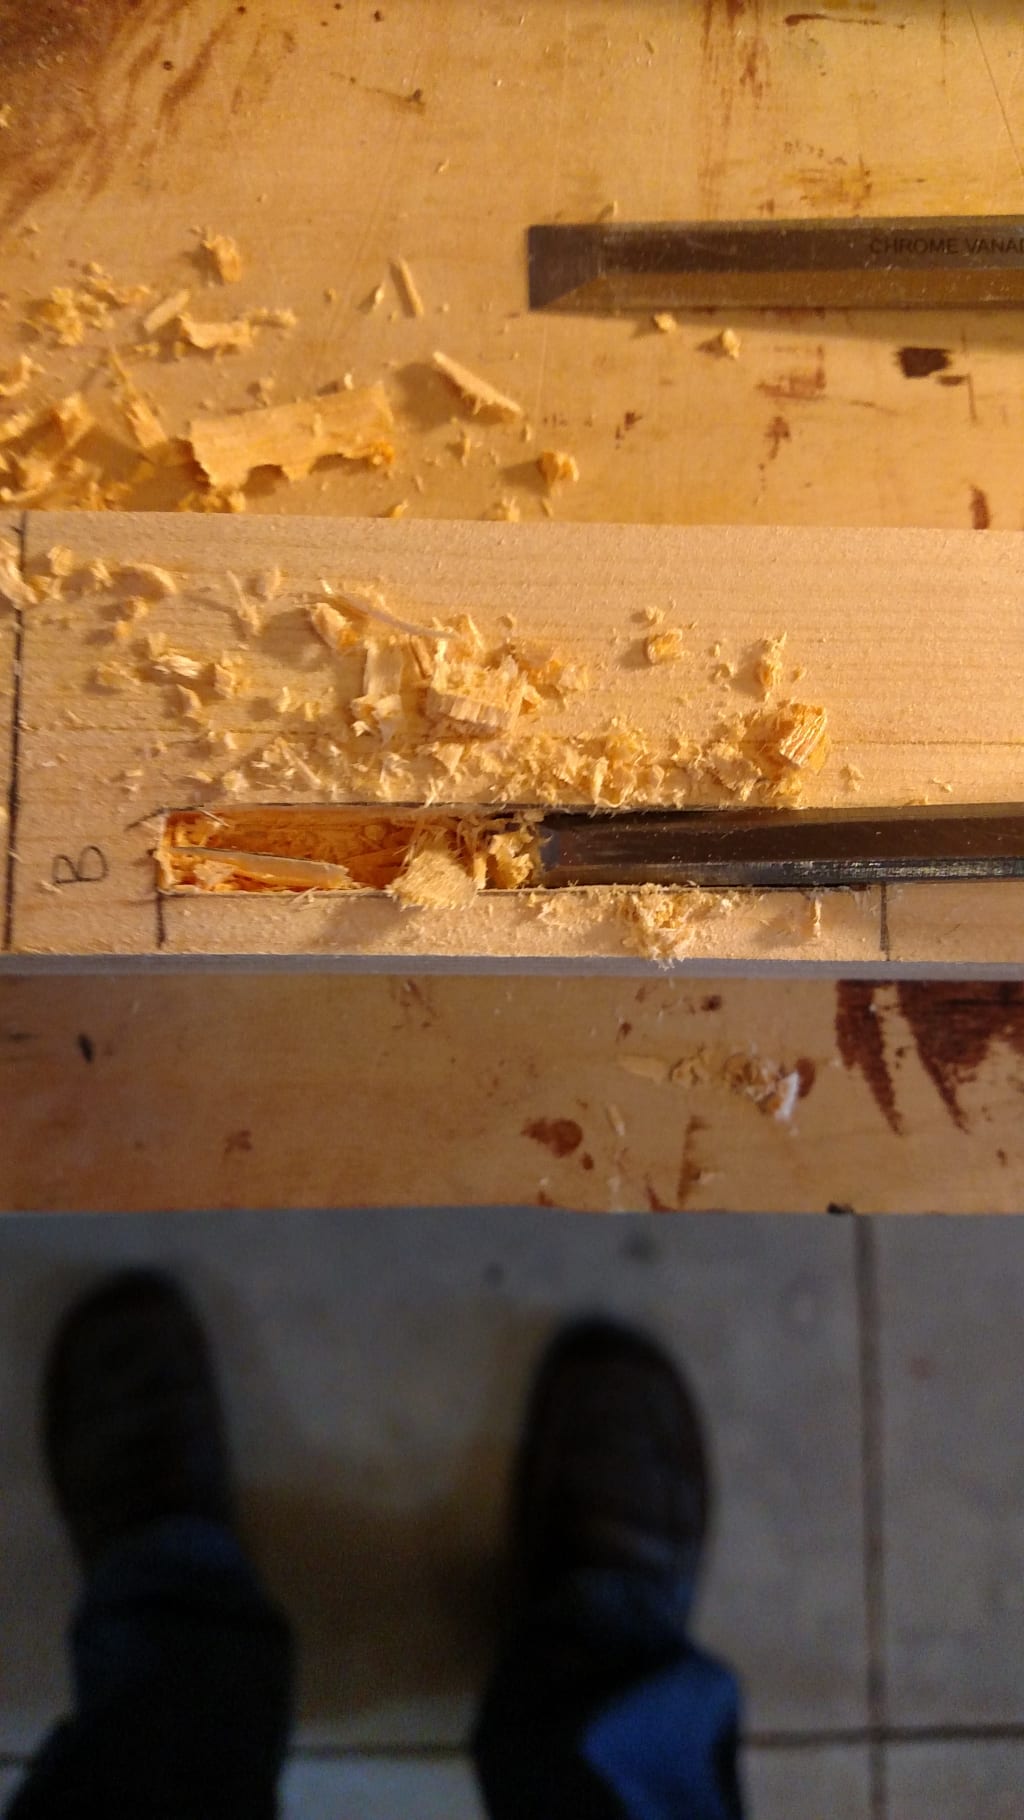
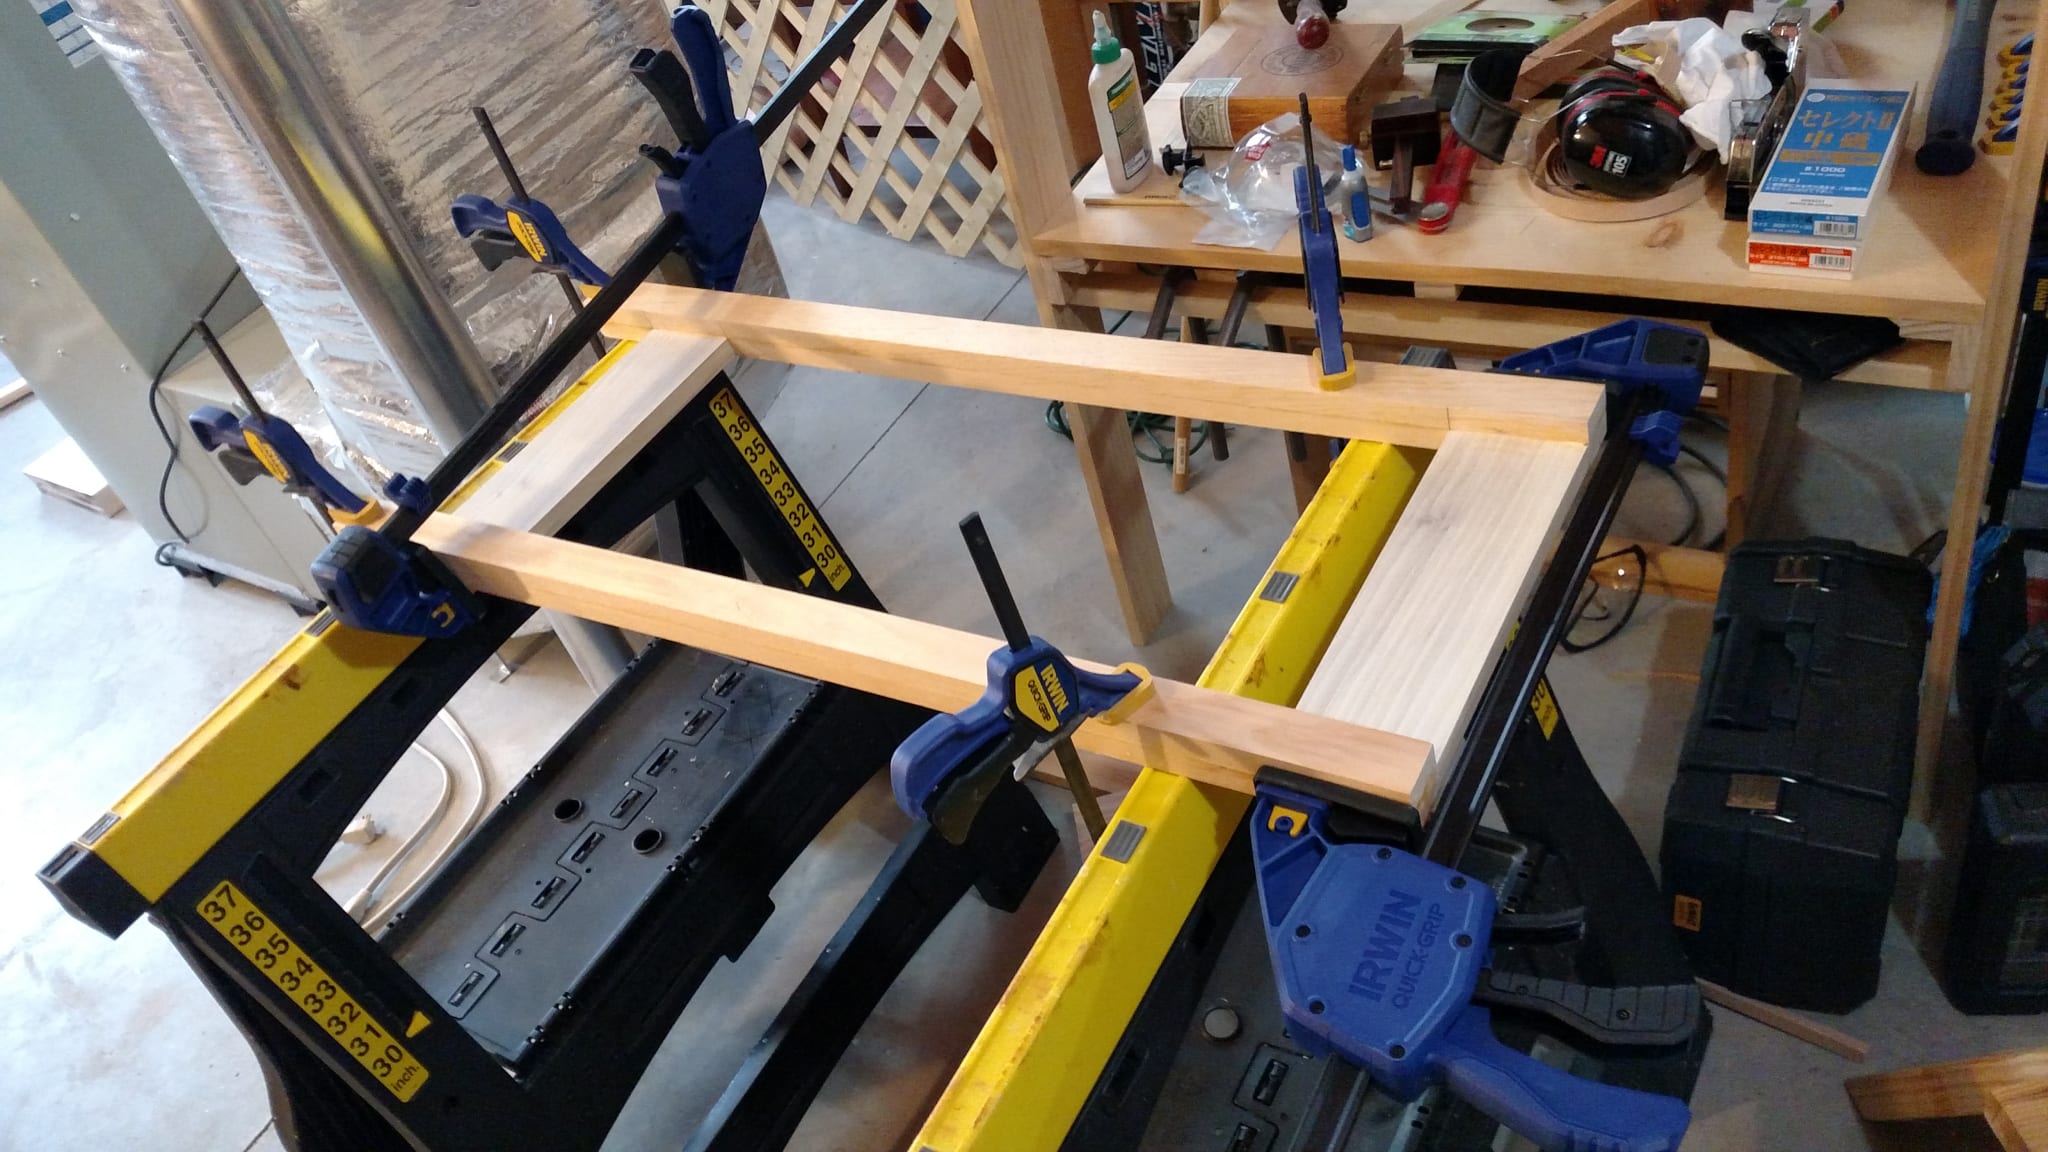
Eight mortises later and I am ready to fit and glue the frames for the sides. It takes a few small adjustments to remove the gaps before I move on to gluing and clamping, but it wasn't so bad.

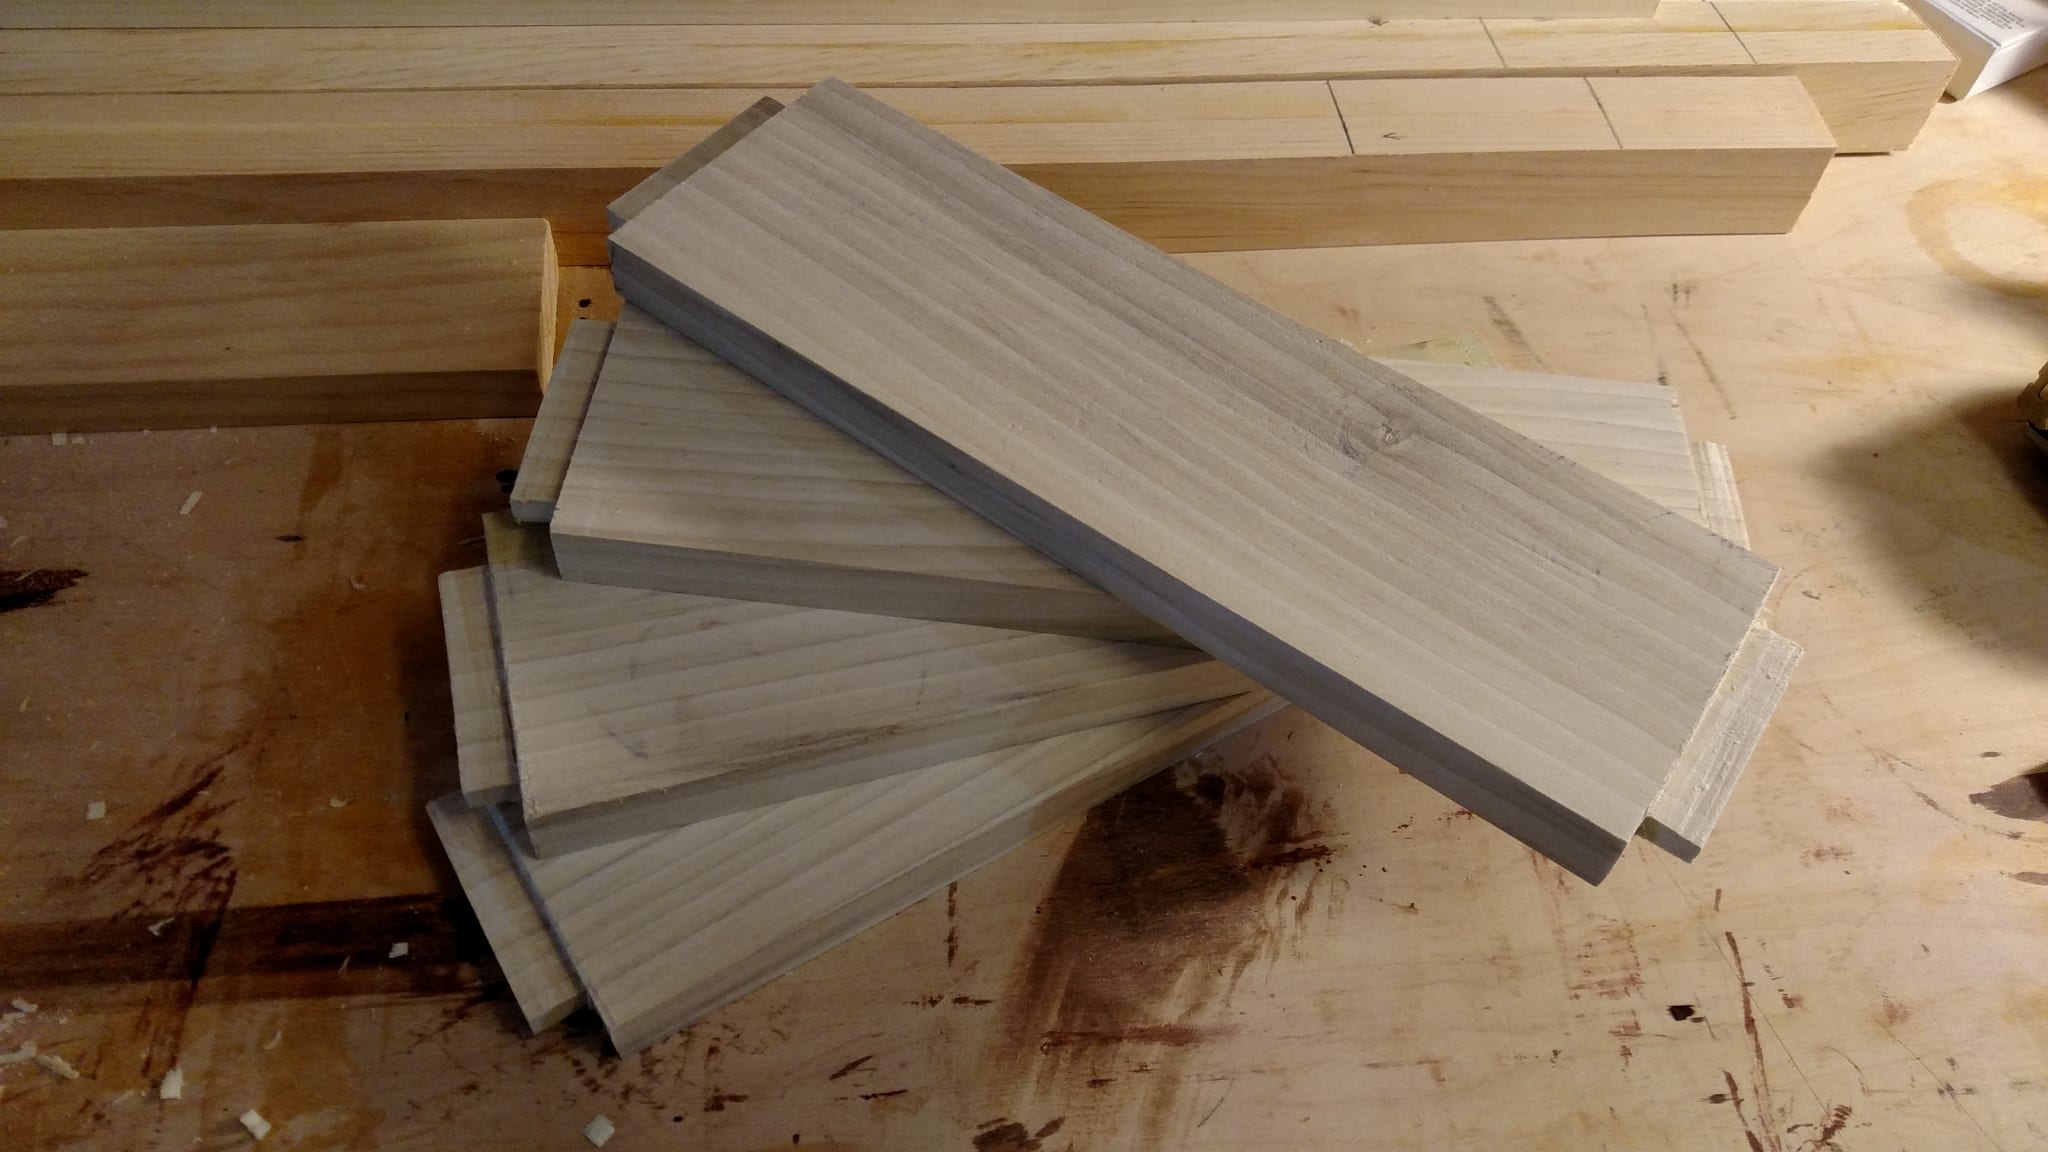
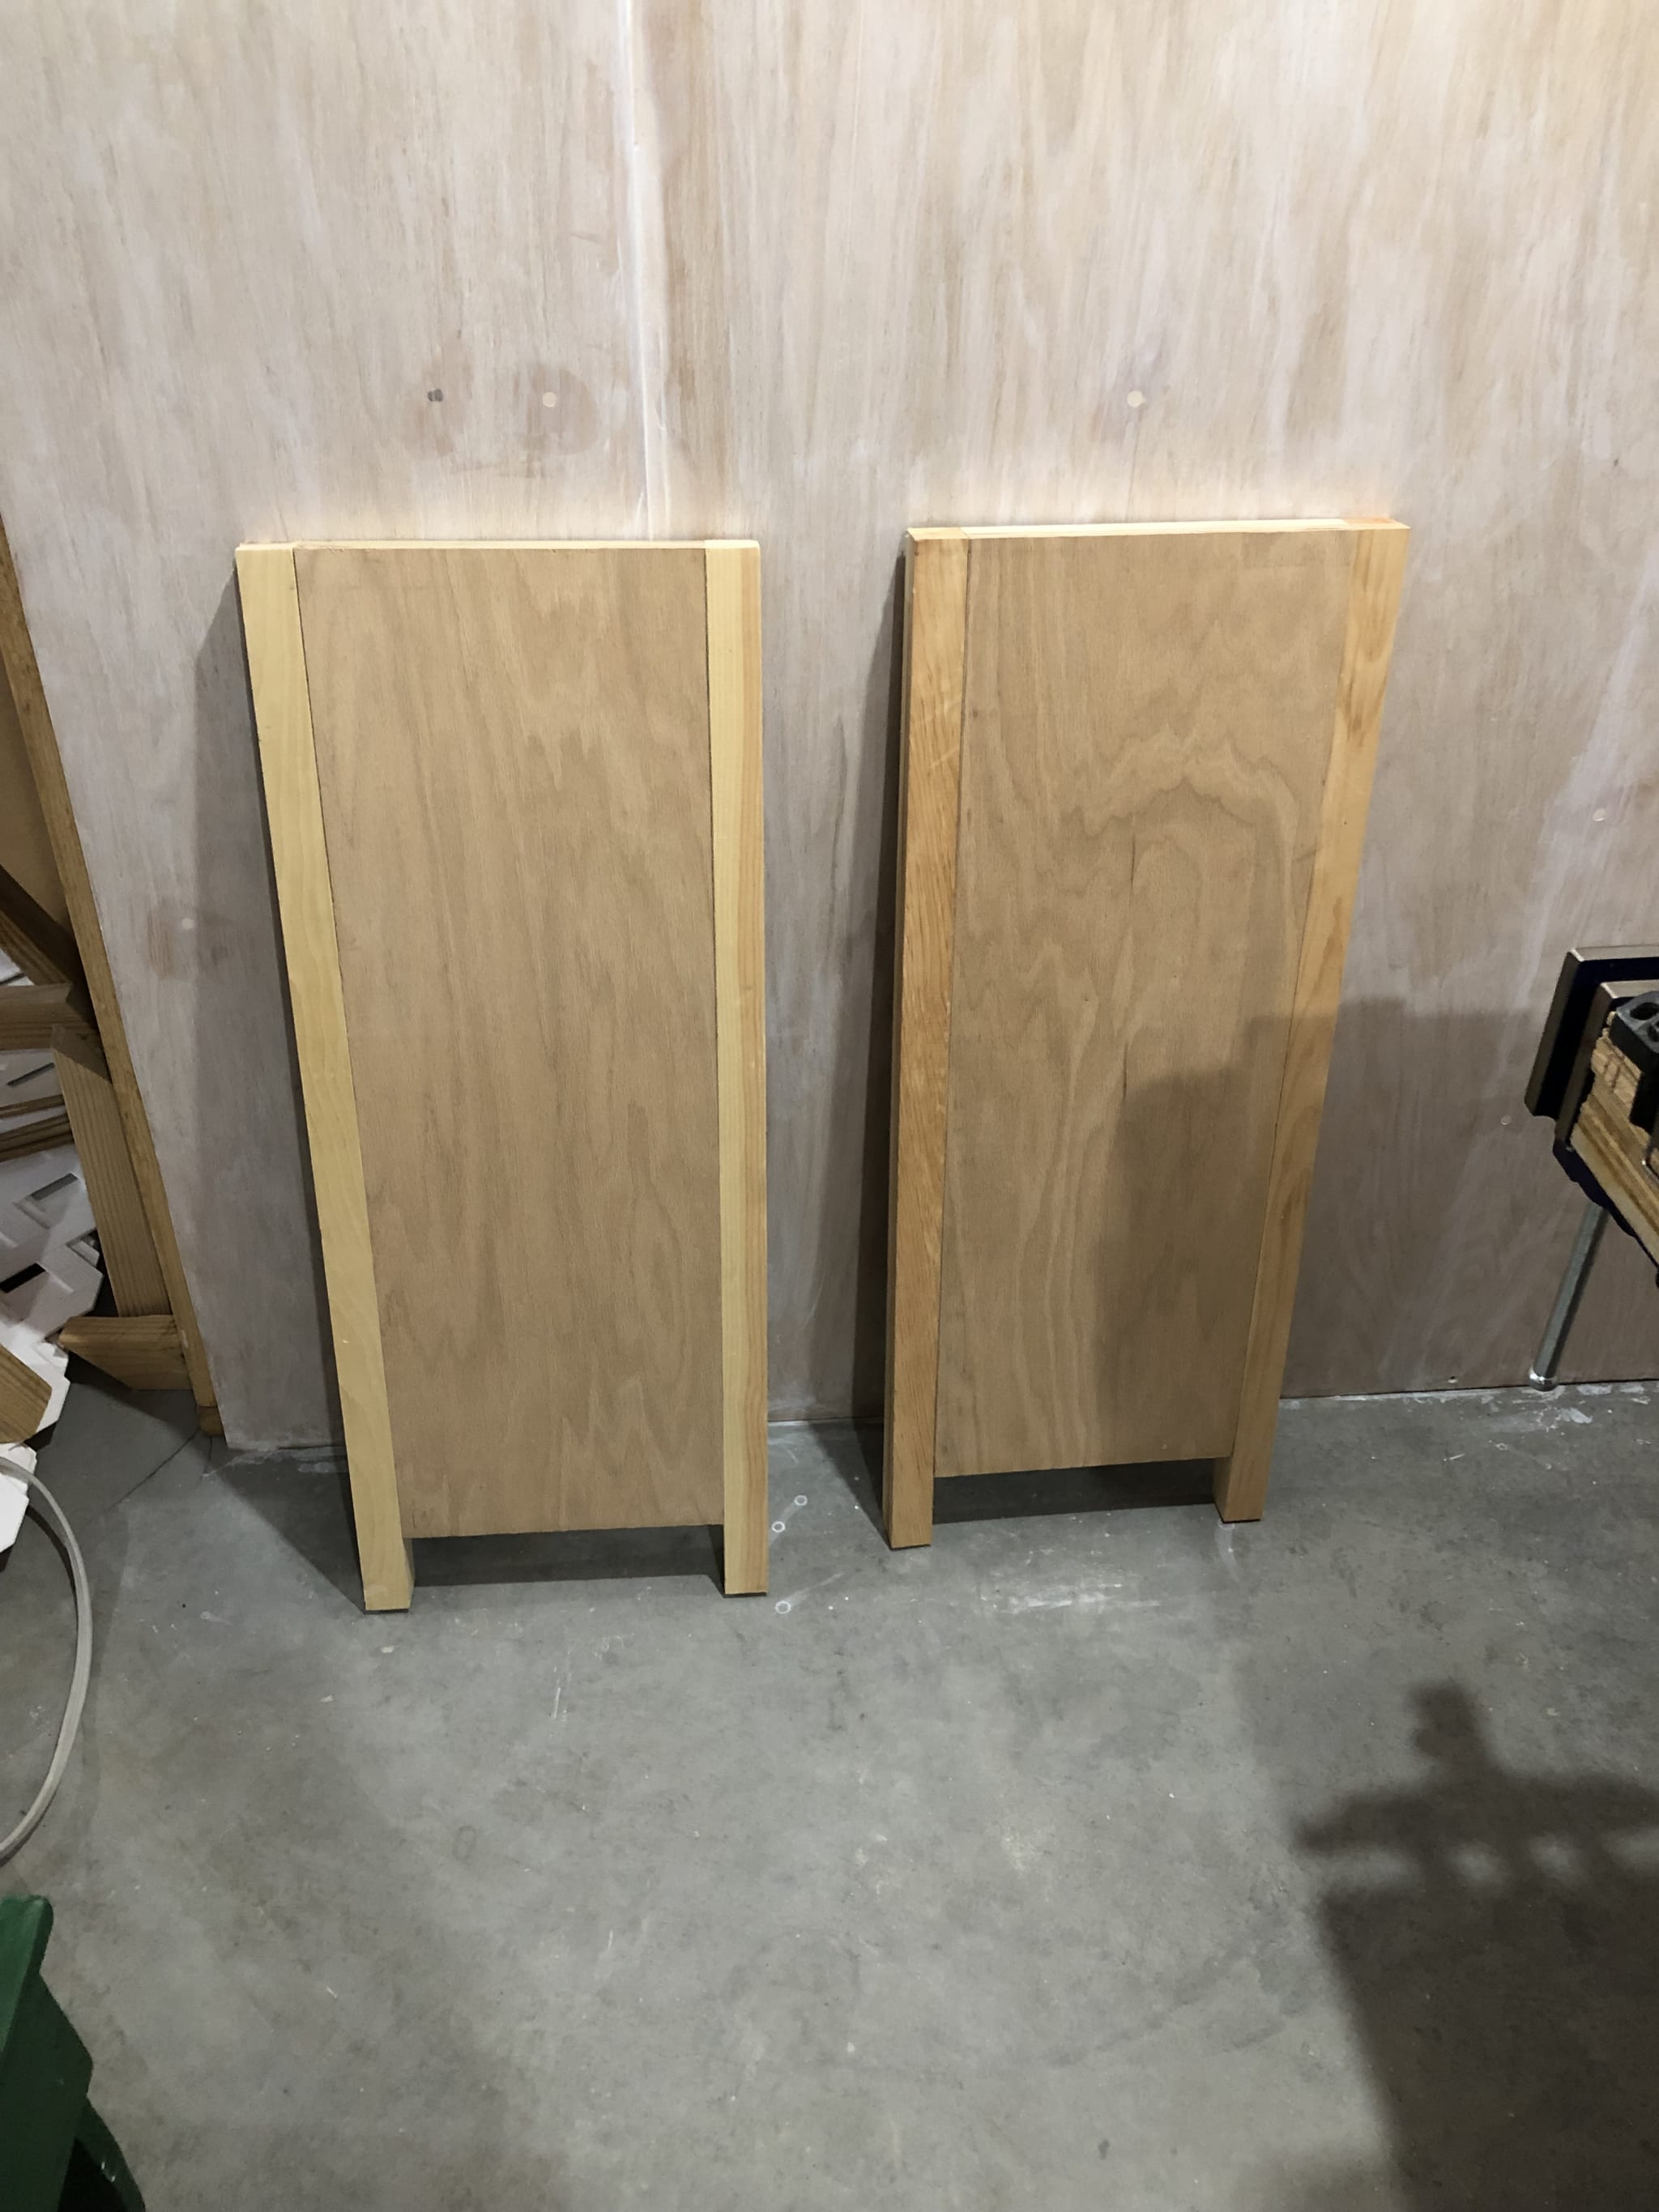
Now that one frame is done, I roll right into making the second frame, and while the glue is setting for the second frame I measure, cut, and screw the first case end to the first frame. I forgot to take pictures of this part, but here are the finished end panels.
There was a long delay in the start of this project vs the completion of this project, because we had our basement partially finished - and I turned the unfinished portion into my workshop!
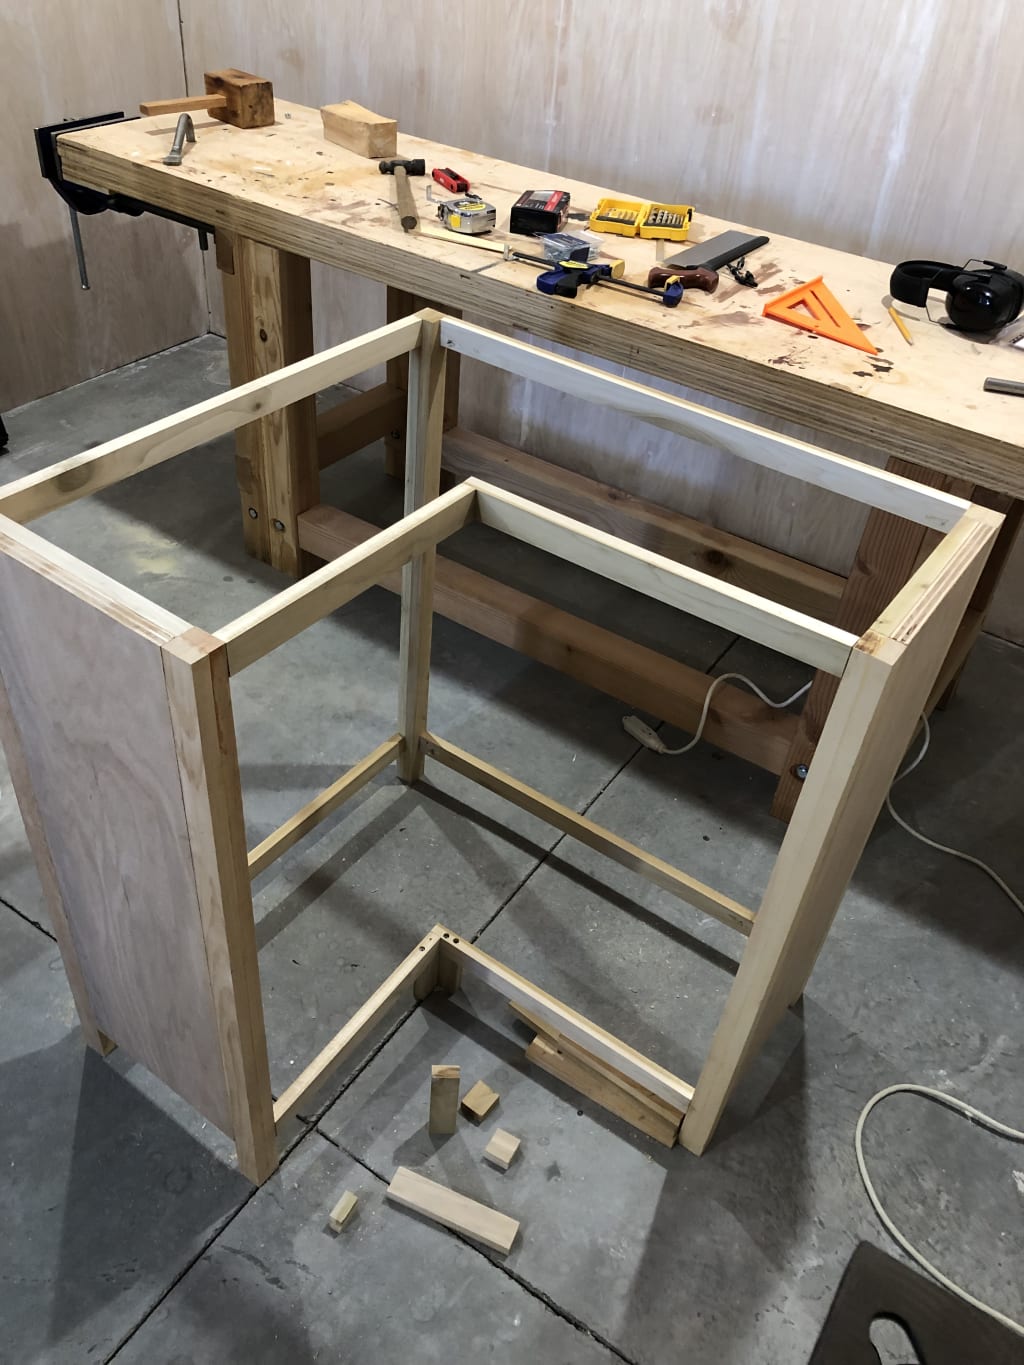
At this time I wanted to move on to other projects, so I made a choice I would later regret. Rather than doing more mortise and tenons for the rest of the frame I though I could possibly save time by using little right-angle brackets. It ended up being a floppy pain that was annoying to deal with. If I make another of these I am doing proper joinery throughout. Bad Brian! Anyway, on to the frame!
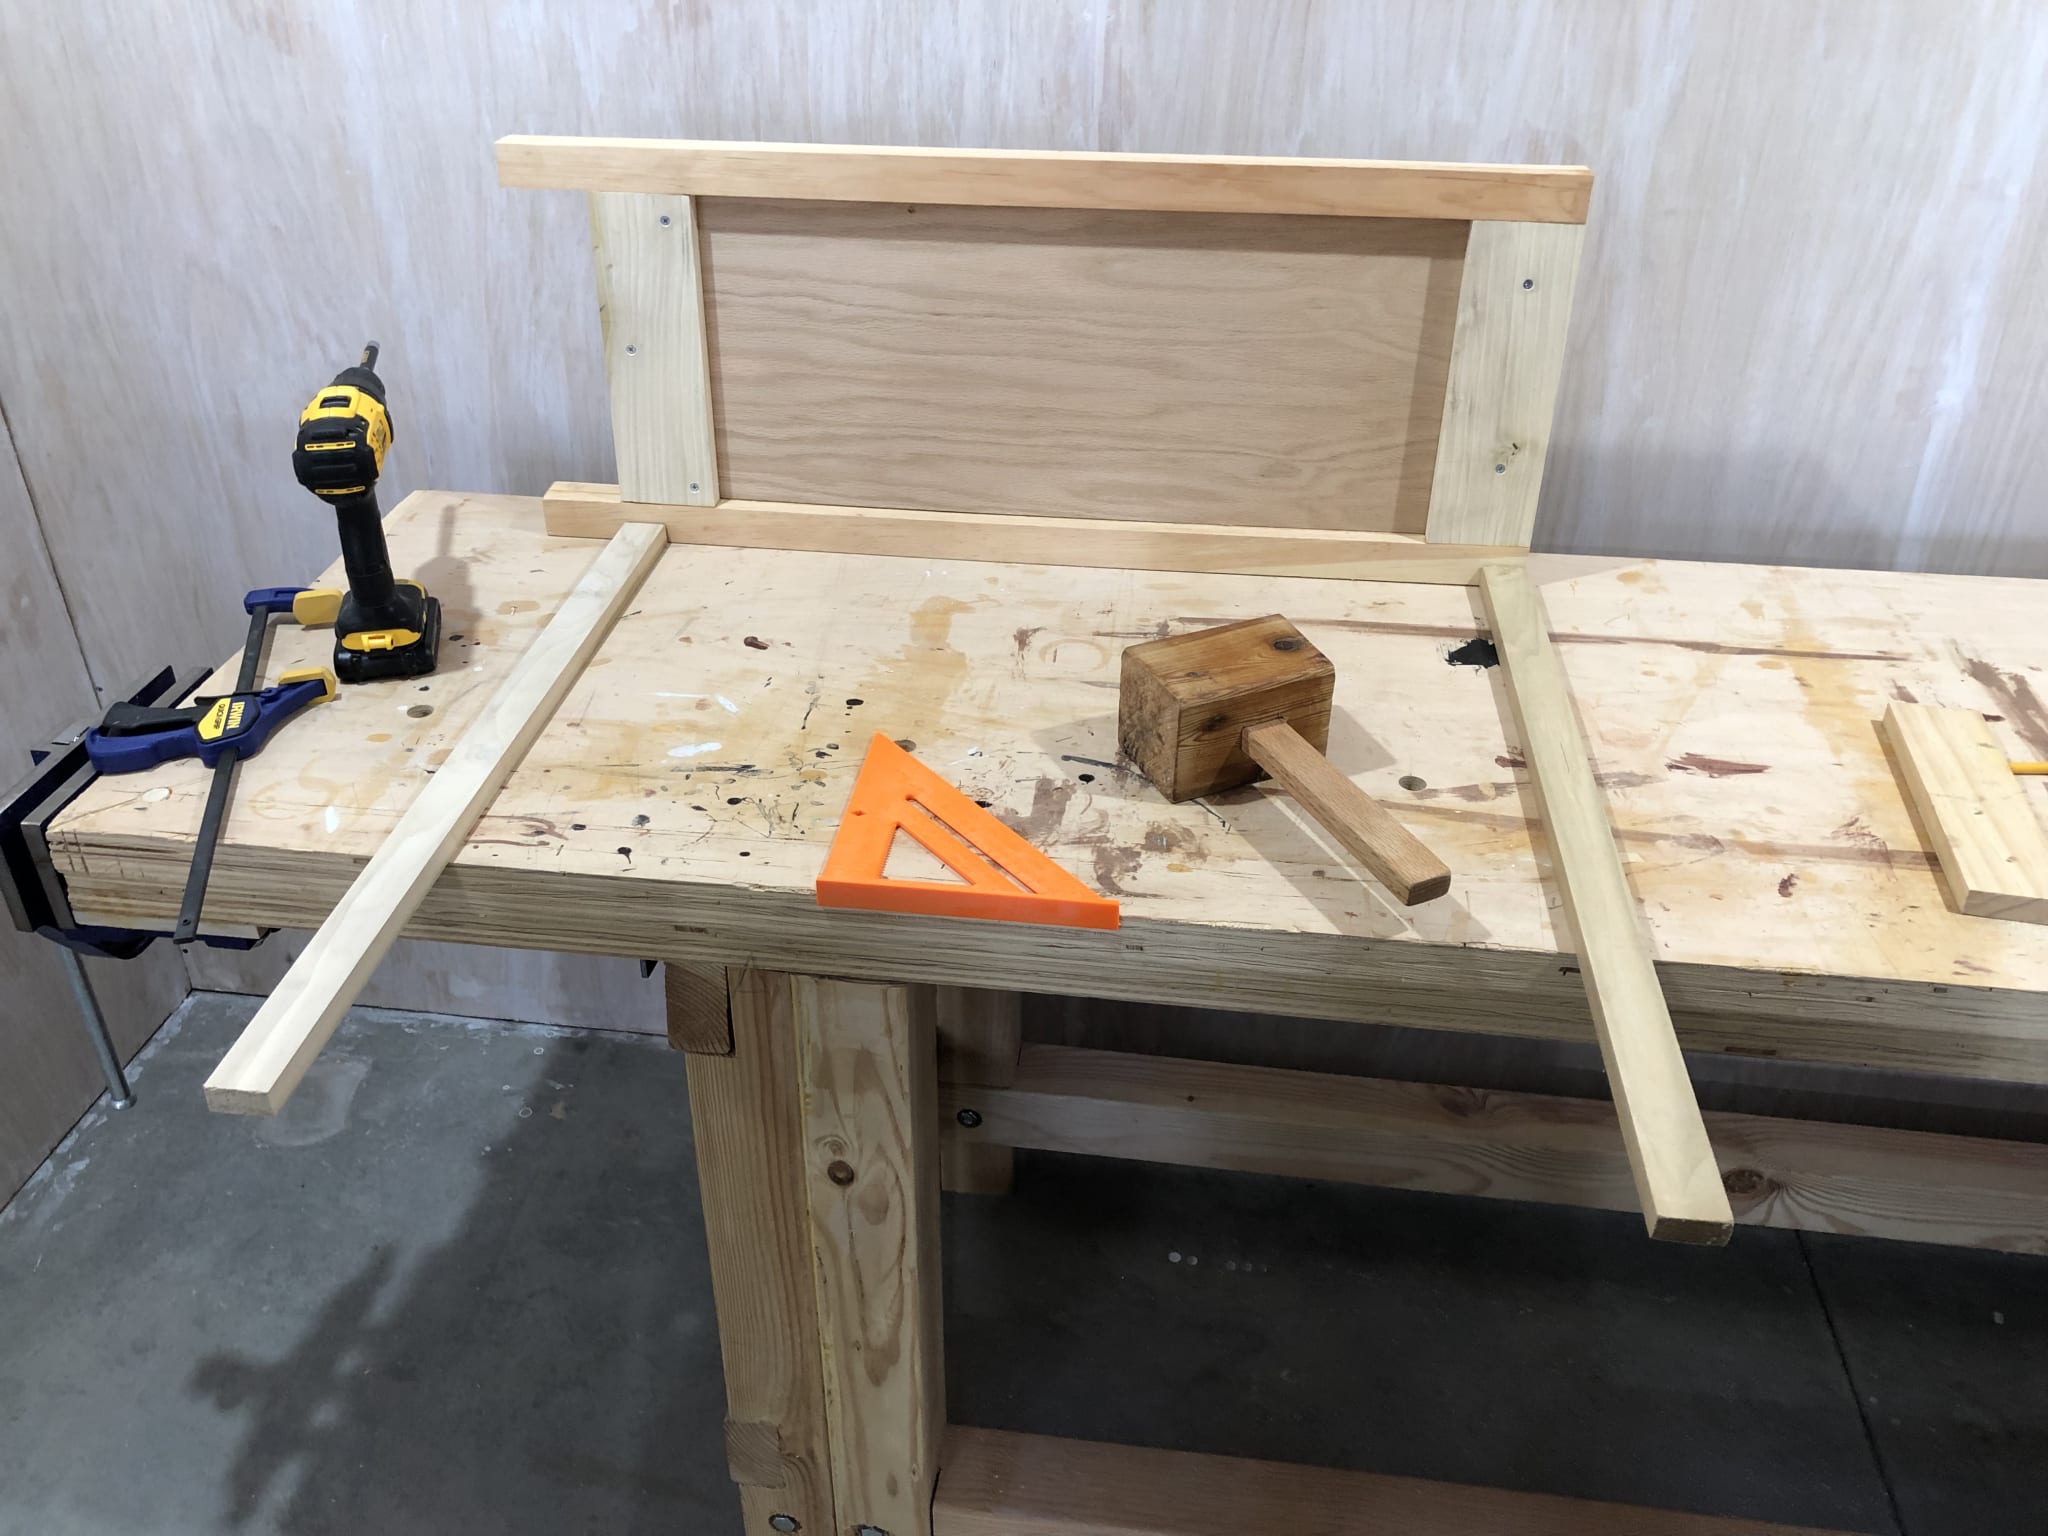
One length of the corner shelf L shape was longer than the other which made the measurements a little tricky. I had to use a few different horses and blocks to prop everything at the right height while I connected the joints.

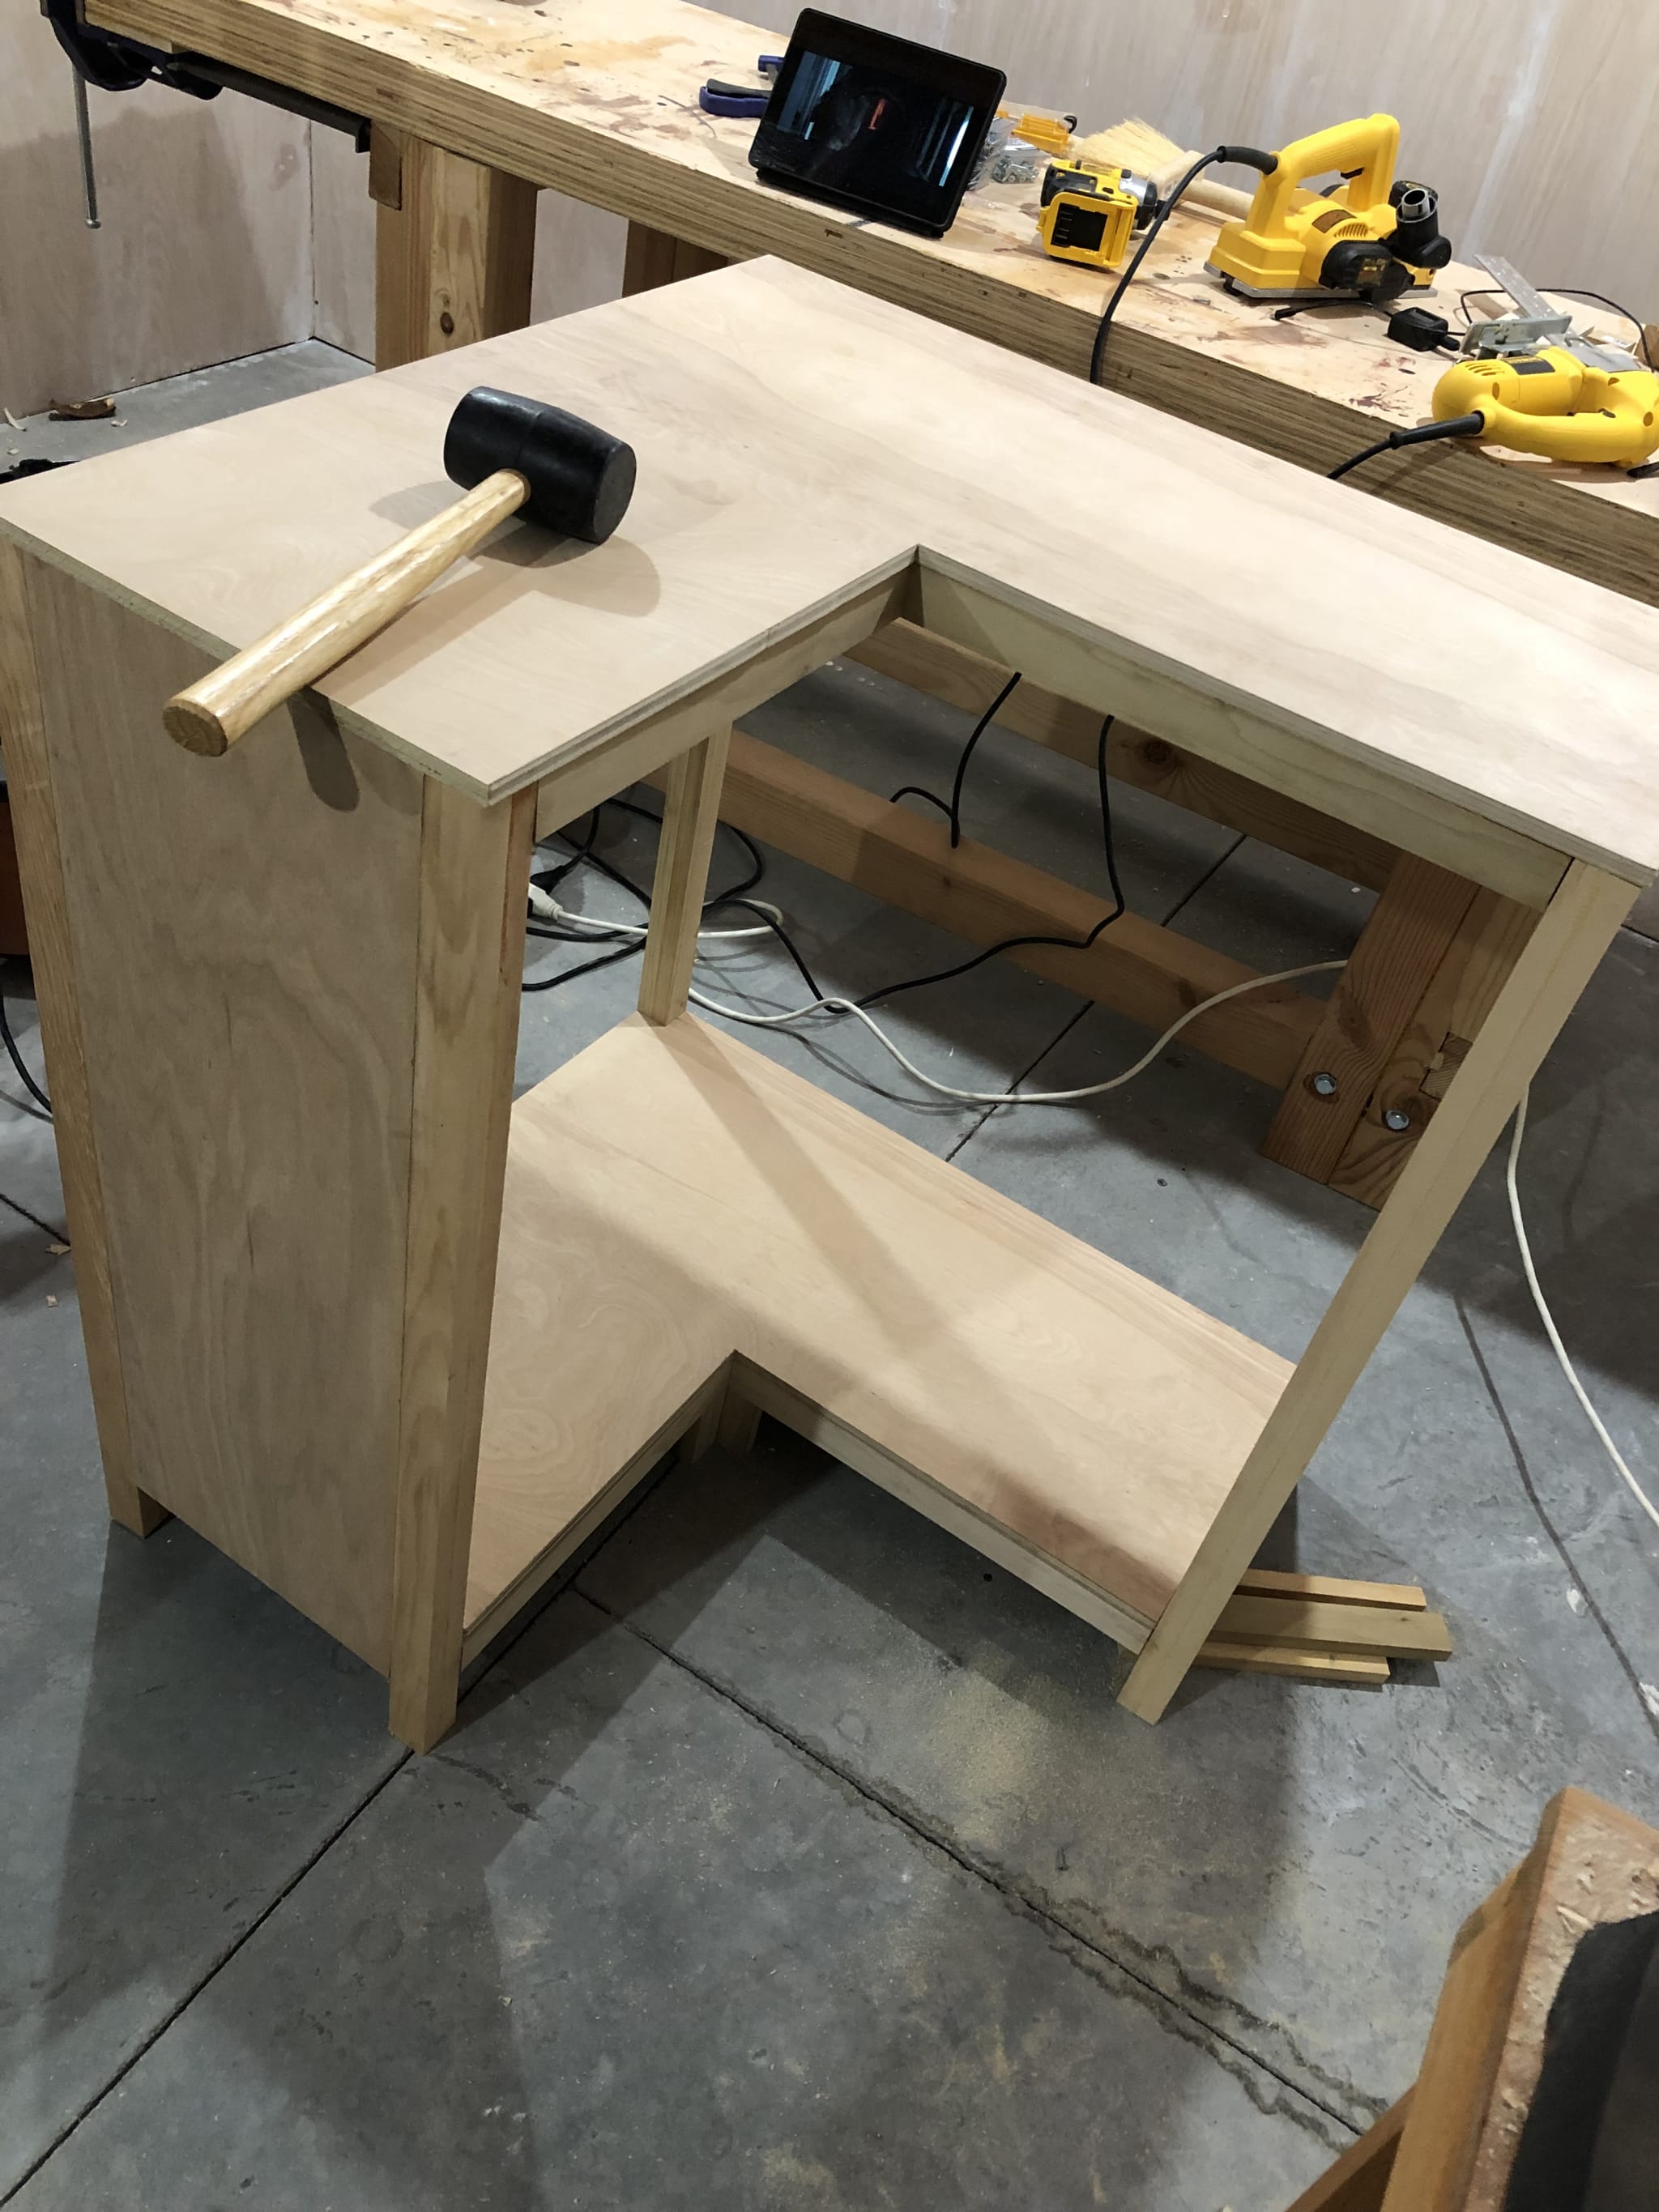
After a lot of wriggling around on the floor and bending my arms into weird angles to get the last screws in the frame was ready for shelving! I decided to start with the bottom, then add the top, then put in the individual shelves, which would be supported from pieces screwed into the side frames and the back leg. Before I could put anything anywhere, however, I had to cut rectangular plywood sheets into weird L shapes. The top and bottom were different sizes, and the two inner shelves were also different from the top and bottom. Fun!


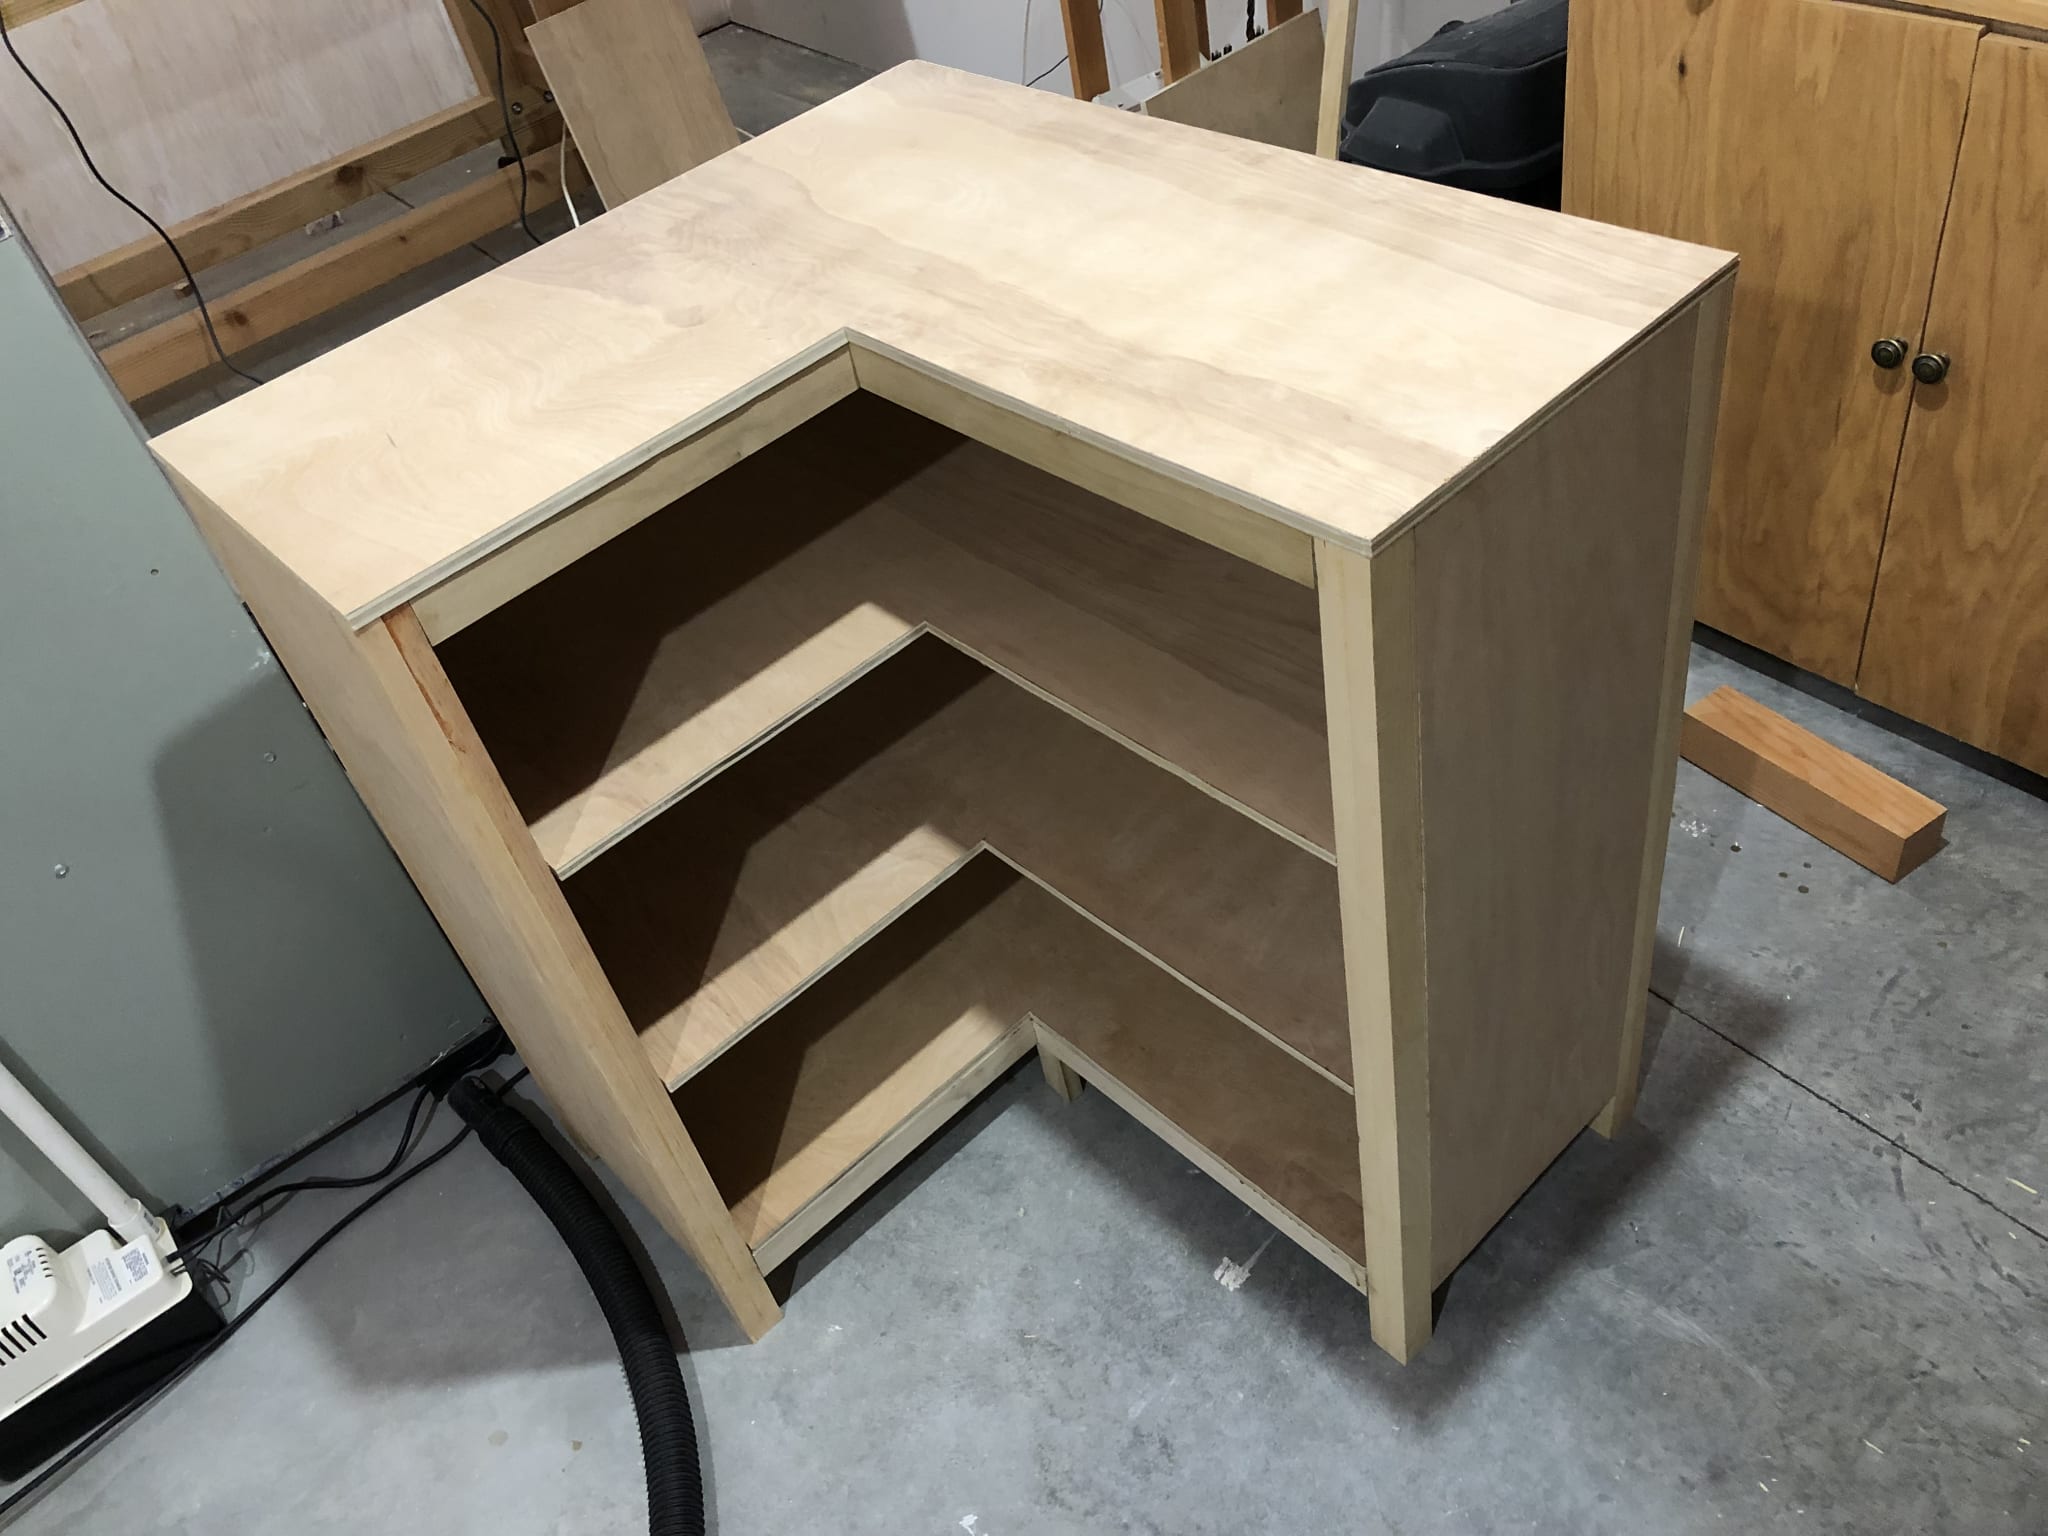
Once I got the shelves on, I cut and nailed the 1/4 inch thick backing plywood. I did drill tiny pilot holes for the nails because I was nailing close to the edge and didn't want any splits. After the back went on, it was time to put veneer on all the exposed plywood edges. I had 3/4 inch veneer strips for 1/2 inch plywood. Much trimming ensued.

I finished it with a coat of early-American colored wood stain, and three coats of polyurethane. My shop smelled of fumes for a while.
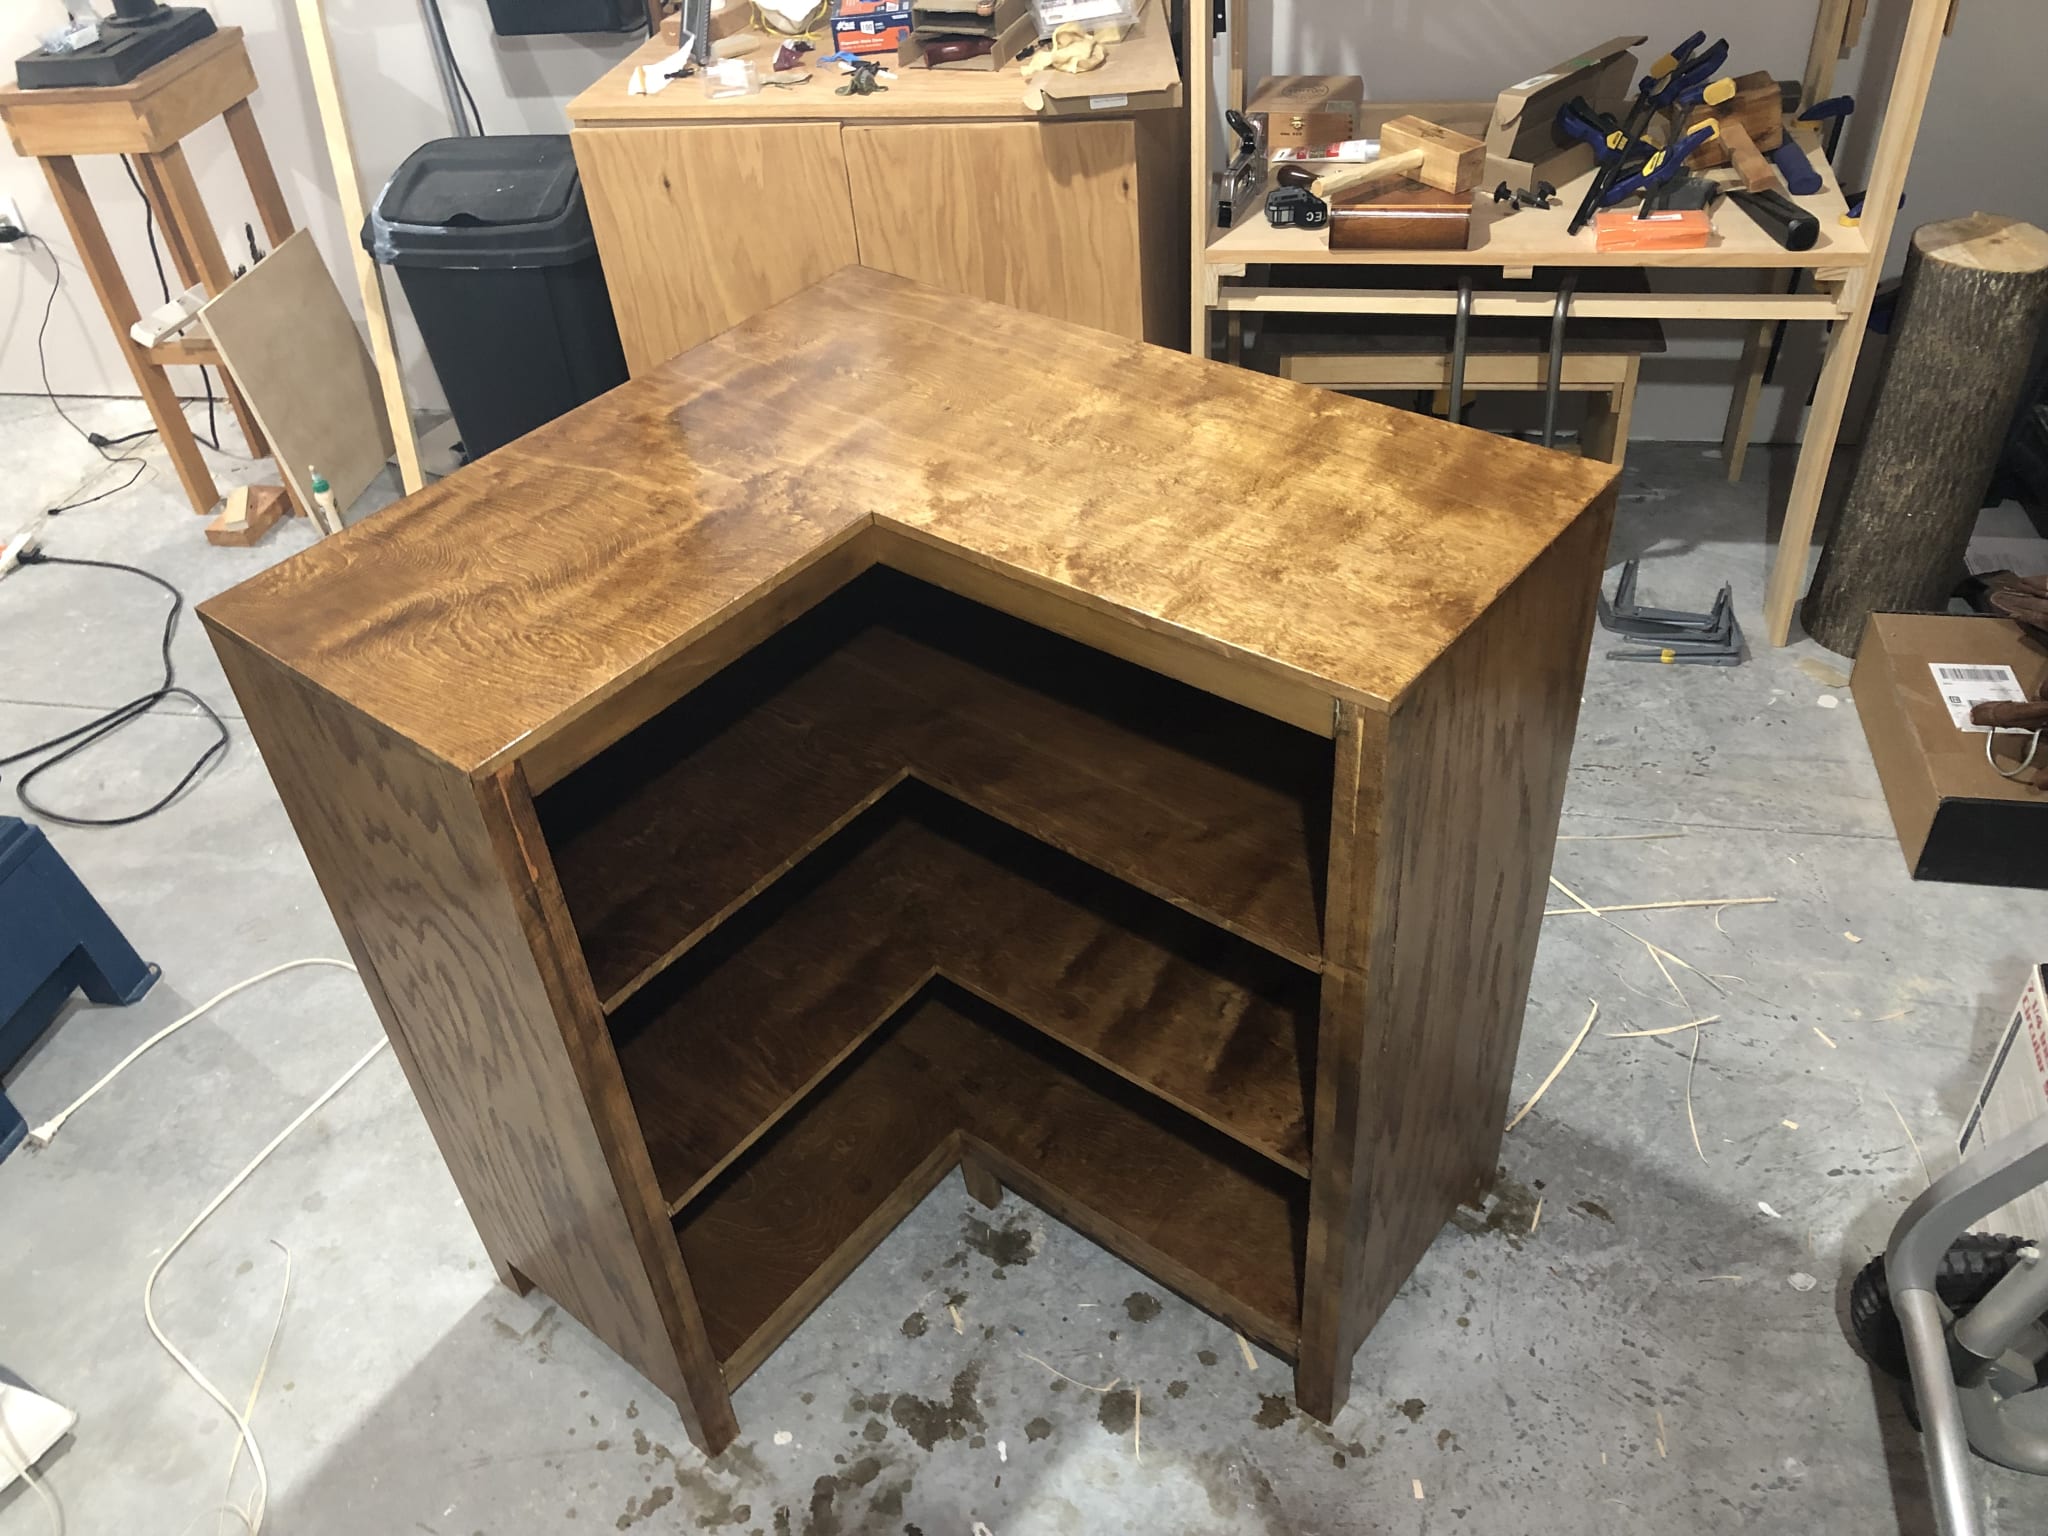
The final product
After airing out for a week or so, I carefully carried it up from the basement to Alex's room on the second floor. I set it in place and... it's too big. Not by much, but still I was annoyed! I measured all those corner spaces, I must have made a mistake and included the distance eaten up by the baseboard trim. Even if it is too big, it still fits well enough.
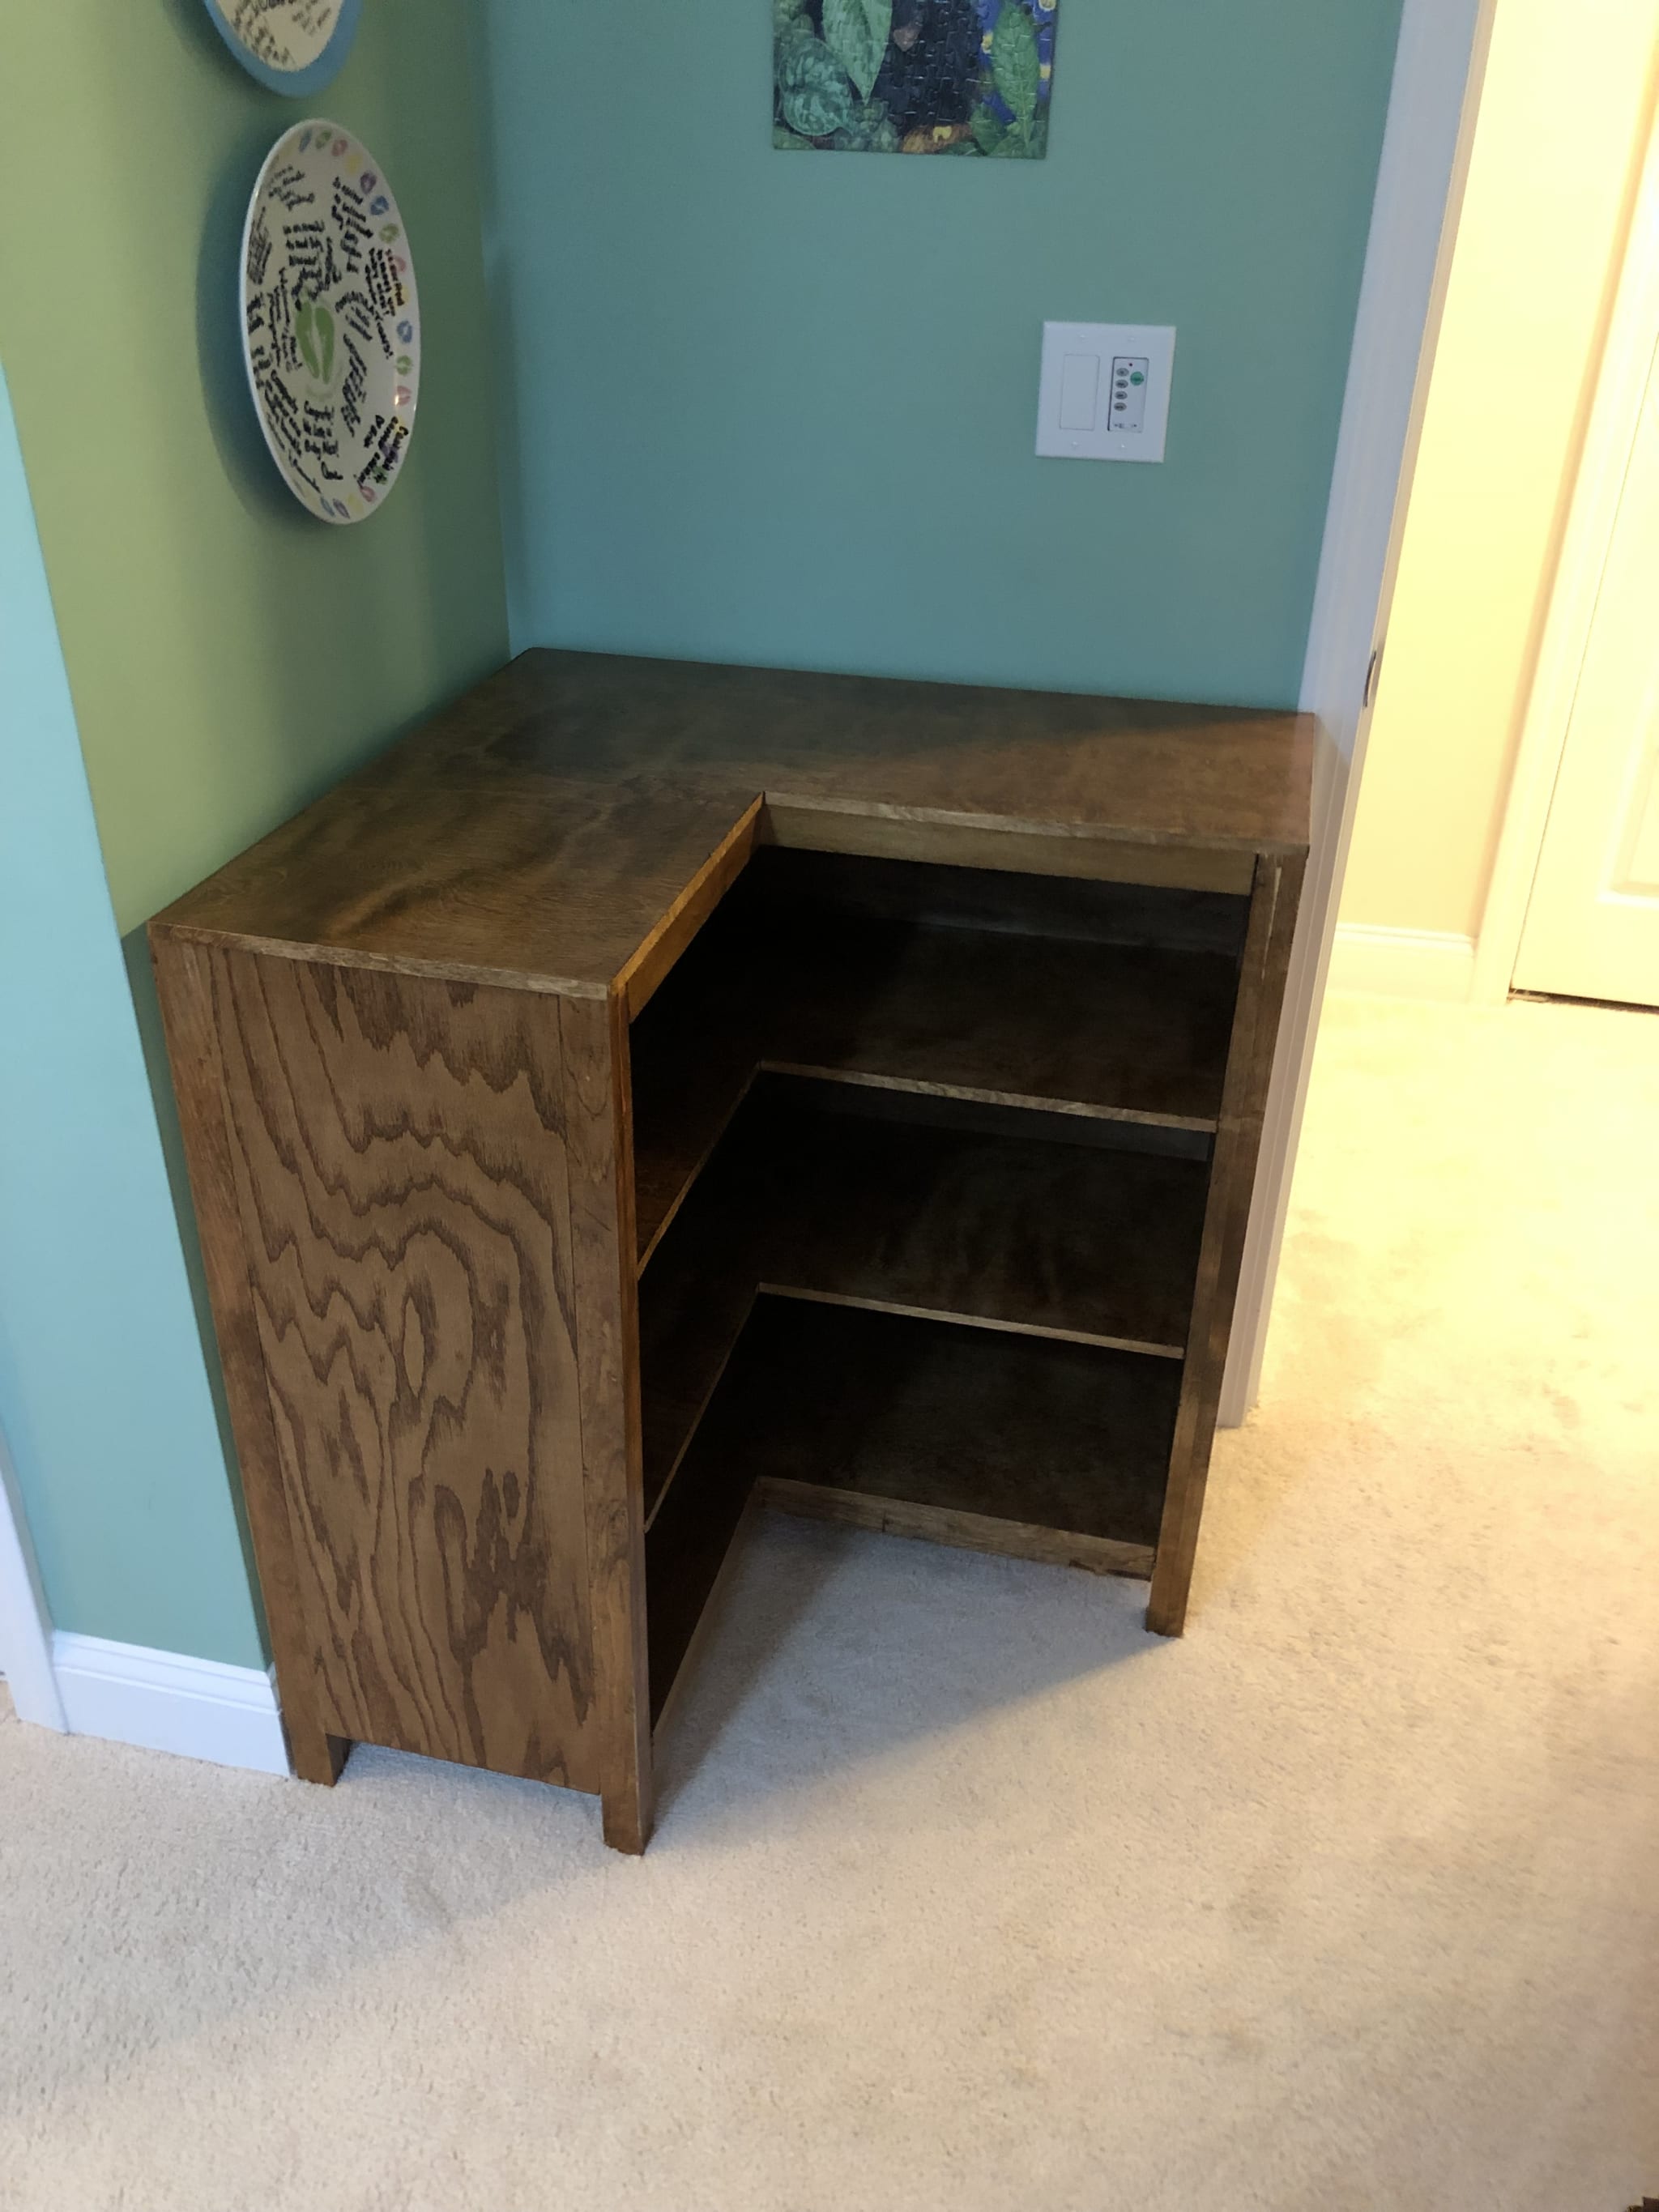
That's it for now! Time to fill it with books.